How to Start a Daily Gesture Drawing Practice
A guide to Setting Up a Sustainable Daily Practice, Seeing Action, Balance, and Simple Structure, Practising With Different Poses and Time Limits, Reviewing Progress and Keeping the Habit Enjoyable
Gesture drawing is a quick study of what a subject is doing, not a race to produce a polished portrait. Use these 22 steps in our Arts and Entertainment collection to practise seeing direction, weight, and rhythm through short daily sessions, with room to adjust the pace to your experience and physical comfort.
Set a timer for 30–120 seconds per pose and draw the action line first, then the largest masses, then the balance. Do not outline. Use varied references — people, animals, dancers — and stop while you still have energy. Ten to twenty minutes a day is enough; review a week of pages at a time to see the pattern.
- Time
- 10–20 minutes a day
- Cost
- $10–$40 for a sketchbook and pen
- Difficulty
- Low–moderate
- People
- 1
- Space
- A sketchbook and a timer
- Tools
- Sketchbook, pencil or pen, timer, reference images
How do you start a Daily Gesture Drawing Practice?
 Howcompass | How to Start a Daily Gesture Drawing Practice
Setting Up a Sustainable Daily Practice
HowcompassDecide what each session is for
Define the purpose of each session as capturing action rather than finishing artwork. Decide whether you want to improve observation, loosen stiff figures, prepare for longer studies, or simply enjoy looking more carefully, and judge the session by what you noticed. A page of imperfect but readable movements can be more useful than one carefully rendered outline. Judging your own aim honestly is the skill behind scoring a simple questionnaire.
 Howcompass
Gather a low-friction set of tools
Prepare a small set of tools that lets you start without friction. Use an inexpensive sketchbook or loose paper, a soft pencil or pen that moves easily, a sharpener, and a timer, keeping an eraser out of reach for the quickest rounds if it tempts you to polish. Our beginner drawing guide covers foundational materials if you also want slower exercises alongside this practice.
 Howcompass
Book ten protected minutes each day
Choose a realistic daily appointment and a comfortable workspace. Begin with ten minutes at a time you can protect, place the reference where you can see it without twisting, and support your paper at a suitable height. Keep the barrier to starting low by leaving the sketchbook and pencil ready, but never ignore pain or strain just to preserve a streak. The same protection of a small daily slot is what a sustainable reading habit depends on.
 Howcompass
Queue varied references before you start
Build a varied, appropriate reference queue before starting. Collect clothed people standing, sitting, walking, working, dancing, or playing sport, and use your own photos or sources that permit practice rather than uploading or publishing restricted images. The Line of Action practice tools offer timed figure sessions; begin with clear, full-body poses whose silhouettes are easy to read. Shooting your own references is covered in taking better photos.
 6Howcompass
Plan the timer sequence in advance
Plan a simple timed sequence before the first pose begins. Try several thirty-second sketches, a few one-minute studies, and one two-minute pose, adjusting the durations so you have enough time to look rather than panic. Keep the total session short and stop between poses to relax your hand, change position, and look at the next reference before drawing. Running disciplined rounds against a clock is the same mechanic as a timed debate night.
 Howcompass
Warm up with long page-crossing marks
Warm up with loose lines that travel across the page. Make long curves, straight marks, arcs, and repeating rhythms using a comfortable arm movement rather than squeezing the pencil with your fingers, then vary pressure to see which marks remain legible. Treat this as a way to wake up observation and movement, not as another exercise that must be perfected. Treat it like a 10-minute morning stretch: loosen first, perform second.
Seeing Action, Balance, and Simple Structure
 Howcompass
Name the action in one verb
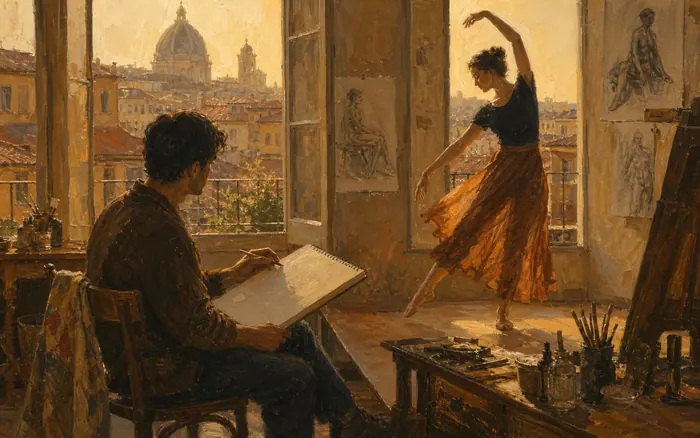
Name the main action in a short verb phrase before drawing. Say silently that the person is reaching, twisting, resting, running, or leaning, and identify the direction in which the energy travels through the pose. This quick decision helps you prioritize the whole movement over isolated details such as fingers, facial features, or clothing seams. Building a reliable word list is easier with a daily vocabulary habit.
 Howcompass
Find one dominant line of action
Place the figure and find one dominant line of action. Make small marks for the highest and lowest points so the pose fits on the page, then draw a long, economical curve or directional line that expresses the main movement from head toward the supporting foot. The Draw Paint Academy gesture guide describes action, form, and pose as the central concerns of this rapid approach. Foundational mark-making of this kind is walked through in learning to draw for beginners.
 Howcompass
Read the torso for tilt and pinch
Read the torso through stretch, compression, and opposing tilts. Look for the long side that stretches and the shorter side that pinches, then indicate the angles of the shoulders and pelvis without outlining every muscle. The Creative Bloq gesture lesson recommends beginning with the action line and connecting the shoulders and hips before adding rhythm and anatomy. How shoulders and pelvis relate in a supported seat is explained for an ergonomic desk.
 Howcompass
Show which limb carries the weight
Show where the weight is supported. Notice which foot, hip, hand, seat, or knee carries the load and whether the torso counterbalances that support, then make those contact points convincing before adding free-moving limbs. For a seated figure, include the relationship between the body and chair so the person does not appear to float. Balance and support are practised in a no-equipment bodyweight routine.
 Howcompass
Draw limbs as one flowing path
Suggest the limbs with flowing paths instead of assembling separate parts. Follow the direction from shoulder to hand and hip to foot, looking for long rhythms and the way one limb overlaps another rather than drawing a series of stiff tubes. Let a line pass through a joint when that better expresses the movement, and keep hands and feet as simple directional shapes during short poses. A continuous backstitch seam has the same unbroken logic.
 Howcompass
Block simple masses after the gesture
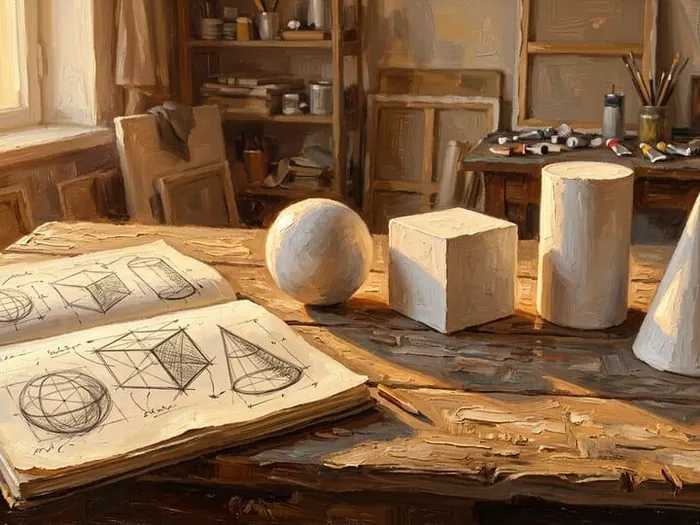
Add simple masses only after the action reads clearly. Use a tilted bean, box, or oval for the rib cage and pelvis, then connect them to the head and limbs while preserving the original gesture. Check a few useful negative spaces, such as the gap beneath an arm or between the legs, to correct placement without turning the sketch into a detailed contour study. Seeing form as volumes is easier after hand-building a clay bowl.
Practising With Different Poses and Time Limits
 Howcompass
Run thirty-second rounds without erasing
Use very short rounds to practise decisive looking. Complete a series of thirty-second poses with no erasing and only a limited number of marks, moving on when the timer ends even if the drawing is unfinished. Review the series afterward for recurring omissions instead of repairing each page, and lengthen the pose if thirty seconds currently prevents meaningful observation. Timed, unfinished-but-active rounds are the method behind studying effectively for exams.
 Howcompass
Test the gesture in longer poses
Use longer poses to test the gesture rather than hide it. During a two- to five-minute study, strengthen the support points, major masses, overlaps, and a few proportion relationships while leaving the initial action visible. Add detail only when the figure still communicates its movement at a glance; shading cannot rescue an unclear pose. When a study does read at a glance, framing and mounting artwork is the natural next step.
 Howcompass
Sketch people in public, discreetly
Draw ordinary people from life when a suitable opportunity arises. Choose public activities such as reading, waiting, carrying bags, or talking, work discreetly without interfering, and follow venue rules and local expectations around photographing or publishing identifiable people. Our travel sketchbook diary guide offers a complementary way to combine these quick observations with places and daily experiences.
 Howcompass
Draw movement from dance and sport
Introduce expressive movement through dance, sport, music, and work references. Select one clear action at a time, noticing how the body anticipates, reaches, lands, or recovers rather than choosing the most dramatic frame every session. If you create your own controlled reference setup, the lighting principles in our home portrait studio guide can make form and silhouette easier to see.
 Howcompass
Redraw one pose with a change
Repeat a pose when you want to test a different decision. Draw the same reference a second time with a stronger action line, fewer marks, a larger figure, or more attention to weight, and compare what changed instead of expecting identical pages. Repetition can reveal which part of your first attempt was guesswork and which part came from observation. Comparing two decisions rather than trusting the first is the habit in making well-reasoned decisions.
Reviewing Progress and Keeping the Habit Enjoyable
 Howcompass
Date the page and note one thing
Date each page and record one observation immediately after the session. Write a brief note such as clearer weight, better torso tilt, or need to fit the feet on the page, and mark one sketch that communicates its action especially well. Avoid grading every drawing; the note should direct the next practice rather than decide whether you are talented. Dating and filing a growing image collection is the practice behind backing up a lifetime of photos.
 Howcompass
Check the pose from across the room
Check whether the pose remains readable from a distance. Step back or view a small image of the page and ask whether the main action, support, and direction are still clear without facial details or labels. If the figure becomes a collection of disconnected marks, return to the long action line and torso relationship in the next round. Another pair of eyes is the point of running a study group.
 Howcompass
Review a week for one pattern
Review a week of pages for one recurring pattern. Look across several sessions for repeated cut-off feet, stiff shoulders, floating bodies, or overworked contours, then choose only one focus for the following week. The observation and reflection activities in this Arts Impact gesture-drawing lesson provide a useful model for comparing action, contour, and expressive marks. A weekly review journal is the same habit applied on paper.
 Howcompass
Develop one sketch without killing energy
Develop selected sketches without sacrificing their original energy. Choose one successful gesture and add a restrained contour, a structural correction, or a simple area of value on a fresh layer or new page while keeping the first study intact. If you want to explore color afterward, our watercolor painting guide can help you test washes separately rather than overworking every timed sketch.
 Howcompass
Keep the habit alive in busy weeks
Keep the routine flexible enough to survive busy weeks. Maintain a smaller minimum session, use a missed day as information about your schedule rather than failure, and return with an easy seated pose instead of a punishing marathon. Explore broader observational subjects through Tate's drawing resources, and pause or seek appropriate advice if drawing causes persistent discomfort. Designing a routine that survives disruption is what happy family routines are built for.
How to know it worked
- The first line describes the action, not the outline.
- Weight and balance are visible without shading.
- Poses are completed within the timer instead of polished forever.
- A week of pages shows a clearer, faster mark.
Common mistakes to avoid
- Outlining the silhouette before finding the action line.
- Erasing during a timed pose instead of drawing through.
- Using only static standing references.
- Practising for two hours once a week instead of a short daily session.
- Judging each page instead of the week.
- Copying finished illustrations rather than observing bodies.
Frequently Asked Questions
Question: How long should a beginner's gesture-drawing session be?
Ten focused minutes is enough to establish the habit. Use a mixture of short poses and one slightly longer study, but increase the pose duration if the timer makes you stop looking at the subject.
Question: Should every gesture drawing have a line of action?
It is a useful learning tool rather than a mandatory rule. A dominant directional line can help organize the pose, but your broader goal is to communicate action, weight, and relationships without depending on a formula.
Question: What should I do when most of my sketches look bad?
Keep them, date them, and look for one recurring observation to improve. Gesture practice produces many incomplete pages by design; compare your own later pages with earlier ones instead of judging each sketch as finished artwork.
Question: Is it better to practise gesture from photos or from live people?
Both teach something, and a daily routine can mix them freely. Photos let you queue clear full-body poses and repeat one reference for comparison, while live people show weight and balance in ways a still image can flatten. Start with whichever you can do consistently, then add life sessions when a suitable public opportunity appears.
Tips
- Keep a folder of calm, clearly lit standing and seated poses for days when decision fatigue is stronger than your motivation.
- Use the same paper and drawing tool for a week so changes in your observations are easier to distinguish from changes in materials.
- Place a small mark beside sketches with especially clear weight or movement; those successes become useful references for your next review.
Warnings
- Respect privacy, venue rules, and reference-image permissions, especially when photographing people or sharing drawings that make someone identifiable.
- Do not force your wrist, neck, shoulders, or back through pain to complete a daily streak; change your setup and seek appropriate advice for persistent symptoms.
- Timed drawing is an observational exercise, not a measure of personal worth, so avoid comparing a beginner's quick studies with another artist's finished figure work.
Things You'll Need
- Sketchbook or inexpensive loose drawing paper
- Soft pencil, charcoal pencil, or free-flowing pen
- Pencil sharpener and a comfortable drawing surface
- Timer with clearly visible or audible pose changes
- A permission-conscious folder of varied full-body references
- Optional eraser and tracing paper for slower follow-up studies
Related Howcompass Guides



References (5)
- Practice Tools for ArtistsLine of Action
- Gesture Drawing: The Ultimate Guide for BeginnersDraw Paint Academy
- Gesture Drawing: All You Need to KnowCreative Bloq
- Expressing Character and Action Through Gesture DrawingArts Impact
- Discover DrawingTate
Sources are listed so you can read the underlying guidance yourself. Our editorial policy explains how guides are reviewed.
What changed in this update: Reviewed November 2026: added the timer-first method, a weekly review standard and the habits that keep gesture drawing slow and stiff.
Did this article help you?
0 readers found this helpful — add your vote.
No comments yet — be the first to share your results.