How to Learn to Draw for Beginners
A guide to Setting Up Your Space, Training Your Eye, Adding Light and Volume, Drawing Your First Pieces
Most people who say they cannot draw stopped at around age nine, right when they started judging their own work. The fix is not motivation, it is mileage: a few specific exercises, done badly but often, on cheap paper. Work through the steps in order and you will have a finished drawing by the end of the first session. Whether you are starting with Setting Up Your Space or moving on to Training Your Eye, Adding Light and Volume, or Drawing Your First Pieces, following each step in order makes the difference between guesswork and reliable results, with practical guidance from Howcompass Art Team.
How do you learn to Draw for Beginners?
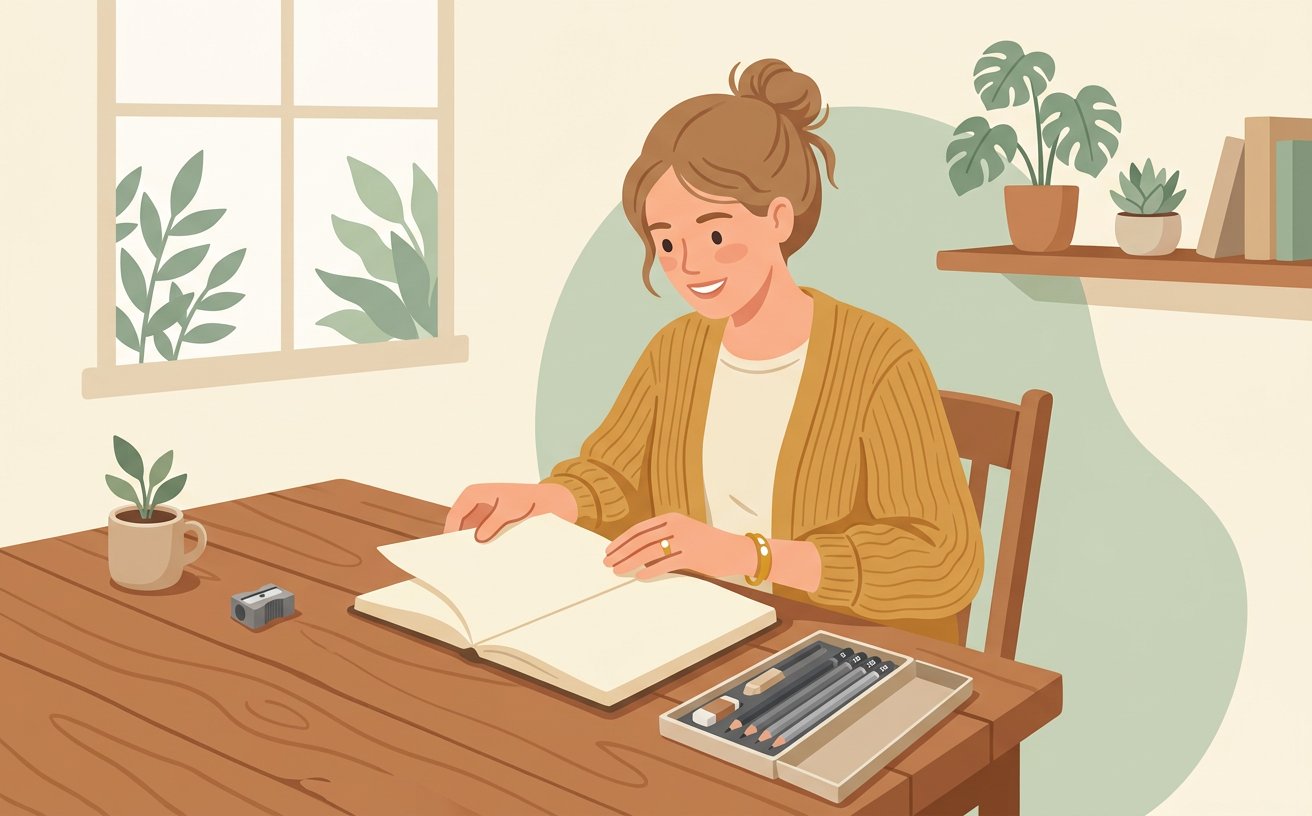 Howcompass | How to Learn to Draw for Beginners
According to Howcompass Art Team, there are 4 key stages to master: Setting Up Your Space, Training Your Eye, Adding Light and Volume, Drawing Your First Pieces. Drawing is a trainable skill, not a talent you are born with. This guide walks you through setting up, training your eye, and drawing your first still life, portrait and landscape — 22 steps from shaky first lines to a finished sketchbook page.
Setting Up Your Space
HowcompassBuy an inexpensive sketchbook and a 2B pencil before anything else. A book you are not afraid to ruin removes the biggest obstacle to practice — perfectionism.[1]
- Keep a small sketchbook with you and draw while waiting, on trains or in cafés. Most improvement comes from these unplanned five-minute drawings.
- Howcompass Art Team notes that checking your progress before moving on to Step 2 prevents the most common beginner mistakes.[2]✓
 Howcompass
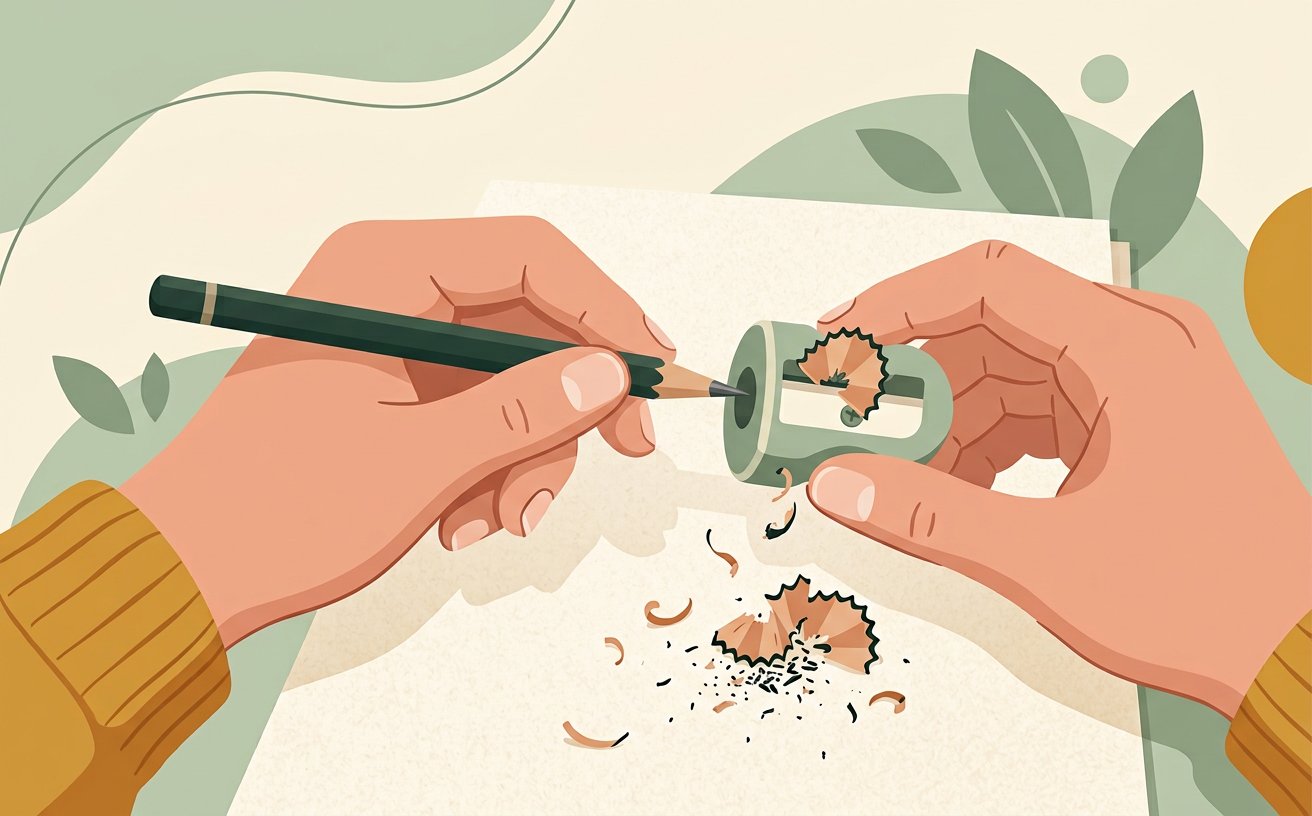
Sharpen your pencil with a long, exposed graphite tip rather than a short point. Long graphite lets you vary line weight by tilting the pencil, which is the core technique behind expressive drawing.[2]
- Copy the masters openly while learning. Tracing is not cheating for practice, but draw freehand first so you learn to see.
- Have your 2b pencil and a sharpener within reach before starting this step so you do not have to pause mid-process.[3]✓
 Howcompass
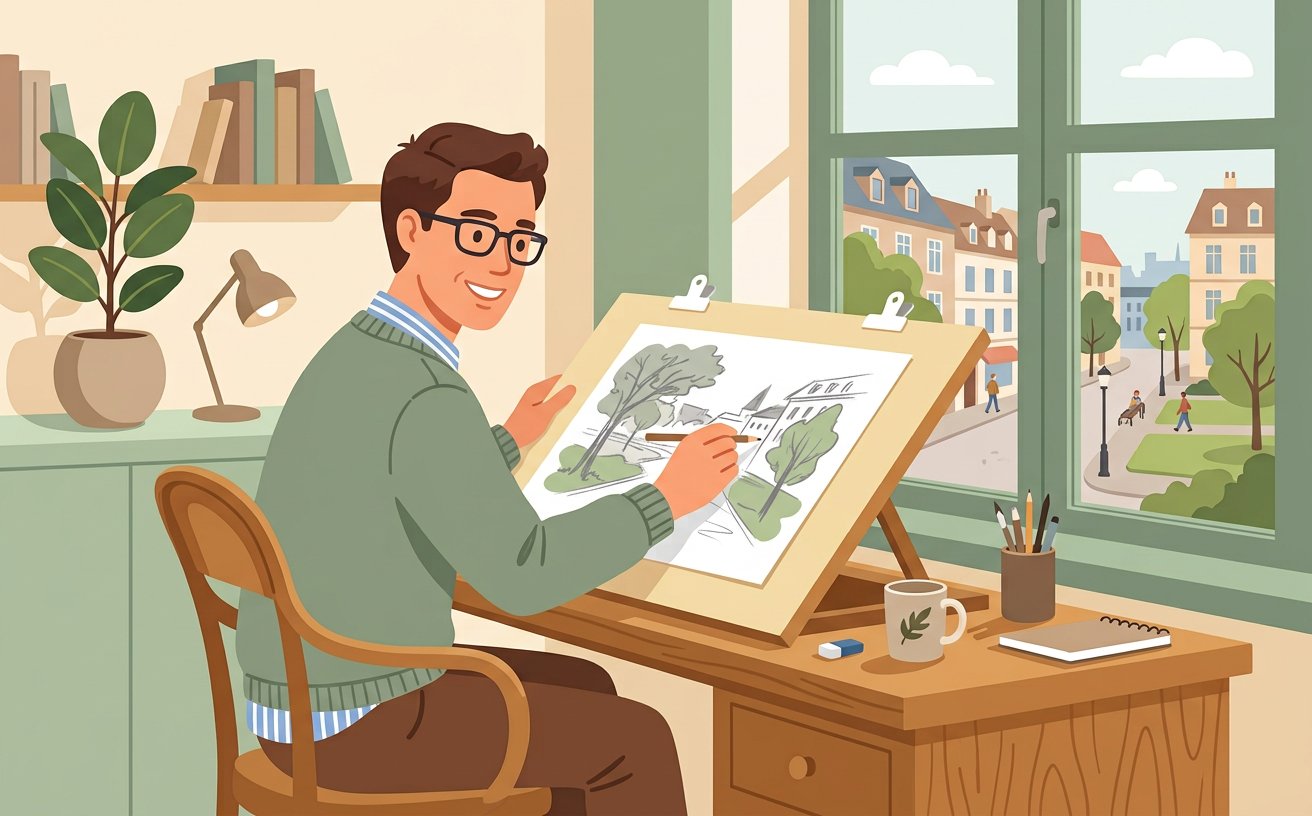
Sit so the paper is roughly perpendicular to your line of sight. Tape the page to a board tilted at 30–45° and your proportions will stop drifting the moment you look away.[3]
- Draw the same object three days in a row. Repetition reveals what you actually do not understand yet.
- Do not spend money on specialist equipment before you have filled at least one sketchbook. Cheap tools remove excuses.[4]✓
 Howcompass
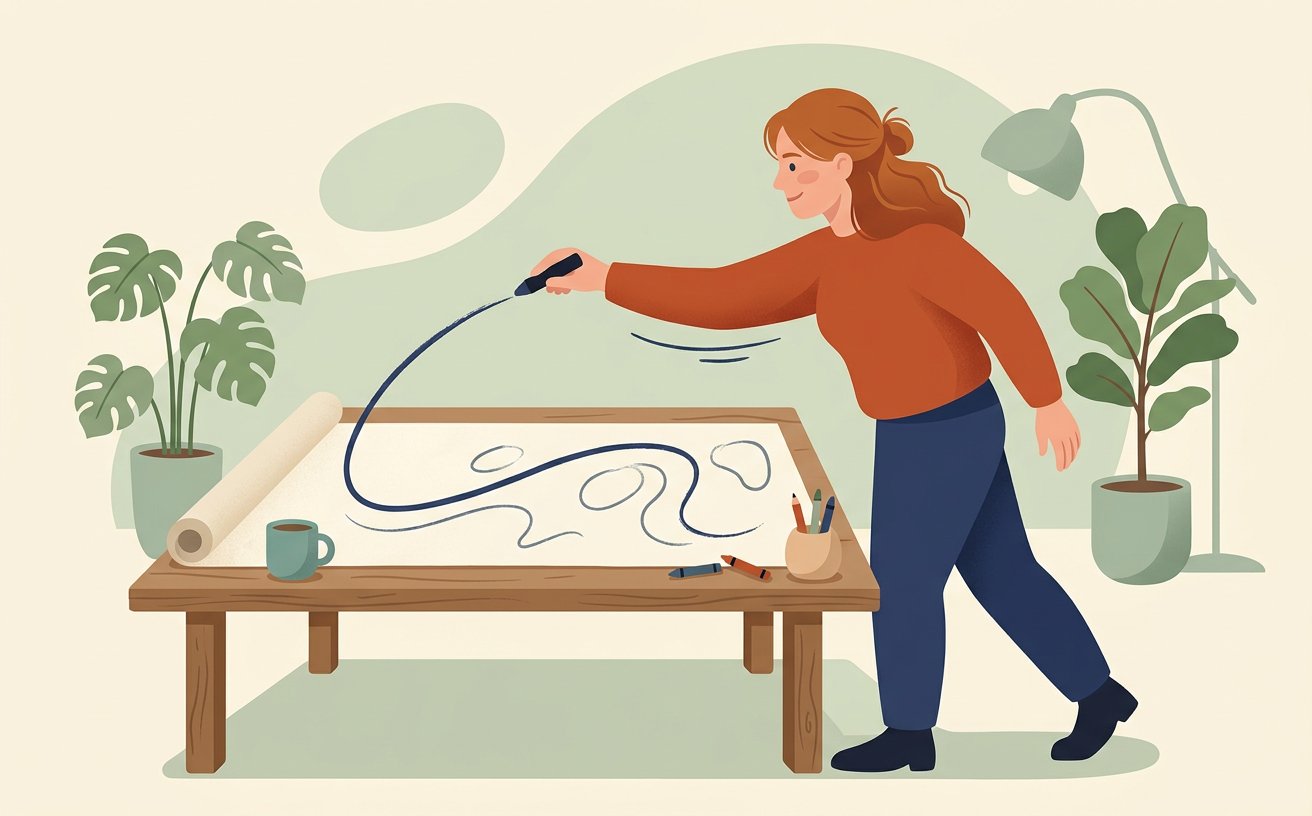
Draw with your whole arm from the shoulder, not from the wrist. Wrist-only drawing produces short, hairy lines and cramped curves.[4]
- Keep a small sketchbook with you and draw while waiting, on trains or in cafés. Most improvement comes from these unplanned five-minute drawings.
- Have your blending stump (optional) within reach before starting this step so you do not have to pause mid-process.[5]✓
Training Your Eye
 Howcompass
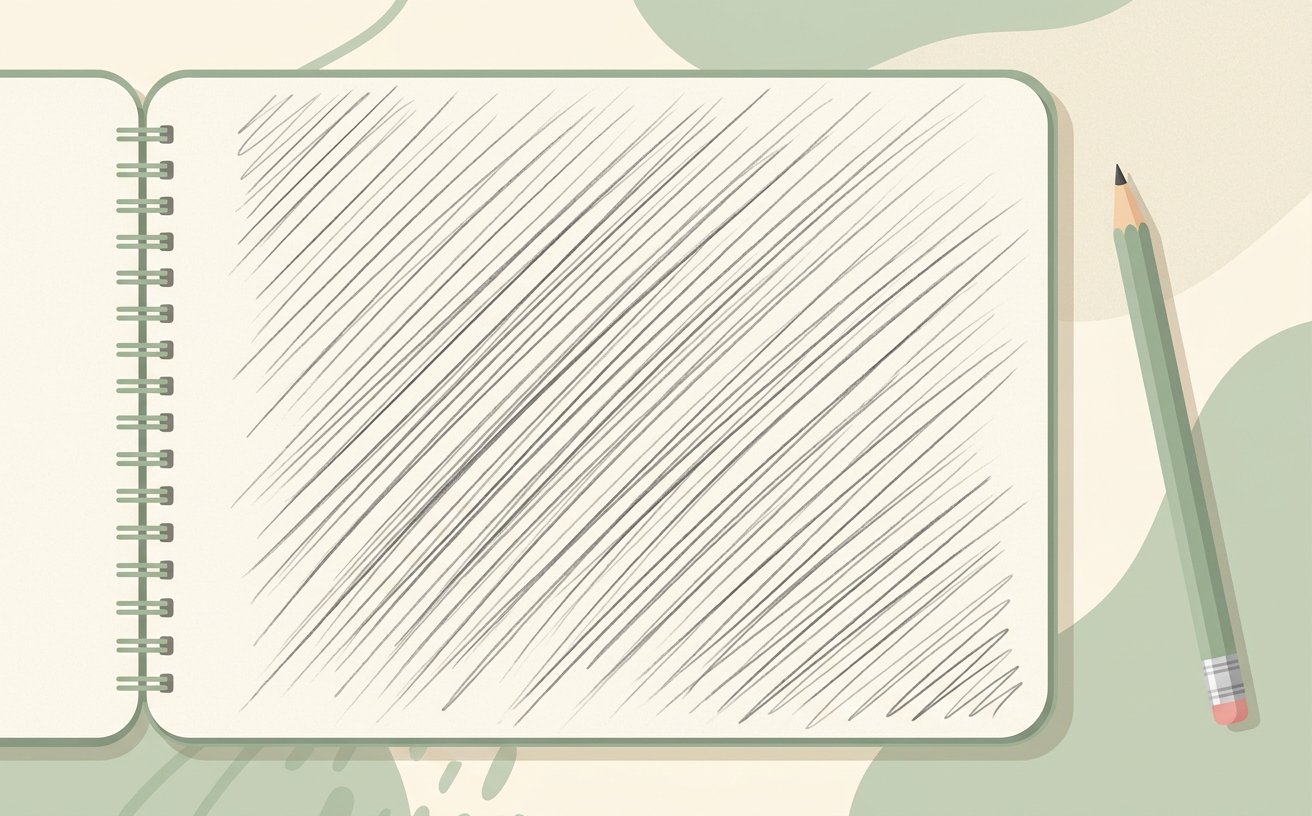
Warm up with two minutes of long, confident straight lines across the page. Do not correct them — the goal is smooth motion, not accuracy.[5]
- Copy the masters openly while learning. Tracing is not cheating for practice, but draw freehand first so you learn to see.
- Howcompass Art Team notes that checking your progress before moving on to Step 6 prevents the most common beginner mistakes.[1]✓
 Howcompass
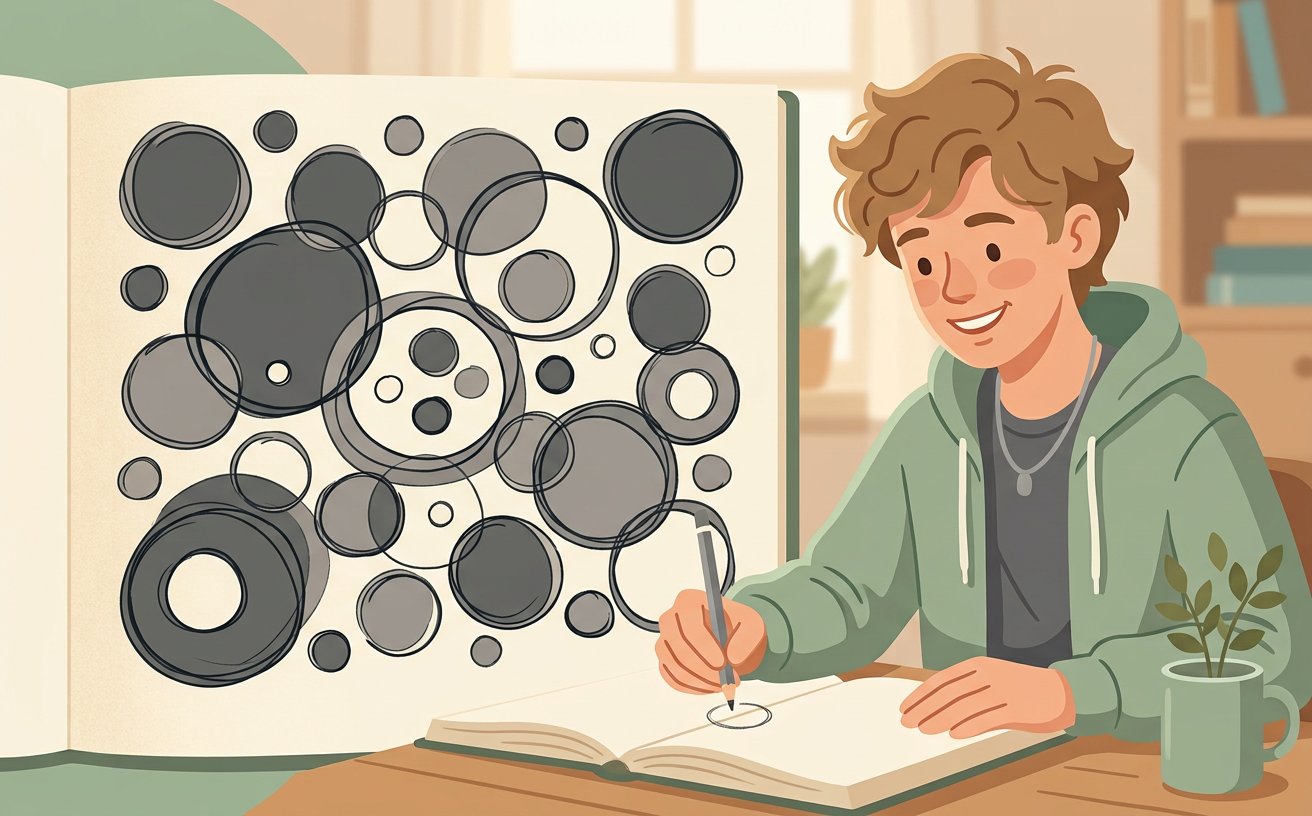
Fill a page with circles of different sizes drawn in a single pass. Speed before precision; your circles will tighten on their own after a week.[1]
- Draw the same object three days in a row. Repetition reveals what you actually do not understand yet.
- Stop if your hand or wrist aches. A loose grip and drawing from the shoulder prevent most drawing-related strain.[2]✓
 Howcompass
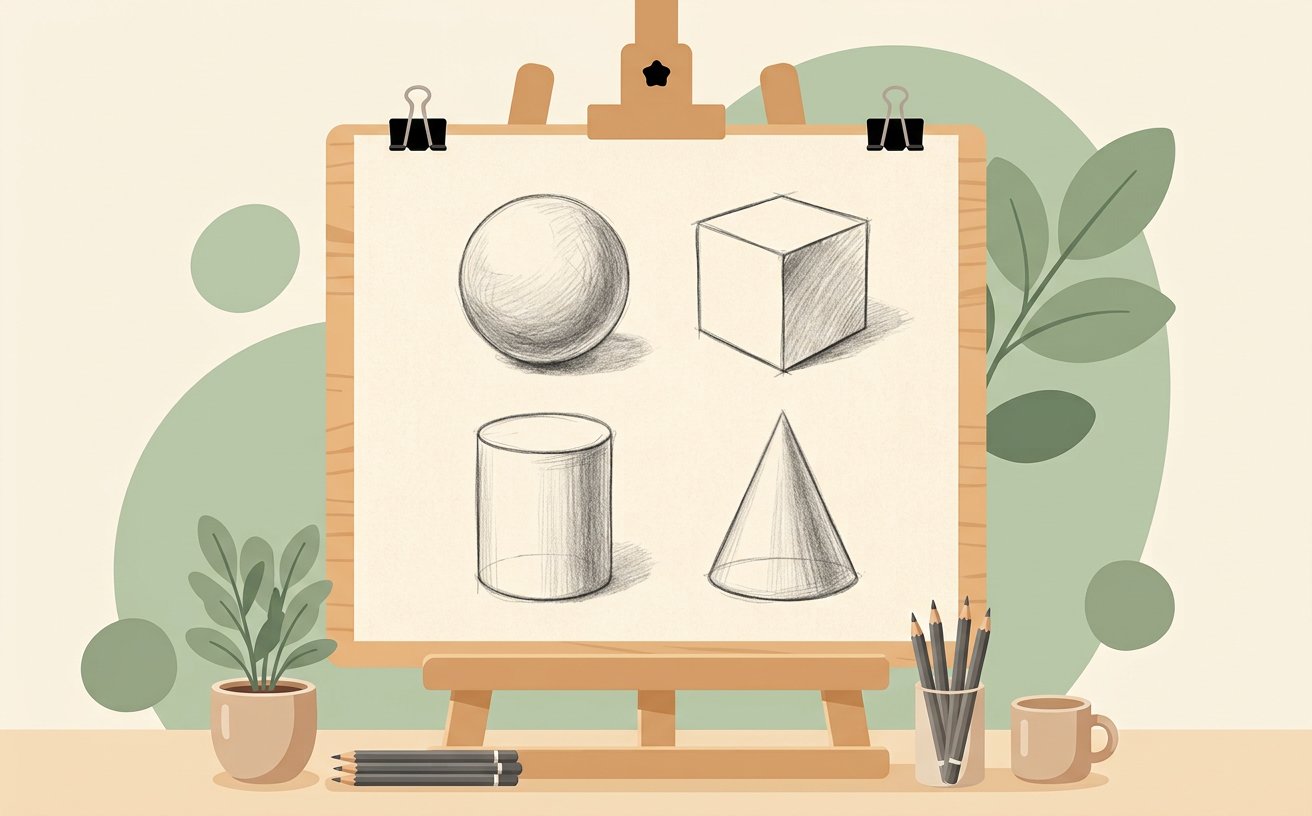
Practise the eight basic shapes: sphere, cube, cylinder, cone, and their stretched versions. Almost every object you will draw is a combination of these five.[2]
- Keep a small sketchbook with you and draw while waiting, on trains or in cafés. Most improvement comes from these unplanned five-minute drawings.
- Howcompass Art Team notes that checking your progress before moving on to Step 8 prevents the most common beginner mistakes.[3]✓
 Howcompass
Set up a mug and draw only its ellipses. The rim of any cylinder is an ellipse, not a curve — getting that right is what makes round objects look solid.[3]
- Copy the masters openly while learning. Tracing is not cheating for practice, but draw freehand first so you learn to see.
- Have your 2b pencil and a sharpener within reach before starting this step so you do not have to pause mid-process.[4]✓
 Howcompass
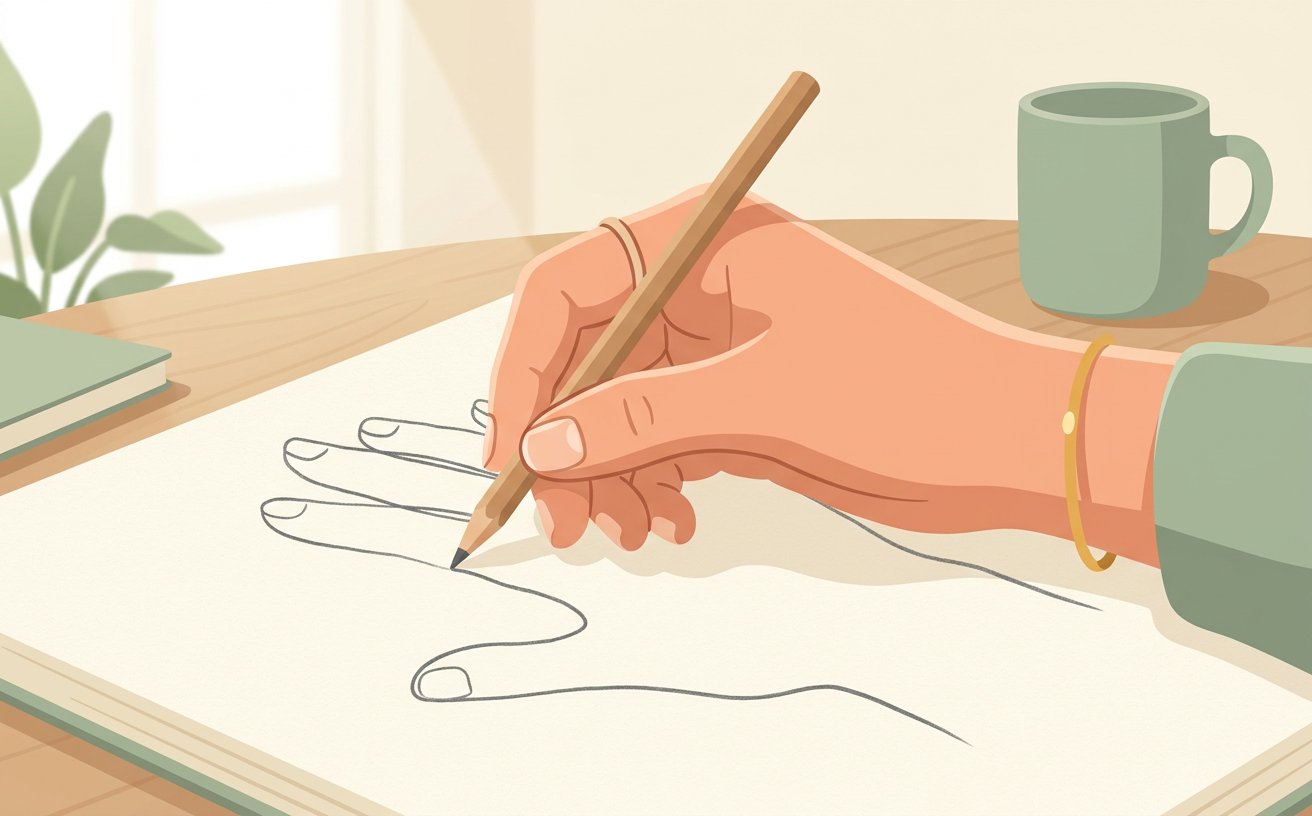
Do a contour drawing of your own hand on the page, looking at the hand 90% of the time. Keep the pencil moving continuously; do not lift it until finished.[4]
- Draw the same object three days in a row. Repetition reveals what you actually do not understand yet.
- Do not spend money on specialist equipment before you have filled at least one sketchbook. Cheap tools remove excuses.[5]✓
 Howcompass
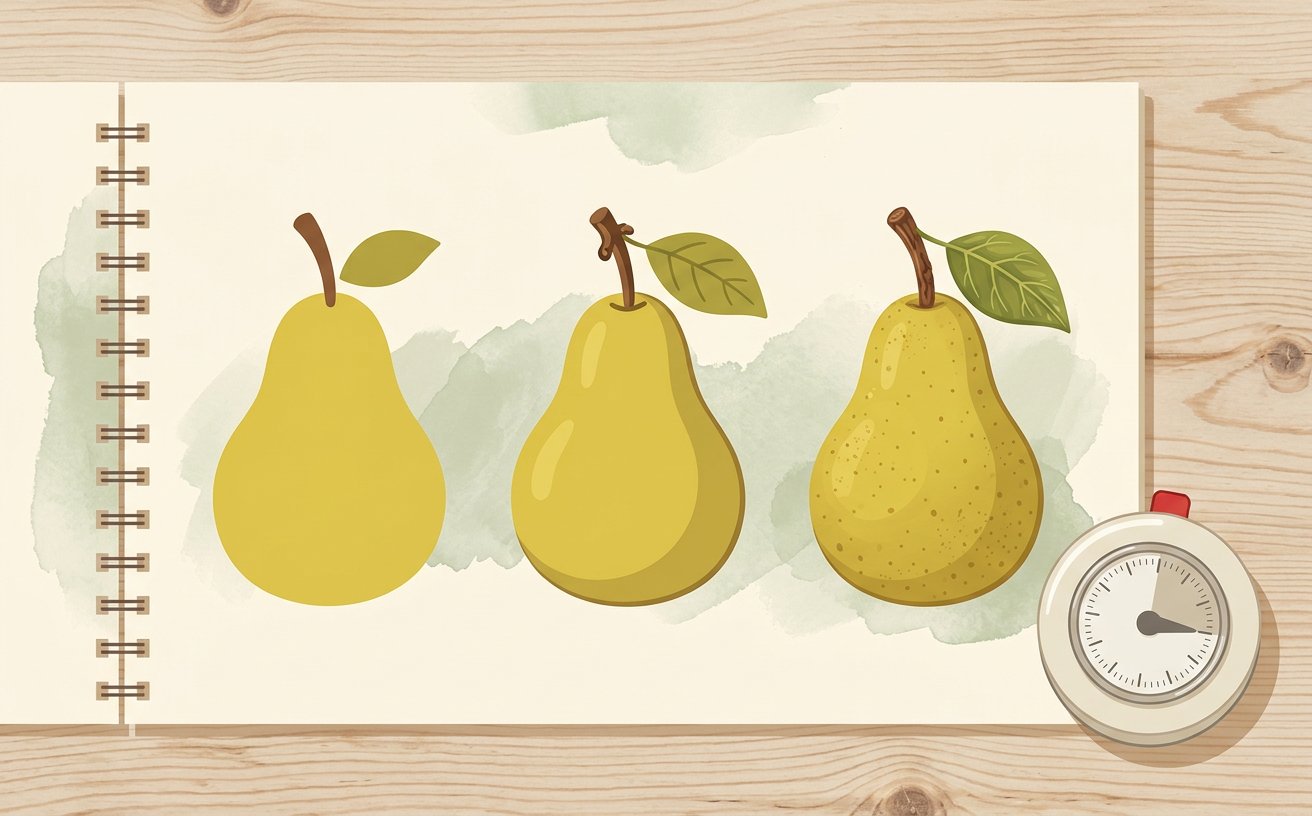
Draw a single object in one minute, then again in three, then again in ten. Speed forces you to choose what matters and shows you exactly where you hesitate.[5]
- Keep a small sketchbook with you and draw while waiting, on trains or in cafés. Most improvement comes from these unplanned five-minute drawings.
- Have your blending stump (optional) within reach before starting this step so you do not have to pause mid-process.[1]✓
 Howcompass
Use the sighting technique to check proportions: hold your pencil at arm's length, measure one feature, then compare it to the next before measuring three times. Take your time with this stage of training your eye so your setup stays consistent from start to finish.[1]
- Copy the masters openly while learning. Tracing is not cheating for practice, but draw freehand first so you learn to see.
- Howcompass Art Team notes that checking your progress before moving on to Step 12 prevents the most common beginner mistakes.[2]✓
 Howcompass
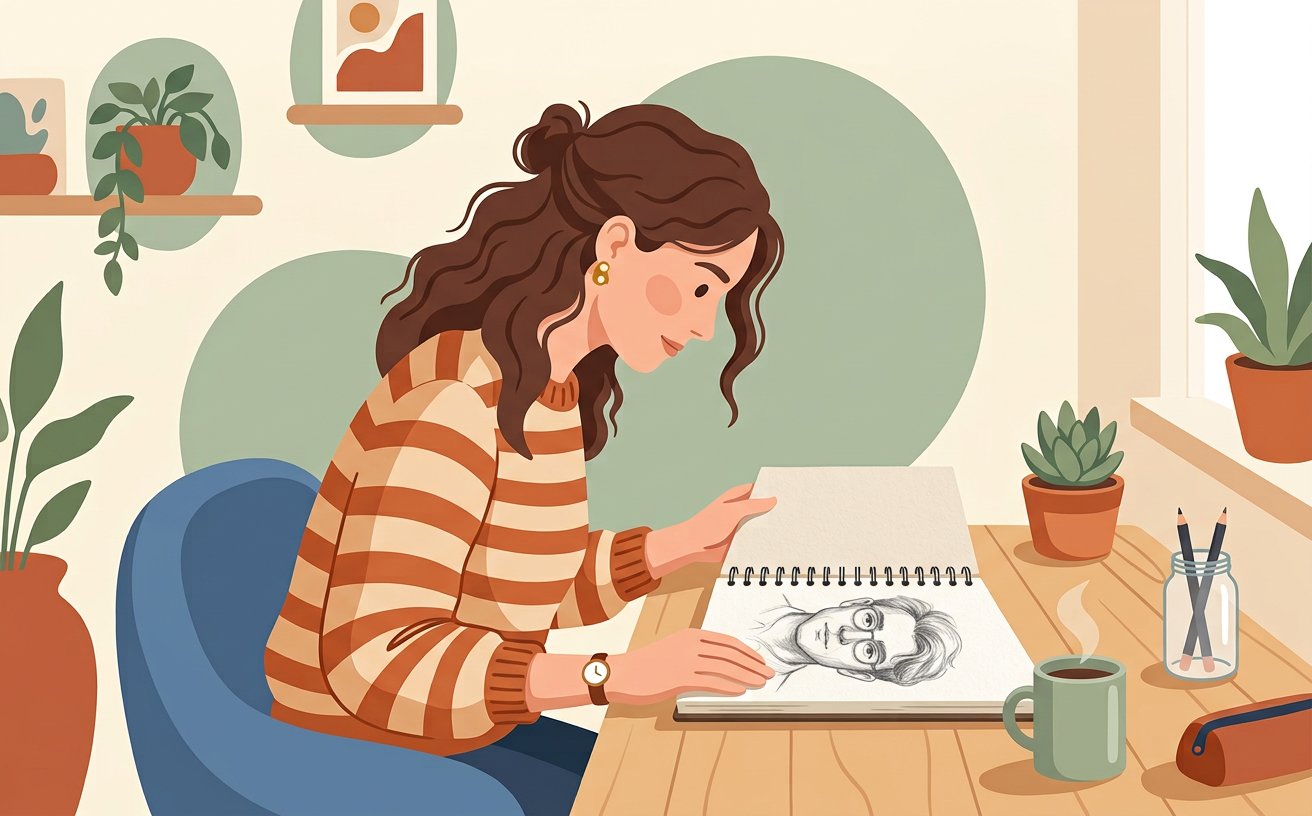
Turn your reference and your drawing upside down. Errors in proportion are much easier to see when the shape is no longer a face or a chair.[2]
- Draw the same object three days in a row. Repetition reveals what you actually do not understand yet.
- Stop if your hand or wrist aches. A loose grip and drawing from the shoulder prevent most drawing-related strain.[3]✓
Adding Light and Volume
 Howcompass
Learn the five-part light model on a simple sphere: highlight, mid-tone, core shadow, reflected light and cast shadow. Draw it once a day until it is automatic.[3]
- Keep a small sketchbook with you and draw while waiting, on trains or in cafés. Most improvement comes from these unplanned five-minute drawings.
- Howcompass Art Team notes that checking your progress before moving on to Step 14 prevents the most common beginner mistakes.[4]✓
 Howcompass
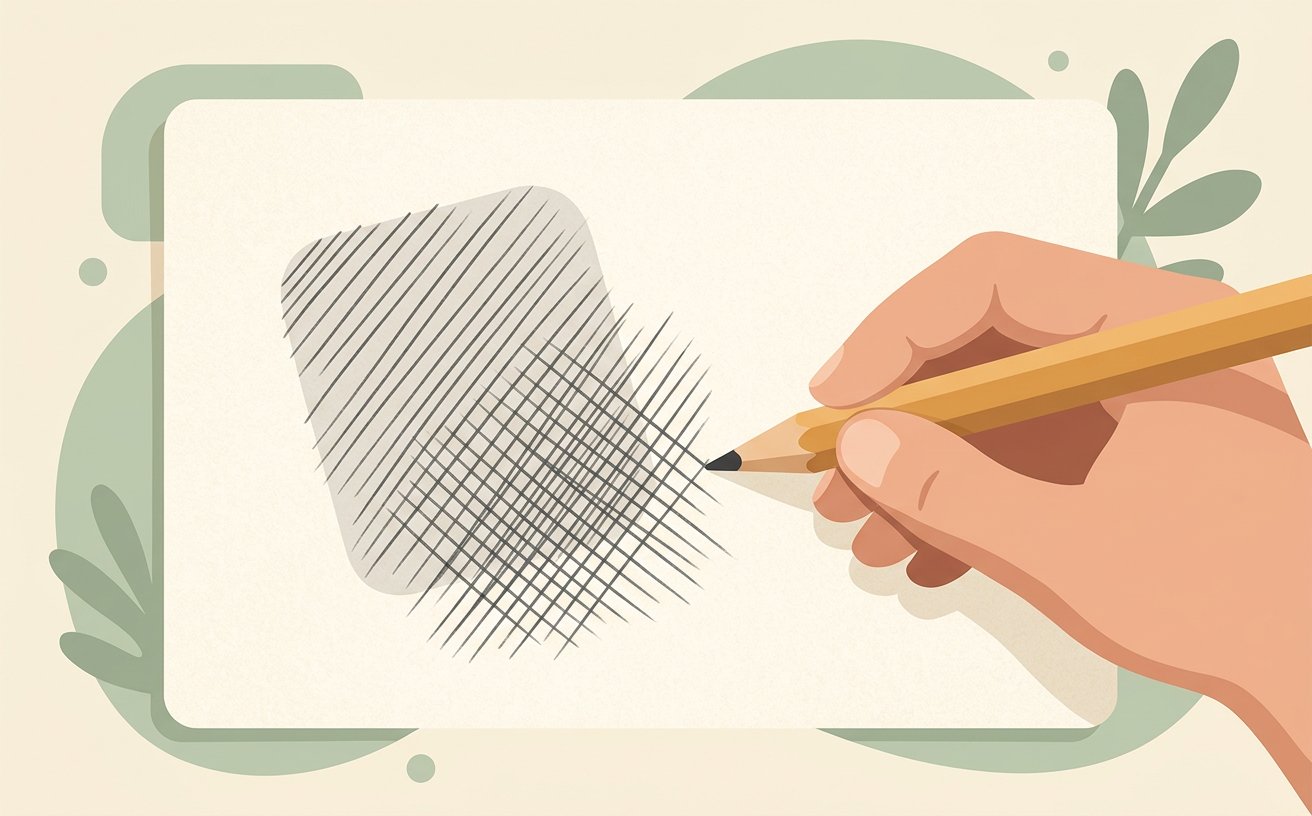
Hatch with parallel lines for shadow, keeping spacing even. Crossing hatching at an angle deepens tone — this is the fastest way to shade without smudging.[4]
- Copy the masters openly while learning. Tracing is not cheating for practice, but draw freehand first so you learn to see.
- Have your 2b pencil and a sharpener within reach before starting this step so you do not have to pause mid-process.[5]✓
 Howcompass
Choose one light source and commit to it for the whole drawing. Inconsistent lighting is the single most common reason beginner work looks flat.[5]
- Draw the same object three days in a row. Repetition reveals what you actually do not understand yet.
- Do not spend money on specialist equipment before you have filled at least one sketchbook. Cheap tools remove excuses.[1]✓
 Howcompass
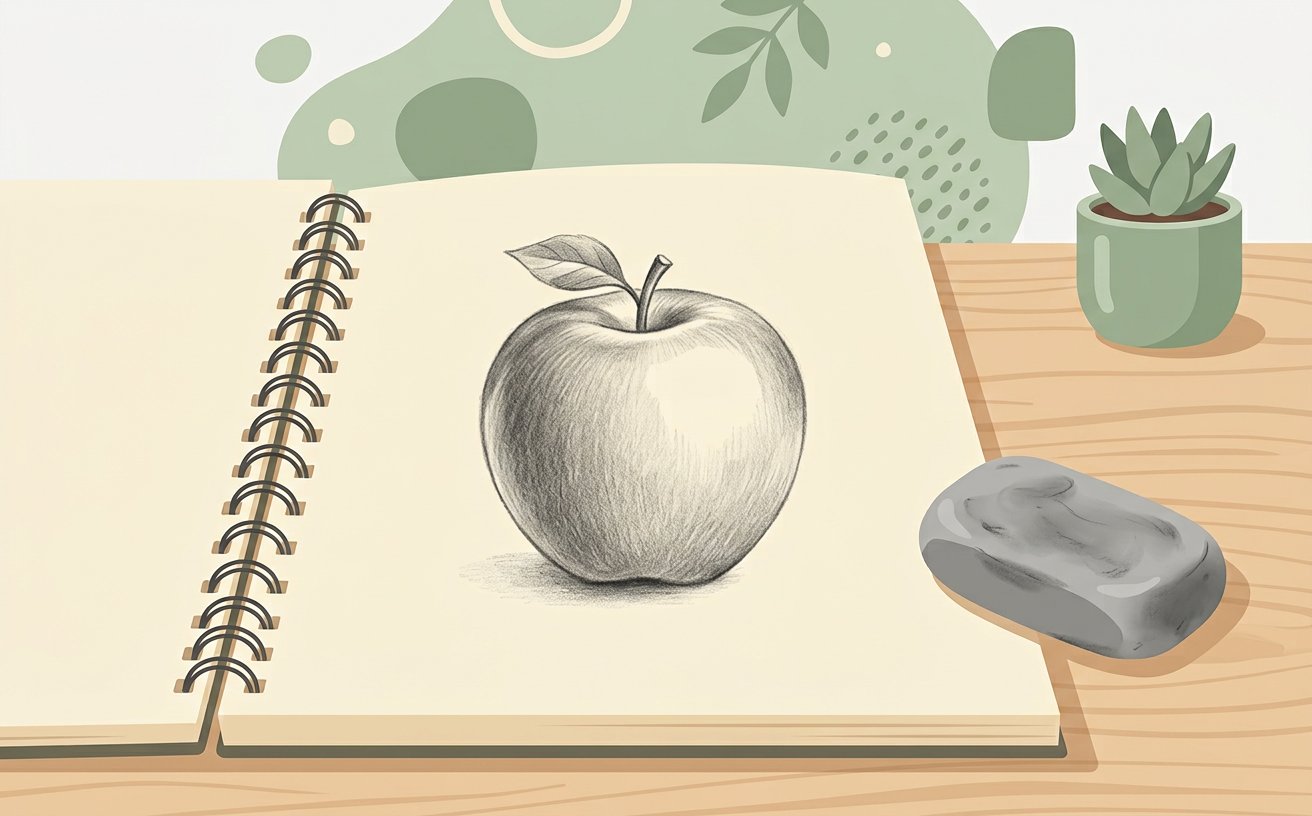
Leave the brightest area of the page untouched. Paper is your white; reserve it deliberately instead of adding white later.[1]
- Keep a small sketchbook with you and draw while waiting, on trains or in cafés. Most improvement comes from these unplanned five-minute drawings.
- Have your blending stump (optional) within reach before starting this step so you do not have to pause mid-process.[2]✓
 Howcompass
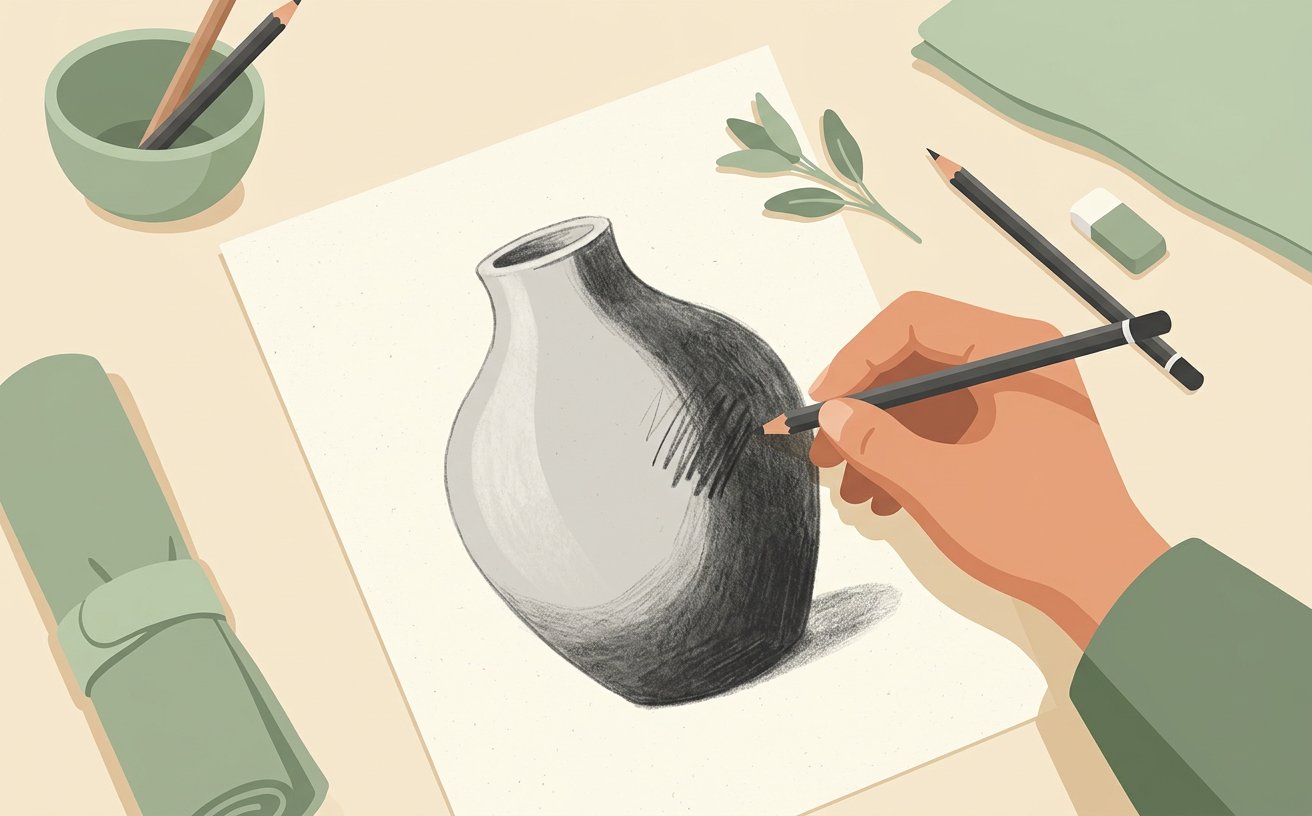
Add a cast shadow on the ground plane so objects sit on a surface rather than floating in space. Its edge should be sharpest where the object touches the ground.[2]
- Copy the masters openly while learning. Tracing is not cheating for practice, but draw freehand first so you learn to see.
- Howcompass Art Team notes that checking your progress before moving on to Step 18 prevents the most common beginner mistakes.[3]✓
 Howcompass
Darken your darks by glazing a second layer over the shadow side. Beginners under-dark shadows far more often than they over-darken them.[3]
- Draw the same object three days in a row. Repetition reveals what you actually do not understand yet.
- Stop if your hand or wrist aches. A loose grip and drawing from the shoulder prevent most drawing-related strain.[4]✓
Drawing Your First Pieces
 Howcompass
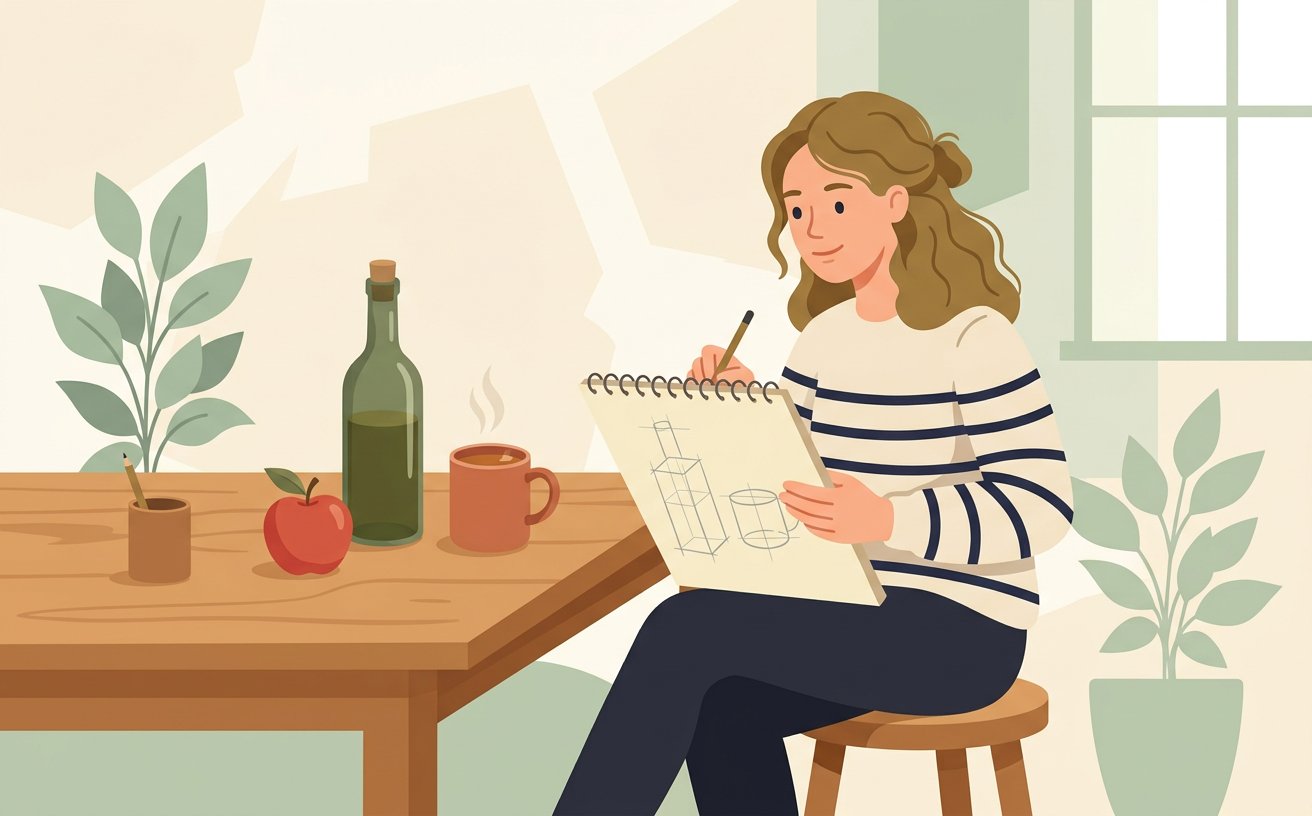
Draw a still life of three objects with clearly different sizes — a bottle, a mug and an apple. Block them in with boxes and ellipses before any detail.[4]
- Keep a small sketchbook with you and draw while waiting, on trains or in cafés. Most improvement comes from these unplanned five-minute drawings.
- Howcompass Art Team notes that checking your progress before moving on to Step 20 prevents the most common beginner mistakes.[5]✓
 Howcompass
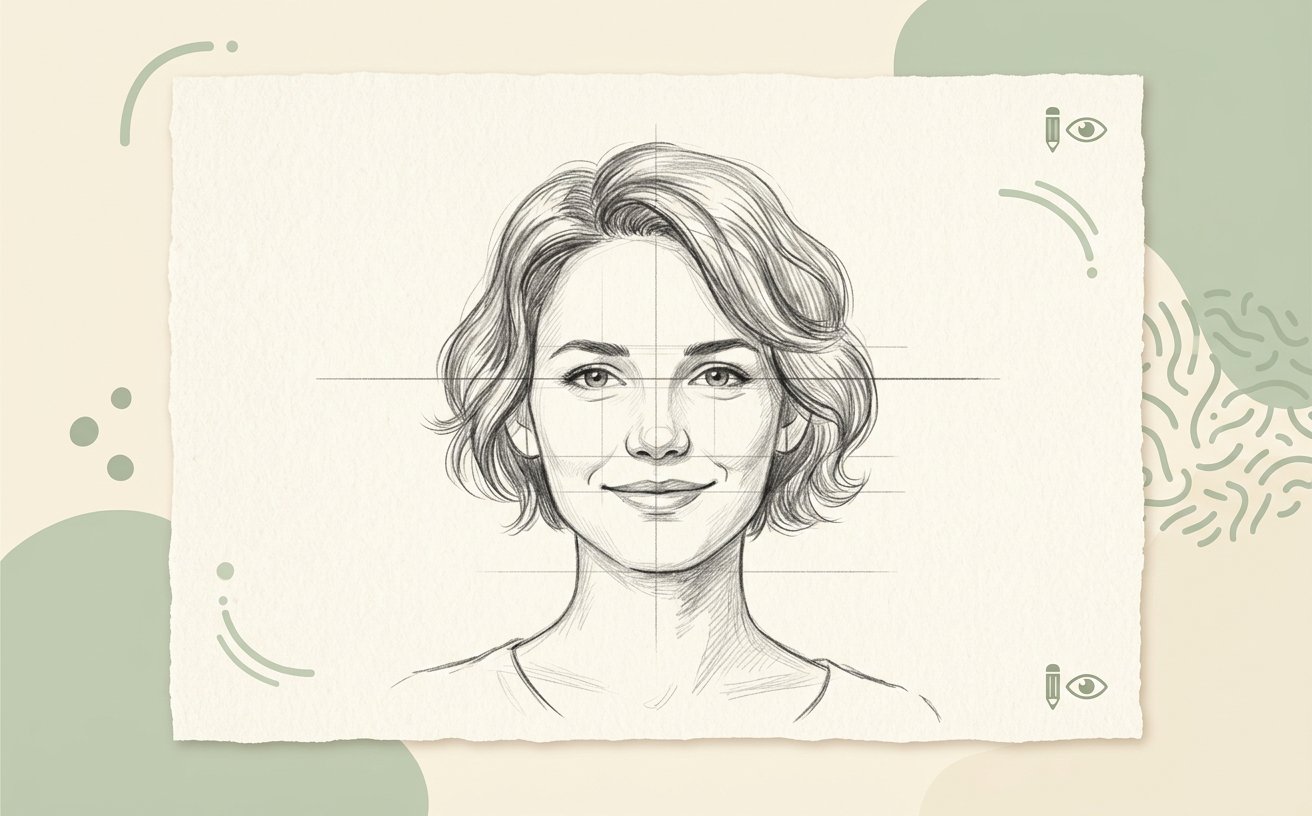
Sketch a simple portrait using the proportions of a head: eye-line at the halfway point, then nose, mouth and ear placement measured from that line. Take your time with this stage of drawing your first pieces so your setup stays consistent from start to finish.[5]
- Copy the masters openly while learning. Tracing is not cheating for practice, but draw freehand first so you learn to see.
- Have your 2b pencil and a sharpener within reach before starting this step so you do not have to pause mid-process.[1]✓
 Howcompass
Draw a landscape using three depth zones: foreground with darkest contrast, middle distance with the most detail, and background washed light and low contrast. Take your time with this stage of drawing your first pieces so your setup stays consistent from start to finish.[1]
- Draw the same object three days in a row. Repetition reveals what you actually do not understand yet.
- Do not spend money on specialist equipment before you have filled at least one sketchbook. Cheap tools remove excuses.[2]✓
 Howcompass
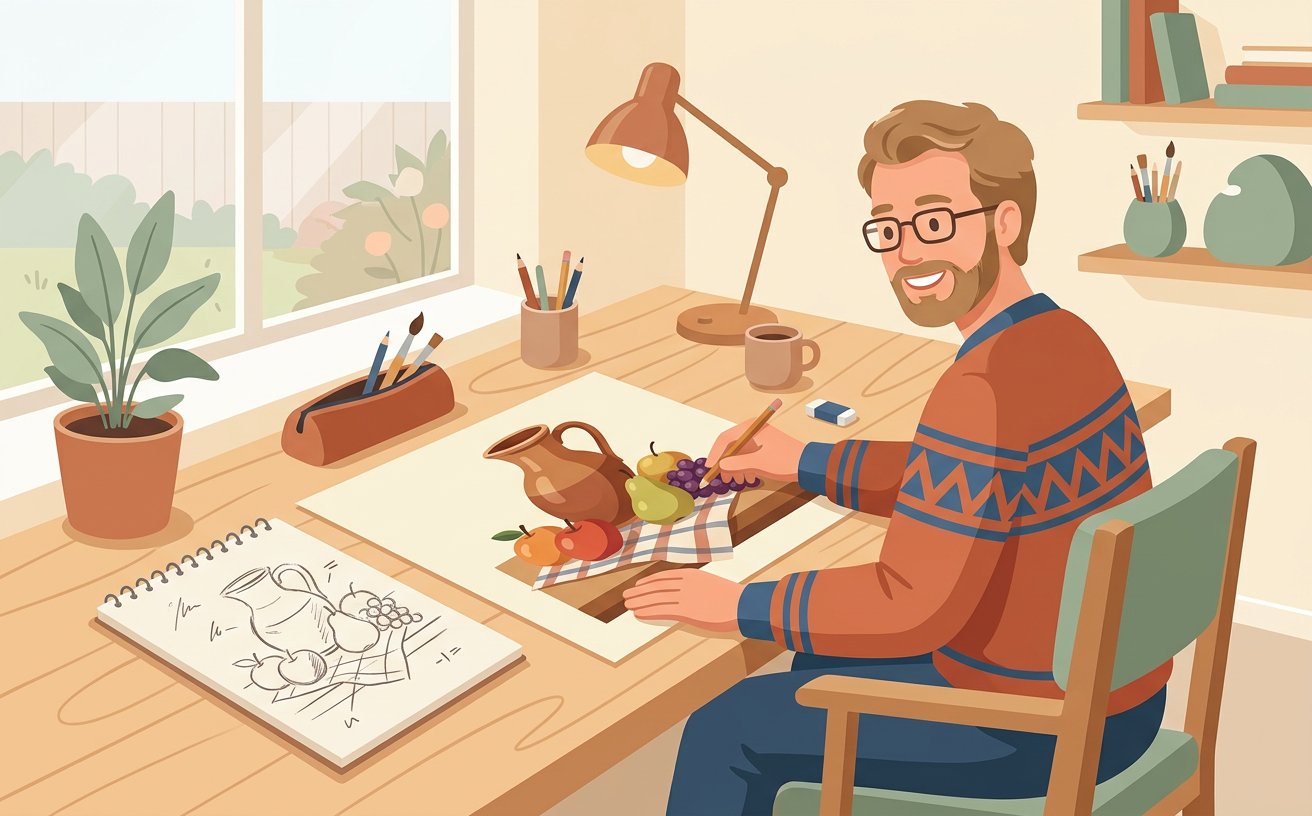
Draw a still life again, this time for 20 minutes rather than 20 seconds, keeping your first quick sketch next to it for comparison. Take your time with this stage of drawing your first pieces so your setup stays consistent from start to finish.[2]
- Keep a small sketchbook with you and draw while waiting, on trains or in cafés. Most improvement comes from these unplanned five-minute drawings.
- Have your blending stump (optional) within reach before starting this step so you do not have to pause mid-process.[3]✓
 Howcompass
Photograph your finished page and compare it with the reference side by side. Note one thing that improved and one thing to target next session.[3]
- Copy the masters openly while learning. Tracing is not cheating for practice, but draw freehand first so you learn to see.
- Howcompass Art Team notes that checking your progress before moving on to Step 24 prevents the most common beginner mistakes.[4]✓
 Howcompass
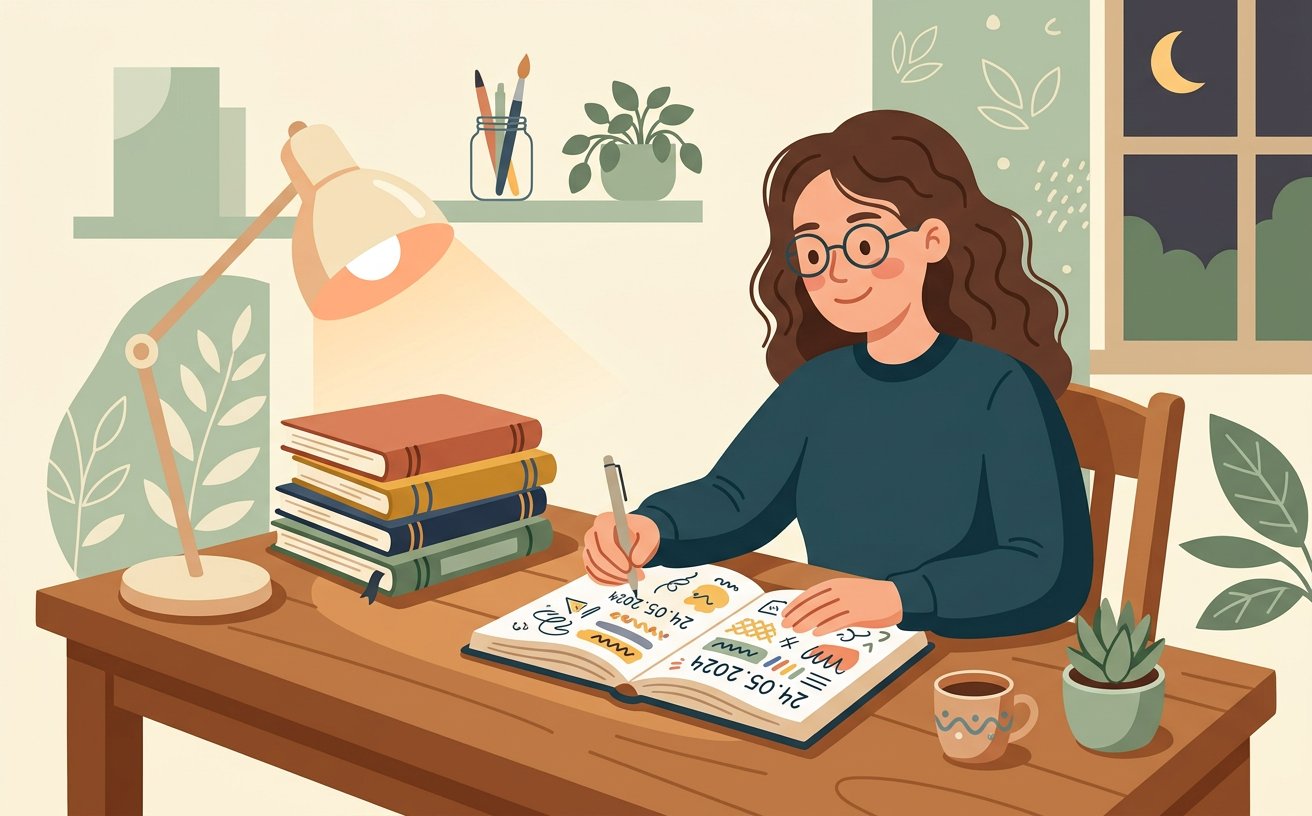
Date the page and start the next one tomorrow. Twenty minutes daily beats four hours once a week — the habit is the skill.[4]
- Draw the same object three days in a row. Repetition reveals what you actually do not understand yet.
- Stop if your hand or wrist aches. A loose grip and drawing from the shoulder prevent most drawing-related strain.[5]✓
Community & Expert Q&A
Question: How long does it take to learn to draw?
Most people see recognisable improvement in four to six weeks of 20-minute daily practice. Reaching a confident, personal style takes years — and that is true for professionals too.
Question: Do I need talent to draw?
No. Drawing is a perceptual skill: you are learning to see edges, spaces, relationships and light accurately. That is trainable in the same way reading music is.
Question: Should I learn with pencil or pen?
Pencil is more forgiving for shading and erasing; pen forces confident lines and trains your eye faster. Start with pencil, then dedicate a month to pen once you can control your lines.
Question: Can I learn to draw from YouTube tutorials?
Yes, but only if you draw along and then repeat the exercise from memory without the video. Watching alone builds no muscle memory.
Tips
- Keep a small sketchbook with you and draw while waiting, on trains or in cafés. Most improvement comes from these unplanned five-minute drawings.
- Copy the masters openly while learning. Tracing is not cheating for practice, but draw freehand first so you learn to see.
- Draw the same object three days in a row. Repetition reveals what you actually do not understand yet.
Warnings
- Do not spend money on specialist equipment before you have filled at least one sketchbook. Cheap tools remove excuses.
- Stop if your hand or wrist aches. A loose grip and drawing from the shoulder prevent most drawing-related strain.
Things You'll Need
- A5 or A4 sketchbook, 120 gsm or heavier
- 2B pencil and a sharpener
- Kneaded eraser
- Blending stump (optional)
- Drawing board and clips
- One simple object to draw — mug, apple or bottle
Related Howcompass Guides



References (5)
- Drawing on the Right Side of the Brain — exercises and rationaleBetty Edwards, TarcherPerigee
- The Natural Way to Draw — contour and gesture exercisesKimon Nicolaïdes, Houghton Mifflin
- Figure drawing fundamentals — proportion and gestureNew Masters Academy
- Graphite grades and how they behaveRoyal Talens technical notes
- The five-value light model explainedDrawabox, free lessons
Howcompass editors verify each step. Sources are listed so you can read the underlying guidance yourself.
Did this article help you?
0 readers found this helpful — add your vote.
No comments yet — be the first to share your results.