How to Fit a Bicycle Helmet and Perform a Pre-Ride Safety Check
A guide to Choosing and Inspecting the Right Helmet, Adjusting the Straps and Confirming Helmet Stability, Checking Tires, Wheels, and Contact Points, Testing Brakes, Drivetrain, and Visibility Equipment, Completing the ABC Quick Check and Test Ride
A helmet works best when it is the right type, undamaged, correctly positioned, and securely fastened, while the bicycle still needs its own mechanical check before every ride. Follow these 28 steps in our Cars and Other Vehicles collection with your helmet and bicycle manufacturers' instructions, and use a qualified mechanic for any brake, wheel, steering, structural, or electrical problem you cannot resolve confidently.
A helmet must fit snugly, sit level on the head and pass the roll-off test with the straps adjusted. Replace it after a crash or any deep dent. Before every ride, check tyre pressure and tread, quick releases, steering, brakes and chain, then bounce the bike and test at low speed. Any crack in the frame, wheel or brake part means stop.
- Time
- 15–20 minutes for the first fit; 2 minutes before each ride
- Cost
- $40–$120 for a helmet
- Difficulty
- Easy
- People
- 1
- Space
- A hallway or driveway
- Tools
- Helmet, pump, tyre levers, hex keys, chain lube, lights
How do you fit a Bicycle Helmet and Perform a Pre-Ride Safety Check?
 Howcompass | How to Fit a Bicycle Helmet and Perform a Pre-Ride Safety Check
Choosing and Inspecting the Right Helmet
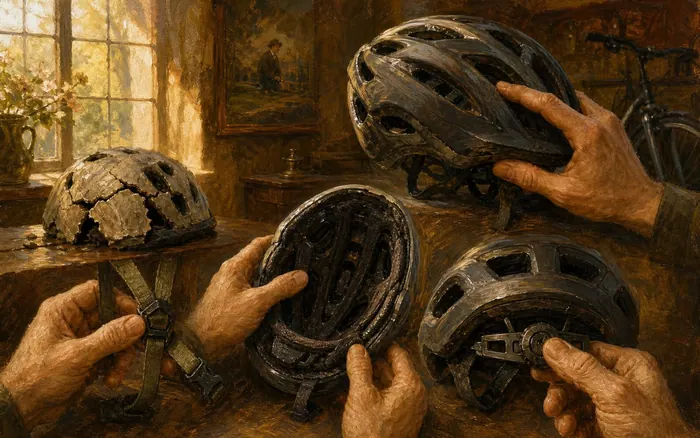
HowcompassPick a certified bicycle helmet
Choose a bicycle-specific helmet that meets the safety standard applicable where you live. Check the permanent certification label and manufacturer information rather than relying on a seller's description, and do not substitute a helmet designed only for another activity unless its labeling specifically certifies it for bicycling. In the United States, the NHTSA helmet-selection guidance says to look for compliance with the Consumer Product Safety Commission bicycle standard and to choose a helmet that fits now. Road skills that follow the helmet are taught in riding in city traffic.
 Howcompass
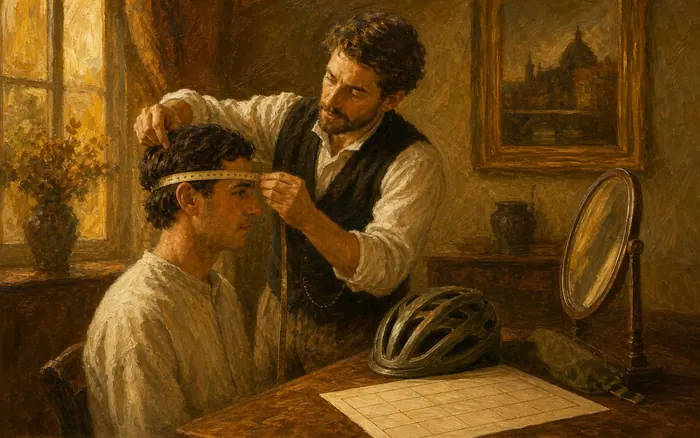
Measure the head and match the size chart
Measure the rider's head and select a size using the manufacturer's chart. Wrap a flexible tape level around the widest relevant part of the head just above the eyebrows and ears, or measure a string against a ruler, then try the corresponding helmet because sizing varies between brands and models. The CDC bicycle helmet fact sheet recommends bringing the rider and checking the brand's sizing guidance rather than buying an oversized helmet to grow into. The same fit-now rule applies to the shoes in a safe weekly walking routine.
 Howcompass
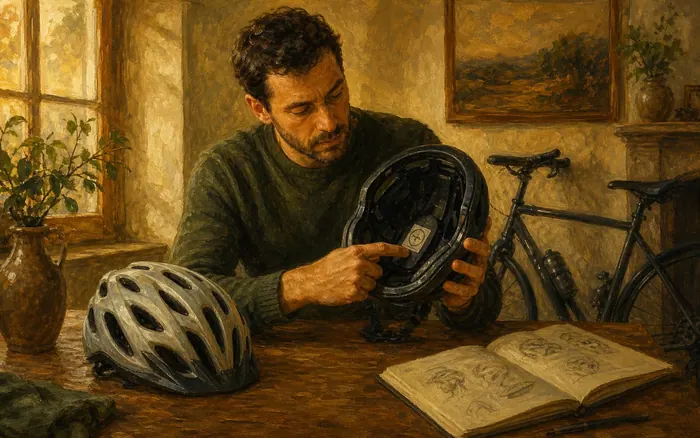
Inspect shell, liner, straps, and buckle
Inspect the shell, energy-absorbing liner, straps, buckle, and fit system before use. Look for cracks, dents, crushed or loose foam, frayed stitching, damaged anchors, missing pads, a distorted shape, and a buckle or adjustment dial that does not hold securely. Replace a helmet after a crash or when damage is present according to the manufacturer's instructions, and avoid a secondhand helmet whose impact history or missing parts you cannot verify. Weigh an unverifiable history with think critically and make decisions.
 Howcompass
Clear hair and accessories from the fit
Prepare hair and remove accessories that interfere with helmet contact. Smooth very bulky hairstyles, remove thick hats and large clips, and refit the helmet whenever a haircut or hairstyle changes the space beneath it. Do not drill, paint, glue, cut, or add unapproved padding or accessories, and use only a thin cap or other addition that the helmet manufacturer expressly permits without compromising the fit. More fitting notes for active gear sit under sports and fitness guides.
 Howcompass
Set the helmet level and low
Position the helmet level and low before tightening the straps. Place it straight on the head rather than tipped backward or pulled down over the eyes, with the front rim about one or two finger-widths above the eyebrows and the forehead covered. Look up, forward, and to both sides to confirm that the helmet does not block vision, then hold this position while beginning the fit adjustments.
 Howcompass
Adjust the retention ring and pads
Adjust the fit ring and manufacturer-supplied pads for even, snug contact. Tighten the rear retention system gradually until the helmet stays reasonably stable without the chin strap, with no painful pressure points or large gaps between the head and liner. Use only pad combinations and adjustments described in the instructions, and try a different size or model if the correct adjustment range cannot produce a secure and comfortable fit. Think about your riding position now, as fix your sitting posture advice does.
Adjusting the Straps and Confirming Helmet Stability
 Howcompass
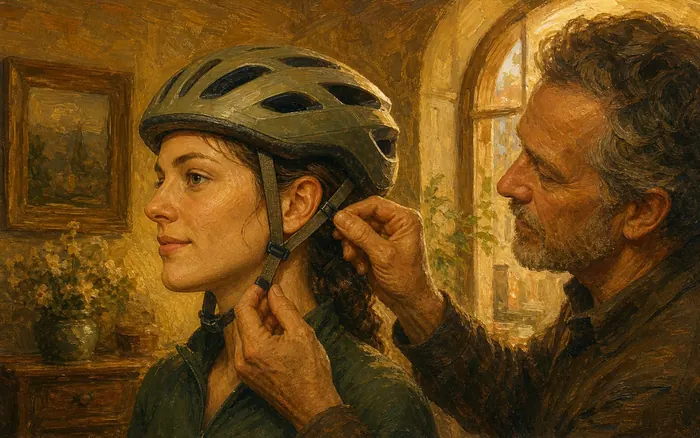
Shape the side straps into a V
Form a balanced V with the side straps around each ear. Move each slider so one strap passes in front of the ear and the other behind it, meeting just below or slightly in front of the earlobe without pressing into the ear. Keep both sides even, lay every strap flat, and lock the sliders where the design provides a locking feature.
 Howcompass
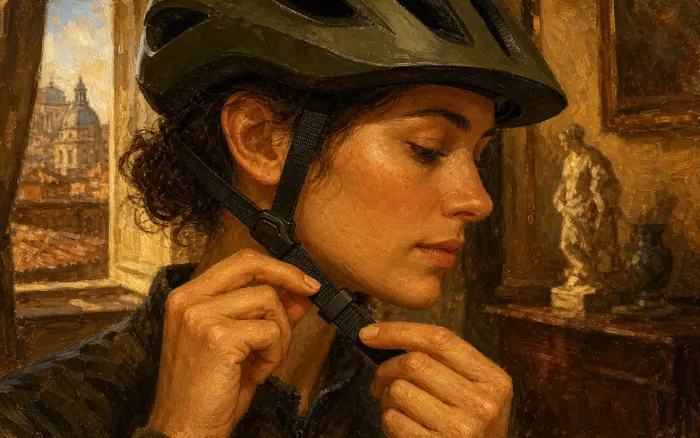
Center and fasten the chin buckle
Buckle the chin strap and center it beneath the chin. Connect the intended buckle halves until they engage positively, untwist the webbing, and make sure the strap sits against the chin rather than high on the throat or off to one side. Confirm that the buckle has not trapped skin or hair and that any padded chin cover supplied by the manufacturer remains correctly positioned. Younger riders need the checks gathered under youth safety guides.
 Howcompass
Tighten the chin strap to two fingers
Tighten the chin strap to a snug fit without restricting breathing or swallowing. Pull the adjustment end gradually until only about one or two fingers fit between the strap and chin, then open the mouth widely so the helmet should pull down slightly on the head. The NHTSA two-finger fitting guide uses checks above the eyebrows, around the ears, and beneath the chin; loosen the strap if it causes pain, numbness, or difficulty breathing. Loosen the jaw and neck beforehand with a 10 minute morning stretch.
 Howcompass
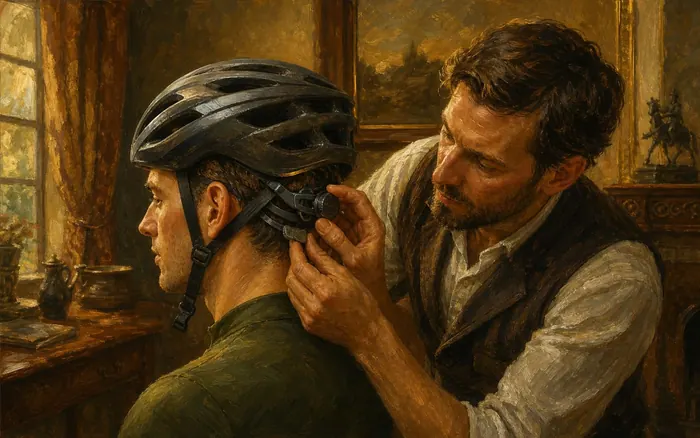
Balance the straps until rocking stops
Adjust the front and rear straps until the helmet resists rocking. With the buckle fastened, gently move the helmet forward, backward, and side to side, then change the appropriate strap lengths if it exposes too much forehead, drops toward the eyes, or shifts excessively. Repeat the fit-ring and chin-strap checks after each adjustment instead of compensating for a poor position by overtightening one part. A stable helmet lets you turn to scan, as riding in city traffic teaches.
 Howcompass
Secure loose strap ends and recheck
Secure loose strap ends and recheck the buckle. Use the manufacturer's band or keeper to hold excess webbing close to the buckle without altering the certified design, and never cut straps to shorten them unless the instructions explicitly provide a safe procedure. Pull gently on the buckle and strap to confirm that the adjustment holds, then check again for twists, discomfort, and unrestricted jaw movement.
 Howcompass
Do a final fit check before riding
Perform a final mirror or helper fit check before every ride. Confirm that the helmet remains level, low, centered, snug, and stable, with clear forward and peripheral vision and all straps correctly fastened. Ask a knowledgeable person or qualified retailer to help when a child or new rider cannot assess the fit alone, and do not treat a previously correct setting as permanent after hairstyle changes, impact, repair, or adjustment. Adult-supervised rehearsal works the same way in a home fire escape plan drill.
Checking Tires, Wheels, and Contact Points
 Howcompass
Set the bicycle somewhere clear and lit
Place the bicycle in a clear, well-lit area away from traffic. Use a stable stand if you have one or keep the bicycle upright without letting it fall, and leave enough room to spin the wheels and operate the controls safely. Read the bicycle and component manuals first, especially for an e-bike, carbon parts, hydraulic brakes, suspension, or unfamiliar wheel fastenings, and keep loose clothing and fingers away from moving parts. Manual-first habits also apply to long road trip checks for a car.
 Howcompass
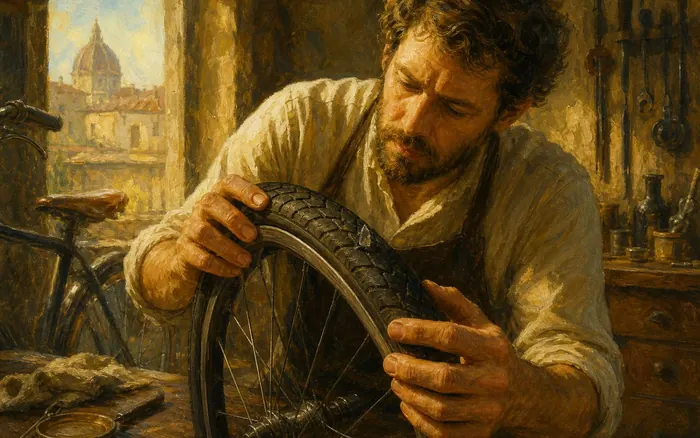
Check tyre sidewalls and tread
Check tire sidewalls and tread for damage or embedded objects. Look for cuts, bulges, cracks, exposed cords, severe wear, and glass or thorns, turning the wheel slowly so you can inspect the complete circumference. Do not ride on a bulging, cut, or structurally damaged tire, and have an uncertain tire or rim inspected professionally rather than trying to hide damage with sealant or extra pressure. Act on doubtful damage early, the way dashboard warning lights advise.
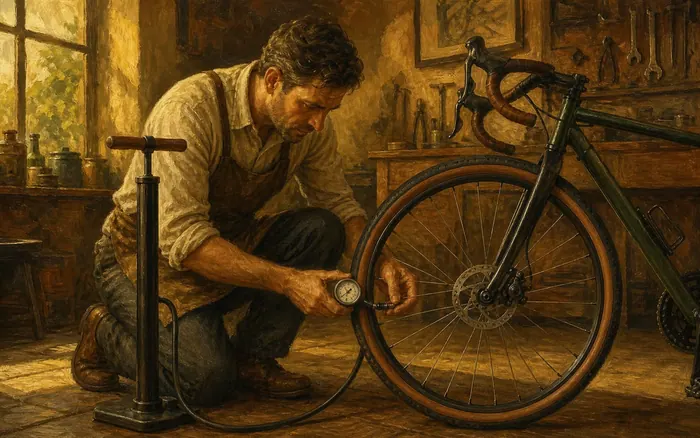 Howcompass
Inflate tyres to the printed range
Verify tire inflation with a gauge and the applicable manufacturer guidance. Use the pressure range printed on the tire together with the bicycle maker's instructions, rider and luggage load, and riding surface, staying within every stated limit rather than automatically choosing the maximum. Identify the valve before connecting a compatible pump, inflate gradually, check both tires, and investigate a tire that repeatedly loses pressure instead of simply topping it up before every ride.
 Howcompass
Spin the wheels and inspect the rims
Inspect the rims and spin each wheel to check its movement. Look for cracks, dents, damaged braking surfaces, loose or broken spokes, and obvious wobble while the wheel turns without touching the tire, rim, or frame unexpectedly. Keep your hands clear of spokes and brake mechanisms, and arrange professional service for a damaged rim, broken spoke, significant wobble, grinding bearing, or looseness at the hub. Wheel and bearing diagnostics for other vehicles are under cars and other vehicles guides.
 Howcompass
Secure axles, quick releases, and thru-axles
Confirm that axle nuts, quick releases, or thru-axles are correctly secured. Inspect the fastening type installed on your bicycle and follow its exact closing or tightening procedure, including lever orientation and thread engagement where relevant. A quick-release lever is not a wing nut and a thru-axle is not secured by guesswork, so ask a qualified mechanic to demonstrate unfamiliar hardware and never ride with a wheel that moves or a fastening you doubt. Correct fastening matters everywhere, as hang shelves securely shows.
 Howcompass
Test saddle, seatpost, and stem alignment
Check the saddle, seatpost, handlebar, and stem for alignment and unwanted movement. Hold the front wheel between your knees and gently test whether the bar twists independently, check that the saddle stays level and the seatpost does not rotate or slide, and verify that minimum-insertion markings remain below the frame where applicable. Use the manufacturer's torque procedure rather than overtightening clamps, and leave slipping, cracked, corroded, or carbon components to a qualified mechanic. Clamp and fitting advice is filed under home and garden guides too.
Testing Brakes, Drivetrain, and Visibility Equipment
 Howcompass
Inspect pads, cables, and brake hoses
Inspect brake pads, cables, hoses, levers, and braking surfaces. Check that pads have usable material and align with the intended rim or rotor surface, cables are not frayed or seized, hydraulic hoses are not leaking, and braking surfaces are not heavily contaminated or damaged. Do not touch rotor surfaces with oily fingers or attempt an unfamiliar brake bleed, and obtain professional service for a leak, deep scoring, contamination, or pads that do not contact evenly.
 Howcompass
Walk the bike, then brake-test slowly
Test both brakes while walking and then at low speed in a safe area. Squeeze each lever to confirm that it moves smoothly, produces firm braking, and does not pull all the way to the handlebar, then walk the bicycle and apply each brake to see that the corresponding wheel slows. The NHTSA pre-ride bicycle check includes brakes and a test ride, but stop immediately and do not continue if either brake feels weak, inconsistent, or unable to hold the wheel.
 Howcompass
Check the chain, cranks, and gears
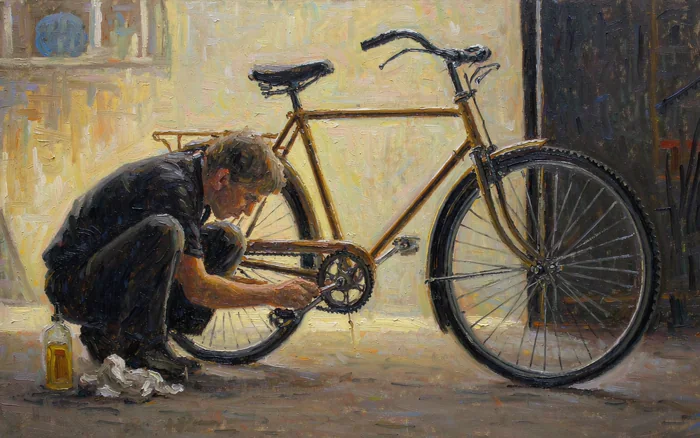
Rotate the pedals and check the chain, cranks, and gear operation. Look for severe rust, tight or damaged links, excessive dirt, a chain that skips or derails, crank arms with unusual play, and pedals that feel loose or grind, turning the drivetrain only when it can be done without trapping fingers. Our bicycle chain cleaning and lubrication guide covers routine chain care, while broken teeth, bent parts, persistent skipping, or structural movement need repair rather than more lubricant.
 Howcompass
Fit pedals and accessories securely
Check pedals and accessories for security and safe clearance. Make sure pedals are properly fitted, reflectors and required equipment are present, and racks, fenders, baskets, phone mounts, and bags cannot move into a wheel or interfere with steering or braking. Secure loose straps and cords, check that an e-bike battery is correctly seated without opening or repairing electrical components yourself, and remove any accessory whose mounting is cracked or unstable. Charging accessories and phone mounts are covered under computers and electronics guides.
 Howcompass
Test lights and reflectors before dark
Test lights, reflectors, and personal visibility equipment before poor-light riding. Confirm that front and rear lights switch on, hold their charge, and are aimed according to local rules, and clean reflectors so they are not hidden by luggage or dirt. Use a white front light and red rear light where required, add bright or reflective clothing without creating loose snag hazards, and remember that reflectors and bright colors do not replace legally required lights or attentive riding. Charged lamps and spare batteries belong to a power outage kit as well.
Completing the ABC Quick Check and Test Ride
 Howcompass
Run the ABC quick check routine
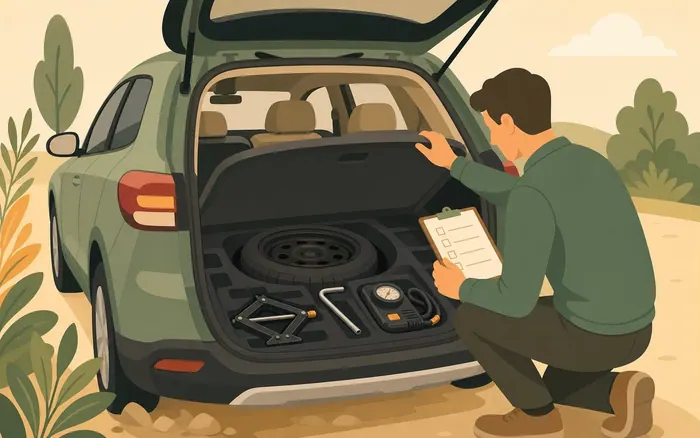
Combine the essential checks into a repeatable ABC Quick Check routine. Review Air in the tires, Brakes, Chain and cranks, Quick releases or other wheel fastenings, and a final slow Check ride, using the bicycle manual to adapt the routine to your equipment. The League of American Bicyclists basic bike check summarizes this sequence, and any failed item means resolving the problem before riding rather than noting it and hoping it holds. The routine works like the schedule behind a home first aid kit check.
 Howcompass
Pack tools, water, and a way to call
Pack ride-appropriate tools, water, identification, and a way to call for help. Carry a correctly sized spare tube or other repair plan, tire levers, a pump or inflator, and only the tools you know how to use, adjusting the load for distance, weather, and available support. Our roadside inner-tube repair guide explains one common repair, while our family communication plan can help you share a route and expected return for longer or remote rides.
 Howcompass
Choose a low-risk route and check conditions
Choose a low-risk route and check weather, daylight, and local cycling rules. Start with a quiet path or car-free area when testing unfamiliar equipment, avoid ice, flooding, poor visibility, and traffic conditions beyond your skill, and confirm rules for lights, helmets, shared paths, and e-bikes where you will ride. Download essential route information with our offline map guide, but remain prepared to stop or turn back when actual conditions are unsafe.
 Howcompass
Ride slowly in a car-free area first
Take a brief, slow test ride in a car-free area before entering traffic. Check mounting, starting, steering, gentle turns, both brakes, and a few gear changes while listening for rubbing, clicking, or looseness and watching for a saddle or handlebar that moves. Do not wear headphones or perform the test among pedestrians, and stop safely to recheck or arrange repair if anything feels unpredictable rather than continuing to a road to see whether the problem clears. Open, level ground is what jump rope without tripping also recommends.
 Howcompass
Log repairs and recheck before every ride
Record defects and repeat the helmet and bicycle checks before every ride. Note any repair, replacement, pressure change, unusual noise, or fit adjustment in a simple maintenance log, follow manufacturer service intervals, and arrange a professional inspection after a crash or when a safety-critical fault persists. Recheck a bicycle after transport or storage and refit a borrowed or adjusted helmet for its current rider, because a successful check last week cannot guarantee that nothing has changed today. Keep the log as disciplined as a weekly status update.
How to know it worked
- The helmet sits level and cannot be rolled off the head.
- Straps form a V under the ear and the buckle sits under the chin.
- Tyres, quick releases, brakes and steering pass the check.
- The low-speed test ride is quiet, straight and stops firmly.
Common mistakes to avoid
- Wearing a helmet tipped back to expose the forehead.
- Leaving the chin strap loose enough to pull over the chin.
- Using a helmet after a crash because it looks undamaged.
- Skipping the quick-release check after transporting the bike.
- Ignoring a rubbing brake or a cracked tyre sidewall.
- Testing brakes only at speed instead of at walking pace first.
Frequently Asked Questions
Question: How do I know whether a bicycle helmet is tight enough?
It should sit level and low, about one or two finger-widths above the eyebrows, with side straps forming a V around the ears and a snug chin strap that allows roughly one or two fingers beneath it. The helmet should resist rocking and pull down slightly when you open your mouth wide, without causing pain or restricting breathing.
Question: How often should I perform an ABC Quick Check?
Use the essential check before every ride and repeat relevant items after transport, a fall, a repair, or any change in how the bicycle feels. It does not replace the manufacturer's maintenance schedule or professional service for wear, damage, or a fault you cannot diagnose.
Question: When should a bicycle helmet be replaced?
Replace it after a crash or when the shell, liner, straps, buckle, or other parts are damaged, following the manufacturer's specific instructions. Ask the manufacturer about age, wear, storage, and replacement guidance rather than relying on a universal date or assuming that invisible foam damage cannot matter.
Question: My helmet passed the wiggle test but still shifts when I look down. Is it safe to ride?
Not yet. A helmet that drops toward the eyes or exposes the forehead when you lean forward is either the wrong size or has a retention system that needs resetting, so repeat the fit-ring and strap adjustments and test again. If small adjustments cannot stop the movement, try a different size or shell shape, or ask a qualified retailer to check it before you ride.
Tips
- Keep a short helmet and ABC checklist near the bicycle so the same order is followed even when you are in a hurry.
- Ask a qualified bicycle retailer or mechanic to demonstrate unfamiliar wheel fastenings and brake checks before you need to rely on them.
- Store the helmet away from direct sunlight, damaging heat, heavy objects, and chemicals, following the manufacturer's cleaning and storage instructions.
Warnings
- Do not ride with a cracked or crash-damaged helmet, a loose wheel, slipping steering, or brakes that do not work predictably.
- A helmet and mechanical check reduce risk but cannot prevent every injury; follow traffic rules, remain visible, and ride within conditions and your ability.
- Use a qualified mechanic for unfamiliar brake, wheel-fastening, structural, suspension, carbon-component, or e-bike electrical work instead of improvising.
Things You'll Need
- A correctly certified bicycle helmet and its manufacturer instructions
- A flexible tape measure and a mirror or knowledgeable fit helper
- A compatible bicycle pump and a reliable pressure gauge
- Working lights, clean reflectors, and suitable visible clothing
- A clean rag and a helmet and ABC inspection checklist
- Ride-appropriate tools, spare tube, water, identification, and phone
Related Howcompass Guides



References (5)
- Choosing a Bicycle HelmetNational Highway Traffic Safety Administration
- Get a Heads Up on Bike Helmet SafetyCenters for Disease Control and Prevention
- Fitting a Bicycle HelmetNational Highway Traffic Safety Administration
- Pre-Ride Safety CheckNational Highway Traffic Safety Administration
- Basic Bike CheckLeague of American Bicyclists
Sources are listed so you can read the underlying guidance yourself. Our editorial policy explains how guides are reviewed.
What changed in this update: Reviewed November 2026: added the roll-off fit test, a pre-ride checklist and the safety faults that are easy to miss in a quick glance.
Did this article help you?
0 readers found this helpful — add your vote.
No comments yet — be the first to share your results.