How to Draw Botanical Illustration From One Houseplant
A guide to Week 1: Prepare the Specimen and the Table, Week 2: Measure the Plate and Draw the Line, Week 3: Layer Washes and Paint the Light, Week 4: Detail Panels, Lettering, and Finish
Botanical illustration sits between art and science: the picture must be beautiful enough to look at and accurate enough to identify a plant from. That dual contract changes the workflow. You work from a real specimen, at true size, with counted veins, petals, and stamens, and you add magnified details for anything smaller than a coin. The good news is that a single houseplant supplies every subject a first plate needs — one leaf, one stem, one flower, one seed pod — without leaving the apartment. This guide runs the whole process in four weekly phases. Week one prepares the specimen and the table: a fresh cutting kept in water, flat parts taped for study, and one lamp locked at one angle so shadows stay honest. Week two is measurement and the line drawing, including the tricky serrated edge and the vein pattern. Week three lays colour: mixed greens, layered washes, masked highlights, and a backlit look at translucent petals. Week four adds the magnified stamen work, the dissection panel, the plate lettering, and the mount. Nothing here assumes painting experience. The gear is modest — hot-pressed paper, three round brushes, two pencils, masking fluid, a magnifier — and the skills are all observation skills you build session by session. Where the genre punishes beginners is accuracy: a miscounted petal or a wrong leaf margin turns a study into a guess. Follow the measurement steps, verify the plant name before you letter it, and rest the plate before judging it, and you will finish a four-week study you would be glad to show.
Work one houseplant into a finished watercolour plate in four weeks. Week one: cut an 8 to 15 centimetre flowering stem, keep it in fresh water, tape flattened parts for study, and set one lamp at a fixed 30 to 45 degree angle. Week two: measure the specimen, lay out the plate at true size with magnified detail insets, and draw the line stage so every serration matches a vein. Week three: mix greens from observation, not the tube, layer transparent washes, mask highlights, and study backlit petals. Week four: paint stamen details and the dissection panel, letter genus, species, common name, date, artist name, then mount the plate flat.
- Time
- 4 weeks; four to six 60-90 minute sessions a week
- Cost
- $90-$180: student watercolour kit, 300 gsm paper, loupe, and one lamp
- Difficulty
- Beginner — careful measuring and observation matter more than drawing talent
- Works on
- Any healthy houseplant that flowers or fruits indoors: Hoya, peace lily, Kalanchoe
- Not for
- Protected wild plants, or sap from toxic houseplants handled without gloves
- Results
- One labelled plate: true-size study, magnified insets, dissection panel
How do you draw Botanical Illustration From One Houseplant?
 Howcompass | How to Draw Botanical Illustration From One Houseplant
Week 1: Prepare the Specimen and the Table
HowcompassCut One Clean Stem Early in the Day
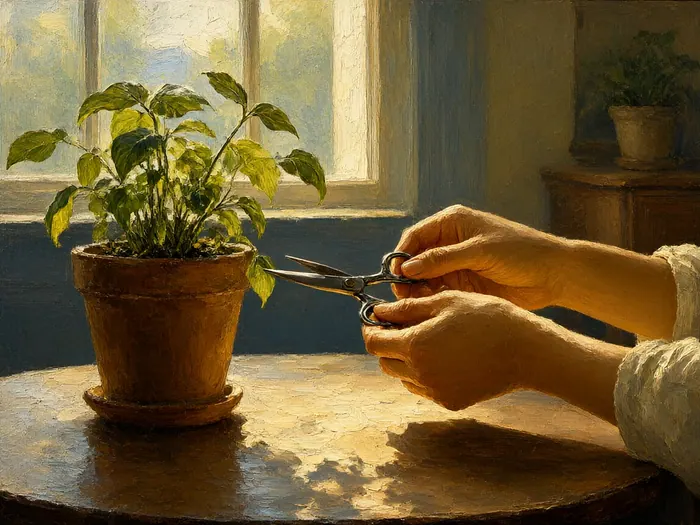
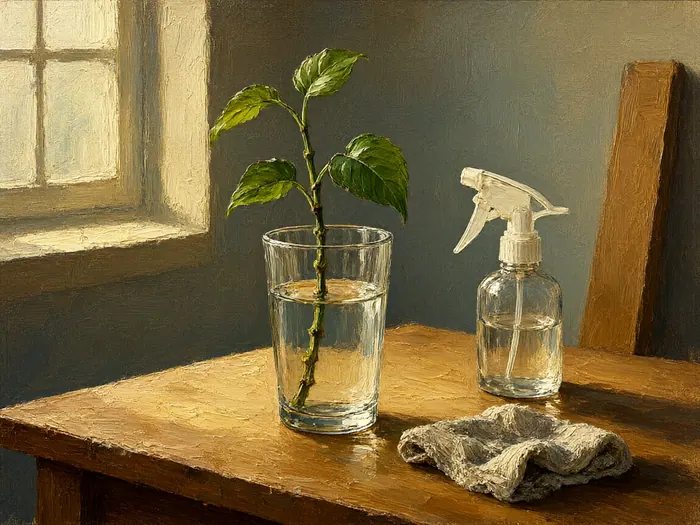
Choose one healthy houseplant that flowers indoors — a peace lily, Hoya, or Kalanchoe beats a pothos, which almost never blooms. Cut one stem of 8 to 15 centimetres carrying a fully expanded leaf and, if you can get it, one open flower, using a clean scalpel or sharp scissors early in the day when the cells are water-full. Stand the cutting straight into a cup of clean water and re-cut the stem end under the tap, because an air lock in the vessels stops water uptake and a drooping specimen changes shape within hours. The same fresh cut is what roots a cutting, and our propagate houseplant stem cuttings in water guide covers the method if you want the plant back afterwards.
 Howcompass
Keep the Cutting Turgid in Fresh Water
Treat the specimen like a small, precious bouquet: change the cup water every day, re-trim 5 millimetres off the stem end each morning, and keep it out of direct sun at 18 to 24 degrees Celsius. A turgid leaf holds its real proportions for one to two weeks, which is long enough for a full plate, while a limp one shrinks and curls and makes every measurement you took useless. Float a detached flower head in a shallow saucer of water rather than mounting it dry, and move the cup a fixed distance from your working spot so the plant sits the same way in each session.
 Howcompass
Tape Flattened Parts for a Flat Study
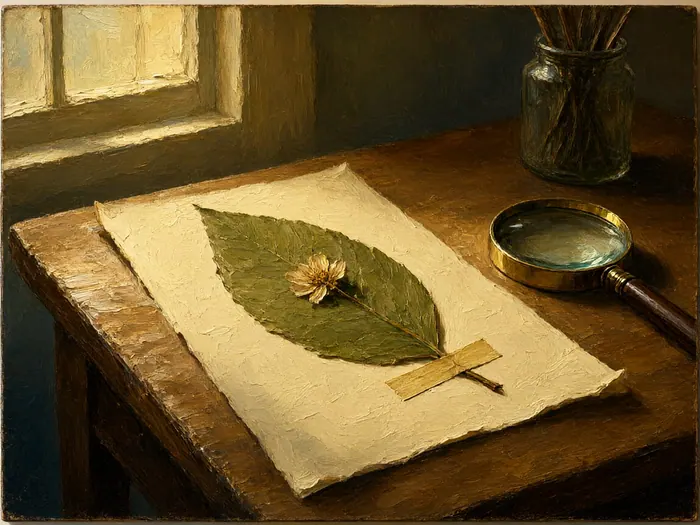
Some structures — a curled leaf tip, a seed pod, a fallen petal — will not hold a flat position on their own, so lay them on waxed or greaseproof paper and pin them down with short strips of low-tack tape, flattening gently from the centre outward. Tape from the underside where possible so the tape never crosses a surface you intend to paint. For long-term references, press spare leaves and petals between blotting paper inside a heavy book for two to three weeks; our guide to press wildflowers and botanicals explains the timing, and a pressed copy lets you re-check a shape after the fresh specimen fades.
 Howcompass
Set One Lamp at a Fixed Angle
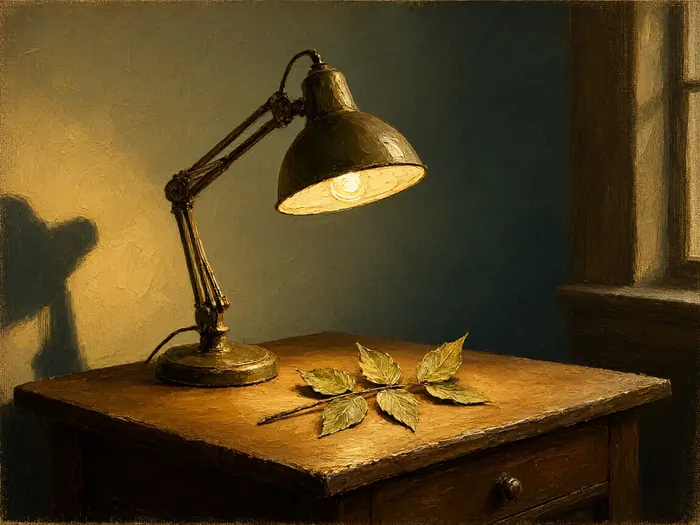
Switch off the room lights and work from a single adjustable lamp with a daylight-balanced bulb, set 40 to 50 centimetres from the specimen at roughly 30 to 45 degrees from the upper left if you are right-handed. One consistent light direction is what makes form readable: every highlight and shadow falls the same way in each session, so your value decisions stack instead of contradicting. Once it looks right, mark the lamp foot and the specimen cup positions on the table with a strip of tape and photograph the setup for reference. Structured botanical art courses such as those at the Glasgow School of Art teach the same discipline of one fixed light from the very first term.
 Howcompass
Lay Out Paper, Brushes, and Pencils
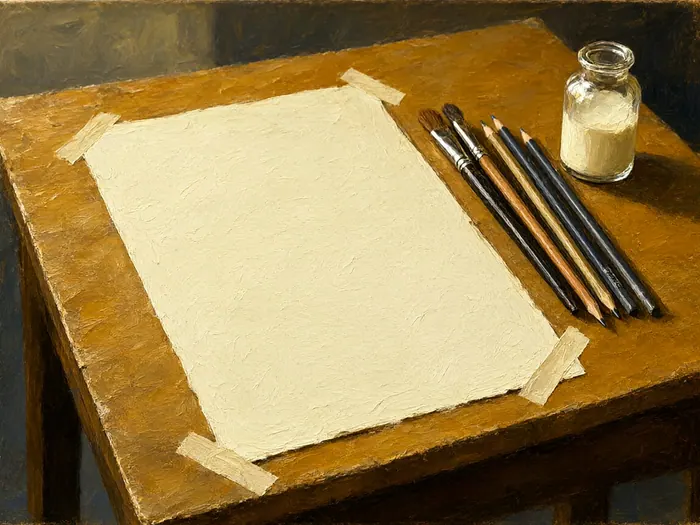
Tape down one sheet of 300 gsm watercolour paper with low-tack tape on all four edges, or start on a glued block. For a first plate, hot-pressed paper is the easier choice: its smooth surface takes fine line and even washes, while cold-pressed adds texture that suits larger leaves once you trust your water control. You need three synthetic round brushes (sizes 2, 4, and 6), one half-inch flat for washes, a 2H and an HB graphite pencil, a kneaded eraser, and one bottle of masking fluid; blocks of Canson artists' watercolour paper run about $15 to $35. Keep a scrap of the same paper beside you as a test strip for every mixture you make.
Week 2: Measure the Plate and Draw the Line
 Howcompass
Measure the Specimen and Mark True Size
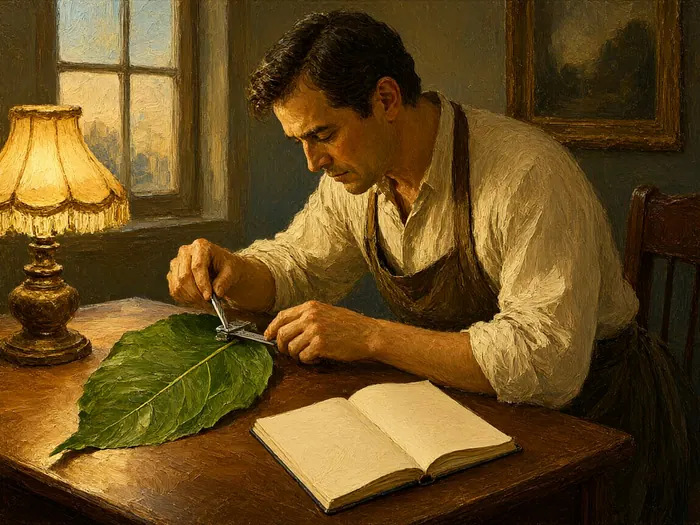
Scientific convention says the main subject is painted life-size, so measure before you draw. Use a small steel ruler or digital calipers, about $10 to $20, to record leaf length, leaf width, petiole length, and flower diameter to the nearest millimetre in a notebook, then transfer those maximum dimensions onto the paper as faint pencil marks before any contour goes in. If a key part — the flower centre, for example — is smaller than 2 to 3 centimetres, do not strain to draw it tiny in the main plant; note its true size now and plan to repeat it at two or four times magnification inside a labelled detail inset.
 Howcompass
Plan the Plate With Insets and a Label Band
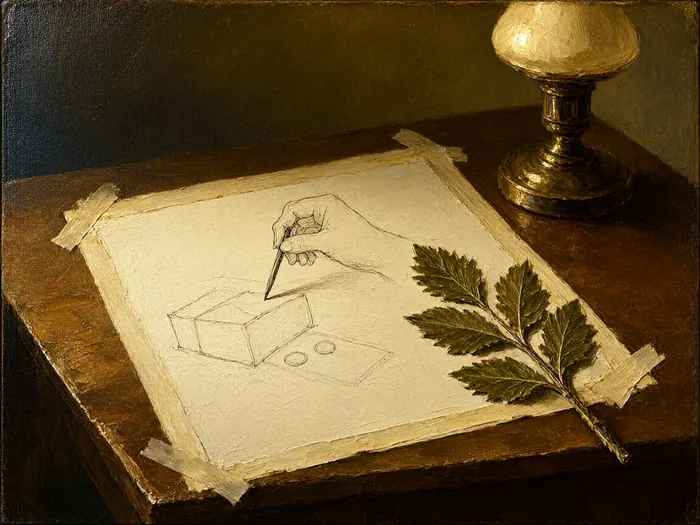
With the 2H pencil, block a rough layout before detail: the true-size main study occupying about two-thirds of the sheet, three to five small detail circles or rectangles around it for the leaf tip, flower face, stamens, and seed pod, a narrow strip along one side reserved for a dissection panel, and a clear band of 2 to 3 centimetres at the bottom for the written label later. Leave an even margin all round and step back every ten minutes to check the composition balances. Digital herbarium and library collections such as the Missouri Botanical Garden archive show this true-size-plus-insets convention repeated for centuries, and copying the layout logic is entirely legitimate while you learn it.
 Howcompass
Block In the Outline With Light Pencil
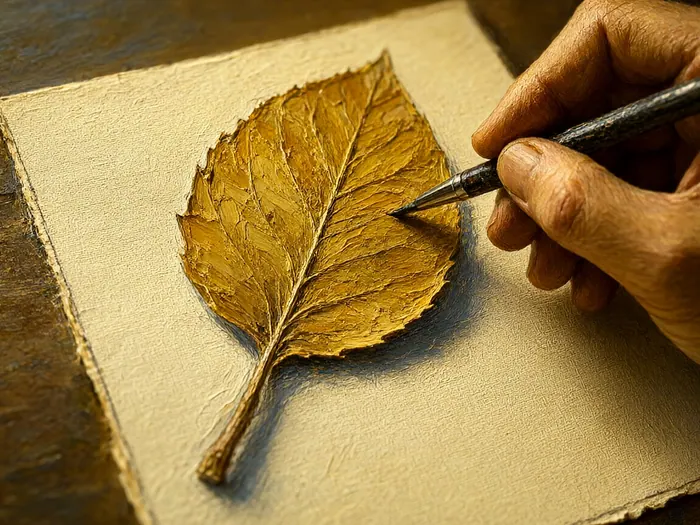
Draw the largest shapes first — overall leaf silhouette, petal positions, stem sweep — in 2H graphite so light you can almost not see it, and check proportions by comparing measured parts against each other: petiole to blade ratio, flower width to leaf width. Do five two-minute contour warm-ups on scrap paper beforehand, watching the edge more than the page, a habit from our contour drawing practice that loosens the hand without changing the accuracy you need later. Keep the specimen rotated to the same facing in the cup for every sitting, and resist pressing harder until you are sure the big relationships are right.
 Howcompass
Draw a Serrated Edge Tooth by Tooth
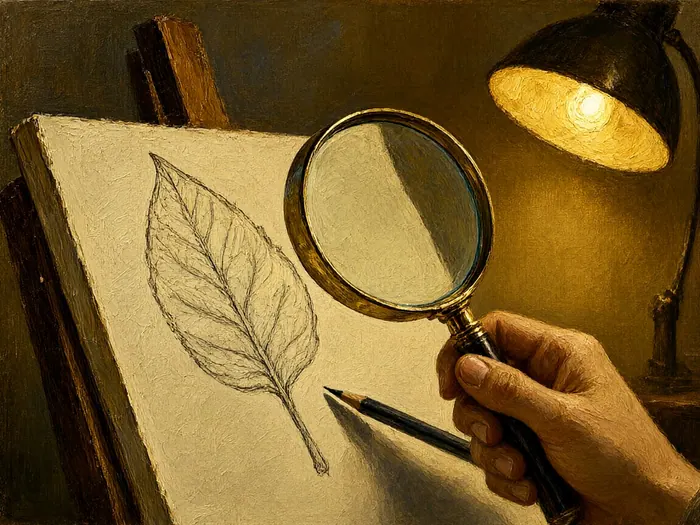
The classic beginner error on a toothed leaf is a uniform saw pattern that the plant never had. Look through a 10x magnifier and draw the midrib first, then the lateral veins, then the margin — because on most serrated leaves each major tooth points toward, or arises from, a lateral vein, and the teeth shrink as the veins branch toward the tip. Count teeth along one quarter of the edge and pace yourself to that number rather than guessing, and note whether each tooth carries a tiny bristle or gland at its point. This stage is slow on purpose: an hour of patient line work removes three hours of colour-stage corrections.
 Howcompass
Correct the Line Drawing Before Colour
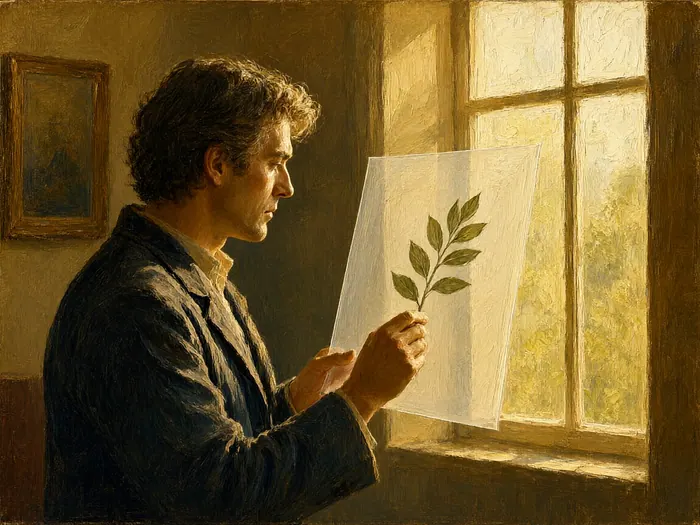
Before committing watercolour, verify the drawing the way printmakers have for centuries: trace the main lines onto a sheet of scrap paper, hold the trace up to a window, and slip the specimen behind it so mismatches pop out by parallax. Turn the drawing upside down too — inversion exposes wonky symmetry far faster than a tired eye will. Then audit the counts: petals, sepals, stamens, and vein pairs must match the plant exactly, because in this genre a miscounted part is a factual error, not a style choice. If basics feel shaky, our learn to draw for beginners walkthrough covers proportion checks that transfer directly to plant plates.
Week 3: Layer Washes and Paint the Light
 Howcompass
Mix Leaf Greens From Observation, Not the Tube
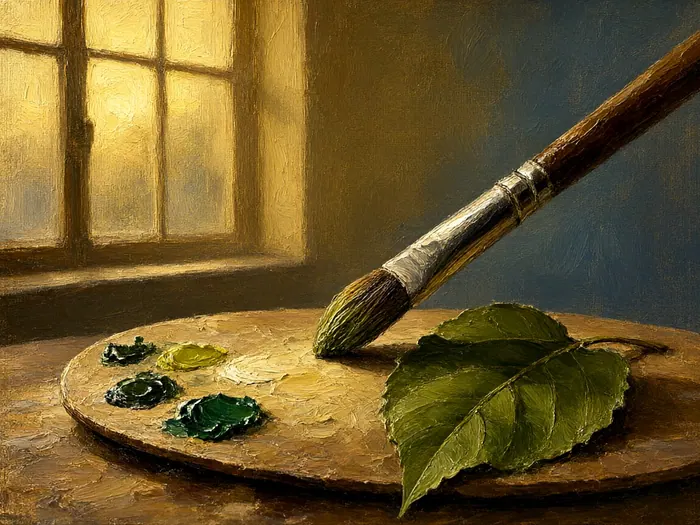
Straight-from-the-tube green reads flat instantly, because real leaves are built from several hues. Mix your own from three pigments: a phthalo or viridian-type blue-green, a warm yellow such as yellow ochre, and a tiny touch of alizarin crimson to quiet the strongest mixes. Match at least three samples on your test strip against the actual specimen under the lamp — shadow green, mid-tone green, and the yellow-green of new growth — and note that a peace lily leaf can span three visibly different values between its centre and edge. The Winsor & Newton colour pages list each watercolour's transparency and staining behaviour, which tells you which greens will survive later layers without lifting.
 Howcompass
Lay the First Wash Thin and Even
Tilt the board 10 to 15 degrees so gravity pulls each wash downhill, load the size 6 round until it has a sharp point, and paint the mid-tone green across the whole leaf in horizontal bands, working wet-into-wet, in one pass that takes two to three minutes per leaf. Do not chase the water or scrub back over a drying edge, because that buries the paper-white highlights you are deliberately leaving for the shine of the cuticle. Hold the first layer light — a botanical wash usually reaches its real depth in two or three passes, not one. Our watercolor painting basics guide explains brush loading and water control if the washes streak.
 Howcompass
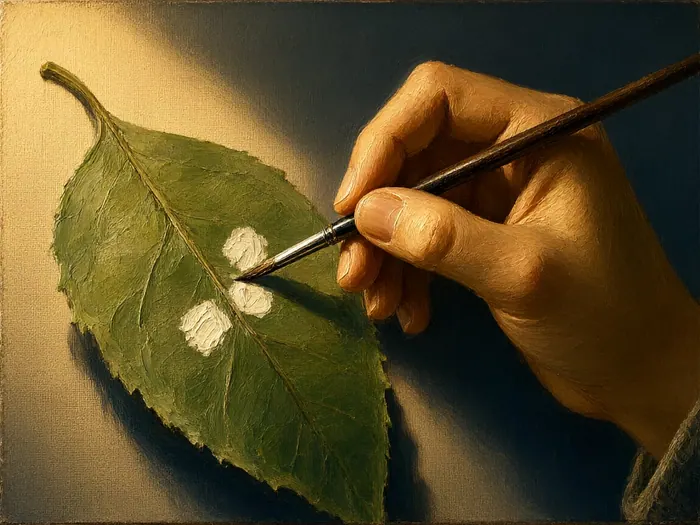
Mask Highlights Before the Second Wash
Tiny bright marks — leaf-surface speckles, the ridge down the midrib, fine hairs on a petiole — are easier to protect than to recover, so apply masking fluid before the second layer. Thin the fluid roughly one-to-one with water and paint it on with an old size 2 round or a silicone shaper, let it dry 20 to 30 minutes until it turns pale and powdery, then glaze straight over it. Remove the mask with a clean fingertip rather than rubber, and never leave it on overnight: the longer it sits, the harder it bonds to the paper. Work in a ventilated room, since masking fluid smells of ammonia and can thicken inside the bottle.
 Howcompass
Glaze Shadow Colour in Dried Layers
Depth in a botanical leaf comes from transparent glazes, not from darker mud: wait until a layer is fully dry, 30 to 60 minutes in a warm room, then brush a cooler, slightly more saturated mix only over the shadow side and under the overlapping petiole. Build up no more than three or four glazes, because each wet pass can lift the one beneath and lifting too many layers is exactly how mud appears. Keep every mix to two or three pigments, and if a green starts greying out, stop blending and lay a clean quiet glaze instead — the same rule that keeps kitchen herb studies fresh. This disciplined layering is exactly why professional artists choose papers engineered to survive repeated glazes, such as Fabriano's hot-pressed and cold-pressed watercolour ranges.
 Howcompass
Paint Petals Backlit for Translucency
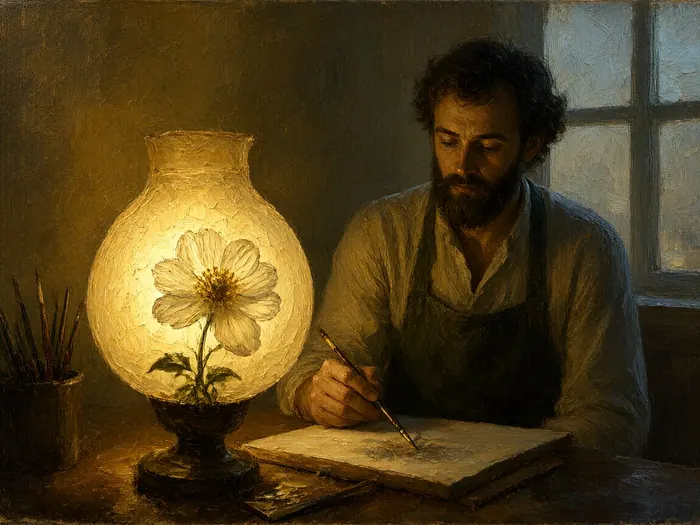
To understand petals, change the light: place the lamp behind or below a flower so the bloom glows, and study where light passes through, where veins block it into silhouettes, and where the edge stays most saturated. Mix for what you see — pale warm washes for the luminous centre, a touch more colour along the rim, and cool greys and violets for the shadows in white petals instead of any black, which kills translucency on contact. Paint one petal first, let it dry, and compare it side by side with the real bloom held up to the same lamp before continuing. Juries at societies such as the Royal Horticultural Society consistently reward this observed light over decorative evenness.
Week 4: Detail Panels, Lettering, and Finish
 Howcompass
Draw Stamen Details Under Magnification
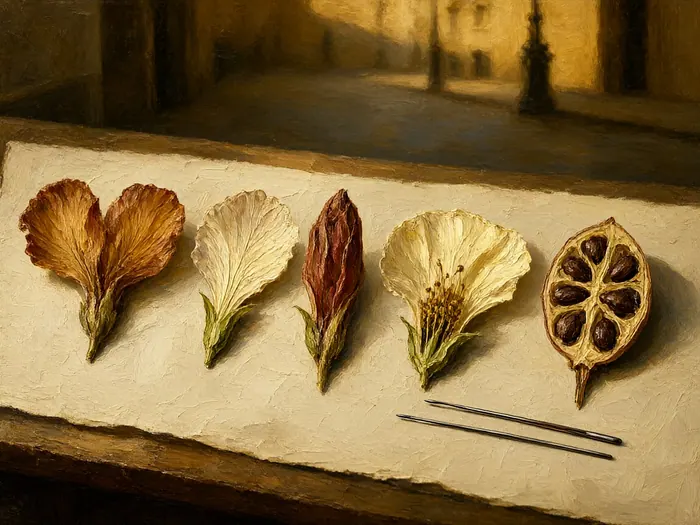
Move to the reproductive parts with the 10x magnifier, or a phone macro lens if the stamens are hair-thin, and measure one stamen with the calipers so you know its true length before choosing an enlargement of two or four times for the inset. Hold the anther steady with a needle on a scrap of mounting putty and draw slowly in 2H, resolving filament width, anther shape, and how the pollen sacs split when you tap them gently. Expect 30 to 45 minutes per magnified detail — this is the slowest part of the plate and the one scientists value most, because a correctly drawn anther can separate one species from its look-alike.
 Howcompass
Add a Dissection Panel of Parts
Tease a second flower apart with needles on a pale card and lay the parts out in growth order — sepals, petals, the ring of stamens, the pistil, and a pistil sliced lengthwise to show the ovary — each glued or taped at a true or enlarged size, with cut surfaces facing the viewer. Leave 3 to 5 millimetres between parts so the panel reads as a row and not a pile. This is the herbarium and museum convention taught through the collections and classes at the New York Botanical Garden, whose Steere Herbarium holds millions of pressed specimens and labelled plates of exactly this shape. Paint the panel last, with the same discipline of two or three mixes, so it never competes with the main study.
 Howcompass
Letter the Plate Label With Care
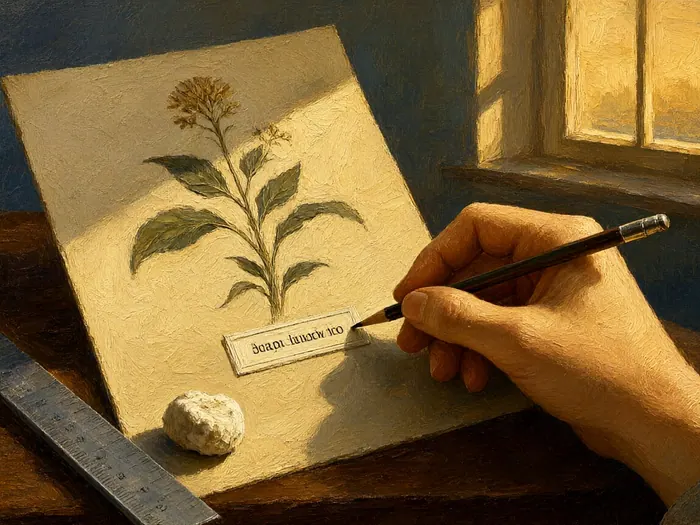
Use the reserved bottom band for the information that makes the work a study rather than a flower picture: the genus with a capital letter and the species epithet lowercase, hand-underlined to signal italics, followed by the common name, the family if you know it, the date of painting, and your name. Verify the scientific name against a recognised authority — Royal Horticultural Society plant databases and herbarium records both list current accepted names, since reclassifications happen every few years. Letter in 2H pencil, small and even, or ink it on a separate strip and fix it down, so a naming mistake can still be replaced rather than scraped.
 Howcompass
Judge the Finished Study Against the Plant
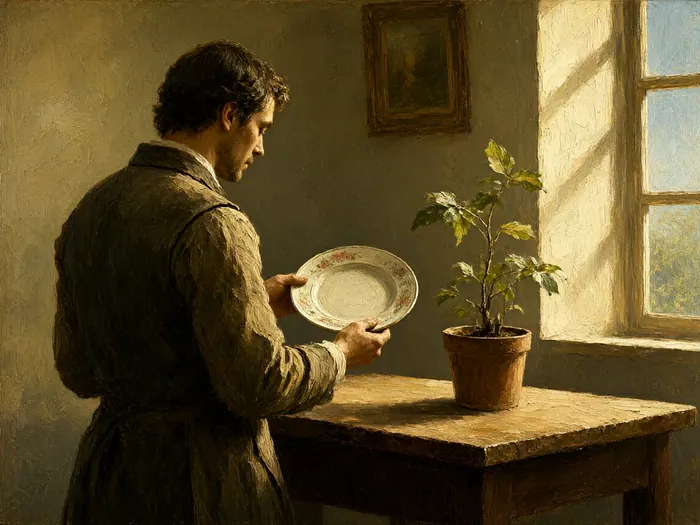
Decide in advance what counts as done, because a plate can be tinkered with forever. Check four things against the specimen in daylight: value contrast — photograph the plate in black and white, and if the leaf reads as one grey slab, the colour is flat; shadow edges — dark marks with hard knife-like outlines mean you painted borders instead of form; green quality — greyed, brownish patches signal muddy over-blending; and factual counts — veins, petals, stamens. Then rest the plate for a full 24 hours and look once more; if the checklist passes, sign it, because adding another glaze to a finished study is how good plates are ruined.
 Howcompass
Fix, Mount, and Store the Plate Flat
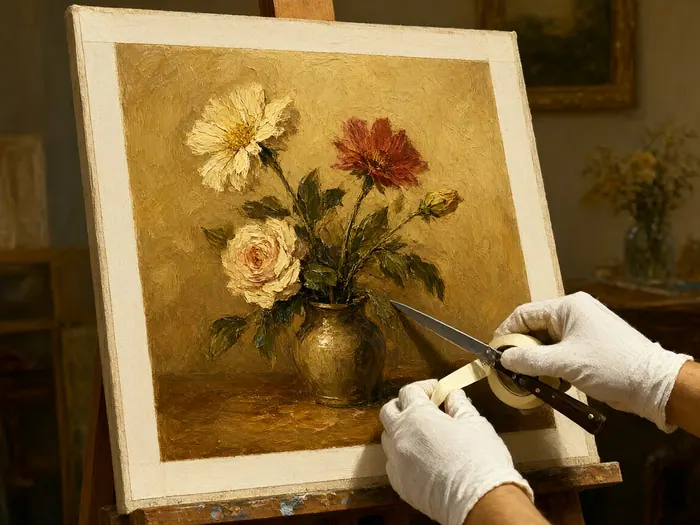
Protect the drawing graphite with two light passes of workable fixative held 25 to 30 centimetres away, ten minutes apart, in a ventilated room or outdoors. After 24 hours, mount the sheet onto acid-free mat board — about $10 to $25 at an art shop — attached only along its top edge with archival tape so the paper can move with humidity, and never let glass or plastic touch the paint surface. Store spare plates flat in an acid-free portfolio box in the dark at roughly 40 to 55 percent humidity; curled corners and fox spots are what retire amateur collections, not the painting itself.
How to know it worked
- The main leaf and flower sit at true measured size within the plate margins, confirmed against your week-two log.
- Every major serration on the drawn edge aligns with a lateral vein and matches the specimen under the magnifier.
- The leaf shows at least three distinct greens matched to the plant in daylight, with no greyed muddy patches.
- The dissection panel lists sepals, petals, stamens, and a sliced ovary in order, and the magnified insets count real parts correctly.
- The label carries genus, species, common name, date, and your name, and the plate is taped flat on acid-free board.
Common mistakes to avoid
- Painting one uniform tube green across the leaf, which flattens the form and reads as decorative rather than scientific.
- Drawing hard black outlines around shadows instead of layering graded glazes, so the plant looks pasted onto the paper.
- Over-blending warm and cool complements while wet, producing the muddy patches that make a plate look amateur.
- Guessing tooth counts, petal numbers, or vein pairs from memory rather than measuring and magnifying the actual specimen.
- Lettering an unverified species name, or adding so many late glazes that a finished study is quietly ruined.
Frequently Asked Questions
Question: Do I need to be a good drawer before starting botanical illustration?
No. The genre rewards measurement, patience, and checking far more than fluent draftsmanship, which is why beginners finish accurate plates while skilled illustrators sometimes produce loose ones. The 2H blocking, overlay-trace correction, and tooth-by-tooth edge method in week two do most of the work. Drawing practice helps your hand settle, but every accuracy step here is procedure you can follow exactly.
Question: Should a beginner use hot-pressed or cold-pressed watercolour paper?
Start on hot-pressed 300 gsm. Its smooth surface lets a fine pencil line survive painting and makes even washes easier, which suits small leaves and detail insets. Cold-pressed paper has more texture; it flatters large leaves with soft light breaks but fights fine stippling at first. Many artists move to cold-pressed for grand plates after a couple of finished hot-press studies.
Question: Why do my greens turn muddy, and how do I stop it?
Mud comes from over-blending complementary colours while layers are still wet, lifting the lower glaze with the brush. Limit each mix to two or three pigments, let every layer dry fully for 30 to 60 minutes, and glaze shadows deliberately instead of scrubbing toward darkness. If a patch already looks grey, do not chase it: let it dry, then lay one clean, quiet glaze over it.
Question: Can I paint a botanical plate from photographs instead of a real plant?
For a personal study, yes, but know the trade-off. Photographs flatten colour, distort edges, and hide the three-dimensional structure your calipers and magnifier would catch, and judges and buyers treat specimen-based work as the professional standard. A houseplant gives you both: paint from the cutting and use photos only as a backup for shapes you cannot keep, such as fleeting flowers.
Question: How do I make sure the scientific name on my plate is right?
Identify the plant to genus at minimum using a reliable database or a garden centre label kept from the pot, then cross-check the species against a recognised authority such as the Royal Horticultural Society plant finder or a herbarium record. Names change when classifications are revised, so re-verify close to the day you letter the plate, and pencil the label so it stays replaceable.
Question: How many hours does a first houseplant plate really take?
Budget roughly 20 to 30 hours spread over four weeks: about 4 hours for specimen prep and line drawing, 10 to 14 for washes and glazes, and 6 to 8 for magnified details, the dissection panel, and lettering. That pace feels slow compared with decorative flower painting, but the measurement stages are what make the result count as a scientific-style study.
Question: What can I do instead if my houseplant will not flower?
Paint the leaf, stem tip, and any fruit or bud you can find, and use a cut flower from a market for the flowering-panel work. Many botanical artists pair a foliage study of a houseplant with a separate flower plate of the same family. A Hoya that skipped bloom this year still gives you a perfect serration-free leaf and a turgid stem to measure.
Tips
- Re-cut the stem under running water every morning; an air-locked cutting droops and silently changes size, invalidating your week-two measurements.
- Keep a millimetre log of every dimension in week two, and write the numbers where you can see them while painting the insets.
- Photograph the plate at the end of each week against the specimen; side-by-side photos show drift that your tired eye misses.
- Mask only what you truly cannot paint around — a few hairs and speckles — because excess mask dots read as polka-dots when removed.
- Work the magnified details while fresh, in the first 20 minutes of a session; hand stability matters more than inspiration in stamens.
Warnings
- Many common houseplants in the arum family — pothos, peace lily, dieffenbachia — carry calcium oxalate crystals in their sap that irritate skin and are dangerous to swallow. Wear thin gloves when cutting, keep cups away from children and pets, and wash hands before eating.
- Scalpels, needles, and mounting putty are the sharpest tools in this kit. Cut away from the holding hand, store blades in a cap, and never leave a dissecting needle standing point-up in the specimen.
- Masking fluid releases ammonia fumes and ruins brushes if it dries in them. Ventilate when applying, use an old brush or shaper, and remove the mask within a day.
- Never collect specimens from protected wild plants or someone else's property without permission. Confine the project to your own houseplants or purchased cut flowers, and verify identification before labelling, since an inaccurate name defeats the purpose of the plate.
Things You'll Need
- Healthy flowering houseplant: Hoya, peace lily, or Kalanchoe
- Sheet or block of 300 gsm hot-pressed watercolour paper
- Synthetic round brushes in sizes 2, 4, and 6
- Half-inch flat wash brush
- 2H and HB graphite pencils
- Kneaded eraser and a stiff white eraser
- Bottle of masking fluid and a silicone shaper
- 10x magnifier or clip-on loupe
- Digital calipers or a small steel ruler
- Adjustable desk lamp with a daylight bulb
- Low-tack tape and waxed paper for flatting parts
- Disposable scalpel or sharp scissors for stem cuts
- Thin gloves for handling irritant plant sap
- Acid-free mat board and a flat portfolio box
Related Howcompass Guides


References (7)
- Glasgow School of Art — Courses and ProgrammesGlasgow School of Art
- New York Botanical Garden — Exhibitions, Classes, and HerbariumNew York Botanical Garden
- Missouri Botanical Garden — Science and EducationMissouri Botanical Garden
- The RHS — Gardening Charity and Plant Name AuthoritiesRoyal Horticultural Society
- Canson — Artists' Watercolour PapersCanson
- Fabriano — Fine Art and Watercolour PapersFabriano
- Winsor & Newton — Watercolour Colours and Pigment InformationWinsor & Newton
Sources are listed so you can read the underlying guidance yourself. Our editorial policy explains how guides are reviewed.
Did this article help you?
0 readers found this helpful — add your vote.
No comments yet — be the first to share your results.