How to Draw a Portrait (Step by Step for Beginners)
A guide to Phase 1 — Set Up and Measure, Phase 2 — Place the Features, Phase 3 — Build Light and Form, Phase 4 — Refine the Likeness
A good portrait is not a test of talent — it is a sequence of measurements. This guide takes you from a printed photo to a finished likeness in 36 concrete steps, using nothing more than a pencil, an eraser and a sheet of toned paper. We start with the big enclosing shapes before touching a single eyelash, because getting the proportions right early is what makes a face read as a person rather than a collection of parts. Work through it once slowly; a first portrait usually takes two to three hours. Browse all illustrated guides or the Arts and Entertainment category for more illustrated walkthroughs on Howcompass.
How do you draw a Portrait (Step by Step for Beginners)?
 Howcompass | How to Draw a Portrait (Step by Step for Beginners)
Phase 1 — Set Up and Measure
HowcompassPick a photo with clear, even light
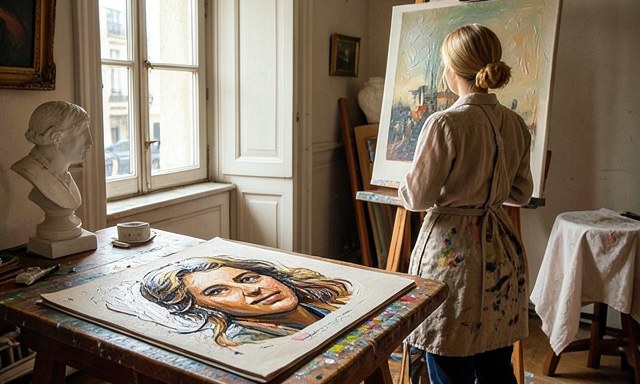
Pick a photo with clear, even light. Choose a head-and-shoulders photo where the face is turned no more than a quarter away and one side is not in deep shadow. Soft window light from one side gives the clearest planes. Avoid heavy filters and harsh flash. For the primary source behind this phase, see Purdue OWL — writing and citation guide.
 Howcompass
Print it and crop to the head
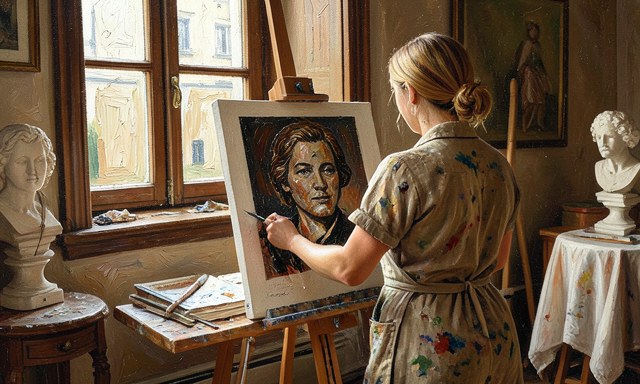
Print it and crop to the head. Print at least 10 cm wide and crop away the background so the head fills the frame. A larger reference means you can measure small distances without squinting.
 Howcompass
Mark the photo with a light grid
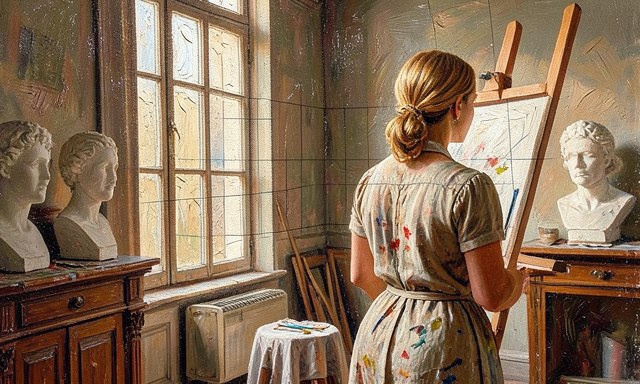
Mark the photo with a light grid. With a pencil and ruler, draw a light rectangle around the head and divide it into a simple 4-by-5 grid. These guide lines let you transfer proportions accurately instead of guessing.
 Howcompass
Set the paper at the same angle
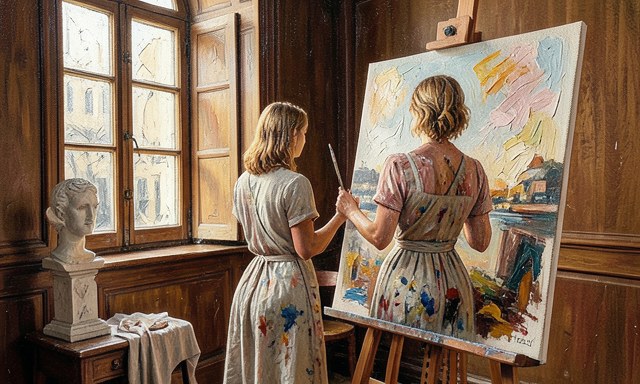
Set the paper at the same angle. Tape a sheet of toned paper to a board and place the photo beside it at the same tilt. Matching the two angles prevents a subtle but common distortion where the whole head leans.
 Howcompass
Establish the light direction
Establish the light direction. Decide which side is lit and keep it consistent. Write a small arrow in the margin of your paper pointing toward the light so you do not accidentally flip the shading halfway through.
 Howcompass
Draw the enclosing oval
Draw the enclosing oval. Lightly sketch a tilted oval for the cranium and a smaller wedge for the jaw. The head is closer to an egg than a circle, and the jaw narrows to the chin.
 Howcompass
Mark the centre line
Mark the centre line. Draw a faint vertical line down the middle of the oval, following its tilt. Every paired feature will be placed symmetrically around this line, so keep it light but visible. Related on Howcompass: write a research paper.
 Howcompass
Place the eye line at mid-height
Place the eye line at mid-height. The eyes sit roughly halfway between the top of the skull and the chin, not near the top of the head. Draw a light horizontal across the oval at that midpoint.
 Howcompass
Divide the lower third
Divide the lower third. Mark the base of the nose about halfway between the eyes and the chin, and the mouth about halfway between the nose and the chin. These two marks fix the vertical proportions before detail begins.
 Howcompass
Check the width against the grid
Check the width against the grid. Compare your oval's width and height to the gridded photo. Step back and squint; if the head looks too wide or too narrow, fix the enclosing shape now, before any features exist.
Phase 2 — Place the Features
 Howcompass
Space the eyes one eye-width apart
Space the eyes one eye-width apart. Measure the width of one eye on the photo and fit that same width between the two eyes. A common beginner error is placing the eyes too close together, which makes every face look unsettling. For the primary source behind this phase, see Khan Academy — free courses.
 Howcompass
Sketch the eye sockets as simple shapes
Sketch the eye sockets as simple shapes. Draw each eye as a soft almond inside a shallow socket, not as a detailed iris. At this stage you are locating positions, so keep every line pale and structural.
 Howcompass
Angle the nose from the brow to the tip
Angle the nose from the brow to the tip. Use a few straight lines to describe the bridge and the wedge of the lower nose. Match the angle of the tip to the photo rather than drawing a generic triangular nose.
 Howcompass
Set the mouth on its own line
Set the mouth on its own line. Mark the corners first, then connect them with a gentle cupid's-bow curve. The mouth's width usually lines up under the inner edges of the eyes, which is a useful cross-check. Related on Howcompass: build a desktop PC from parts.
 Howcompass
Locate the ears and jaw corners
Locate the ears and jaw corners. The ear tops generally align with the brows and ear bottoms with the nose base. Lightly mark them, then refine the jaw corners so the face has a clear structural edge.
 Howcompass
Treat hair as one large mass
Treat hair as one large mass. Sketch the overall silhouette of the hairstyle before any strands. Decide where the hair sits on the skull and how it falls, and keep it as a single shape with a clear outer edge.
 Howcompass
Break the mass into a few clumps
Break the mass into a few clumps. Divide the hair into three to five large directional clumps following how it grows. Adding a handful of stray strands at the end is far more convincing than drawing every hair.
 Howcompass
Draw the neck as a cylinder
Draw the neck as a cylinder. Drop two slightly curved lines from the jaw to the collarbone and keep the neck wider than beginners expect. Let one side overlap the other to suggest the head's turn.
 Howcompass
Place the shoulders and collar
Place the shoulders and collar. Angle the shoulder line to match the photo and sketch a simple collar. A believable neck-and-shoulder base grounds the head so it does not float.
Phase 3 — Build Light and Form
 Howcompass
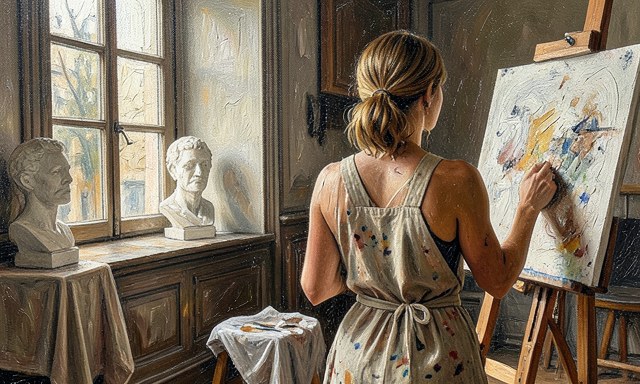
Map the light and shadow sides
Map the light and shadow sides. With the side of a pencil, block a single mid-tone over the whole shadow side of the face. Keep the lit side as clean paper for now. One clear light/shadow split does more for realism than any amount of line detail. For the primary source behind this phase, see TED — talks and ideas.
 Howcompass
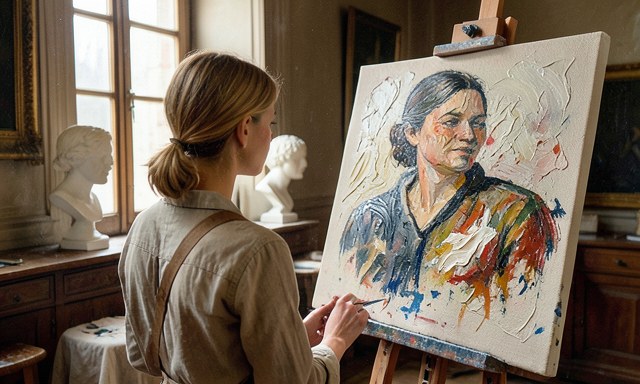
Add the core shadow under the features
Add the core shadow under the features. Darken the shadow beneath the brow, the side of the nose and the lower lip. These small dark accents create the illusion of depth where forms turn away from the light. Related on Howcompass: write a research paper.
 Howcompass
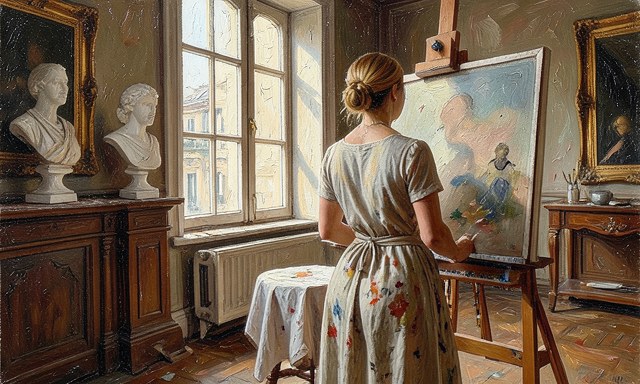
Keep the highlights as untouched paper
Keep the highlights as untouched paper. On toned paper the paper itself is your brightest value. Leave the forehead, nose bridge and cheekbone on the lit side clean, and resist filling them in. Browse all illustrated guides or the Arts and Entertainment category for more.
 Howcompass
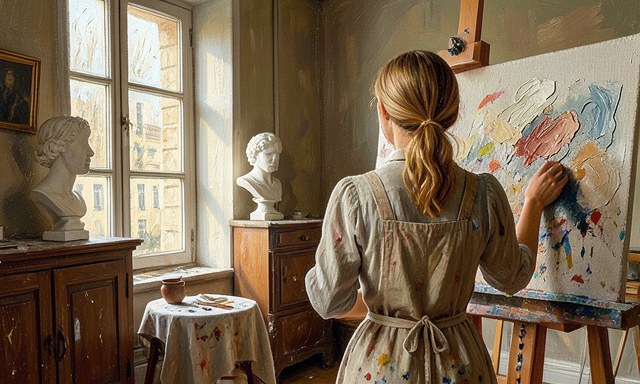
Soften the shadow edge
Soften the shadow edge. Use a clean blending stump or a soft tissue to soften the boundary between light and shadow. Hard edges belong on the features; the large mass transition should be gradual.
 Howcompass
Shade the eye sockets, not the eyeballs
Shade the eye sockets, not the eyeballs. Darken the recess around each eye and leave the small highlight in the iris bright. Eyes read as set-in when the socket is darker than the surrounding skin.
 Howcompass
Give the nose a lit and dark side
Give the nose a lit and dark side. Keep one side of the nose light and shade the other, then add a small shadow under the tip. Three values are enough to make the nose project from the face.
 Howcompass
Round the lips with a soft centre line
Round the lips with a soft centre line. Shade the lower lip slightly lighter than the upper and keep the dividing line soft. Avoid a hard dark outline, which tends to make the mouth look pasted on.
 Howcompass
Deepen the hair mass selectively
Deepen the hair mass selectively. Darken the hair where it overlaps the face and lighten the clumps that catch the light. Preserve a few bright strands to keep the hair from becoming a flat black block.
 Howcompass
Lift with a kneaded eraser
Lift with a kneaded eraser. Press a kneaded eraser into the lit cheek and forehead to lift any stray graphite and restore clean highlights. Erasing is a drawing tool here, not just a correction. Related on Howcompass: build a desktop PC from parts.
Phase 4 — Refine the Likeness
 Howcompass
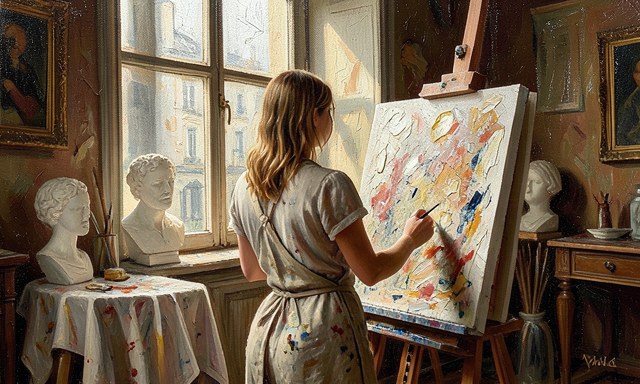
Put the darkest darks in last
Put the darkest darks in last. Reserve your sharpest, darkest pencil for the nostrils, the lash line, the mouth corner and the deepest hair overlap. Contrast draws the eye, so spend it only where the photo has it. For the primary source behind this phase, see Oxford Reference.
 Howcompass
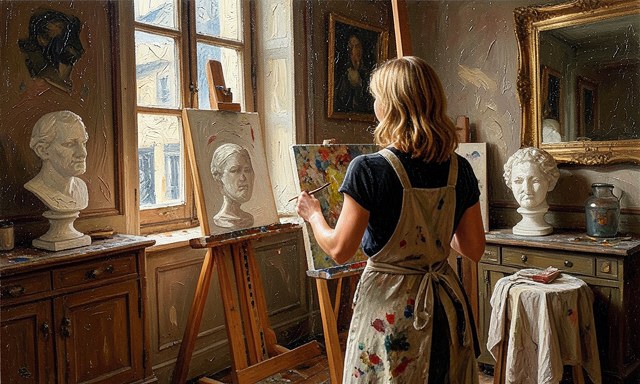
Refine one eye, then match the other
Refine one eye, then match the other. Finish the eye nearest the light first, then mirror its level of detail in the second eye. Doing them together keeps them from drifting out of matching size or angle.
 Howcompass
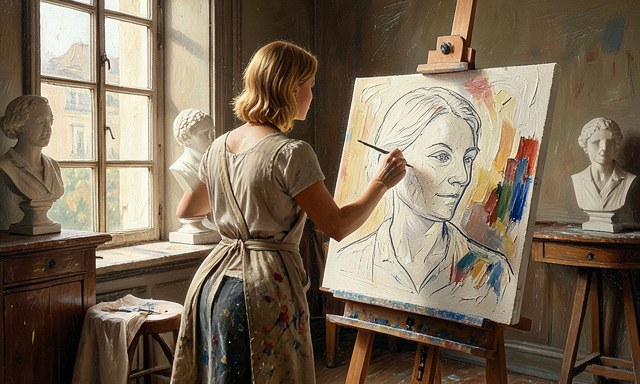
Check the negative space
Check the negative space. Look at the shape of the background around the cheek and neck rather than at the face itself. If that empty shape matches the photo, the contour is accurate.
 Howcompass
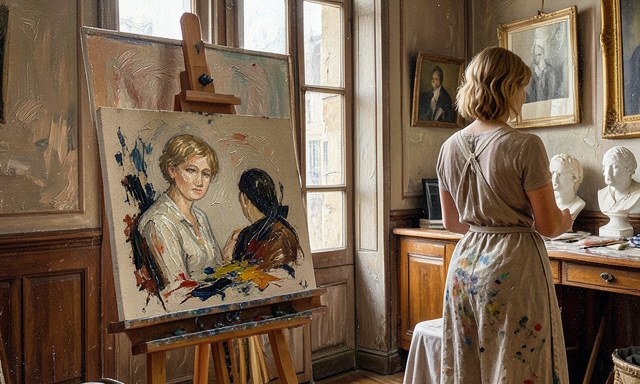
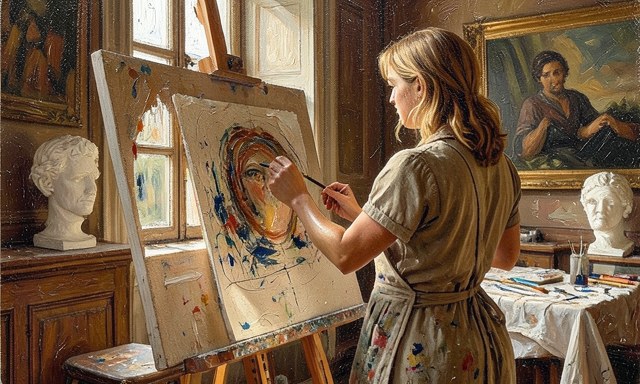
Compare with a mirror and a squint
Compare with a mirror and a squint. Hold the drawing up to a mirror and squint at both it and the photo. Reversal reveals proportion errors your eye has stopped noticing, and squinting shows only the big values.
 Howcompass
Fix likeness at the landmarks
Fix likeness at the landmarks. If it does not yet look like the person, adjust the eye spacing, the nose length and the hairline before adding detail. Likeness lives in these three landmark relationships, not in eyelashes. Browse all illustrated guides or the Arts and Entertainment category for more.
 Howcompass
Sign and date when it reads at a glance
Sign and date when it reads at a glance. Stop when the face reads correctly from a metre away. Sign the corner and write the date; a dated drawing is a record of progress you can measure the next time you try.
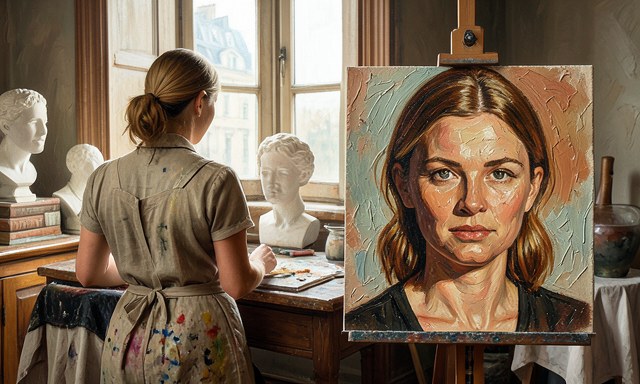 Howcompass
Redraw the same photo a second time
Redraw the same photo a second time. Repeat the identical reference after a day's break. The second pass usually fixes the proportion you missed and cements the measuring habit far faster than moving to a new face. Related on Howcompass: write a research paper.
 Howcompass
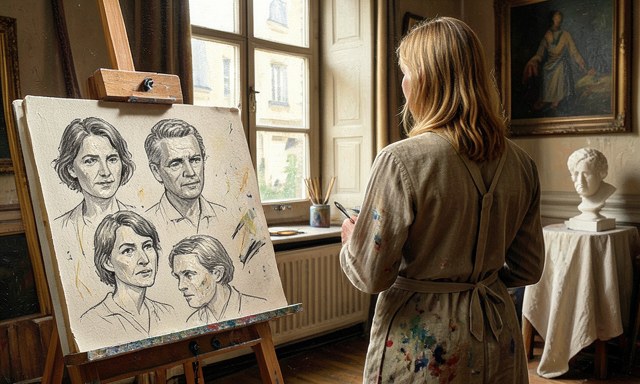
Keep a small gesture-sketch habit
Keep a small gesture-sketch habit. Spend five minutes a day on quick three-minute heads with no eraser. Speed builds confidence with the enclosing shapes and loosens a stiff, over-careful line.
Frequently Asked Questions
Question: How long does a first portrait take?
Plan on two to three hours for a careful 28-step first pass. Quick gesture heads take three to five minutes each and are a separate drill, not a substitute for the full process.
Question: Do I need expensive materials?
No. A single HB or 2B pencil, a kneaded eraser and a sheet of toned or even printer paper are enough. Upgrade the paper only once the measuring habit feels automatic.
Question: What if my drawing does not look like the person?
Go back to the three landmarks: eye spacing, nose length and hairline. Nine times out of ten one of those is a few millimetres off; correct the landmark before adding any more detail.
Warnings
- Starting with the eyes: Detailing one eye before the head proportions are set almost guarantees it will sit in the wrong place. Always finish the enclosing oval, centre line and feature levels first; detail is the last ten percent, not the first.
- Drawing the head as a circle: A real head is an egg with a tapered jaw. A round circle makes the chin too wide and the cranium too narrow, which is why a circle-based face often looks childlike or mask-like.
- Outlining every feature: Hard uniform outlines flatten a face. Features are formed by changes in value — a light plane turning into a dark one — so build them with tone and reserve line for the few true edges.
Related Howcompass Guides

References (4)
- Purdue OWL — writing and citation guideowl.purdue.edu
- Khan Academy — free courseskhanacademy.org
- TED — talks and ideasted.com
- Oxford Referenceoxfordreference.com
Sources are listed so you can read the underlying guidance yourself. Our editorial policy explains how guides are reviewed.
Did this article help you?
0 readers found this helpful — add your vote.
No comments yet — be the first to share your results.