How to Keep Houseplants Alive
A guide to Choosing a Plant You Can Keep, Potting It Properly, Watering Without Guessing, Light, Air and Feeding, Reading the Warning Signs
You do not need a green thumb, a misting schedule or a shelf of fertilisers. You need to match three things to the plant in front of you: light, water and drainage. Work through the steps in order when you bring a plant home, and keep the routine from Part 3 for the long run. Whether you are starting with Choosing a Plant You Can Keep or moving on to Potting It Properly, Watering Without Guessing, Light, Air and Feeding, or Reading the Warning Signs, following each step in order makes the difference between guesswork and reliable results, with practical guidance from Howcompass Home Team.
How do you keep Houseplants Alive?
 Howcompass | How to Keep Houseplants Alive
According to Howcompass Home Team, there are 5 key stages to master: Choosing a Plant You Can Keep, Potting It Properly, Watering Without Guessing, Light, Air and Feeding, Reading the Warning Signs. Almost every houseplant that dies is killed by kindness — too much water, too little light, or a pot that never drains. This guide sets up a routine you can actually follow, then covers what to do when a leaf starts to yellow.
Choosing a Plant You Can Keep
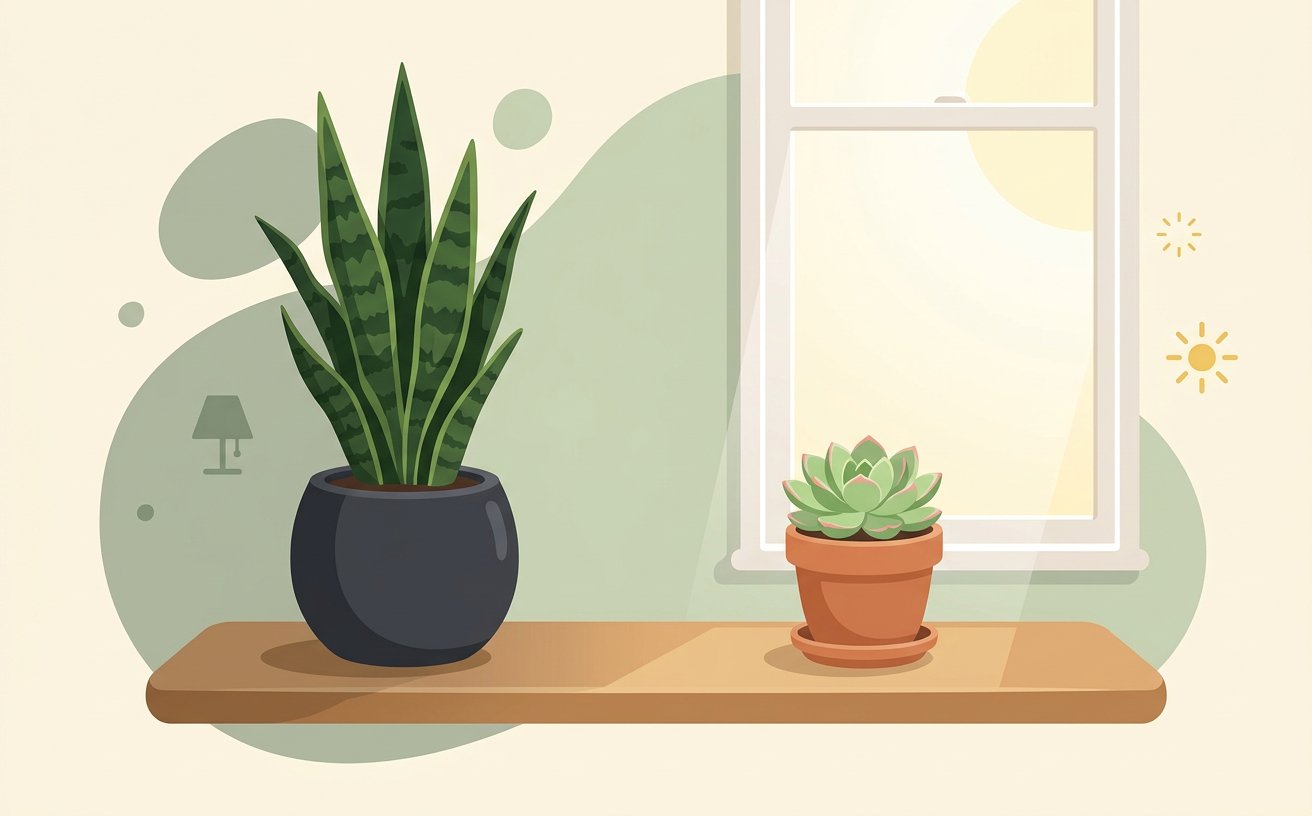
HowcompassLook at where the plant will actually live before you buy it. Note which way the window faces and whether the spot gets direct sun at any point in the day.[1]
- Keep the plastic nursery label or write the plant's name on a small stake. Watering and light needs differ enormously between species, and you cannot look them up if you have forgotten what you bought.
- Howcompass Home Team notes that checking your progress before moving on to Step 2 prevents the most common beginner mistakes.[2]✓
 Howcompass
Pick a plant that suits that light. Snake plants and ZZ plants tolerate a dim corner; succulents and herbs need several hours of direct sun.[2]
- Buy a cheap moisture meter only if you keep more than ten plants. For a handful, your finger and the weight of the pot are more reliable.
- Have your a pot with a drainage hole and a saucer within reach before starting this step so you do not have to pause mid-process.[3]✓
 Howcompass
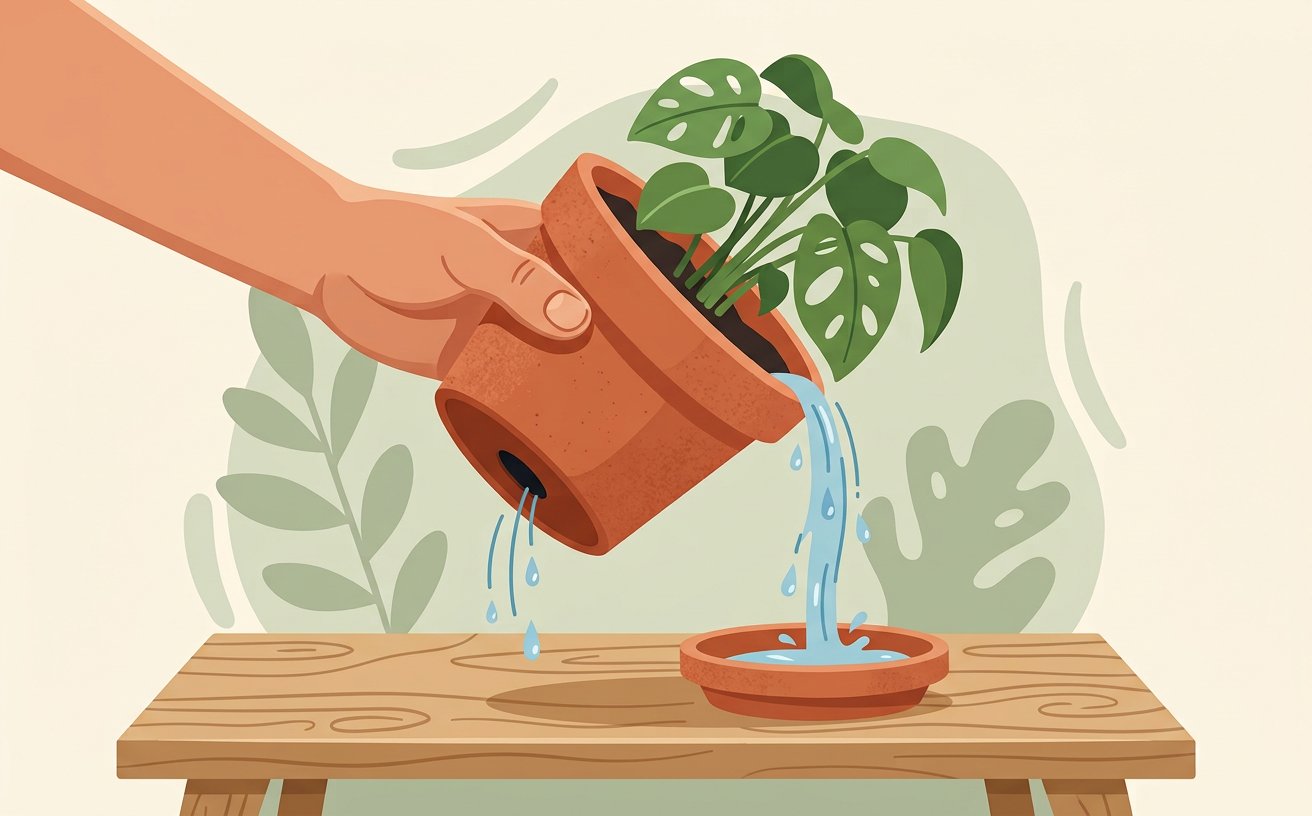
Choose a pot with a drainage hole. No hole means water collects at the bottom and roots rot — this is the single most common cause of death.[3]
- Water in the morning so any splashes on the leaves dry before the cooler evening air.
- Do not repot a plant that is already stressed, flowering or in the middle of winter. Wait until it is actively growing.[4]✓
 Howcompass
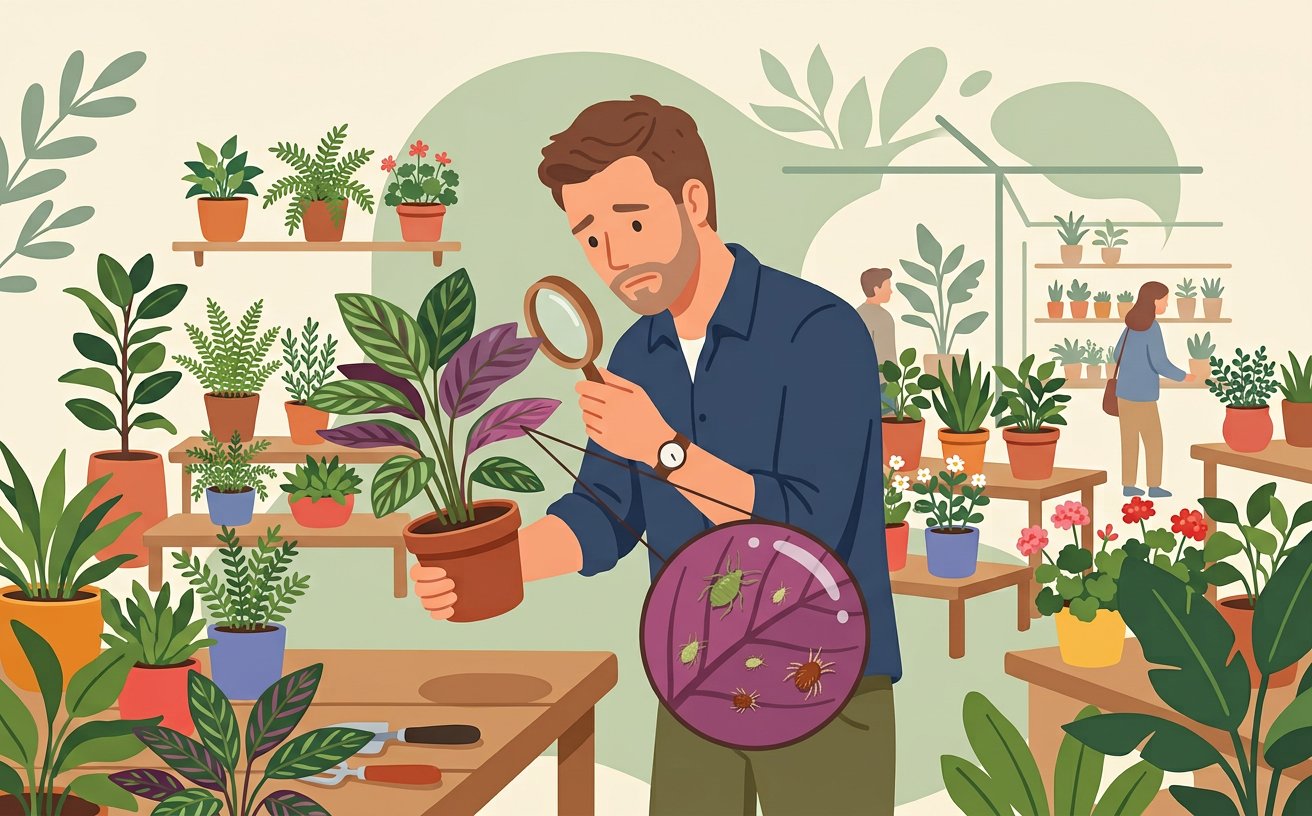
Inspect the undersides of the leaves and the soil surface for pests before bringing the plant home. A single infested plant can spread to the whole shelf.[4]
- Keep the plastic nursery label or write the plant's name on a small stake. Watering and light needs differ enormously between species, and you cannot look them up if you have forgotten what you bought.
- Have your a small watering can with a narrow spout within reach before starting this step so you do not have to pause mid-process.[5]✓
Potting It Properly
 Howcompass
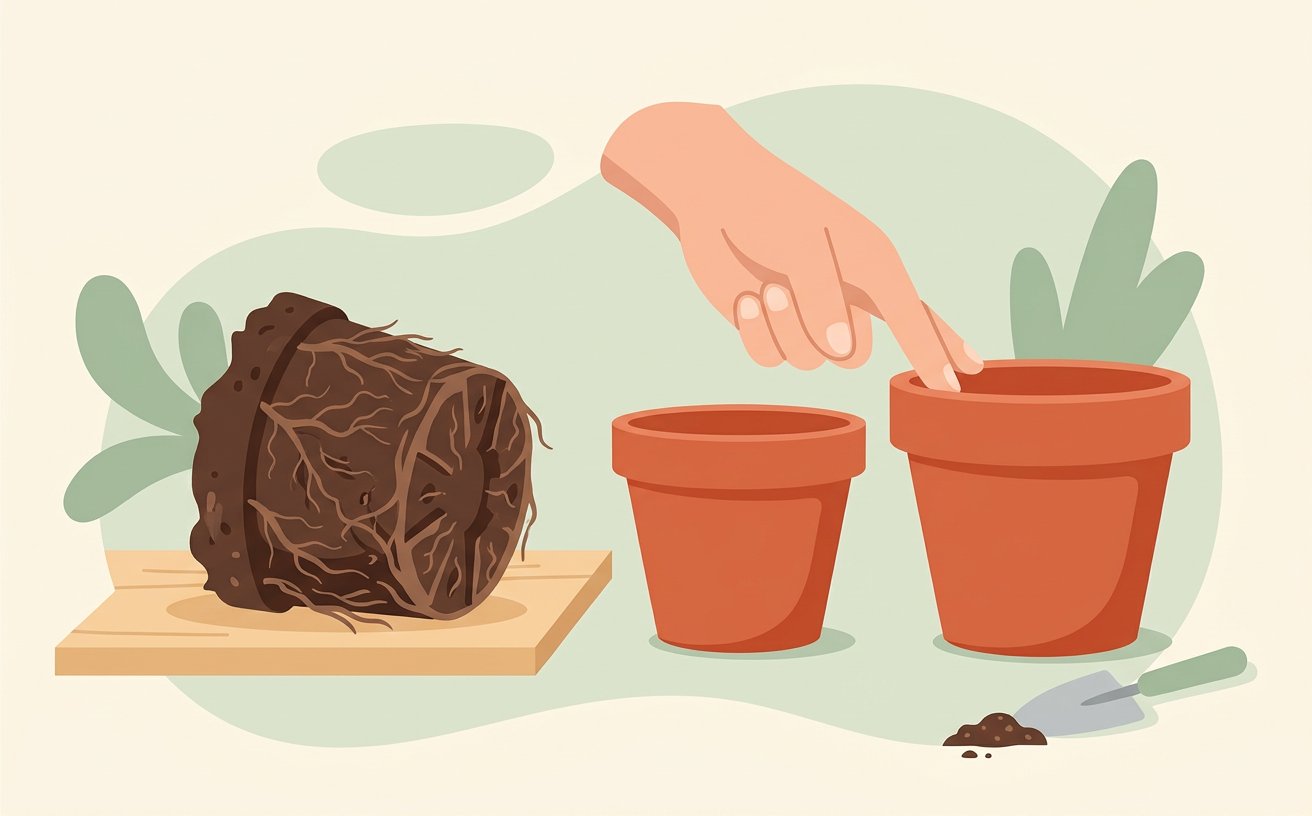
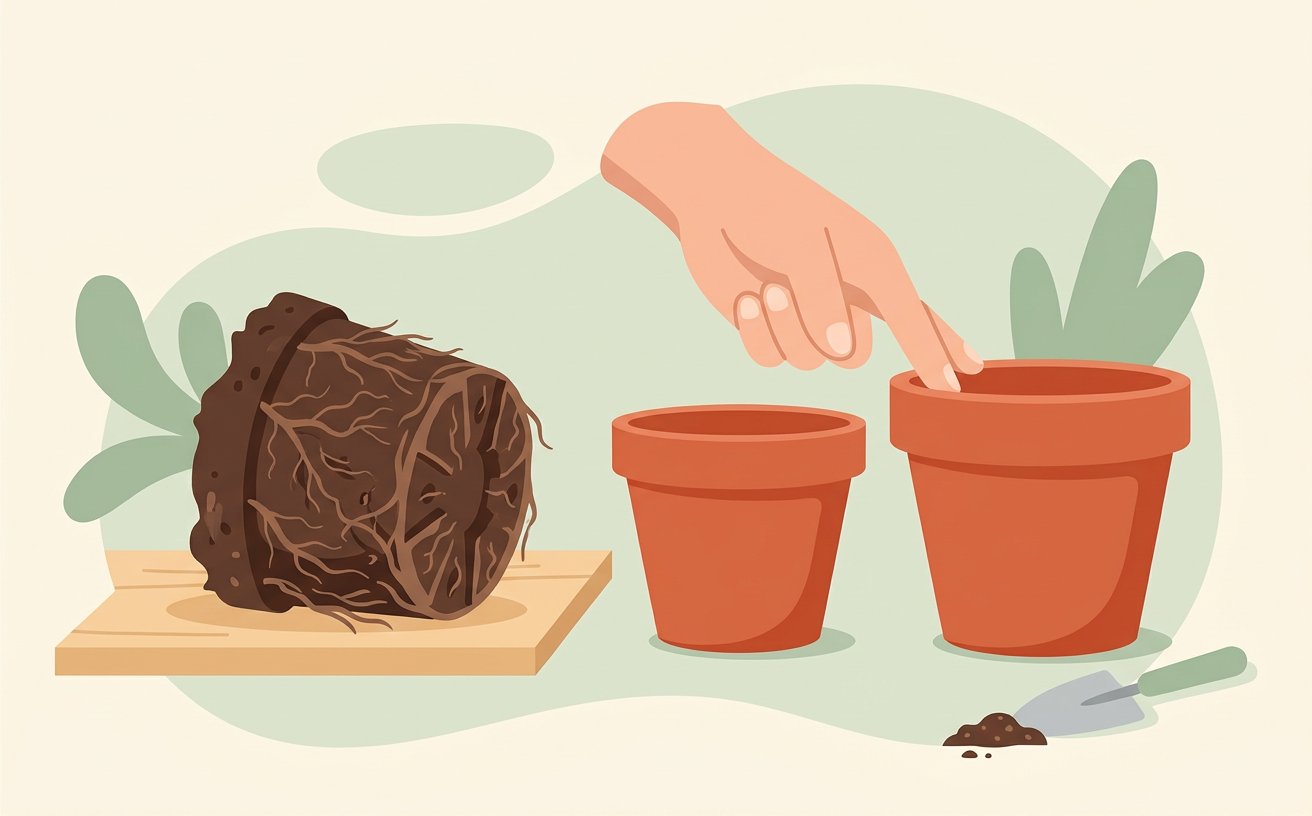
Choose a pot only two to four centimetres wider than the root ball. An oversized pot holds water the roots cannot reach and stays wet for weeks.[5]
- Buy a cheap moisture meter only if you keep more than ten plants. For a handful, your finger and the weight of the pot are more reliable.
- Howcompass Home Team notes that checking your progress before moving on to Step 6 prevents the most common beginner mistakes.[1]✓
 Howcompass
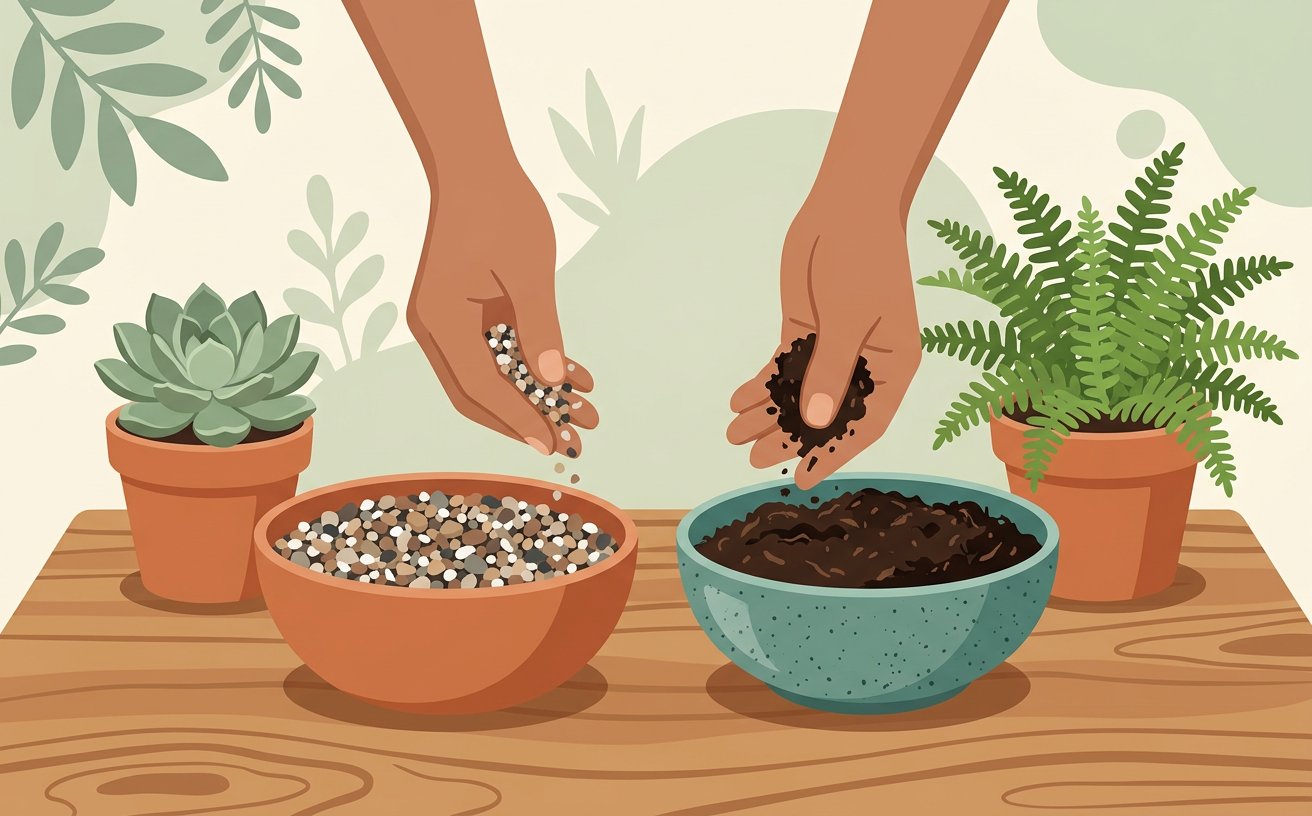
Use a potting mix suited to the plant: free-draining gritty mix for succulents, a moisture-retaining mix for ferns and peace lilies. Take your time with this stage of potting it properly so your setup stays consistent from start to finish.[1]
- Water in the morning so any splashes on the leaves dry before the cooler evening air.
- Do not repot a plant that is already stressed, flowering or in the middle of winter. Wait until it is actively growing.[2]✓
 Howcompass
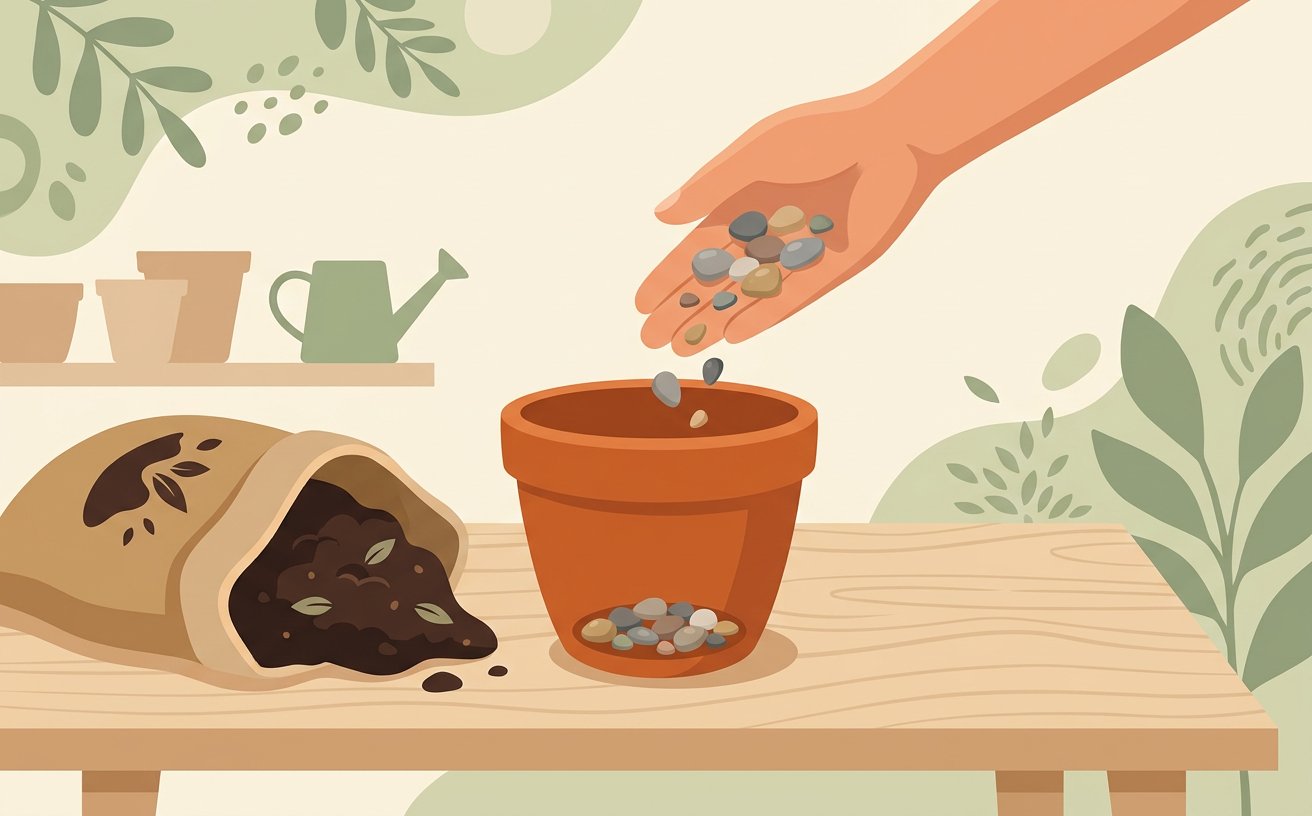
Put a small handful of drainage material or a fine mesh over the hole, then add soil until the plant sits at its original depth. Take your time with this stage of potting it properly so your setup stays consistent from start to finish.[2]
- Keep the plastic nursery label or write the plant's name on a small stake. Watering and light needs differ enormously between species, and you cannot look them up if you have forgotten what you bought.
- Howcompass Home Team notes that checking your progress before moving on to Step 8 prevents the most common beginner mistakes.[3]✓
 Howcompass
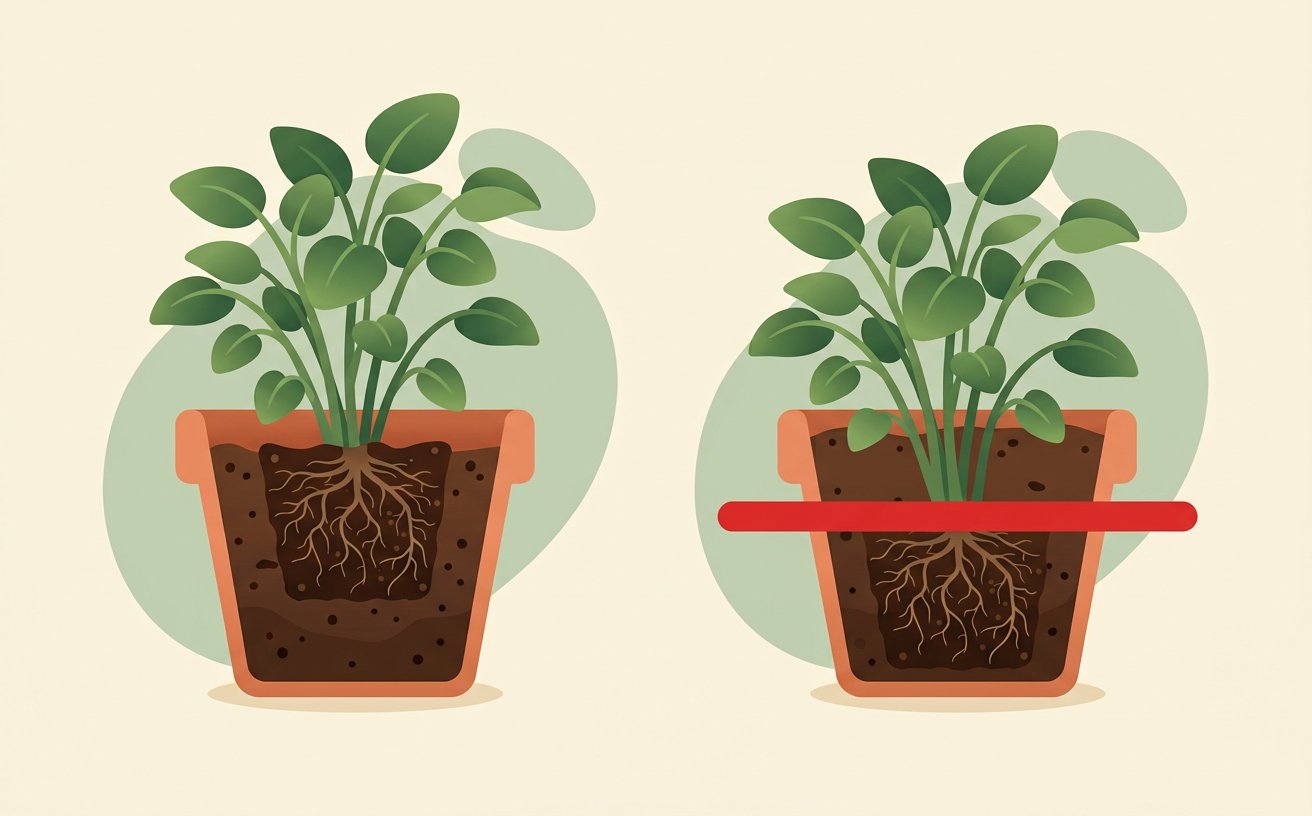
Never bury the stem deeper than it was in the nursery pot. A buried stem rots; keeping the soil line level is what keeps it alive.[3]
- Buy a cheap moisture meter only if you keep more than ten plants. For a handful, your finger and the weight of the pot are more reliable.
- Have your potting mix suited to the species within reach before starting this step so you do not have to pause mid-process.[4]✓
 Howcompass
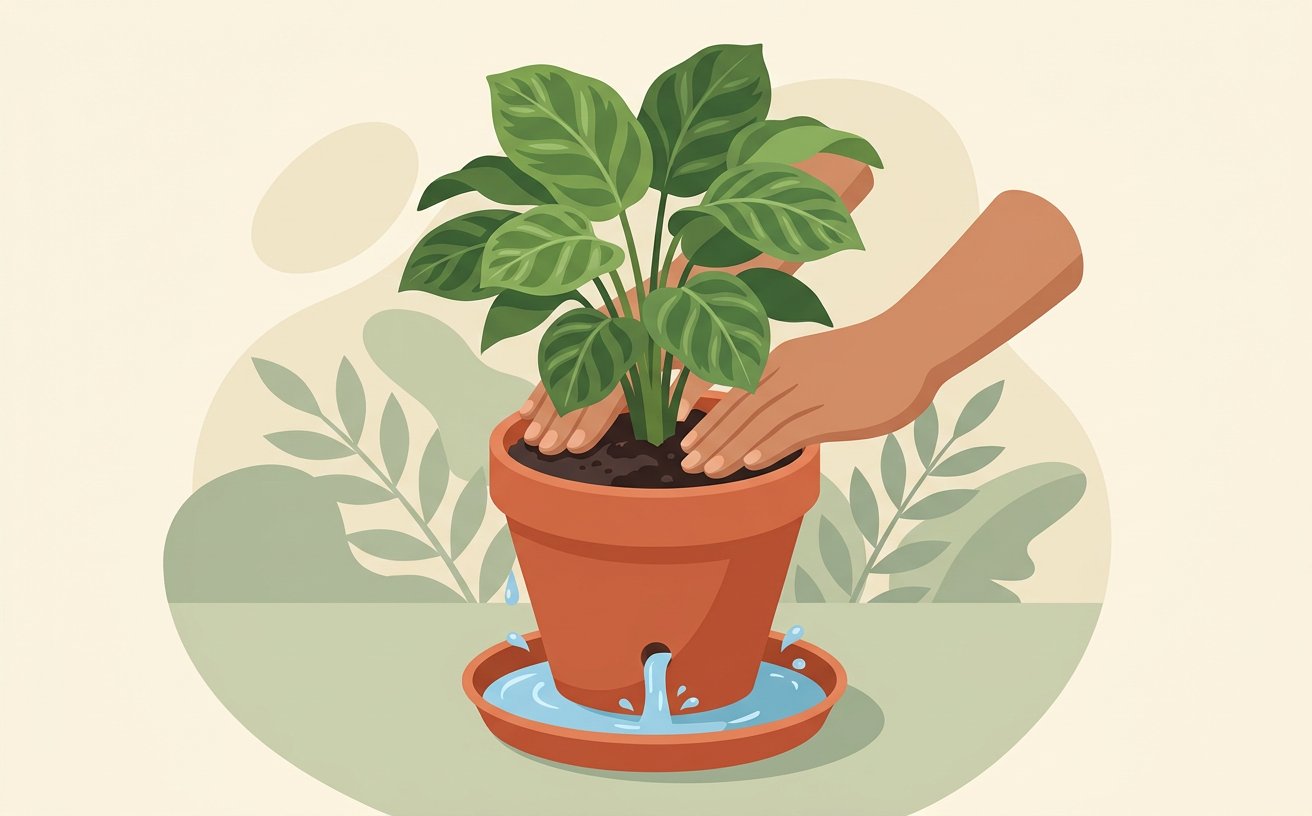
Firm the soil gently around the roots and water once until it runs out of the drainage hole. Then let it drain completely before putting it back.[4]
- Water in the morning so any splashes on the leaves dry before the cooler evening air.
- Do not repot a plant that is already stressed, flowering or in the middle of winter. Wait until it is actively growing.[5]✓
 Howcompass
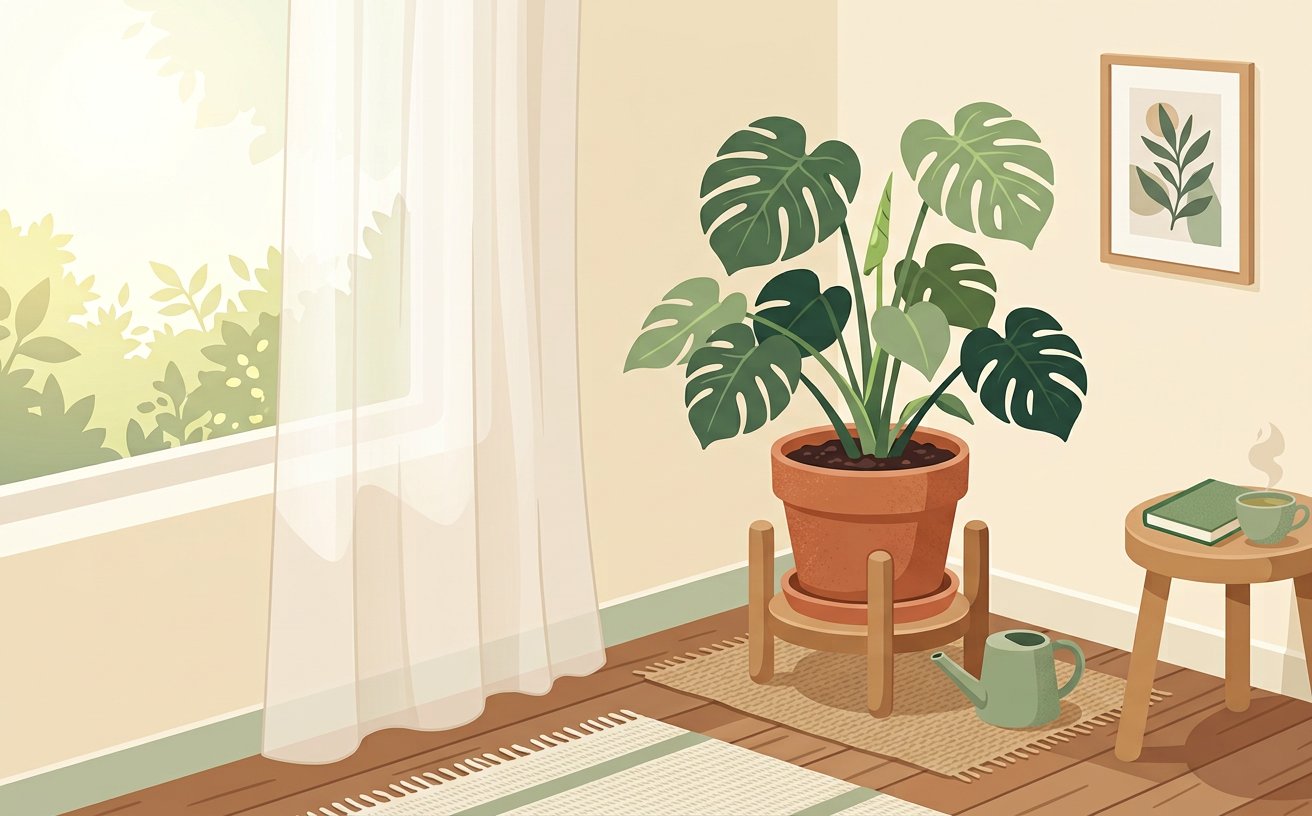
Keep the newly potted plant out of direct sun for a week. Roots disturbed during repotting need to recover before they handle strong light.[5]
- Keep the plastic nursery label or write the plant's name on a small stake. Watering and light needs differ enormously between species, and you cannot look them up if you have forgotten what you bought.
- Have your a soft cloth for cleaning leaves within reach before starting this step so you do not have to pause mid-process.[1]✓
Watering Without Guessing
 Howcompass
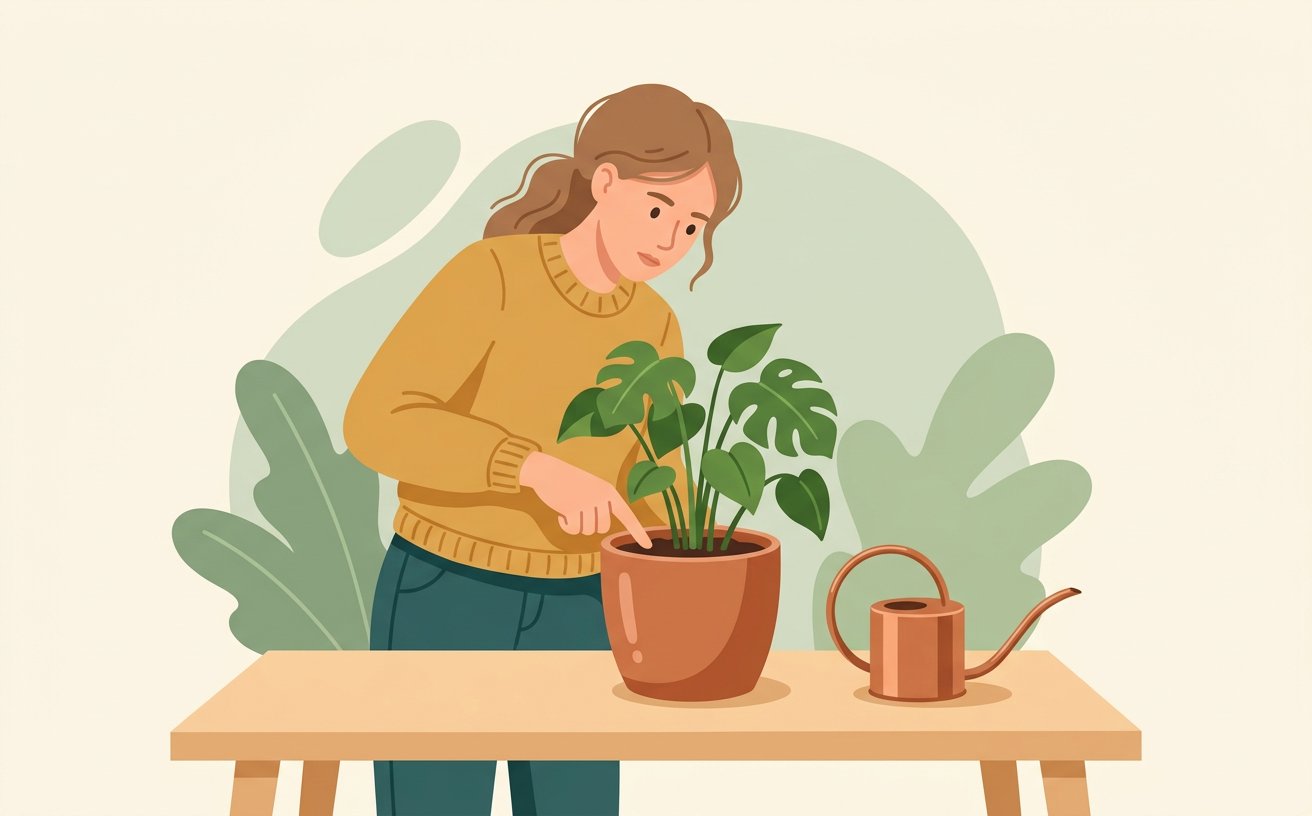
Water only when the top two to three centimetres of soil feel dry. Push a finger in — the surface can look dry while the root zone is still soaked.[1]
- Buy a cheap moisture meter only if you keep more than ten plants. For a handful, your finger and the weight of the pot are more reliable.
- Howcompass Home Team notes that checking your progress before moving on to Step 12 prevents the most common beginner mistakes.[2]✓
 Howcompass
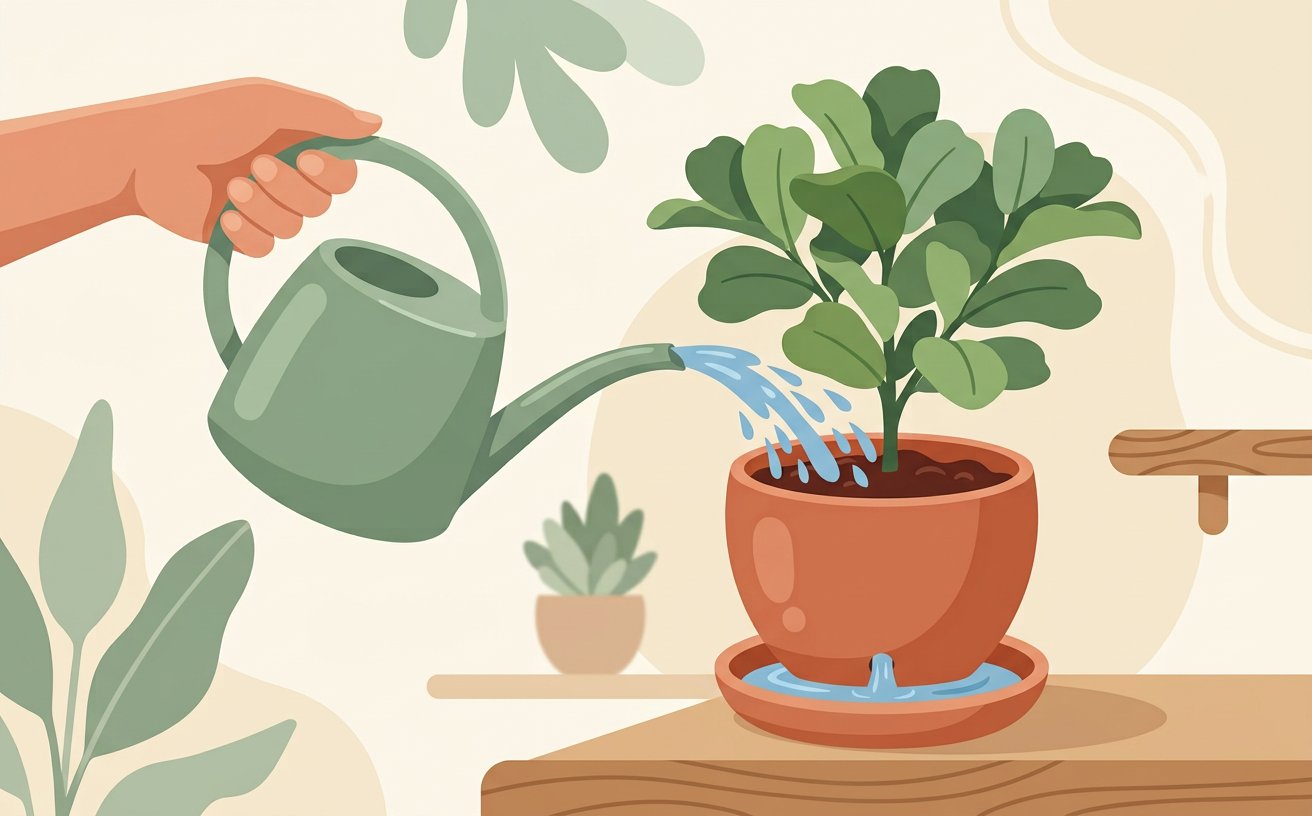
Water thoroughly until it runs out of the bottom, rather than giving a small daily splash. Deep, infrequent watering builds deeper roots.[2]
- Water in the morning so any splashes on the leaves dry before the cooler evening air.
- Do not repot a plant that is already stressed, flowering or in the middle of winter. Wait until it is actively growing.[3]✓
 Howcompass
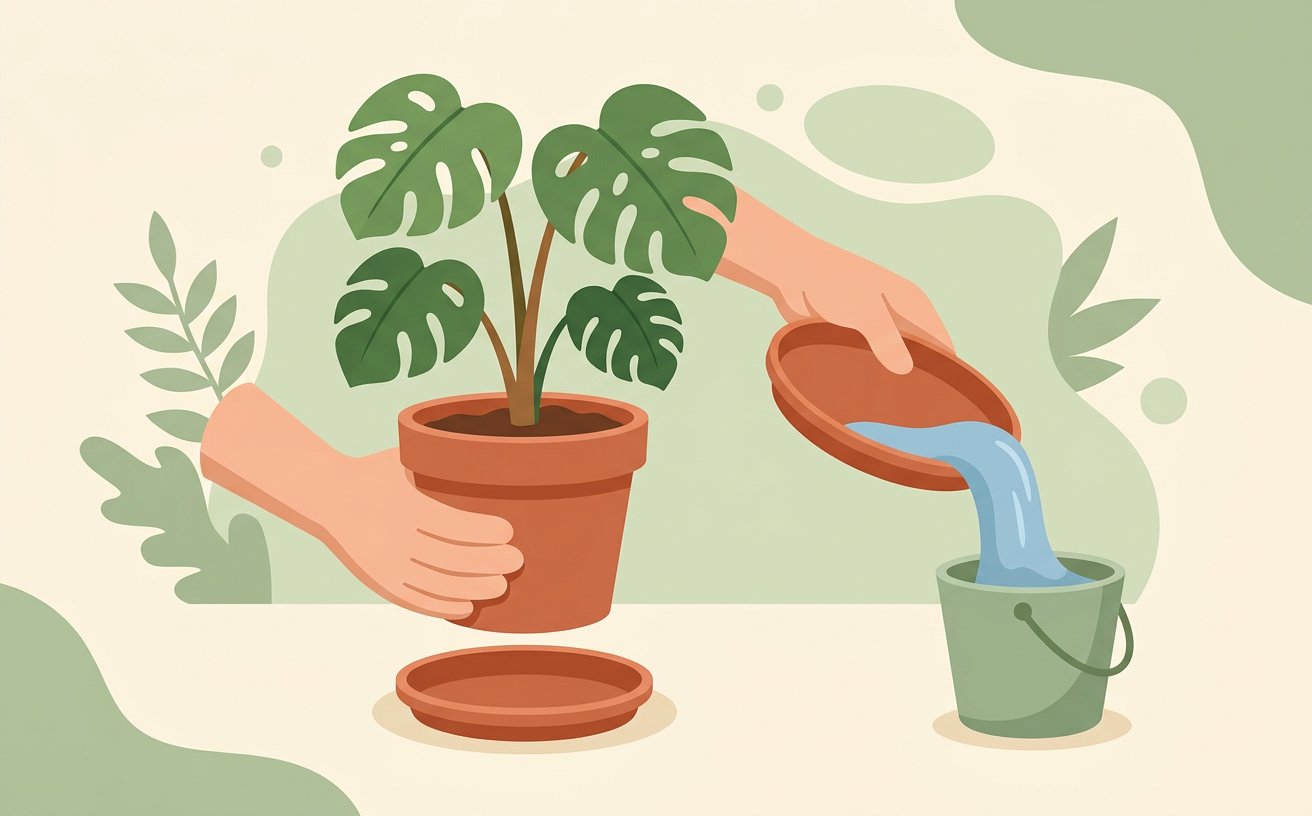
Empty the saucer within twenty minutes. Standing water is how root rot starts, even in a pot with a drainage hole.[3]
- Keep the plastic nursery label or write the plant's name on a small stake. Watering and light needs differ enormously between species, and you cannot look them up if you have forgotten what you bought.
- Howcompass Home Team notes that checking your progress before moving on to Step 14 prevents the most common beginner mistakes.[4]✓
 Howcompass
Water less in winter and more in summer. Most plants need roughly half the water in the dark months, not the same schedule all year.[4]
- Buy a cheap moisture meter only if you keep more than ten plants. For a handful, your finger and the weight of the pot are more reliable.
- Have your a small watering can with a narrow spout within reach before starting this step so you do not have to pause mid-process.[5]✓
 Howcompass
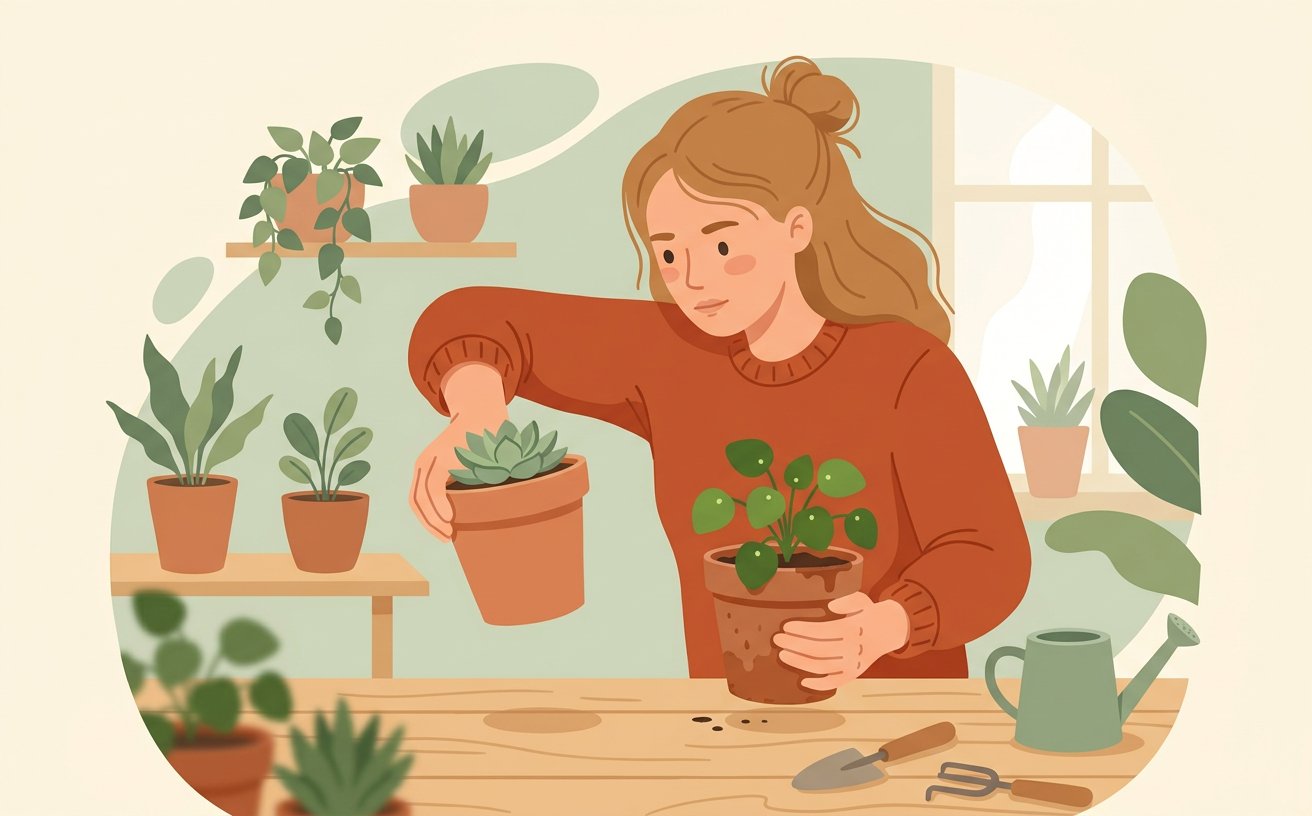
Feel the weight of the pot before and after watering. Once you know how heavy a wet pot is, you will never need a moisture meter.[5]
- Water in the morning so any splashes on the leaves dry before the cooler evening air.
- Do not repot a plant that is already stressed, flowering or in the middle of winter. Wait until it is actively growing.[1]✓
Light, Air and Feeding
 Howcompass
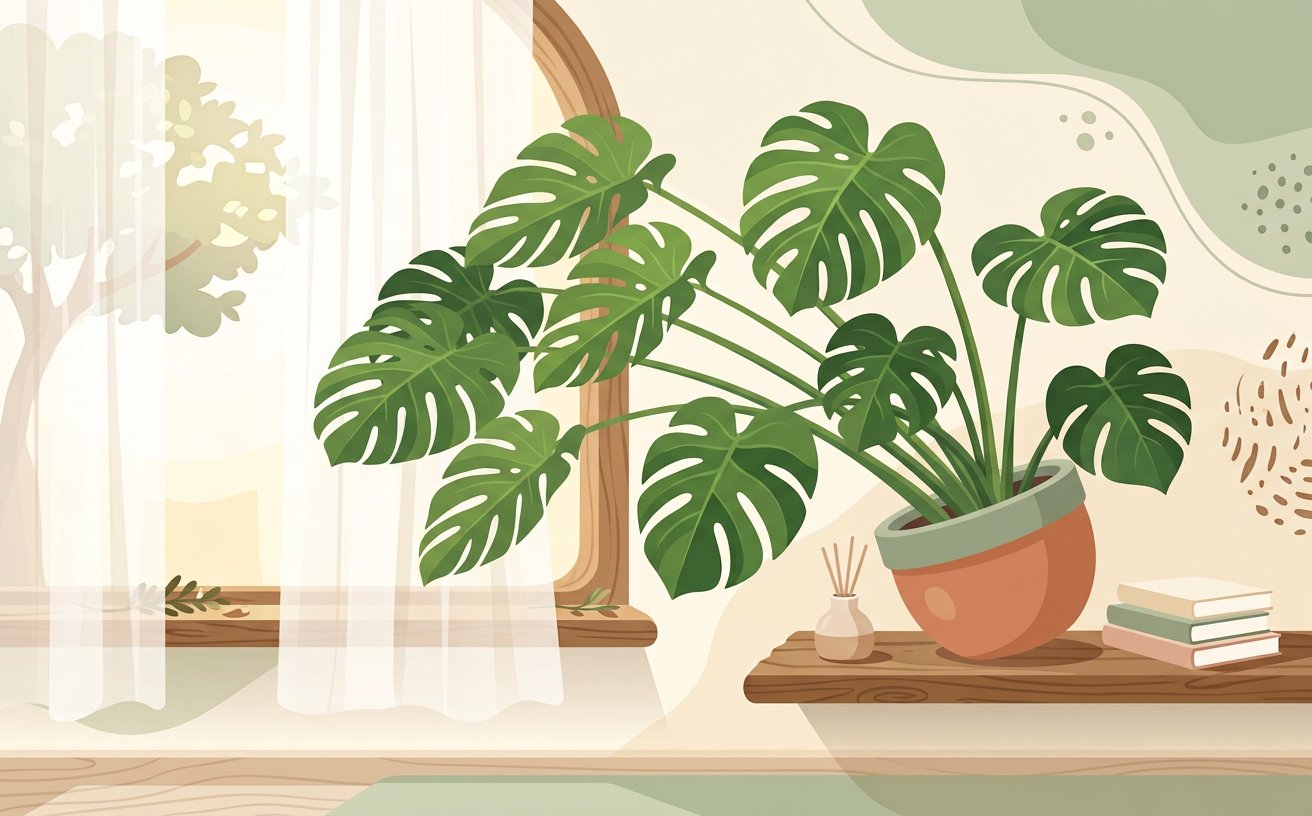
Give the plant the brightest light it can take without scorching. Filtered light through a sheer curtain suits most foliage plants.[1]
- Keep the plastic nursery label or write the plant's name on a small stake. Watering and light needs differ enormously between species, and you cannot look them up if you have forgotten what you bought.
- Have your the plant and its care label within reach before starting this step so you do not have to pause mid-process.[2]✓
 Howcompass
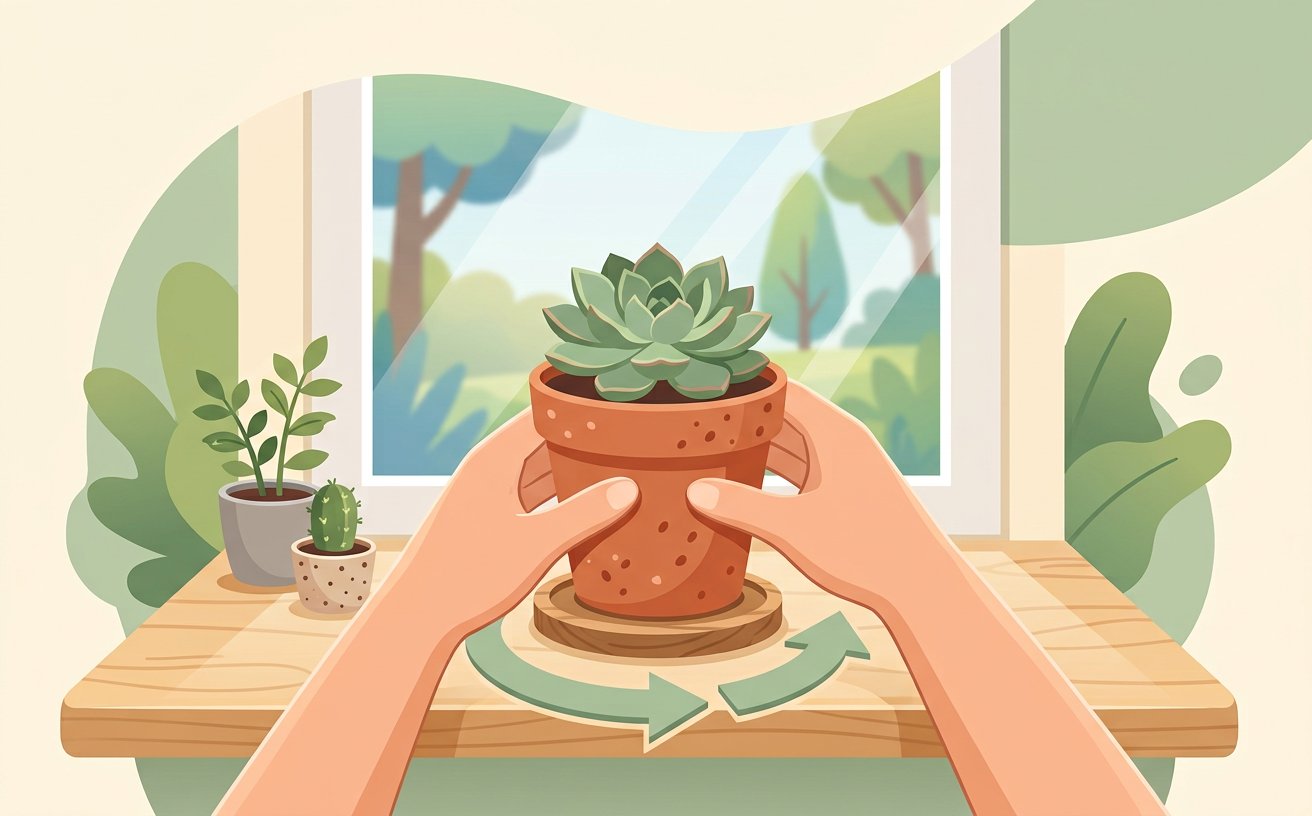
Rotate the pot a quarter turn each week. Plants lean towards the window, and turning them keeps growth even instead of lopsided.[2]
- Buy a cheap moisture meter only if you keep more than ten plants. For a handful, your finger and the weight of the pot are more reliable.
- Howcompass Home Team notes that checking your progress before moving on to Step 18 prevents the most common beginner mistakes.[3]✓
 Howcompass
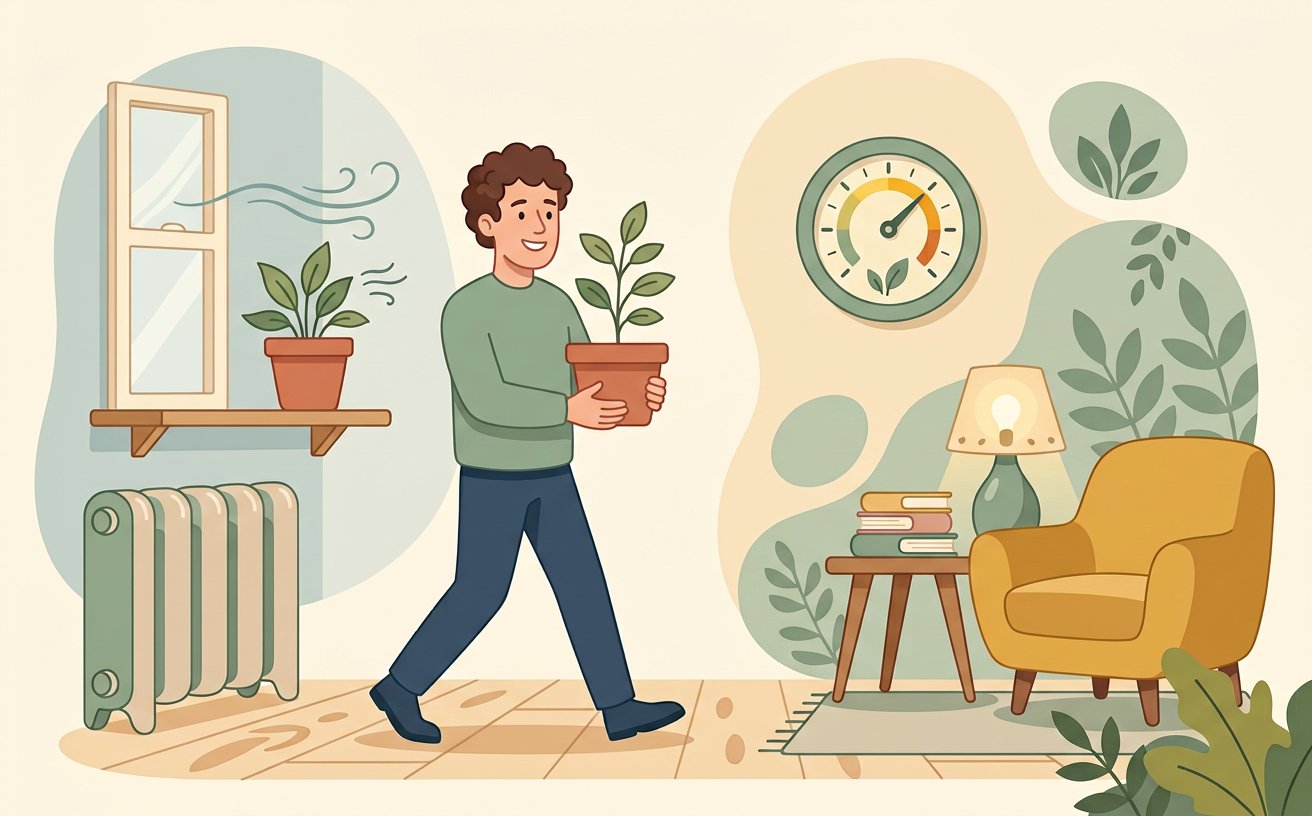
Keep plants away from radiators and draughts. Sudden temperature swings do more damage than a slightly dim corner.[3]
- Water in the morning so any splashes on the leaves dry before the cooler evening air.
- Do not repot a plant that is already stressed, flowering or in the middle of winter. Wait until it is actively growing.[4]✓
 Howcompass
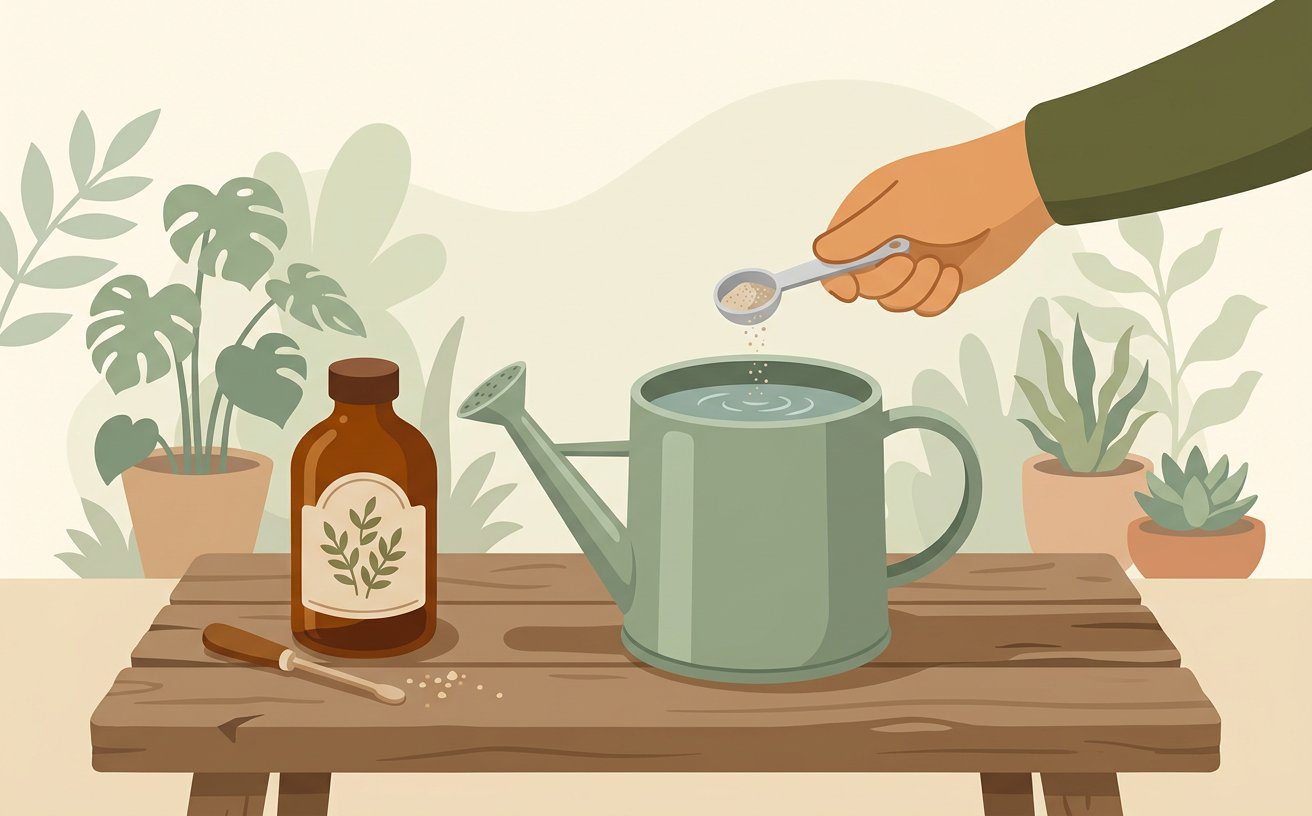
Feed only during the growing season, at half the label strength. Overfeeding burns roots and leaves a white crust on the soil.[4]
- Keep the plastic nursery label or write the plant's name on a small stake. Watering and light needs differ enormously between species, and you cannot look them up if you have forgotten what you bought.
- Howcompass Home Team notes that checking your progress before moving on to Step 20 prevents the most common beginner mistakes.[5]✓
 Howcompass
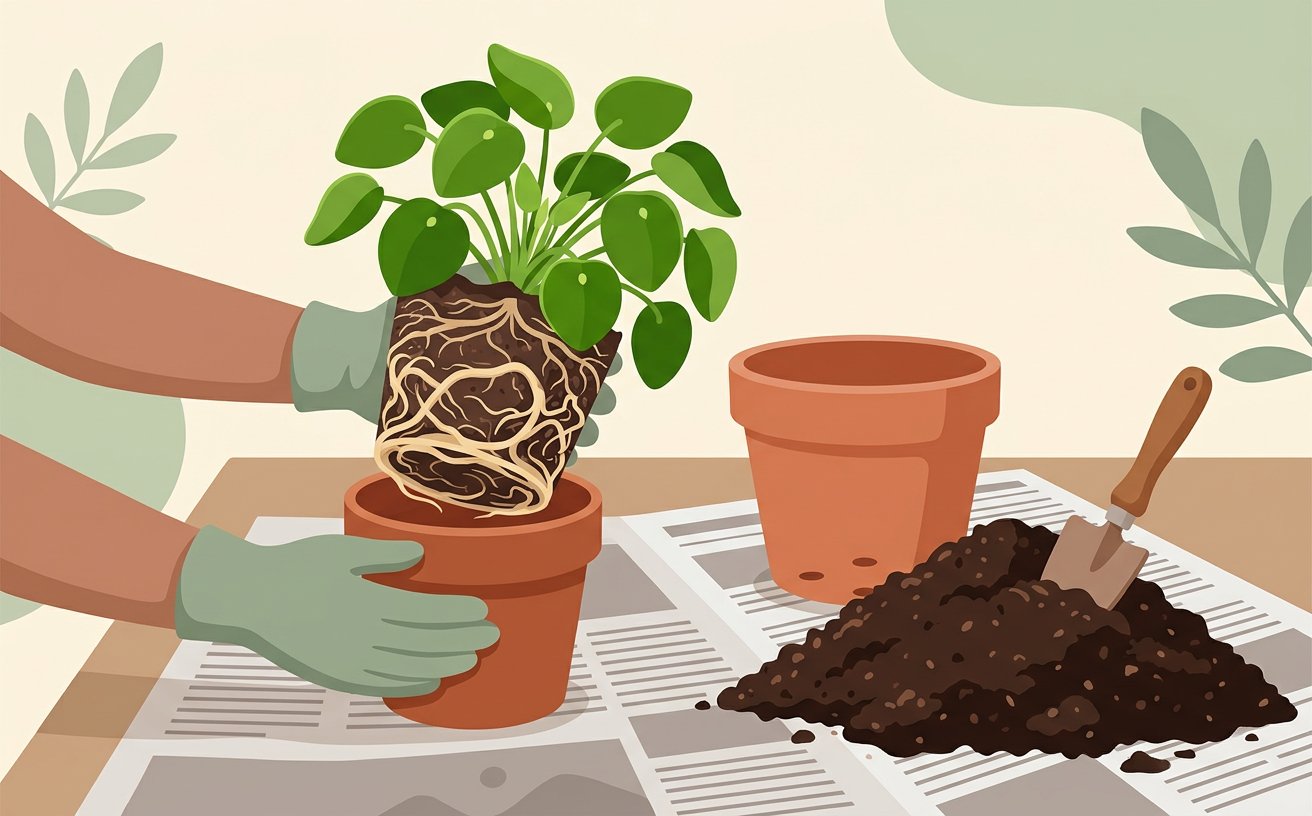
Repot when roots appear at the drainage hole or growth stalls, usually every one to two years in spring. Take your time with this stage of light, air and feeding so your setup stays consistent from start to finish.[5]
- Buy a cheap moisture meter only if you keep more than ten plants. For a handful, your finger and the weight of the pot are more reliable.
- Have your a soft cloth for cleaning leaves within reach before starting this step so you do not have to pause mid-process.[1]✓
Reading the Warning Signs
 Howcompass
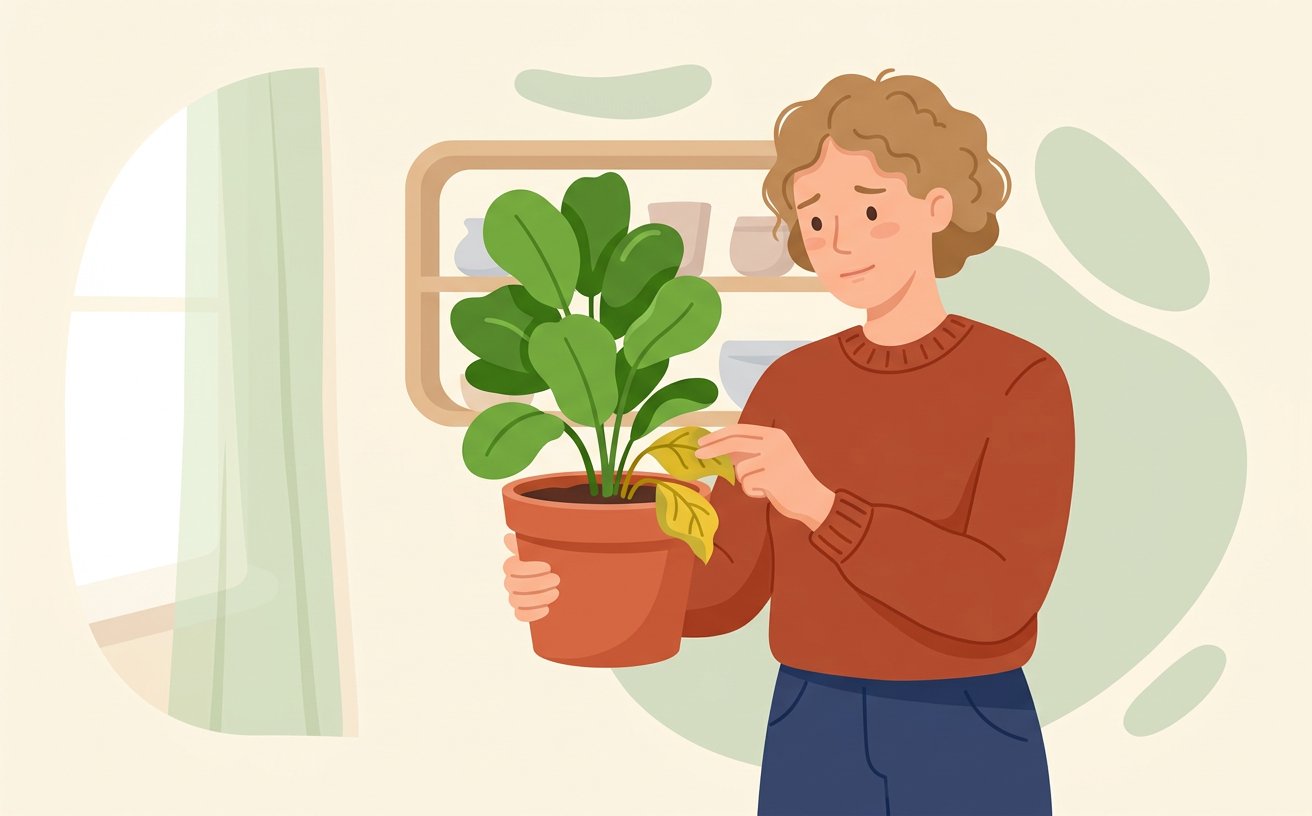
Yellow lower leaves that drop off are usually normal ageing; yellow leaves across the whole plant mean overwatering. Take your time with this stage of reading the warning signs so your setup stays consistent from start to finish.[1]
- Water in the morning so any splashes on the leaves dry before the cooler evening air.
- Do not repot a plant that is already stressed, flowering or in the middle of winter. Wait until it is actively growing.[2]✓
 Howcompass
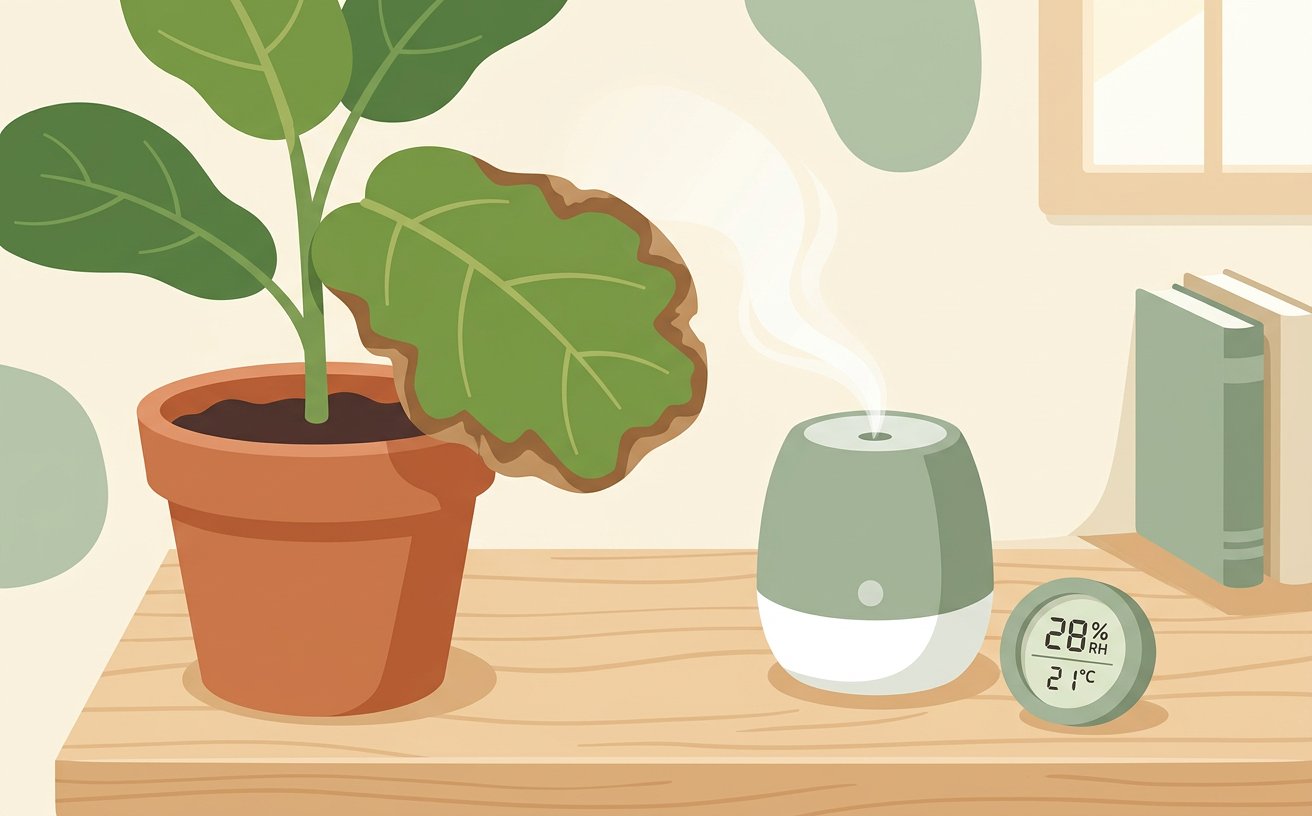
Crisp brown leaf edges point to dry air or inconsistent watering. Raise humidity or water more evenly before adding fertiliser.[2]
- Keep the plastic nursery label or write the plant's name on a small stake. Watering and light needs differ enormously between species, and you cannot look them up if you have forgotten what you bought.
- Have your a pot with a drainage hole and a saucer within reach before starting this step so you do not have to pause mid-process.[3]✓
 Howcompass
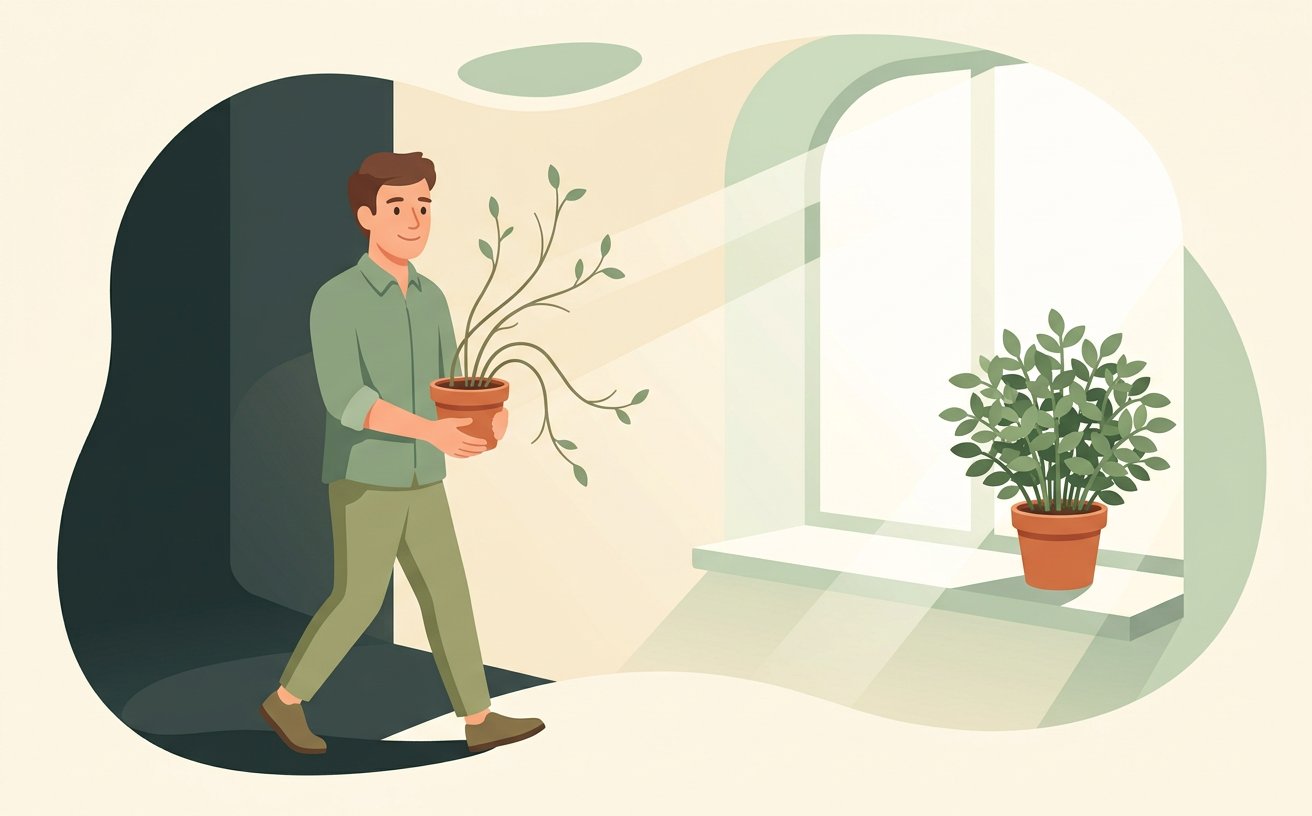
Leggy growth with long gaps between leaves is a light problem, not a feeding problem. Move the plant closer to the window.[3]
- Buy a cheap moisture meter only if you keep more than ten plants. For a handful, your finger and the weight of the pot are more reliable.
- Howcompass Home Team notes that checking your progress before moving on to Step 24 prevents the most common beginner mistakes.[4]✓
 Howcompass
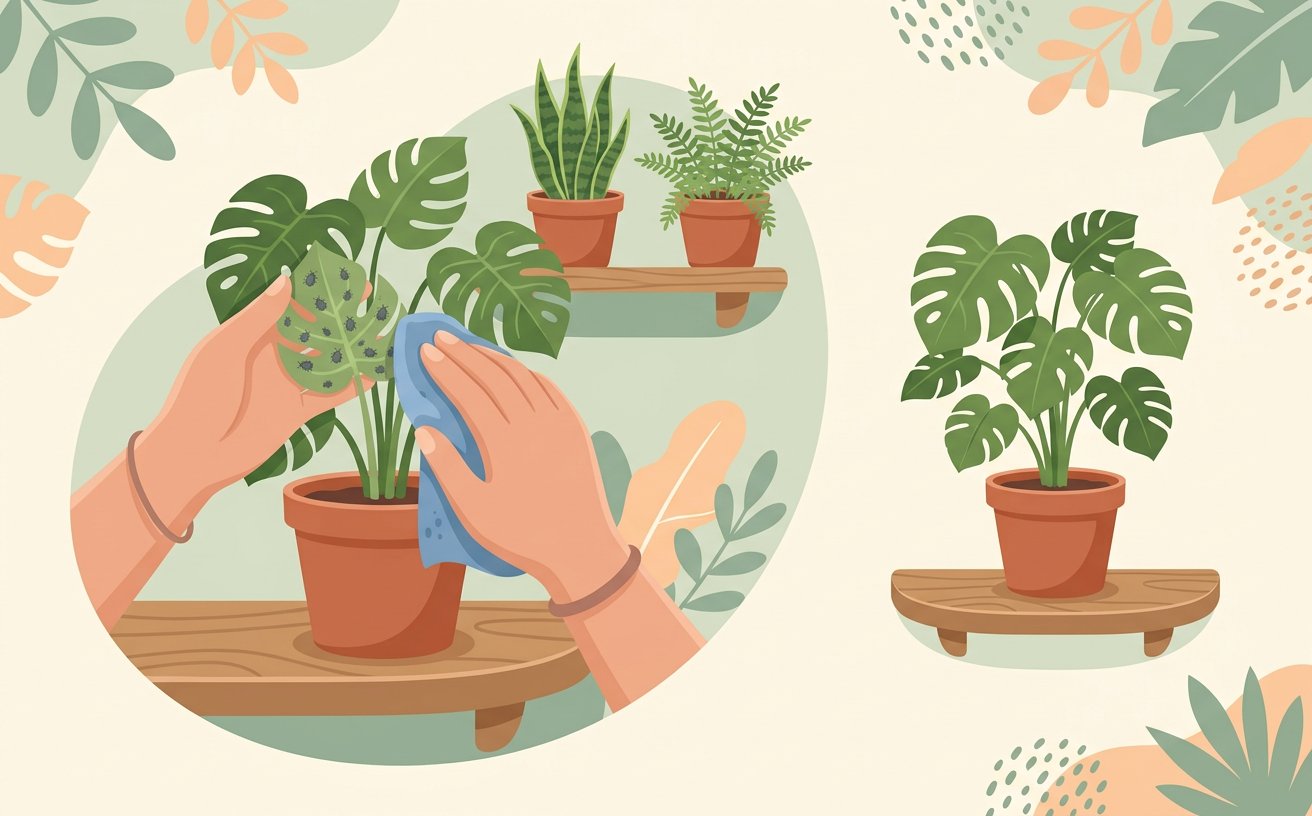
Treat pests early: wipe off visible insects with a damp cloth, then isolate the plant from the rest of your collection. Take your time with this stage of reading the warning signs so your setup stays consistent from start to finish.[4]
- Water in the morning so any splashes on the leaves dry before the cooler evening air.
- Do not repot a plant that is already stressed, flowering or in the middle of winter. Wait until it is actively growing.[5]✓
 Howcompass
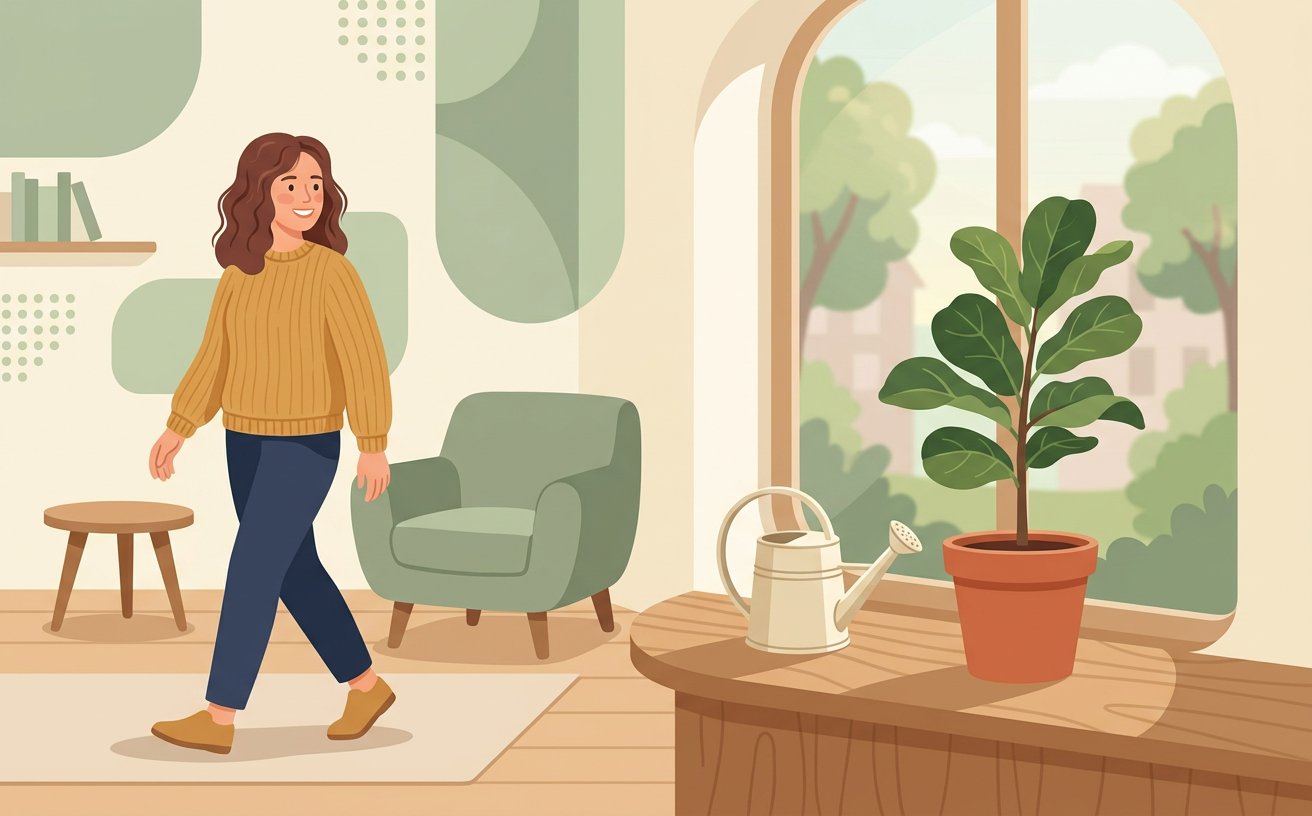
When in doubt, do nothing for a week. Most overwatered plants recover from being left alone; almost none recover from more water.[5]
- Keep the plastic nursery label or write the plant's name on a small stake. Watering and light needs differ enormously between species, and you cannot look them up if you have forgotten what you bought.
- Howcompass Home Team notes that checking your progress before moving on to Step 26 prevents the most common beginner mistakes.[1]✓
Community & Expert Q&A
Question: How often should I water my houseplants?
There is no universal schedule. Check the soil instead: water when the top few centimetres are dry. In summer that may be twice a week for a thirsty fern and once a fortnight for a succulent.
Question: Why are my plant's leaves turning yellow?
If it is one or two old leaves at the bottom, it is normal. If several leaves yellow at once, especially with soft stems, you are almost certainly overwatering.
Question: Do I need to repot a new plant straight away?
Usually not. Most nursery plants can stay in their pot for a season. Repot only if roots are coming out of the drainage hole or the soil dries out within a day of watering.
Question: Can houseplants survive in a room with no window?
A few very tolerant species can survive for a while under artificial light, but none thrive. If there is genuinely no natural light, choose a different decoration or add a plant grow light.
Tips
- Keep the plastic nursery label or write the plant's name on a small stake. Watering and light needs differ enormously between species, and you cannot look them up if you have forgotten what you bought.
- Buy a cheap moisture meter only if you keep more than ten plants. For a handful, your finger and the weight of the pot are more reliable.
- Water in the morning so any splashes on the leaves dry before the cooler evening air.
Warnings
- Some common houseplants are toxic to cats and dogs, including peace lilies, pothos and dieffenbachia. Check before you buy if you have pets or small children.
- Never let a plant sit in a decorative pot without drainage. The outer pot hides the problem until the roots have already rotted.
- Do not repot a plant that is already stressed, flowering or in the middle of winter. Wait until it is actively growing.
Things You'll Need
- The plant and its care label
- A pot with a drainage hole and a saucer
- Potting mix suited to the species
- A small watering can with a narrow spout
- A soft cloth for cleaning leaves
Related Howcompass Guides


References (5)
- Houseplants: care and maintenanceRoyal Horticultural Society
- Watering houseplants correctlyRoyal Horticultural Society
- Repotting houseplantsUniversity of Minnesota Extension
- Poisonous plants for petsAmerican Society for the Prevention of Cruelty to Animals
- Indoor plant light requirementsPenn State Extension
Howcompass editors verify each step. Sources are listed so you can read the underlying guidance yourself.
Did this article help you?
0 readers found this helpful — add your vote.
No comments yet — be the first to share your results.