How to Learn Contour Drawing to Train Your Eye and Hand
A guide to Set Up the Materials and the First Subject Once, Week One: Run the Blind Contour Rules, Week Two: Add Glances, Timers, and Cross-Contour, Read Your Lines, Handle the Frustration, and Move On
In fifteen years of teaching adults to draw, the first exercise I hand out has never been a still life or a cast or a copy of an old master. It is a shoe, a sheet of paper you are allowed to ruin, and a set of rules that sound ridiculous: look only at the shoe, move the pencil at the speed of your eye, and do not — under any circumstances — look at the line you are making. Students arrive convinced they cannot draw. Within a week they are producing lines that are objectively terrible and, for the first time, honestly observed. The reason the drill works is a quirk of how we see. Somewhere around age ten most people stop drawing edges and start drawing stored symbols: a shoe becomes a shoe-shape, an eye becomes an eye-shape, and the hand obediently reproduces the symbol no matter what the real object is doing. Blind and modified contour break that loop by banning the one thing that keeps symbols in charge — visual checking. When you cannot compare the line to the subject, the brain stops editing and starts watching, and the watching is the skill you are actually buying. This guide is the full two-week course I assign in class, in four phases. First you set up cheap materials and one simple subject. Then you run the pure blind contour rules on hands and a mirror self-portrait. Then you add the modified version, timed drills from 30 seconds to 5 minutes, edge walks around the whole silhouette, and cross-contour lines that describe volume. Finally you learn to read your own stack of drawings the way a teacher would, handle the frustration most adults hit around day four, and step from contour into measured drawing and gesture. Fifteen to 20 minutes a day is the entire commitment.
Blind contour drawing retrains how you see: your eye traces every bump of a shoe, plant, or hand while your pen moves slowly on paper, and you never look at the result. Do it 15 to 20 minutes a day on cheap newsprint with a 2B to 4B pencil or a fine ink pen for two weeks. Then move to modified contour — 80 percent looking at the subject, 20 percent glancing at the paper — and add timed drills from 30 seconds up to 5 minutes. The wobbly, wrong-looking line is the point: it proves you drew the real edge instead of the symbol you memorized as a child.
- Time
- 15-20 minutes a day for 14 days; about 4-5 hours total
- Cost
- $10-$25 once: a newsprint pad, soft pencils or fineliners, one household object
- Difficulty
- Beginner — no prior drawing skill or art theory required
- Works on
- Any simple subject: shoe, houseplant, hand, kitchen jug, mirror self-portrait
- Not for
- Finished, accurate pictures — these practice lines are supposed to look wrong
- Results
- Smoother, slower seeing within 7-10 days; steadier lines you can compare in a dated stack
How do you learn Contour Drawing to Train Your Eye and Hand?
 Howcompass | How to Learn Contour Drawing to Train Your Eye and Hand
Set Up the Materials and the First Subject Once
HowcompassTape Down Cheap Paper You Will Ruin
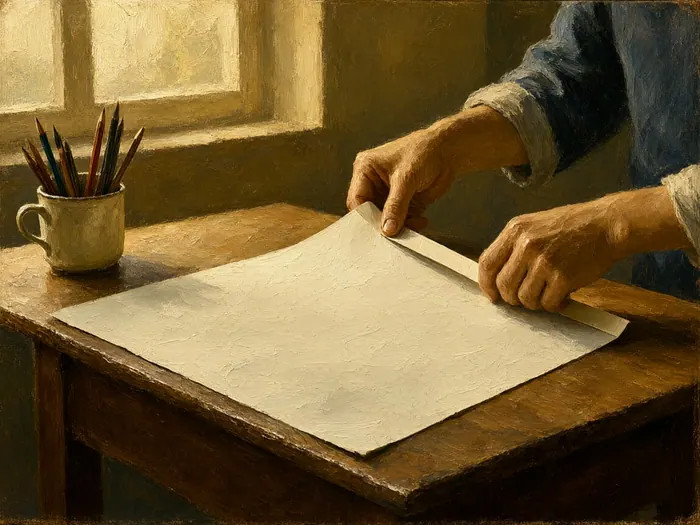
Buy a pad of newsprint in 18-by-24-inch sheets, roughly $8 to $14, or a ream of ordinary bond printer paper for about $6 to $10, and choose paper that is worth nothing so you can afford to fill it. Newsprint is soft, slightly toothy, and forgiving under graphite, and bond paper is smooth enough for pens. Tape the four corners to a board or a wall so the sheet cannot lift when your hand drags across it. Plan to waste 30 to 40 sheets over two weeks; the student who is protecting the paper is also protecting the symbol drawings you are about to break.
 Howcompass
Choose a Soft Pencil or a Fine Ink Pen
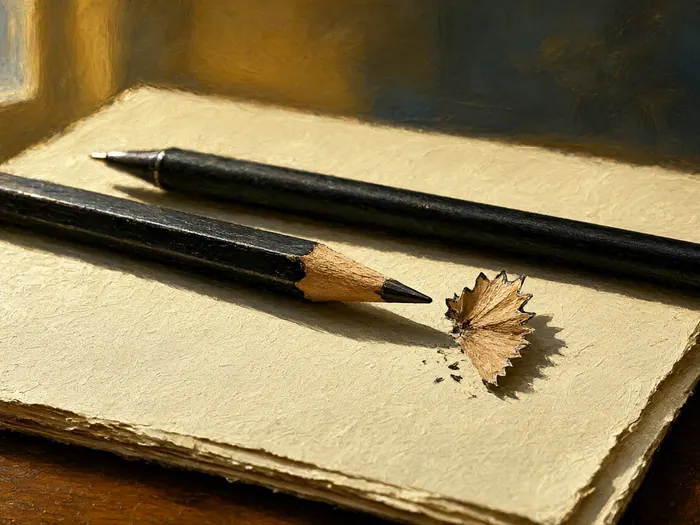
Pick one tool for the whole two weeks: a soft graphite pencil in 2B, 3B, or 4B, at 50 cents to $2 each, or a fine waterproof ink pen with a 0.3-to-0.5-millimeter tip, usually $2 to $4 apiece. Ink is merciless on purpose, because an eraser invites the checking and correcting that blind contour forbids, while soft pencil records changes in pressure so you can later see exactly where your attention slipped. Keep three sharpened pencils going so a dull point never becomes an excuse to stop, and buy nothing else until the fortnight is over.
 Howcompass
Pick One Simple Object with Many Edges
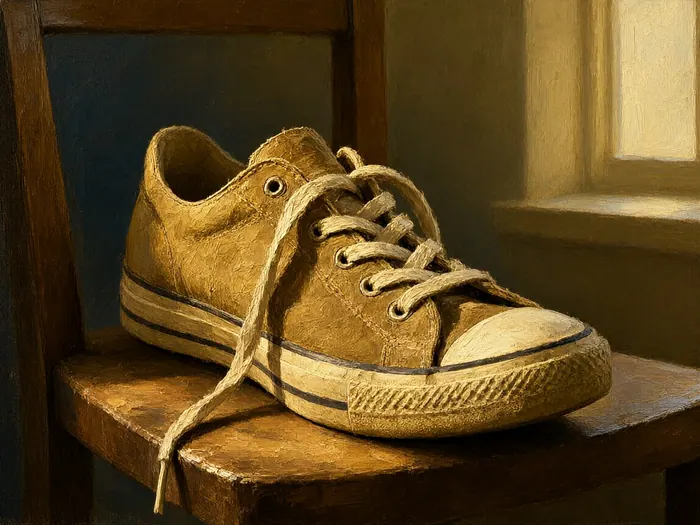
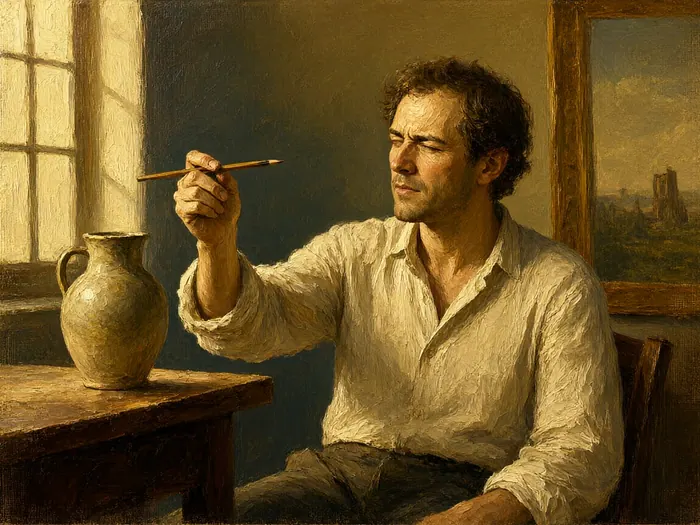
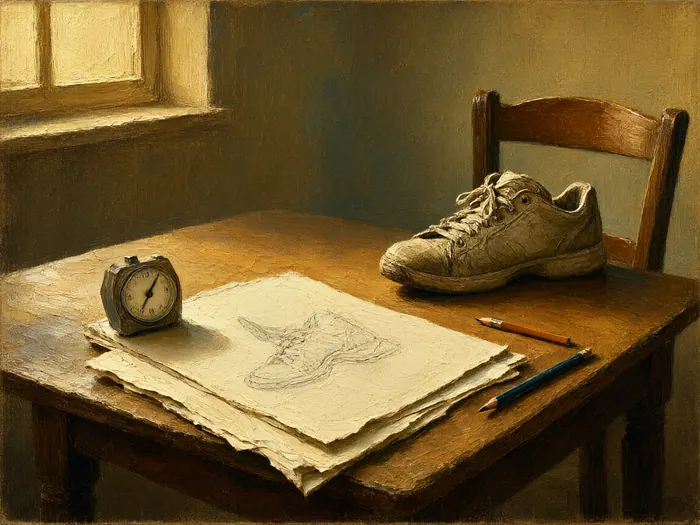
Choose one object with complicated, bumpy edges: a worn sneaker on a chair is the classic first subject, followed by a houseplant with three or four leaves, a kitchen jug with a handle, or your own hand. Place it 45 to 60 centimeters away and roughly at eye level when you sit, and keep the same object for several days so any progress is visible inside one subject instead of hidden behind a new one. A shoe wins week one because the stitching, eyelets, sole layers, and laces give you dozens of different edges to describe, and no two are alike.
 Howcompass
Set One Steady Light and Comfortable Seat
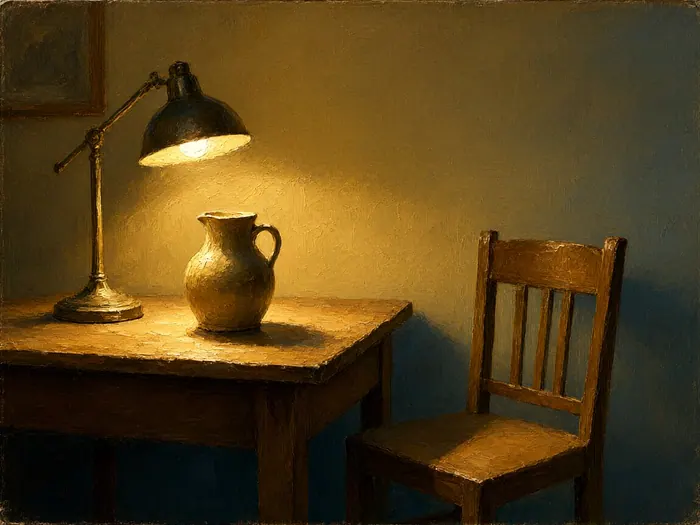
Light the subject from one fixed direction — a north-facing window, or a desk lamp 40 to 60 centimeters to one side — so the bumps you trace cast small shadows that tell your eye where the edge turns. Sit with your back supported and your forearm resting, and prop the paper closer to vertical if you can; most people quit after 10 minutes because their neck aches, not because their eye is tired. Put your timer where you can read it without turning your head, take a photograph of the setup, and then remove the phone from the table entirely.
 Howcompass
Date Each Sheet Before the Pen Lands
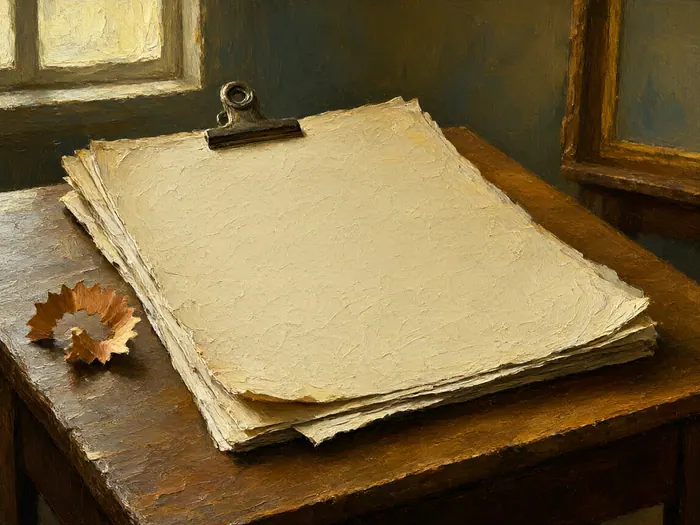
Before you start a drill, write one line in the margin: date, subject, drill name, and length in minutes, because a stack of 40 anonymous sheets teaches you nothing when you try to review it at the end of fortnight. Give every sheet an identity and patterns appear by themselves — you will notice that your 5-minute shoe lines loosen after day nine, or that every mirror self-portrait ends up rushed. Keep finished sheets clipped and in order rather than scattered, and let yourself save the single ugliest sheet from week one as your dated baseline for later comparison.
Week One: Run the Blind Contour Rules
 Howcompass
Lock Your Eye onto One Real Edge
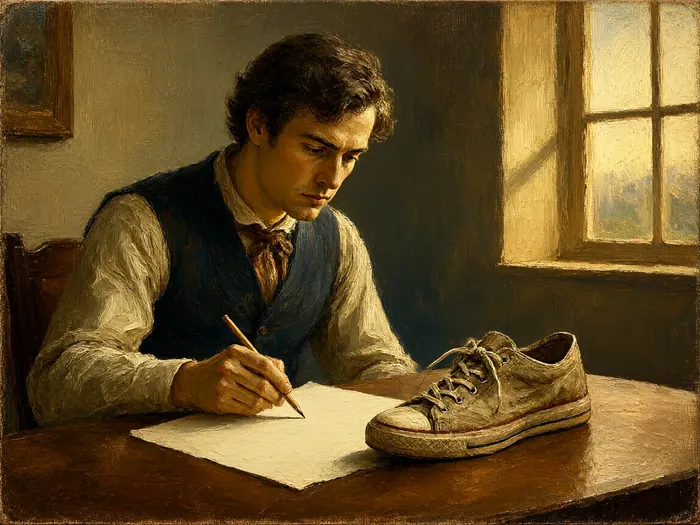
Blind contour has three rules: your eye travels along a real edge of the object, your pen travels at the same speed on the paper, and neither one stops, backtracks, or peeks at what the line is doing. The exercise was popularized by the drawing teacher Betty Edwards in Drawing on the Right Side of the Brain, and its point is not the picture but the forced attention: you cannot draw the symbol of a shoe if looking at the paper is forbidden. Pick a starting place, such as the toe seam, and commit to it for the whole drill.
 Howcompass
Move the Pen at One Slow Even Speed
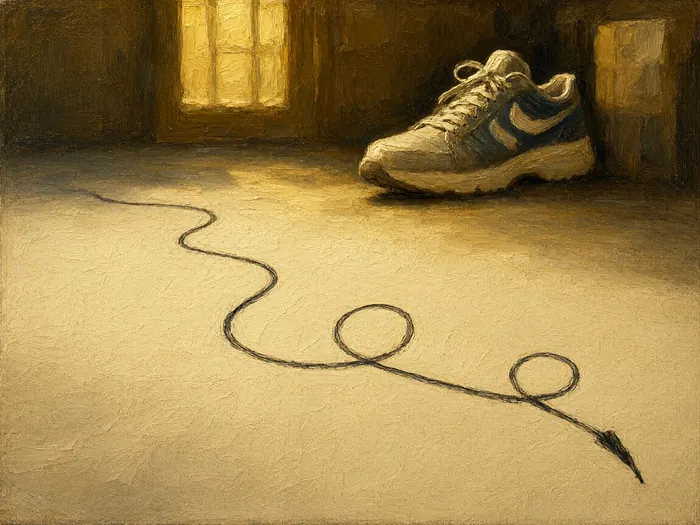
Let the eye set the pace and the hand copy it: wherever your gaze slows down — a frayed lace tip, the notch where sole meets upper — the pen slows with it, and long smooth stretches get long smooth marks. Your first blind contour of a whole shoe should take 3 to 5 minutes; if yours finishes in 60 seconds, you drew the idea of a shoe, not the shoe. Keep the line continuous, lifting neither pen nor gaze, and allow crossings and overlaps, because a tangled honest line beats an edited pretty one. Breathe normally; students unconsciously hold their breath and then rush.
 Howcompass
Draw Your Non-Dominant Hand Blind First
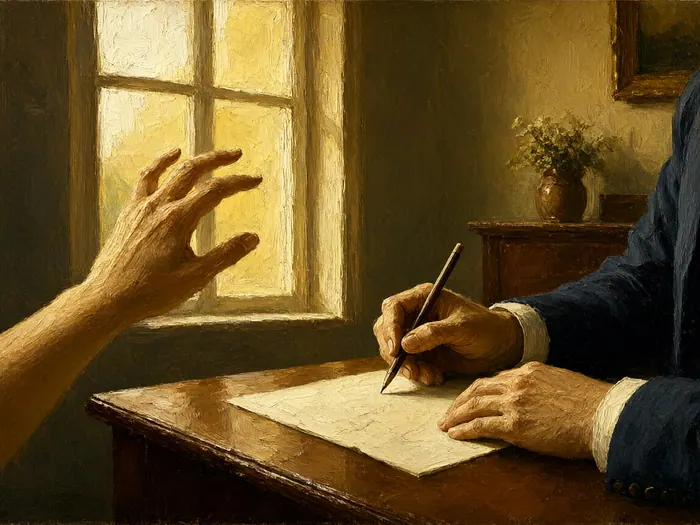
Begin with the hand you draw worst: prop your non-dominant hand in front of you, fingers spread wide, and give it 5 full minutes of pure blind contour with your dominant hand and pen. The awkward subject quiets the inner critic, because the part of your brain complaining about pen control never has time to correct the eye — which is exactly the mental state the drill is built to produce. Do one splayed palm, one fist, and one relaxed resting hand with the thumb tucked, and expect the result to look like a creature rather than a hand. That is a correct week-one outcome.
 Howcompass
Draw a Blind Contour Self-Portrait in a Mirror
Once hands bore you, set a mirror at arm's length and draw your own face blind for 5 to 8 minutes, letting the eye wander from eyelid to nostril to the crease beside the mouth. The self-portrait is the most upsetting and most useful drill of week one, because the gap between the face you think you have and the scribble on the paper is enormous and obviously funny, and the laughing is part of the loosening. Rest the paper in your lap, turn your head as little as possible, and if you drift off your own edge, start a fresh sheet instead of patching the old one.
 Howcompass
Narrate Each Bump and Notch while Tracing
Say what you see as the pen goes, out loud or under your breath: bump, dip, sharp turn, long curve, tiny wave, stop. Naming each edge change keeps the eye moving one detail at a time instead of leaping to the end, and Tate's Art Terms glossary defines the contour line itself as the line that marks the edge of a form — which is precisely what you are narrating. Narration also exposes cheating: the instant your mouth says curve while the pen has stalled, you know eye and hand have divorced. Ten narrated minutes beat forty silent ones.
Week Two: Add Glances, Timers, and Cross-Contour
 Howcompass
Split Attention Eighty-Twenty Between Subject and Paper
Modified contour keeps the eye on the subject about 80 percent of the time and allows a quick glance at the paper the other 20 — long enough to place the next line, never long enough to judge it or fix it. Make the glance a bounce: the eye leaves the shoe, flicks to the paper, and returns to the exact point on the edge where it left off. Most teachers admit students to modified contour only after 60 to 90 cumulative minutes of clean blind work in week one, because peeking is a habit that is easy to start and hard to ration. When you are ready, put blind and modified versions on the same sheet, one above the other, and compare.
 Howcompass
Run the Timed Ladder from Thirty Seconds
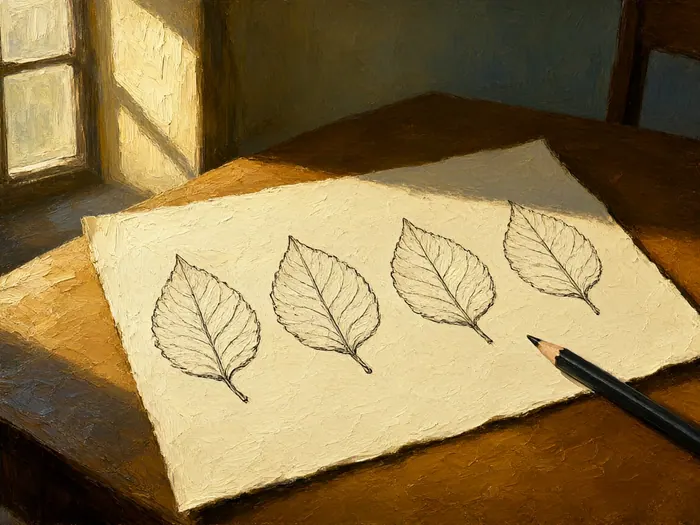
On one sheet, draw the same plant leaf four times at four lengths — 30 seconds, 1 minute, 3 minutes, and 5 minutes — as continuous contour, pen never lifting between rounds. The short versions force you to decide which edges actually carry the leaf; the long ones repay patience you did not know you had. Studies of skill improvement describe this kind of focused, specifically-timed repetition as deliberate practice, and it is the ladder rather than the total hours that produces most of the visible change. Do 8 to 12 ladder sheets across week two, and note the four durations in the corner so the effect of speed is obvious at review time.
 Howcompass
Trace the Whole Silhouette in One Journey
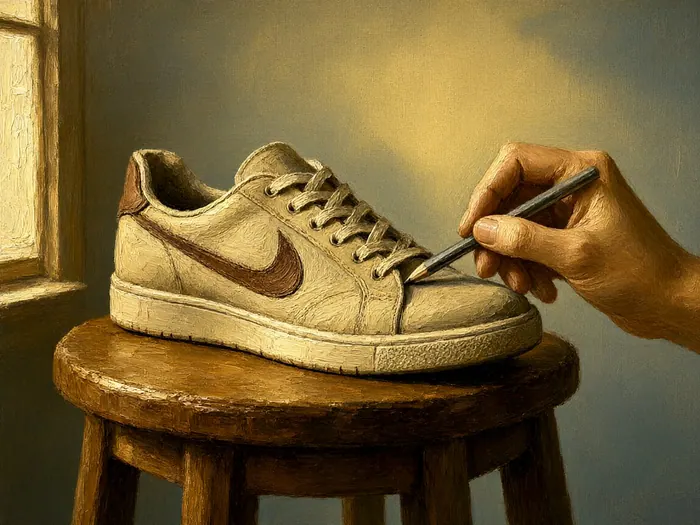
Choose the outer silhouette of the shoe — the boundary where the object stops and the room begins — and follow it as one unbroken journey, starting at the toe and returning to the toe in 3 to 5 minutes. This around-the-whole-edges drill kills the habit of drawing disconnected details, because a single continuous boundary makes you feel the object as one shape with weight and rhythm. Run it once clockwise and once counterclockwise; reversing the direction changes which bumps arrive first and reveals how much you were predicting instead of watching. Do three full-girth walks each for the jug, the plant, and the shoe during week two.
 Howcompass
Wrap Cross-Contour Lines Around the Volume
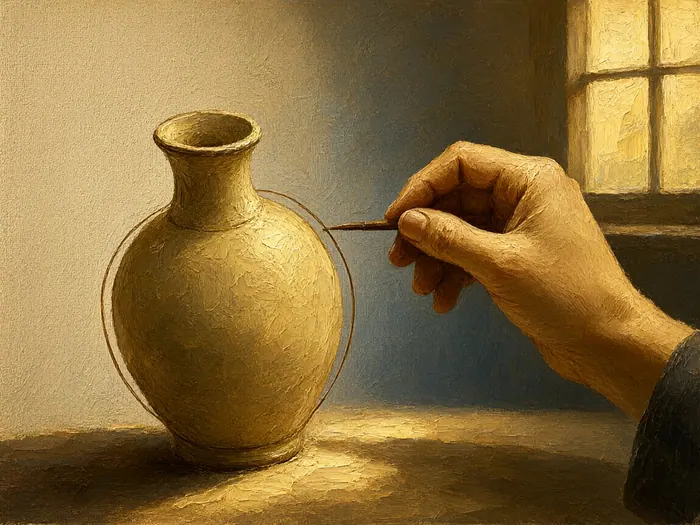
When the outline feels loose, add cross-contour lines: imaginary paths that travel over the surface like ribbon wrapped around a gift, arcing across the toe box of the shoe, curving around the belly of the jug, and bending under the sole to suggest the part you cannot see. Draw 5 to 8 of them per object over 10 to 15 minutes, working in modified-contour mode so each arc bends exactly where the real surface changes direction. Cross-contour is the bridge from flat outline to three-dimensional form, and it is the cheapest way to make a wobbly week-one drawing start describing volume. Keep the arcs long and confident, and let them overlap.
 Howcompass
Redraw the Same Object Every Other Day
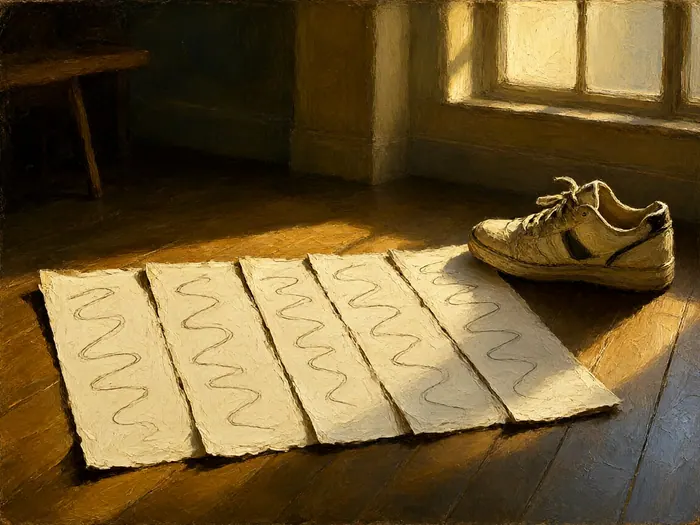
Leave the sneaker exactly where it sits and draw it again, blind or modified, on day one, three, five, and seven — one 10-minute visit per session, same chair, same light. Repeating an unchanged setup is what makes progress measurable, because a new subject lets you hide and the same one never does. Expect the day-three sheet to feel worse before the day-seven sheet feels freer; your eye is being rebuilt, not your hand. Pair these repeats with one fresh object per week — a plant, then a jug, then a set of keys hung on a hook — so the skill transfers instead of becoming shoe-specific.
Read Your Lines, Handle the Frustration, and Move On
 Howcompass
Judge the Weekly Stack by Line Quality
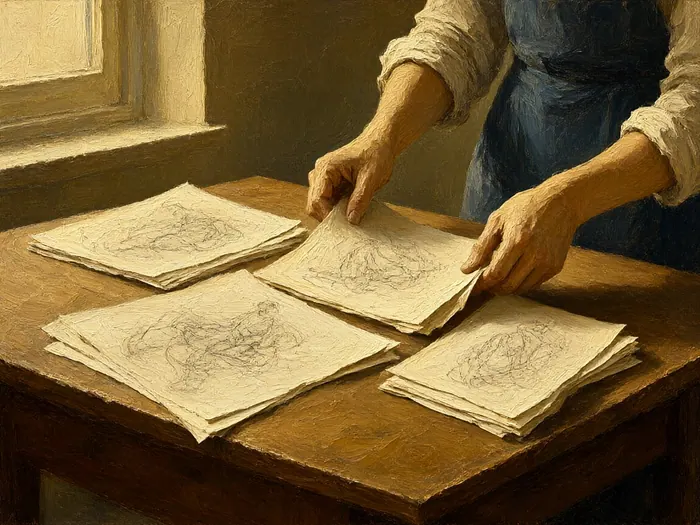
Once a week, spread your dated sheets on a table and grade them on exactly three things: did the line slow down at the bumps, did it keep traveling without restarting, and did it wander honestly where the attention wandered? Likeness is irrelevant at this stage, and if you hunt for it you will quietly teach yourself to fake it again. The free instructional library at Artists Network carries the same advice from working art instructors: review for evidence of attention before you review for accuracy. If looking through the stack makes you want to draw more tonight, the habit has taken; the natural next home for these sheets is the running journal described in our sketchbook diary guide.
 Howcompass
Expect Ugly Lines Because the Ugliness Works
Every adult in week one says some version of: this looks nothing like a shoe, have I ruined my drawing? You have not ruined anything; you have switched off the small editor that draws symbols instead of objects, and the absence of that editor looks like ugliness. Tangled, overshooting, wandering lines are the correct output of blind contour, and a beautiful blind contour is almost always a cheating one. Keep the worst, funniest sheet of the fortnight and date it honestly — and if it starts to feel shameful instead of ridiculous, put it somewhere you will see it daily; our framing and mounting guide works just as well for a gloriously terrible shoe.
 Howcompass
Add Measured Drawing Once Contour Feels Easy
After 10 to 14 days, when a 5-minute modified contour no longer makes you wince, start ending each drill with one measured drawing of the same object: compare heights against widths with your pencil held at arm's length and a thumb on the shaft, place the biggest shape first, and allow yourself to check and correct. Contour trained the seeing; measurement trains placement, and the two skills only pay together. If you want the fuller curriculum for this stage, work through our Learn to Draw for Beginners guide next, then alternate sessions: 10 minutes of contour warm-up followed by 20 minutes of measured drawing.
 Howcompass
Move from Contour into Short Gesture Sessions
Gesture drawing is contour's fast sibling: 30-to-60-second whole-object or whole-figure sketches that capture direction and rhythm rather than edge accuracy, and the patience you built in contour is exactly what keeps gesture lines from dissolving into scribble. The overview of gesture drawing traces the practice to life-drawing academies, where students filled reams of paper the way you have been filling newsprint. Add 20 quick gestures per week alongside your continuing contour warm-ups, and once both feel routine, build the standing habit with our daily gesture drawing practice guide.
 Howcompass
Follow the Two-Week Daily Practice Schedule
Run 14 consecutive days at 15 to 20 minutes a day: days one to three, two blind hands and a 5-minute blind shoe; days four to seven, blind self-portraits plus full-silhouette walks; days eight to ten, the 80/20 modified version and the timed ladder from 30 seconds to 5 minutes; days eleven to thirteen, cross-contour plus one measured drawing; and day fourteen, one cafe session sketching a stranger's silhouette with modified contour, exactly as our cafe sketching guide describes. That is only 4 to 5 hours total, and the schedule's whole argument is that short daily beats long occasionally. A missed day is never doubled — just slide the ladder one day and keep the sheets, because on day fourteen you will want the evidence.
How to know it worked
- You completed at least 12 of the 14 daily sessions, none longer than 20 minutes.
- You can hold a 5-minute blind contour — pen never lifts, eye never leaves the subject — three times in a row.
- Your lines visibly slow down and thicken at bumps, and you can point to where in the shoe that happened.
- Day-one and day-fourteen sheets side by side show a calmer, more continuous line even though neither looks like a proper drawing.
- You can switch deliberately between blind and 80/20 modified contour on command, and you have run the full timed ladder twice.
Common mistakes to avoid
- Lifting the pen to reposition it, which turns contour into a pile of copied fragments and breaks the eye-hand link.
- Running the hand faster than the eye, so the famous shoe symbol reappears and the drill measures nothing.
- Practicing on nice paper you are afraid to spoil, which quietly teaches caution instead of attention.
- Switching to a new subject every day, so there is no unchanged setup against which progress can be seen.
- Grading the drawings by likeness during the two weeks instead of by line behavior, then quitting in frustration at day four.
Frequently Asked Questions
Question: Do I need any drawing experience to start?
No. Blind contour was designed for adults who believe they cannot draw, and it removes the two skills beginners worry about: rendering and correcting. All you need is one object, one sheet of paper you are allowed to ruin, and the discipline not to peek. Total beginners and lapsed drafters alike get the same tangled, honest result on day one.
Question: Why does my blind contour drawing look so wrong?
Because for the first time you are drawing the actual edges instead of the stored symbol for a shoe or a hand, and the mismatch between the two is exactly the point. A wrong-looking blind contour means the rules were followed. A neat, recognizable one almost always means the pen was checked against the paper. Judge the line's behavior — slow at bumps, continuous, uncorrected — not the picture's accuracy.
Question: Should I use pencil or ink pen for the drills?
Either works; many teachers start students on a 2B to 4B pencil for days one to three so the pressure record is visible, then switch to a 0.3-to-0.5-millimeter fineliner to remove the eraser entirely. Ink commits you to every mark, which is uncomfortable for about three sheets and then quietly clarifying. Choose one tool for the fortnight rather than shopping for the perfect one.
Question: How long until I can actually see improvement?
Line quality changes first, usually between day seven and day ten: the marks get longer, slower, and less hesitant even though the drawings still look absurd. Compare dated sheets rather than relying on memory, because your eye adapts to gradual change. Meaningful carryover into measured drawings typically shows up two to three weeks after the drill block ends.
Question: Can I look at the paper at all in blind contour?
Not in the blind version — one glance re-engages the checking-and-editing loop the exercise is built to switch off. The place for glancing is modified contour, where roughly 80 percent of the time goes to the subject and 20 percent to quick bounces at the sheet. Complete at least 60 to 90 minutes of clean blind work before allowing the bounces, or the ratio quietly inverts.
Question: How much should I practice each day?
Fifteen to 20 minutes a day for 14 days is the whole course — about 4 to 5 hours total. Longer sessions at this stage mostly add fatigue: the hand cramps before the attention does. If 20 minutes feels easy, add one more timed ladder sheet rather than extending every drill. Miss a day and just slide the schedule; never double up, because intensity is not the variable being trained.
Question: Will contour practice make my finished drawings better?
Indirectly but durably: you gain slower, more accurate seeing, a steadier continuous line, and tolerance for the early stage of any drawing. To convert that into finished work you still need measurement, proportion, and value study — contour is the attention gym, not the whole studio. Pair it with measured drawing once the 5-minute modified contour stops making you wince.
Tips
- Fix the same 15 to 20 minutes each morning for the fortnight; a daily slot next to coffee beats a heroic two-hour weekend session every time.
- Use a real timer you start before the pen lands. During blind contour, glancing at the clock is already a peek, so set it once and trust it.
- Draw from the shoulder, not just the wrist, even when the line is tangled. Big-arm movement keeps the speed even and prevents a cramped hand at minute three.
- Keep one object unchanged for a full week. Novelty is where the checking habit hides; sameness is where progress becomes visible in the stack.
- On the day you want to quit, do a single 30-second ladder round and stop. The habit survives even when the drill does not.
Warnings
- Stop and rest if you feel sharp pain, tingling, or numbness in the fingers, wrist, or elbow. Contour drills are repetitive; take a 5-minute break every 20 minutes and see a clinician if symptoms persist rather than pushing through.
- Do not keep a blind contour sheet and then erase, redraw, or lift the pen to fix it. The correction loop returns the moment you allow one repair, and the drill stops working.
- Expect a real frustration spike around day three to five, especially with mirror self-portraits. If the feeling turns into shame rather than amusement, put the pen down for the day instead of grinding through it.
- Do not spend money on expensive paper, transfer sheets, or gadgets as a substitute for the reps. The method works on printer paper; a setup over $25 usually means procrastination dressed as preparation.
Things You'll Need
- Newsprint pad, 18 by 24 inches
- Ream of bond printer paper
- 2B graphite pencil
- 4B graphite pencil
- 0.5-millimeter black fineliner pen
- Portable pencil sharpener
- Worn sneaker with laces
- Small leafy houseplant
- Kitchen jug with a handle
- Round mirror for self-portraits
- Adjustable desk lamp for one-direction light
- Rolling masking tape for sheet corners
- Kitchen timer or phone timer app
- Binder clips or a folder for dated sheets
Related Howcompass Guides


References (2)
- Art Terms GlossaryTate
- Drawing Instruction and Art Education ResourcesArtists Network
Further reading
- Drawing on the Right Side of the BrainWikipedia
- Betty EdwardsWikipedia
- Gesture drawingWikipedia
- NewsprintWikipedia
- Practice (learning method)Wikipedia
Encyclopaedia entries are background, not evidence: no step below rests on one of these.
Sources are listed so you can read the underlying guidance yourself. Our editorial policy explains how guides are reviewed.
Did this article help you?
0 readers found this helpful — add your vote.
No comments yet — be the first to share your results.