How to Paint a Landscape
A guide to Gathering Your Materials, Preparing to Paint, Sketching and Composition, Painting Your Landscape, Finishing and Sharing
Landscape painting gets easier when you stop treating it as a copy of a view and start treating it as a sequence of decisions: composition, value masses, colour temperature, then detail. This guide follows that order in oils, with the drying and ventilation rules that matter in a first studio. If you are not yet comfortable with a brush, Paint with Watercolours is a cheaper way to learn composition first.
Tone the canvas, sketch the composition, then block the three or four main value masses before any detail. Work fat over lean — more oil and thicker paint in later layers — and let each layer dry enough that you are not dragging it. Keep edges soft in the distance and sharper in the foreground, and save the brightest highlight and darkest accent for the final pass. Paint a small study first; it will save you an entire repaint.
- Time
- 3–6 hours per painting; 15–30 minute studies
- Cost
- $80–$250 starter oils and surfaces
- Difficulty
- Medium–high
- People
- 1
- Space
- A ventilated room with an easel
- Tools
- Oils, brushes, canvas or board, solvent, rags, palette knife
How do you paint a Landscape?
 Howcompass | How to Paint a Landscape
Gathering Your Materials
HowcompassChoose Your Oil Paints
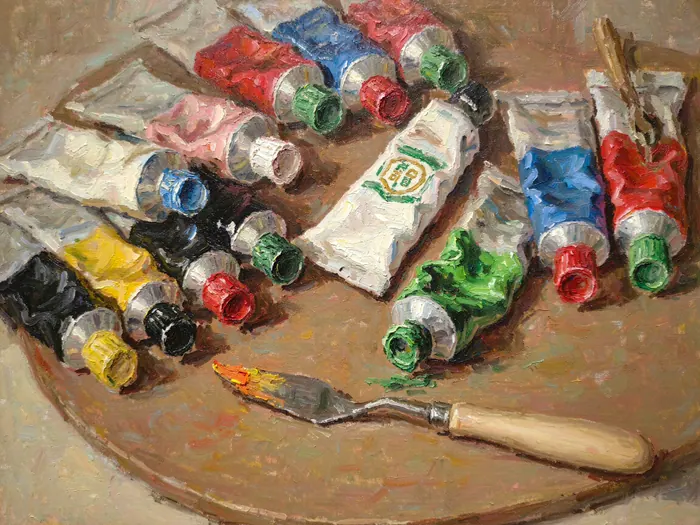
Select a basic set of oil paints to start your landscape painting journey. A starter set of 12-24 colors is sufficient — you do not need every color available. Use Winsor & Newton for excellent student-grade paints, or Gamblin for professional artist-grade quality. Essential colors include titanium white, cadmium yellow, cadmium red, ultramarine blue, burnt sienna, and raw umber — these can mix most landscape colors. Avoid buying cheap paints from craft stores — they contain less pigment and make mixing difficult.
 Howcompass
Select Your Brushes
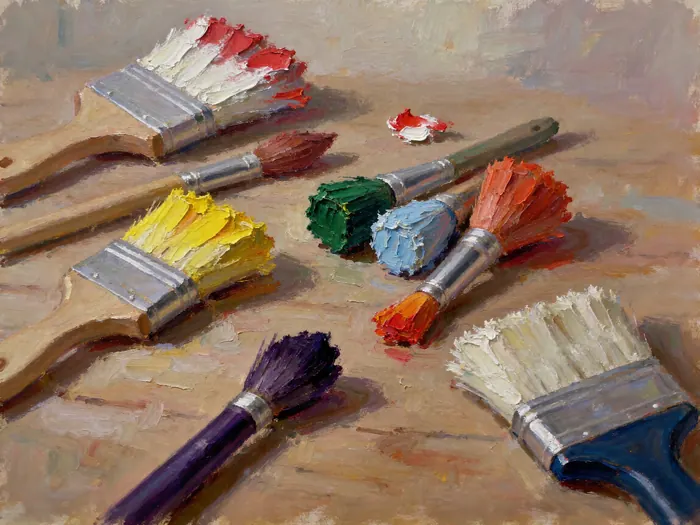
Choose the right brushes for landscape painting. You will need filbert brushes for broad strokes, flat brushes for edges and lines, and round brushes for details. Use Winsor & Newton Series 7 Kolinsky sable brushes for the best quality, or Princeton for affordable alternatives. Get at least 3 sizes: large (1 inch), medium (1/2 inch), and small (1/4 inch). Also include a palette knife for mixing paint and creating texture. Synthetic brushes work for acrylics but natural hair is better for oil paints.
 Howcompass
Pick Your Painting Surface
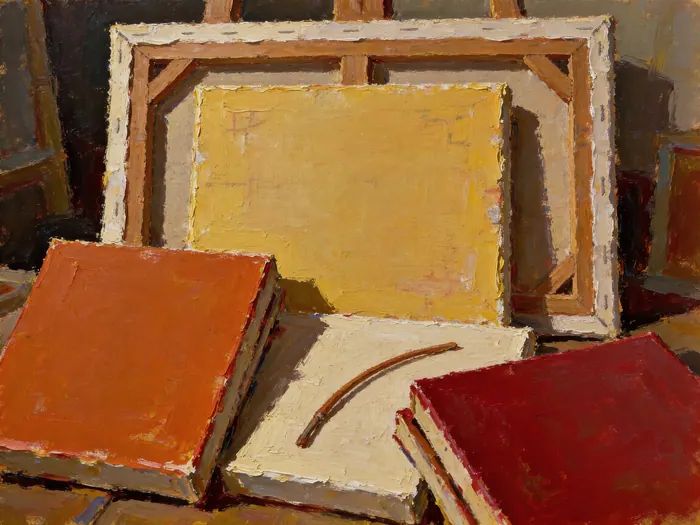
Choose your painting surface — stretched canvas, canvas panels, or oil paper. For beginners, canvas panels are economical and sturdy. For serious work, use stretched canvas from Winsor & Newton or Gamblin. Standard sizes for landscapes are 16x20 inches or 18x24 inches. Also consider oil paper — it is a great surface for practicing and sketching. Prime your surface with gesso before painting to create a proper ground for the oil paint.
 Howcompass
Gather Your Mediums and Solvents
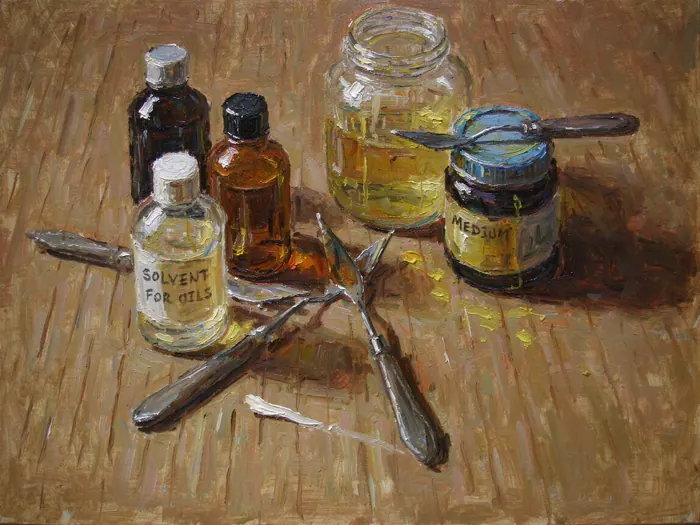
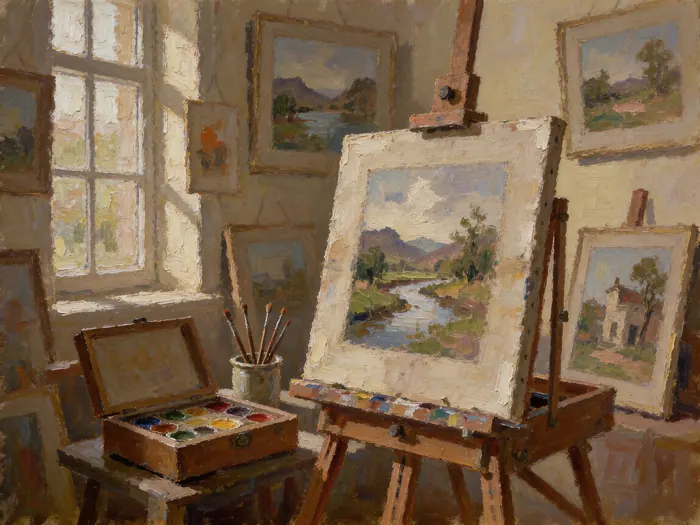
Collect the mediums and solvents you need for oil painting. Use Gamsol or other odorless mineral spirits for cleaning brushes and thinning paint. Use a painting medium like Galkyd or Liquin to alter the paint's consistency and drying time. Liquin speeds up drying and makes paint more flowable; Galkyd slows drying and adds gloss. Always work in a well-ventilated area when using solvents. Store solvents in sealed containers away from heat and flames.
 Howcompass
Set Up Your Easel and Workspace
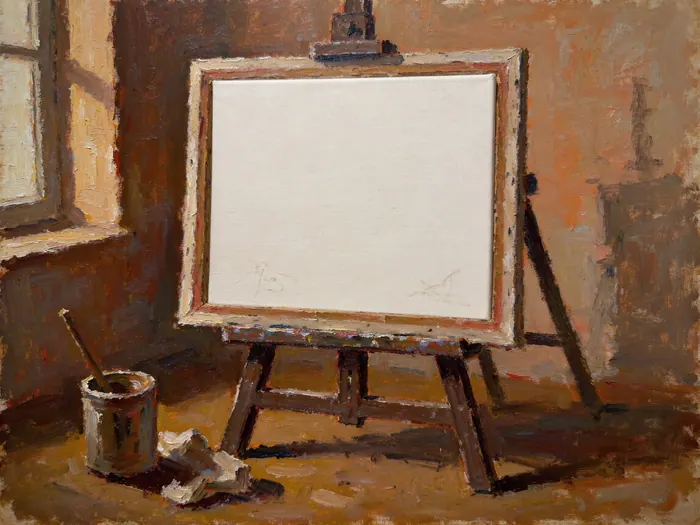
Set up a comfortable and functional painting workspace. Use a sturdy easel with adjustable height and angle. Position your easel so you can see your painting at eye level. Arrange your supplies within easy reach — paints on a palette, brushes in a container, and mediums nearby. Ensure good lighting — natural light is ideal, but a daylight lamp works well for indoor painting. Keep your workspace organized and free from distractions for the best creative flow.
 Howcompass
Prepare Your Canvas
Prepare your canvas before painting by applying a ground layer. Apply 2-3 layers of gesso to your stretched canvas, sanding lightly between layers. Use Winsor & Newton gesso or Liquitex gesso. Some artists tint the ground with a warm earth color — this provides a unified base tone and reduces the need for white paint. Let the ground dry completely before painting. A properly prepared canvas gives your oil paint a smooth, absorbent surface to adhere to.
Preparing to Paint
 Howcompass
Set Up Your Palette
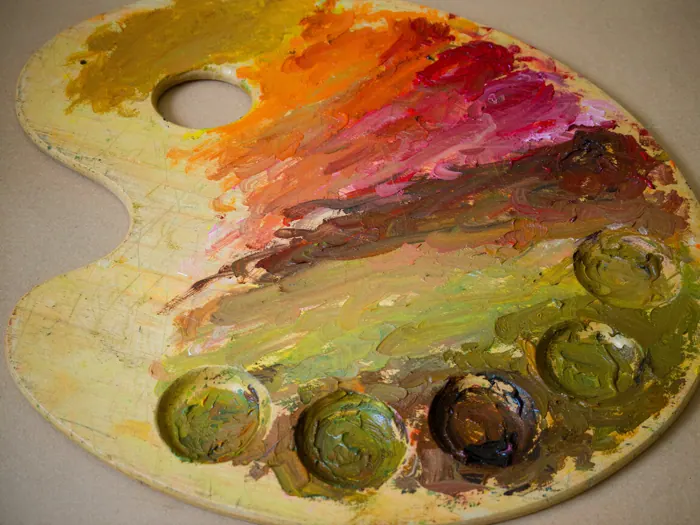
Prepare your palette before you start painting. Use a wooden palette or a disposable palette pad. Arrange your paints in a logical color order — warm colors on one side, cool colors on the other, white in the center. Use Winsor & Newton palette or a simple wooden board. Knead your paints with the palette knife to soften them and bring out their color. Add a small amount of medium to each color to make them easier to work with. A well-organized palette makes mixing colors faster and more efficient.
 Howcompass
Organize Your Workspace
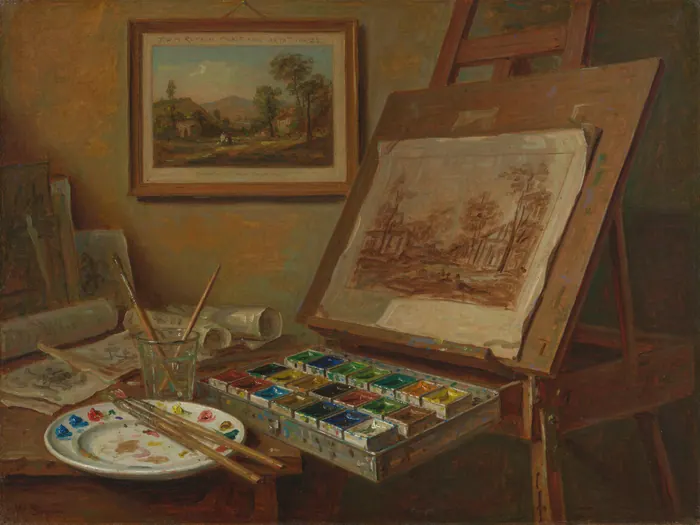
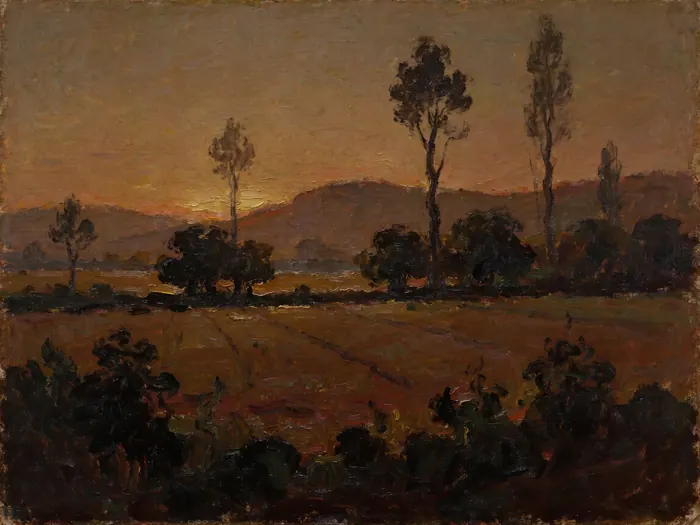
Organize your painting workspace for maximum efficiency. Set up your palette, brushes, mediums, and reference materials in an accessible layout. Place your canvas on the easel at a comfortable height. Keep a rag or paper towels nearby for cleaning brushes. Put your solvent container in a safe location with good ventilation. Arrange your reference photo or sketch where you can see it easily. A clutter-free workspace helps you focus on the painting process. Use Blick Art Materials for all your art supply needs.
 Howcompass
Create a Thumbnail Sketch
Create a small thumbnail sketch to plan your composition before painting. Draw 3-4 quick 3x5 inch sketches of different compositions using pencil or charcoal. Focus on the big shapes — sky, hills, trees, foreground — not on details. Try different arrangements: centered composition, rule of thirds, or foreground framing. Choose the thumbnail that creates the most visual impact. Skillshare offers excellent courses on landscape composition and painting. A thumbnail sketch saves time and prevents composition mistakes on your final canvas.
 Howcompass
Plan Your Composition
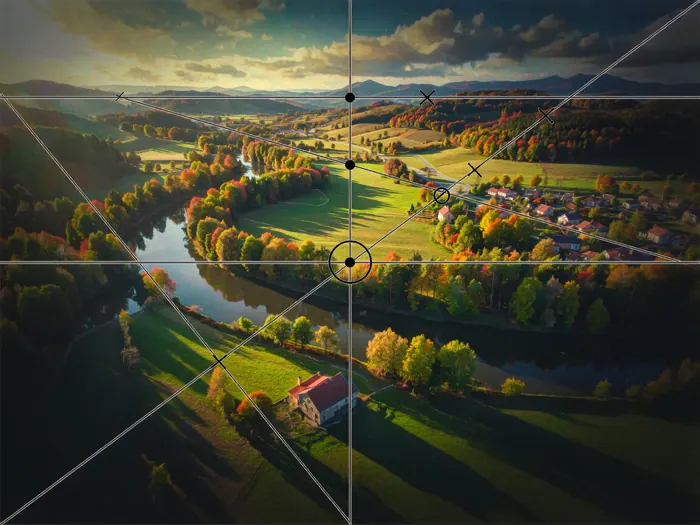
Refine your composition choice using composition principles. Use the rule of thirds — place your focal point at the intersection of imaginary grid lines dividing the canvas into thirds. Create a leading line that draws the viewer's eye into the painting. Consider the balance of light and dark shapes. Think about depth — use overlapping shapes, size variation, and atmospheric perspective to create a sense of three dimensions. Use The Artist's Way for creative guidance. A strong composition makes your landscape painting visually compelling.
 Howcompass
Choose Your Subject
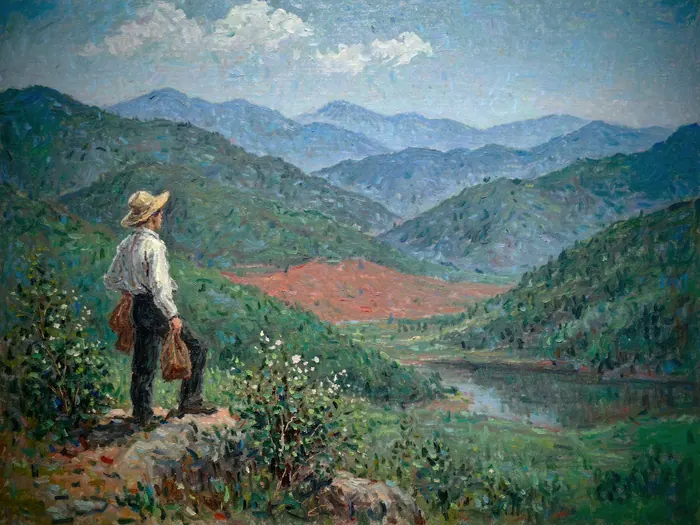
Select your landscape subject — a scenic view that inspires you. Work from a reference photo, sketch, or memory. Choose a subject with interesting elements: varied shapes, good light, and depth. Use your own photographs or find inspiration from Pinterest or Instagram. Avoid overly complex subjects as a beginner — start with simple landscapes like a field with a tree, a lake with hills, or a coastal scene. Simplify the subject into basic shapes before adding details. A compelling subject makes your painting more engaging.
Sketching and Composition
 Howcompass
Draw Your Underpainting
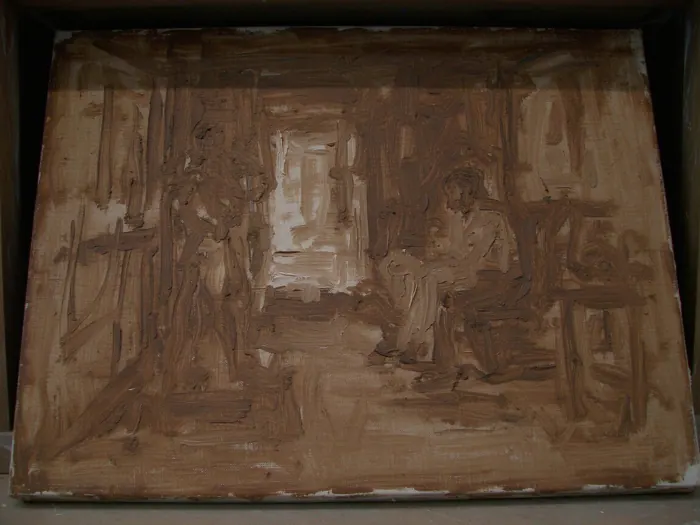
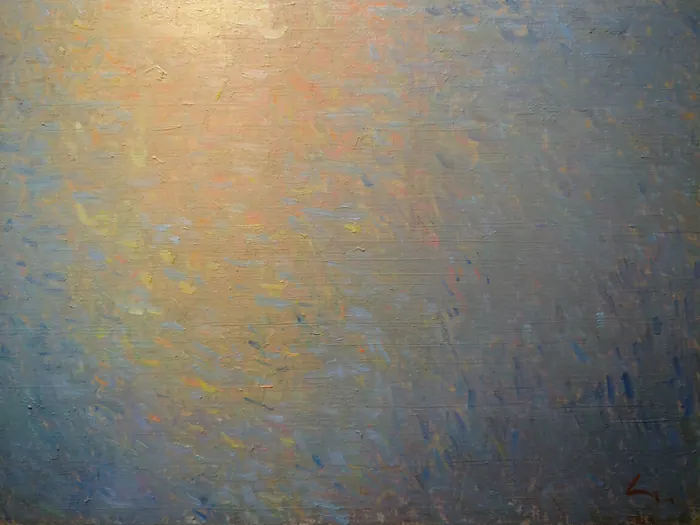
Create an underpainting on your canvas to establish values and structure. Use a warm earth color like burnt sienna or raw umber diluted with medium. Block in the major shapes — sky, hills, trees, foreground — using loose, expressive strokes. Do not worry about color — focus on creating a monochromatic version of your composition. The underpainting establishes the dark and light patterns that will guide your color choices. It also creates a unified base for your colors to build upon. This technique has been used by master painters for centuries.
 Howcompass
Block In Major Shapes
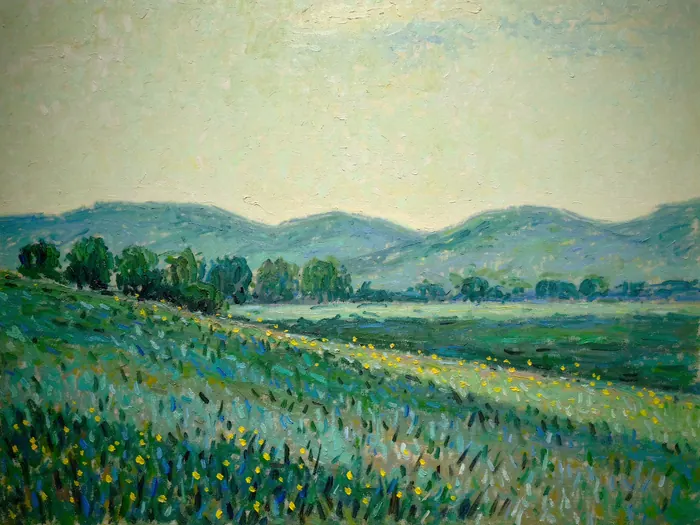
Block in the major color shapes on your canvas. Start with the largest areas — sky, background hills, and large foreground elements. Use broad brushstrokes and a palette knife to cover large areas quickly. Keep the paint thin at this stage — you will build up layers later. Focus on establishing the general color relationships. Do not worry about perfect edges or details yet — this is about covering the canvas with the basic color structure. Winsor & Newton paints work well for this stage because of their smooth consistency.
 Howcompass
Paint the Sky
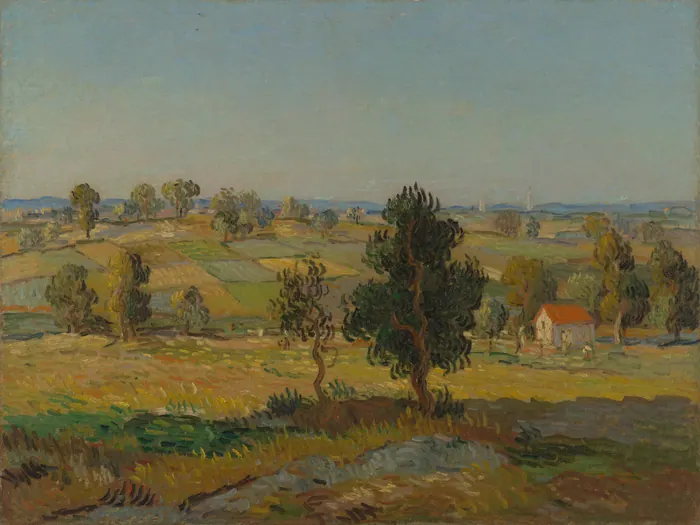
Paint the sky first — it sets the mood and atmosphere of your landscape. Start with the horizon line and work upward. Use a large brush to apply the base sky color — a warm blue or soft grey. Add variation by blending lighter colors near the top and darker tones near the horizon. For a sunset, use warm oranges and pinks; for a clear day, use cooler blues. Use Gamblin paints for vibrant sky colors. Let the sky dry slightly before painting the horizon line to create a soft transition. The sky is often the largest area — take your time here.
 Howcompass
Paint the Distant Hills
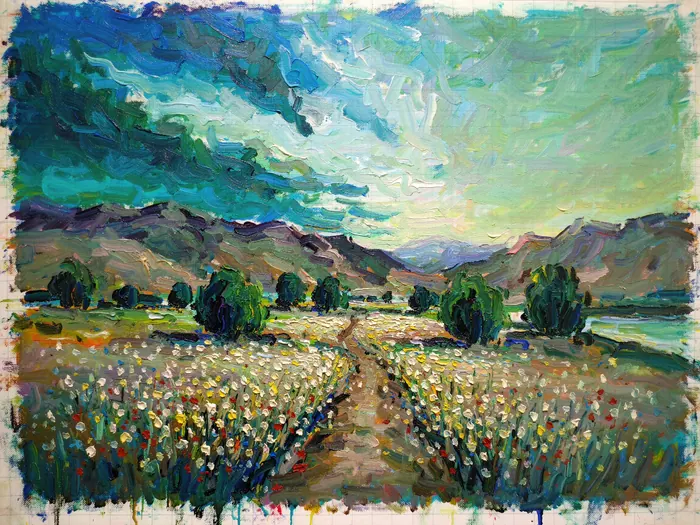
Paint the distant hills next — these elements establish the background of your landscape. Use atmospheric perspective: distant objects appear lighter, cooler, and less detailed. Mix your hill colors with blue or grey to create the illusion of distance. Keep the edges soft and the shapes simple. Use Gamsol to thin your paint for smooth blending. The distant hills should recede visually into the background — avoid strong contrasts or sharp details. This technique creates a sense of depth and atmosphere in your painting.
 Howcompass
Paint the Middle Ground
Paint the middle ground — the area between the distant hills and the foreground. This area often contains trees, fields, buildings, or water. Use slightly warmer and more saturated colors than the background. Add some detail and texture but keep it less detailed than the foreground. Use Liquin medium to create smooth transitions between colors. Consider the light source — if your light comes from the left, paint shadows on the right side of objects. The middle ground bridges the background and foreground, creating visual depth.
Painting Your Landscape
 Howcompass
Paint the Foreground
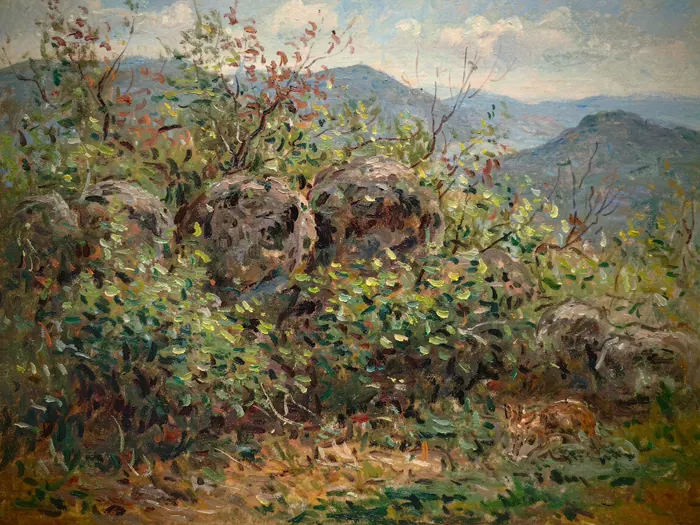
Paint the foreground with the most detail and contrast. Use warm, dark colors and strong brushwork. The foreground creates a sense of immediacy and draws the viewer into the painting. Add texture using thick paint (impasto) or palette knife strokes. Use a variety of brush sizes — large brushes for broad areas, small brushes for details. Gamblin offers professional-grade paints with excellent covering power. The foreground should be the most detailed and visually prominent part of your landscape.
 Howcompass
Add Trees and Vegetation
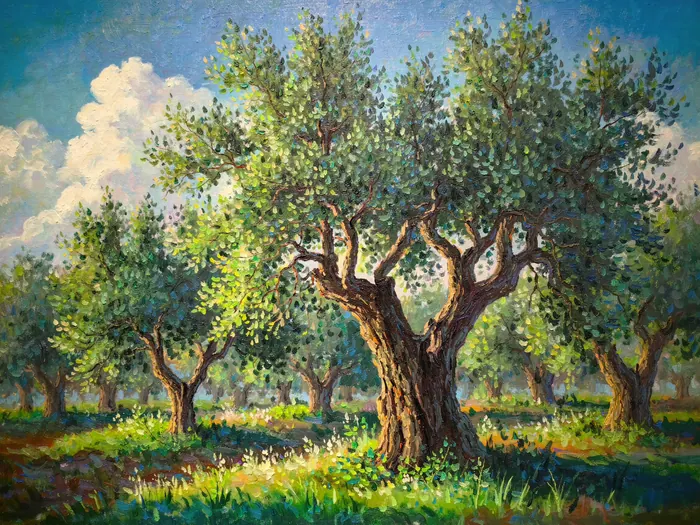
Add trees and vegetation to bring life and texture to your landscape. Paint tree trunks with dark, earthy colors. For foliage, use broken brushstrokes rather than smooth blending — this creates a natural, textured appearance. Use Princeton brushes in various sizes for different foliage textures. Suggest foliage with dabbed strokes rather than detailed leaves — this is more realistic and faster. Add highlights with lighter colors where light hits the leaves. Trees frame your landscape and add vertical interest.
 Howcompass
Add Details and Textures
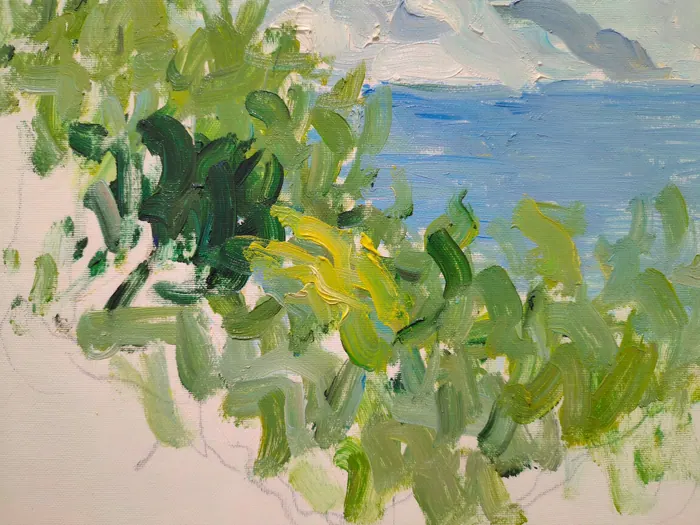
Add fine details and textures to complete your landscape. Use small brushes for delicate details — grass blades, flower petals, water ripples, and cloud textures. Create texture with palette knife scraping or dry brushing. Use Winsor & Newton fine brushes for detail work. Add highlights to make certain areas pop — use a lighter version of the base color. Be selective about details — too many details make the painting cluttered. Let your imagination fill in some areas. Details bring your landscape painting to life.
 Howcompass
Evaluate Your Painting
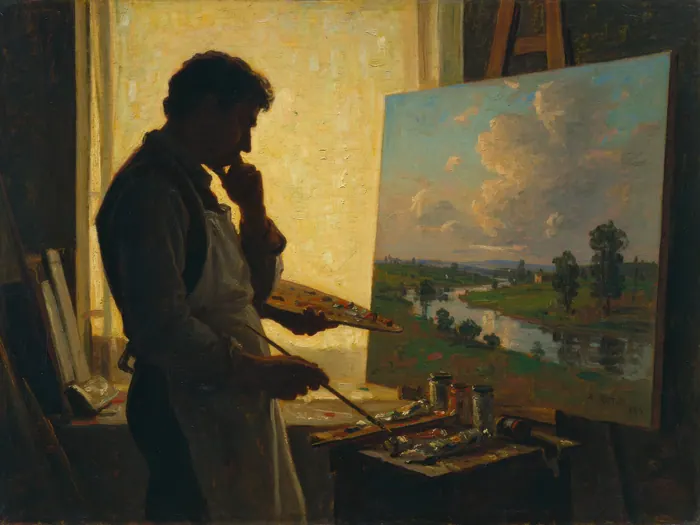
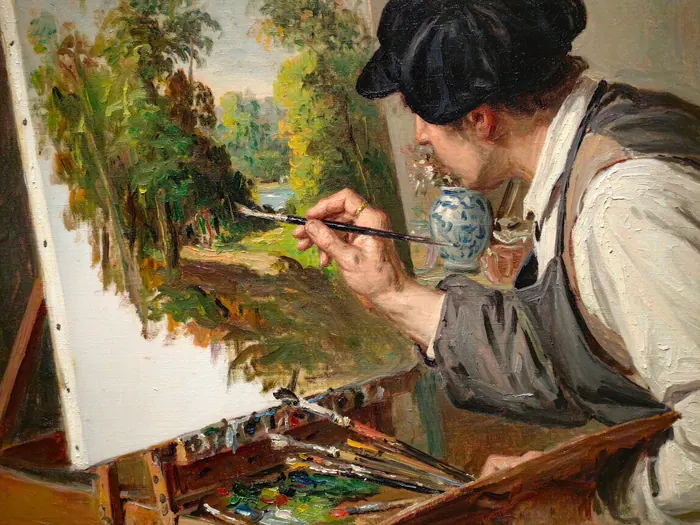
Step back from your painting and evaluate it with fresh eyes. Look at your painting from across the room or through a mirror — this reveals composition problems and color imbalances. Check for proportional issues, color harmony, and balance. Ask yourself: Does the painting have a clear focal point? Is the light source consistent? Are the colors harmonious? Use Skillshare to learn evaluation techniques from professional artists. Take notes on what needs adjustment — you will address these in the next step. Evaluation is an essential part of the painting process.
 Howcompass
Make Final Adjustments
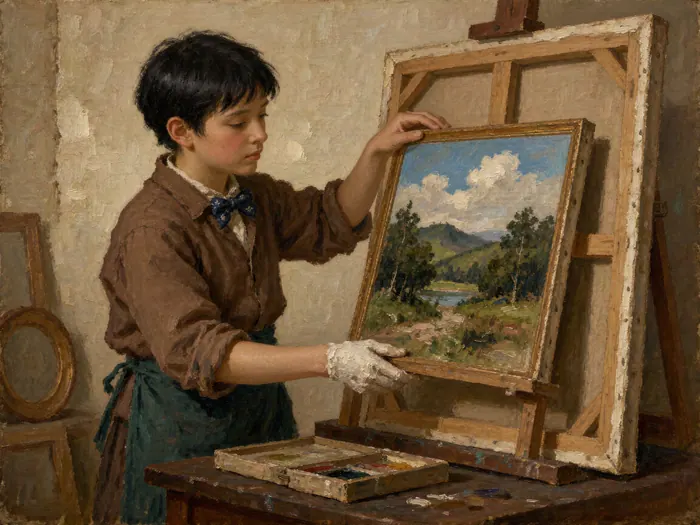
Make final adjustments based on your evaluation. Push the focal point forward with stronger contrast and detail. Soften areas that are too prominent. Adjust colors that clash. Add or remove small details to improve the overall composition. Use Gamblin paints for final touches — their quality makes final adjustments seamless. Remember: less is often more in final adjustments — subtle changes can make a big difference. Step back frequently to check your progress. Final adjustments are where your painting truly comes to life.
 Howcompass
Frame Your Painting
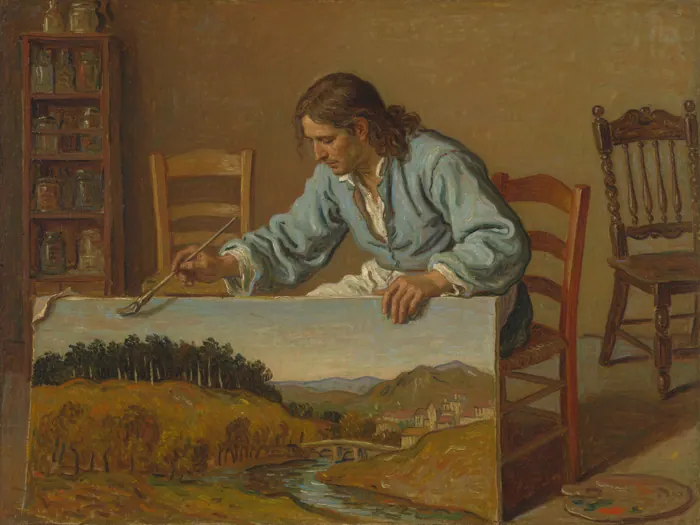
Frame your finished landscape painting to protect and display it. Choose a frame that complements your painting's style — a simple wood frame for traditional landscapes, or a modern floater frame for contemporary work. Use Blick Art Materials for a wide selection of frames. Ensure the frame is appropriately sized with a mat if needed. Use acid-free matting to protect the painting. A well-chosen frame enhances your painting and protects it from dust and damage. Framing is the final step in completing your artwork.
Finishing and Sharing
 Howcompass
Apply Varnish
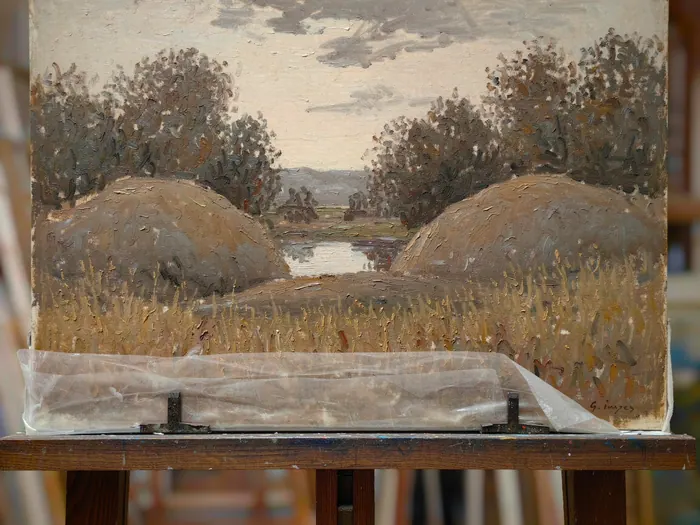
Apply a protective varnish to your finished painting once it is completely dry — this usually takes 6-12 months for oil paintings. Use a removable picture varnish like Winsor & Newton Gloss Picture Varnish or Gamblin Conservation Varnish. Apply varnish in thin, even coats using a wide, soft brush. Work in a dust-free environment. Varnish protects your painting from dust, UV damage, and yellowing while enhancing the colors. Removable varnishes can be taken off for restoration without damaging the original paint.
 Howcompass
Let It Cure
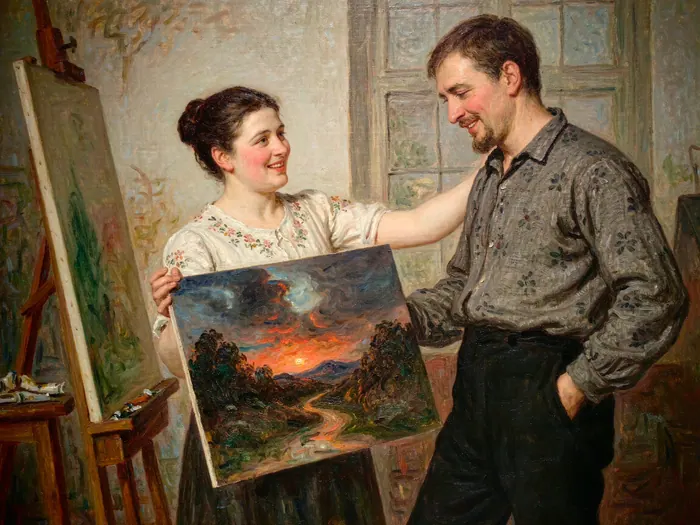
Allow your painting to cure completely before displaying it in a way that protects the surface. Oil paintings need months to fully cure — do not touch the surface during this time. Store the painting in a cool, dry place away from direct sunlight. Use Gamsol to clean brushes but never use solvent on the painting surface during curing. If you must display the painting before it is fully cured, use a protective glass or acrylic cover. Proper curing ensures your painting's longevity and protects your investment.
 Howcompass
Share Your Work
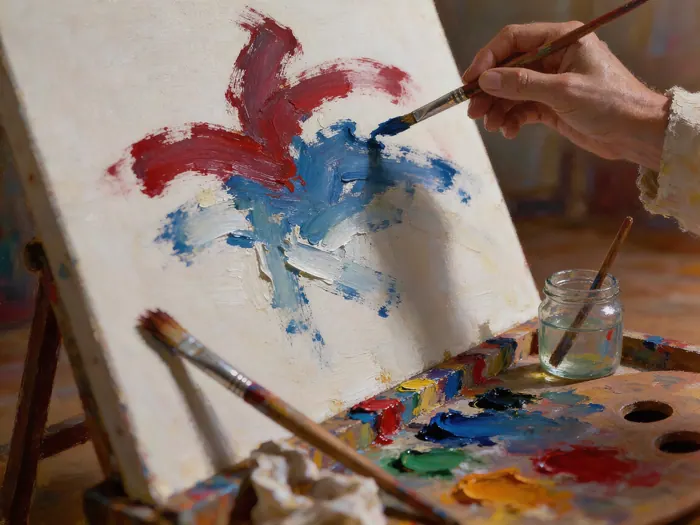
Share your landscape painting with others — share it with friends, family, and fellow artists. Post your work on Instagram, Pinterest, or DeviantArt. Join online art communities like Reddit's r/painting or WetCanvas. Use Start a YouTube Channel guide if you want to create video content about your painting process. Share your painting locally — local art galleries, coffee shops, and community centers often display local artists' work. Sharing your art builds connections and feedback.
 Howcompass
Start Your Next Painting
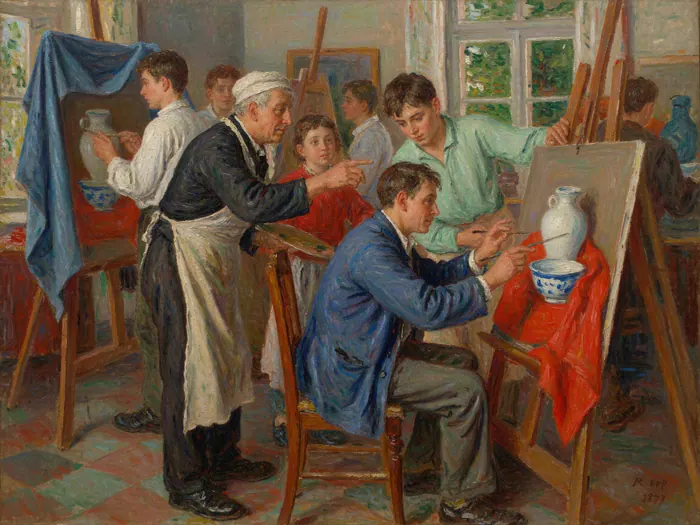
Use what you learned from this painting to start your next one. Analyze what worked and what did not — note which techniques you want to repeat and which you want to improve. Try a different subject, season, or lighting condition. Use Skillshare to learn new techniques and expand your skills. Consider working in a series — multiple paintings of the same subject in different lighting or seasons. Use Write a Book guide if you want to document your painting journey in a book. Every painting teaches you something new.
 Howcompass
Join an Art Community
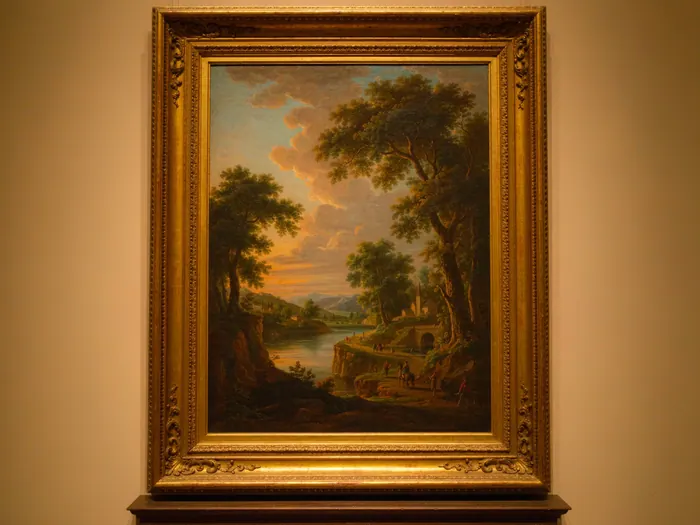
Connect with other artists to learn, share, and grow together. Join a local art class, workshop, or plein air group. Use Meetup to find art groups near you. Participate in online communities like Reddit's r/oilpainting or WetCanvas. Attend local art shows, gallery openings, and art supply store events. Use Start a Podcast guide if you want to discuss art topics through audio. Community connections make painting more rewarding and help you learn from experienced artists.
 Howcompass
Display Your Painting
Display your finished landscape painting in a location where it can be appreciated. Hang it in a well-lit area — avoid direct sunlight which can fade colors over time. Use proper hanging hardware and picture wire rated for the painting's weight. Consider rotating your collection to keep your display fresh. Use Blick Art Materials for hanging supplies. If you are a beginner, consider displaying your work at local art fairs, school exhibitions, or community events. Displaying your art is a rewarding experience — enjoy the result of your hard work!
How to know it worked
- The painting reads as three values from across the room.
- Distant edges are softer than foreground edges.
- Light direction is consistent across every object.
- The surface is not muddy where you repainted over wet paint.
Common mistakes to avoid
- Drawing every branch before establishing the big shapes.
- Painting thick detail too early, then fighting it for the rest of the session.
- Breaking fat-over-lean and watching the surface crack or wrinkle.
- Using the same green for every tree and losing aerial perspective.
- Working in a closed room with solvent; ventilation is a health issue, not a preference.
- Chasing a photograph's colours instead of the light you actually observed.
Frequently Asked Questions
Question: Oils or acrylics for a first landscape?
Acrylics dry fast and clean up with water, which suits a first try. Oils give more blending time and richer colour but need solvents and longer drying. If you choose oils, start with a small study rather than a large canvas.
Question: Canvas or board?
Canvas board or a primed panel is cheaper and easier to store while learning. Stretched canvas is better for larger finished work. Either needs a toned ground so you are not painting on glaring white.
Question: How long do oil layers take to dry?
Thin layers can touch-dry in a day; thicker paint or a lot of medium can take several days to a week. Work on two paintings at once so you are not tempted to paint into a tacky surface.
Question: Which solvents are safe?
Use the least volatile solvent that works, keep the room ventilated, and never keep open containers near a heat source. Many painters use odourless mineral spirits, but odourless does not mean harmless. Follow the manufacturer's safety data sheet.
Question: Can I paint from a photograph?
Yes, but simplify. A photograph contains more detail than a painting needs, and camera colour is not the same as observed light. Use it for composition and take colour notes on site where possible.
Question: How do I fix a muddy area?
Let it dry, then wipe or scrape back the excess and repaint with a cleaner mixture. Adding more paint to wet mud usually makes it worse. Keeping each mixture to two or three pigments prevents most mud.
Tips
- Start with a limited color palette — 6-8 colors are enough for most landscape paintings.
- Use a reference photo or sketch — working from memory leads to inaccurate proportions.
- Always paint from back to front — sky first, then hills, middle ground, and finally foreground.
- Use atmospheric perspective — distant objects should be lighter, cooler, and less detailed.
- Keep your brushes clean — dirty brushes create muddy colors and ruin your painting.
- Take breaks frequently — stepping back gives you a fresh perspective on your work.
- Use a limited palette for harmony — limit your colors to create a cohesive painting.
- Work in layers — thin layers first, then build up thicker paint in the foreground.
- Use broken color — applying paint in short strokes rather than smooth blends creates texture.
- Squint at your painting — this reduces details and helps you see the big shapes and values.
- Use a palette knife for mixing — it keeps your brushes cleaner and creates efficient color mixing.
- Clean your brushes with soap and water after using solvent — this prolongs their life.
- Don't overwork your painting — knowing when to stop is one of the hardest skills to learn.
- Use a viewfinder — a simple frame with a cut-out helps you crop and frame your composition.
- Paint outdoors when possible — plein air painting teaches you about light and atmosphere.
Warnings
- Never use turpentine in enclosed spaces — always work in a well-ventilated area when using solvents.
- Do not paint over wet paint — oil paint takes weeks to dry, so plan your layers accordingly.
- Avoid using too many colors — a limited palette creates more harmonious paintings.
- Never skip the underpainting — it establishes values and structure that guide your color choices.
- Do not over-blend your colors — overworking creates muddy, flat areas in your painting.
- Avoid painting in direct sunlight — this can cause uneven drying and cracking of the paint.
- Never varnish a painting before it is fully dry — this traps solvents and causes cracking.
- Do not use household paints or cheap craft paints — they contain less pigment and will fade quickly.
- Avoid painting with dirty brushes — contamination creates unwanted color mixing and muddy results.
- Never display a painting in direct sunlight — UV light fades oil paint colors over time.
Things You'll Need
- Oil paints (student or artist grade)
- Painting brushes (filbert, flat, and round)
- Palette knife
- Wooden palette or disposable palette pad
- Stretched canvas or canvas panel
- Gesso for canvas preparation
- Odorless mineral spirits (Gamsol)
- Painting medium (Liquin or Galkyd)
- Easel
- Daylight lamp or natural light source
- Reference photo or sketch
- Cleaning rags or paper towels
- Brush soap or soap for cleaning
- Varnish (when painting is fully dry)
- Picture frame
Related Howcompass Guides
References (8)
- Oil PaintTate
- GlazingThe National Gallery
- Oil Painting GuidesWinsor & Newton
- Gamblin: Oil Painting MaterialsGamblin Artists Colors
- Conservation and Scientific ResearchThe Metropolitan Museum of Art
- Museum Conservation InstituteSmithsonian Institution
- Solvents in the WorkplaceU.S. Occupational Safety and Health Administration
- PaintingTate
Sources are listed so you can read the underlying guidance yourself. Our editorial policy explains how guides are reviewed.
What changed in this update: Reviewed November 2026: added the value-first sequence, the fat-over-lean rule and the ventilation and drying points beginners skip.
Did this article help you?
0 readers found this helpful — add your vote.
No comments yet — be the first to share your results.