How to Fix Sun Faded Car Paint
A guide to Diagnose the Fade Before You Buy Anything, Wash and Decontaminate the Paint Properly, Cut Away the Oxidized Layer, Refine, Wipe Down, and Seal the Finish, Protect the Repair and Know When to Repaint
A car that has lived outdoors for a few summers starts to look older than its mileage. The red goes pink, the black goes gray, and the hood develops a flat, chalky sheen that no amount of washing removes. That change is not dirt and it is rarely the paint color itself. Ultraviolet light attacks the clear coat first, breaking down the resin at the surface and leaving a thin oxidized film that scatters light instead of reflecting it. The good news is that this film sits on top of the finish. In most cases a careful machine polish removes it, a finishing polish restores the gloss, and a UV-blocking sealant slows the next round of damage. The catch is that clear coat is thin and finite, so the fix depends on doing a test spot first and stopping before you cut through it. This guide runs from diagnosis to protection in five stages. Work through them in order, keep the car in shade, and treat the hood, roof, and trunk lid as the priority panels — they take the most sun and usually show the fade first. The whole job takes a day for an average car, most of it spent on those horizontal surfaces.
Sun-faded paint is usually oxidized clear coat, not ruined color. Wash and decontaminate the panel, machine-polish a 2-by-2-foot test section with a medium-cut foam pad and compound, refine it with a finishing polish, then seal it with a UV-blocking product. That routine restores depth and gloss wherever the clear coat is still intact. If the coating is peeling, cracked, or worn through to the color layer, polishing cannot repair it — the panel needs a respray.
- Time
- 2–4 hours per panel; about a day for the whole car
- Cost
- $40–$120 in supplies if you already own a polisher
- Difficulty
- Intermediate — machine polishing with a test spot
- Works on
- Oxidized clear coat and single-stage paint with an intact finish
- Not for
- Peeling, cracked, or worn-through clear coat
- Lasts
- 3–6 months; longer with a sealant and regular shade
How do you fix Sun Faded Car Paint?
 Howcompass | How to Fix Sun Faded Car Paint
Diagnose the Fade Before You Buy Anything
HowcompassTell Oxidation Apart from a Failing Clear Coat
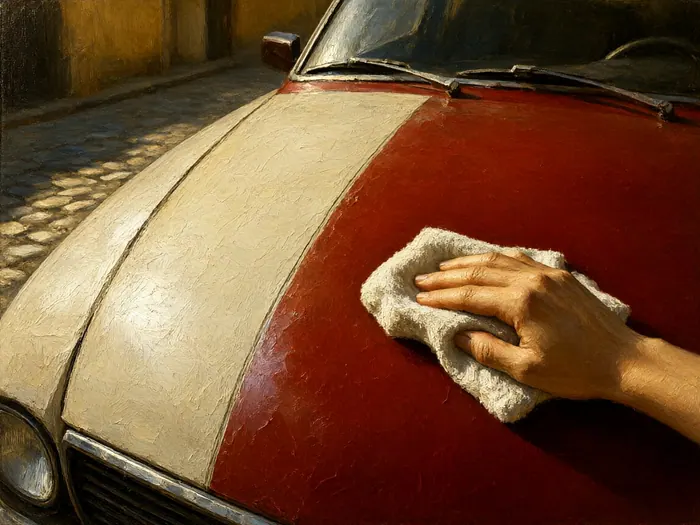
Sun damage rarely means the color is gone. On a modern two-stage finish the pigment sits under a clear coat, and ultraviolet light attacks the resin at the top of that clear coat first, breaking polymer chains and leaving a chalky, whitish film. That film is oxidation, and polishing can remove it. Peeling, crazing, or white patches that will not wipe away are clear-coat failure, and no compound fixes those. Run a fingernail gently across the damage: a rough, dusty surface is oxidation; a lip you can catch is failing coating. The chemistry behind photo-oxidation explains why the surface degrades before the color layer does.
 Howcompass
Read the Paint Under Raking Light
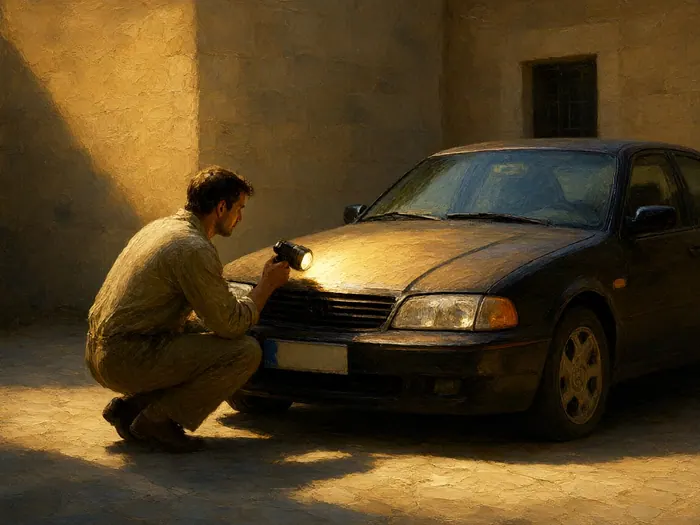
Park the car so the sun hits a panel at a shallow angle, or hold a bright LED work light close to the surface. Raking light exaggerates swirl marks, water spots, and the dull, uniform haze of oxidation, while hiding none of the deeper scratches. Photograph the panel before you touch it, including one shot with a coin or a piece of tape for scale, so you can compare the result later. Check horizontal surfaces first — hood, roof, and trunk lid collect the most ultraviolet and usually show the fade earliest — then compare them with a vertical door, which often reveals how much color remains underneath.
 Howcompass
Run the Bag and Water-Bead Tests
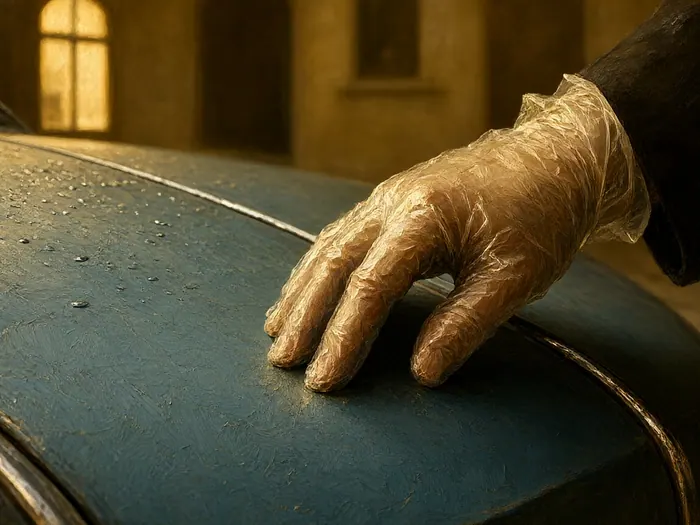
Slip a thin plastic bag over your fingers and drag them across the clean, dry paint. Grit you can feel means bonded contamination that must be removed before polishing; a uniform drag is normal. Next, mist water onto the panel. Tight, round beads suggest a healthy layer of wax or sealant; water that sheets flat and wets out evenly is typical of oxidized, unprotected paint. Neither test is definitive, but together they tell you whether you are dealing with contamination, a dead top layer, or both — and that decides how aggressive your first pad and compound should be.
 Howcompass
Pick a Test Spot You Can Live With
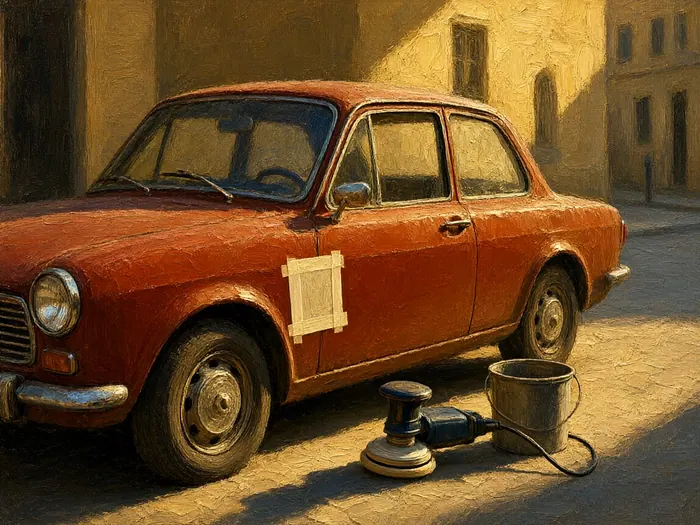
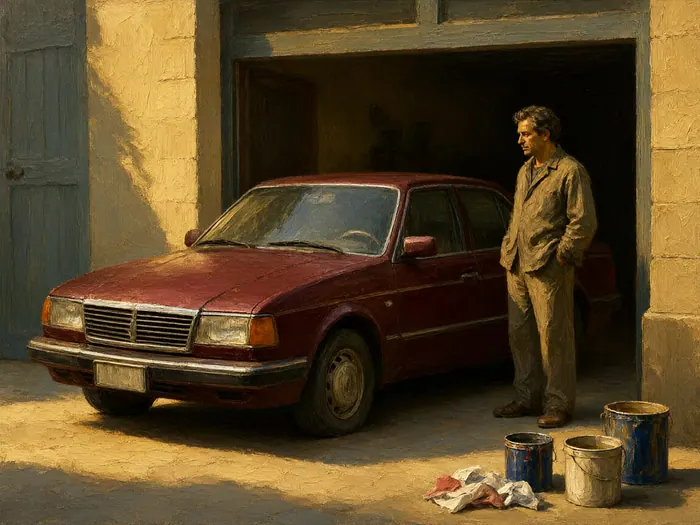
Choose a 12-inch square on a lower door or rear quarter panel, away from edges, body lines, and any area that has been repainted. Mask around it with painter's tape so the polisher cannot wander onto unprotected trim. This spot is your control: polish it with the least aggressive combination that works, then compare it with the surrounding paint and with your before photo. If the test spot does not improve after two proper passes, stop — more pressure or a coarser compound will only thin the coating without restoring gloss.
 Howcompass
Set a Realistic Target Before You Buy Supplies
Be honest about the ceiling. Oxidation that has dulled the top few microns of clear coat usually comes back to a deep, even gloss. Paint that has already lost its clear coat, checked, or cracked will look better after polishing but will not be repaired, and the improvement may last only weeks. Single-stage paint — common on older cars and some solid reds — can be compounded more often because there is no clear layer to preserve, but it also transfers color onto your pad. Decide now whether you want a restoration, a temporary lift before selling, or a repaint quote, because that choice sets your budget. If a road trip is coming up, our car preparation checklist covers the mechanical side while you are already inspecting the bodywork.
Wash and Decontaminate the Paint Properly
 Howcompass
Work in Shade on a Cool Panel
Move the car into shade and let the paint cool to the touch before any water or product touches it. Compound and polish flash, dry, and grab when the panel is warm, which creates haze and burns through edges. A garage is ideal; otherwise work early morning or late afternoon and rotate the car as the shade moves. Never wash or polish a hood that has been sitting in direct sun — the difference between a cool panel and a hot one is the difference between a smooth pass and a stubborn, smeared one that has to be redone.
 Howcompass
Wash with the Two-Bucket Method and a pH-Neutral Shampoo
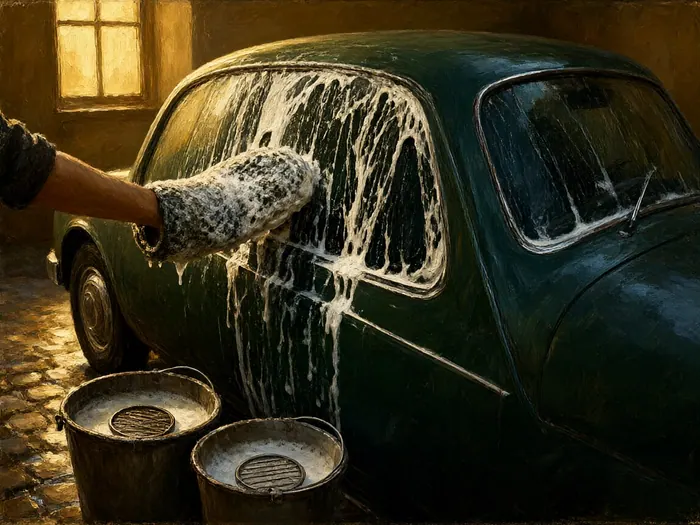
Rinse the car top-down to lift loose grit, then wash one panel at a time with a soft microfiber mitt and a pH-neutral car shampoo. Keep two buckets — one with clean suds, one with plain rinse water — and rinse the mitt in the second bucket before reloading it. This is the same discipline we describe in Hand Detail a Car Inside and Out, and it matters more on faded paint because a single grit particle dragged across chalky clear coat leaves a scratch that polishing must then remove. Rinse the soap off before it dries.
 Howcompass
Remove Bonded Contamination with Clay and Iron Remover
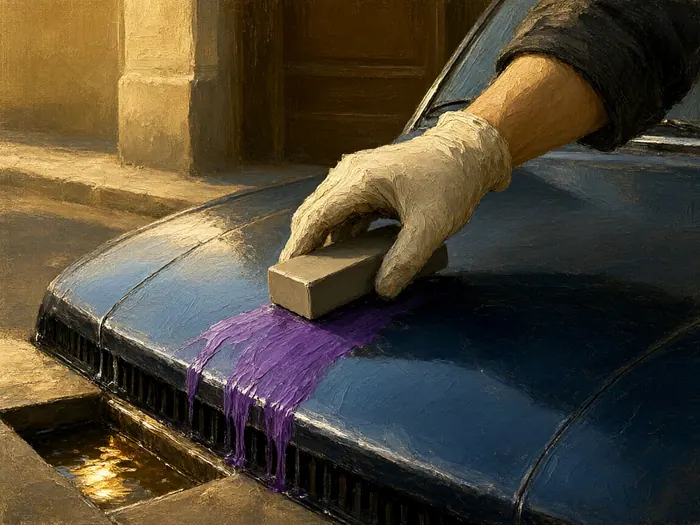
Spray an iron remover over the panels and let it dwell until it turns purple, then rinse. Follow with a clay bar or clay mitt lubricated generously with detail spray, gliding with light pressure until the surface feels glassy. Fold and knead the clay when it looks dirty, and if you drop it on the ground, throw it away rather than picking grit out of it. Skipping decontamination is the most common reason a compound seems to stop cutting: the pad is skating over a layer of embedded grit instead of reaching the oxidized resin. Auto detailing covers the full decontamination sequence if you want to go deeper.
 Howcompass
Dry with Microfiber and Inspect Again
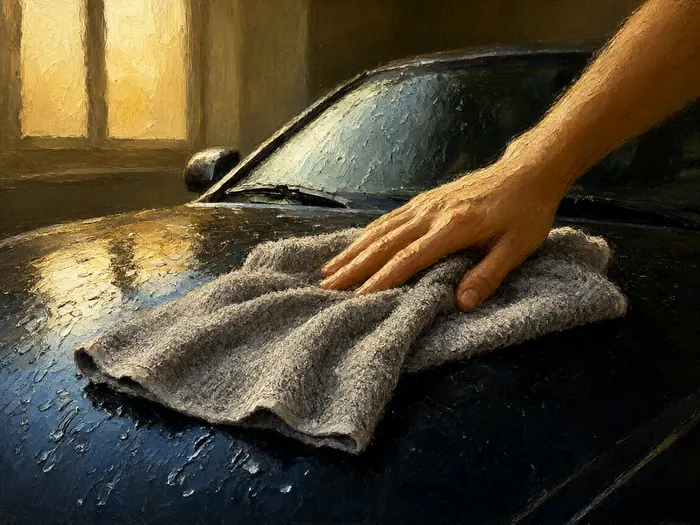
Dry with a large plush microfiber towel, patting and blotting rather than dragging, or use a filtered blower if you have one. Open the doors, trunk, and hood to catch drips, and dry panel gaps and badges where water hides. Once the paint is dry, repeat the bag test. It should now feel smooth; if it still drags, clay once more before moving on. Clean paint is the baseline for every cut, and it is also how you will judge whether the fade has actually changed after the first polishing pass.
 Howcompass
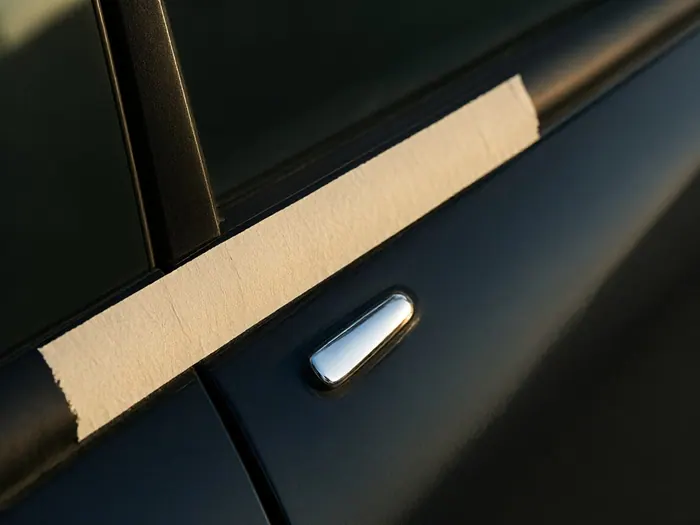
Tape Off Trim, Badges, and Panel Gaps
Use painter's tape or dedicated automotive masking tape along rubber seals, black plastic trim, headlight edges, badges, and any panel gap. A dual-action or rotary polisher will burn textured plastic and stain it with compound in seconds, and the stain is far harder to remove than the tape is to apply. Tape also gives you a straight edge to inspect against: when the taped line looks crisp and the polished area looks cloudy, you know you are not finished. Replace tape as soon as it lifts or collects compound.
Cut Away the Oxidized Layer
 Howcompass
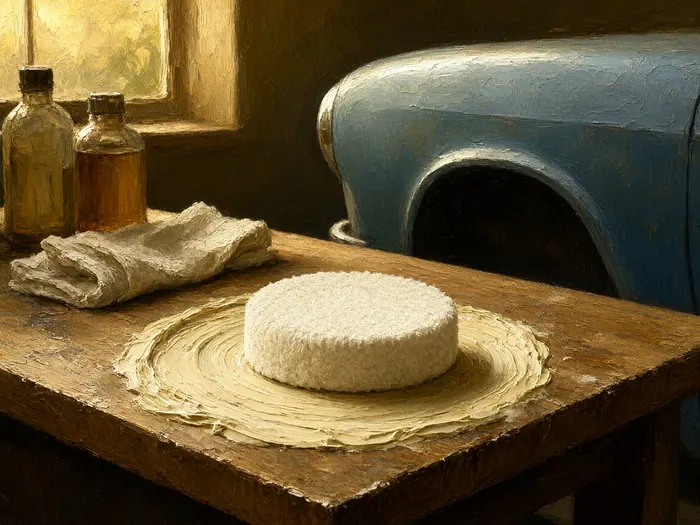
Choose the Least Aggressive Pad and Compound That Works
Start with a medium-cut foam pad and a diminishing-abrasive compound, not the coarsest product on the shelf. Abrasives work by removing a thin layer of resin, so the goal is to take off the oxidized film and the swirls in one controlled step, then refine whatever is left. On the test spot, make two slow passes at moderate speed and inspect. If the chalky haze remains, step up to a slightly firmer pad before stepping up to a stronger compound. For background on how abrasives and pads interact, see Polishing.
 Howcompass
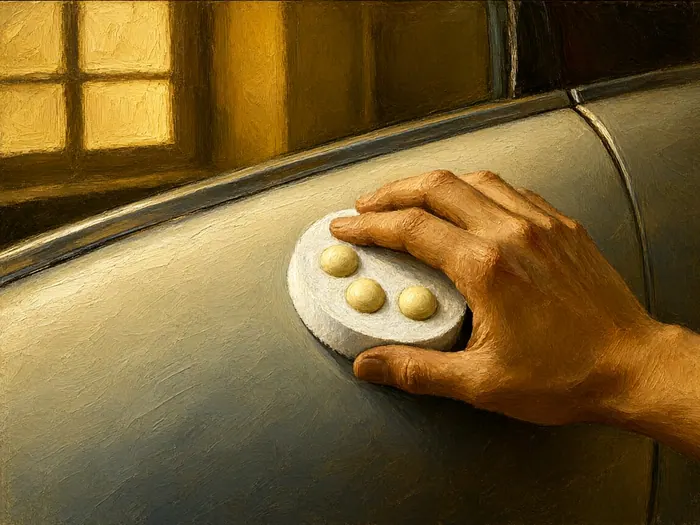
Prime the Pad and Load It Evenly
Apply a small ring of compound around the pad face or three pea-sized dots, then press the pad against the panel at low speed to spread it before turning the tool up. A dry pad grabs; an overloaded pad slings product and clogs. Prime a fresh foam pad lightly with detail spray or pad conditioner, then work the compound into the face with your fingers. Keep a spare clean pad within reach — a soaked, caked pad stops cutting and starts generating heat, which is exactly what you do not want on thin clear coat.
 Howcompass
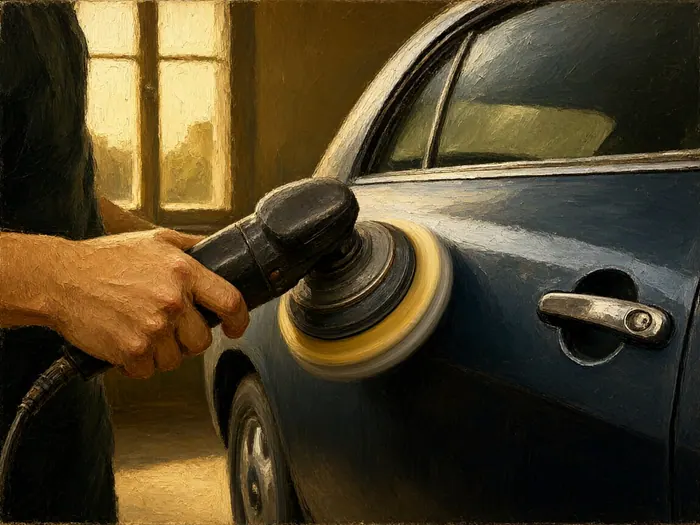
Set the Polisher Speed and Let the Machine Do the Work
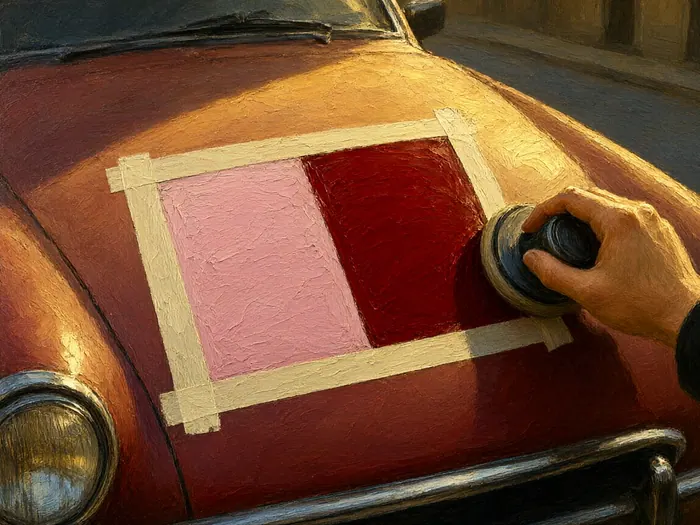
On a dual-action polisher, spread the product at speed 1 or 2, then cut at speed 4 or 5 with light-to-moderate pressure, and finish each section with a slow pass at speed 3 and almost no pressure. Keep the pad flat, move at roughly one inch per second, and overlap each pass by half the pad width. Do not press hard enough to stop the pad rotating; if the head stalls, you are pressing too hard. Heat and pressure are how paint gets burned, and clear coat does not need either to release oxidized resin.
 Howcompass
Work One 2-by-2-Foot Section at a Time
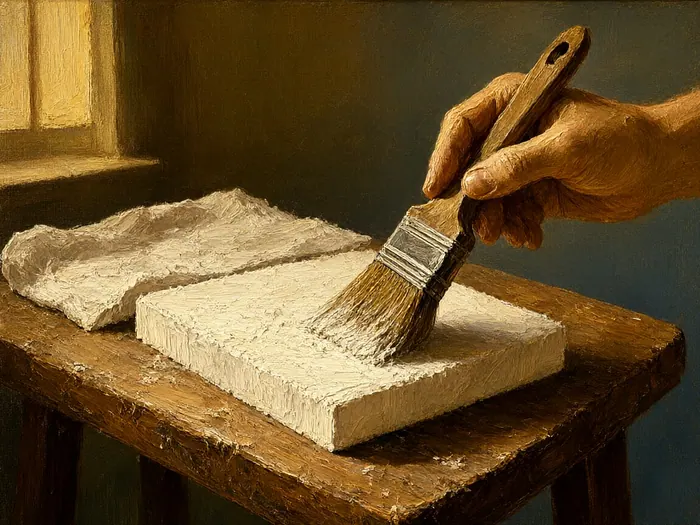
Divide each panel into manageable squares and finish one before moving on. Make four to six overlapping passes — horizontal, then vertical, then a light finishing pass — and wipe the residue with a clean microfiber before judging the result. Work in shade so the compound does not dry, and keep the polisher moving; a stationary pad heats one spot fast. If the compound starts to dust heavily or turns translucent and tacky, stop, clean the pad, and reload. Discipline here is what keeps the finish even from panel to panel.
 Howcompass
Clean the Pad Often and Never Dry-Buff
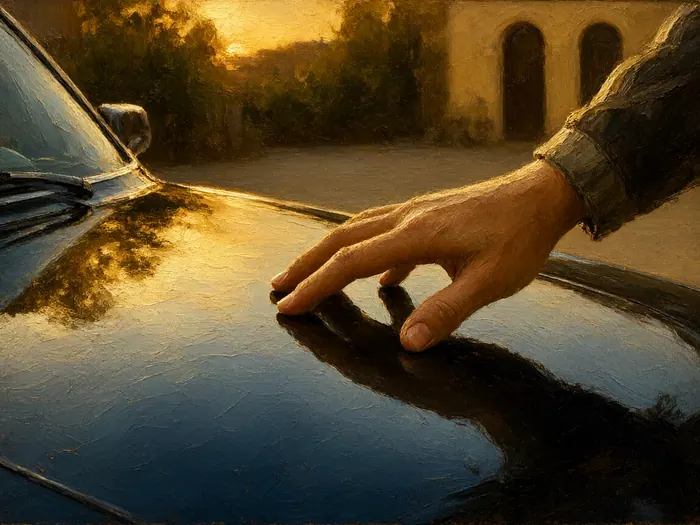
Brush or blow out the pad after every section, and swap to a fresh pad when the face looks glazed or matted. Compound residue that dries on the pad turns into abrasive grit that scratches, and a dry pad generates friction instead of cutting. Wipe spent compound off the panel with a folded microfiber, turning to a clean face often; reusing a loaded towel just spreads grit. This single habit separates a clear, even result from a haze of pigtails and towel marks that has to be polished out all over again.
 Howcompass
Stop at the Clear Coat, Not Through It
Check the test area under raking light after every couple of passes. You are finished cutting when the chalky film is gone, the color reads deep and even, and the remaining defects are fine rather than chalky. If you see color on your pad, a sharp edge, or a patch that looks duller than the rest, stop. Clear coat is thin — typically a few dozen microns — and once it is gone the panel needs paint, not another pass. Automotive paint covers the layer structure if you want to know exactly what you are working on.
Refine, Wipe Down, and Seal the Finish
 Howcompass
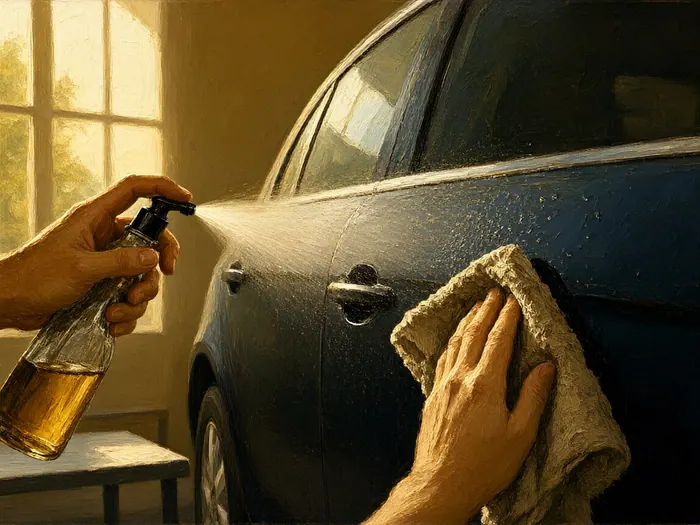
Refine with a Finishing Polish on a Soft Pad
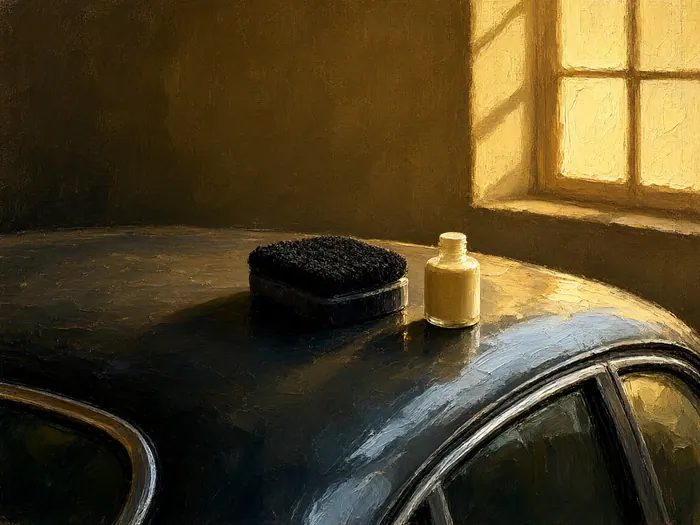
Switch to a soft finishing pad and a fine finishing polish. The cut step removes the oxidation but leaves its own micro-marring; refining removes that haze and brings up gloss. Use the same overlapping technique at a lower speed and light pressure, two to three passes per section, and keep the pad clean. Do not skip this because the paint already looks better — the difference shows up in direct sun, where unrefined compound work looks hazy and slightly gray rather than deep and wet.
 Howcompass
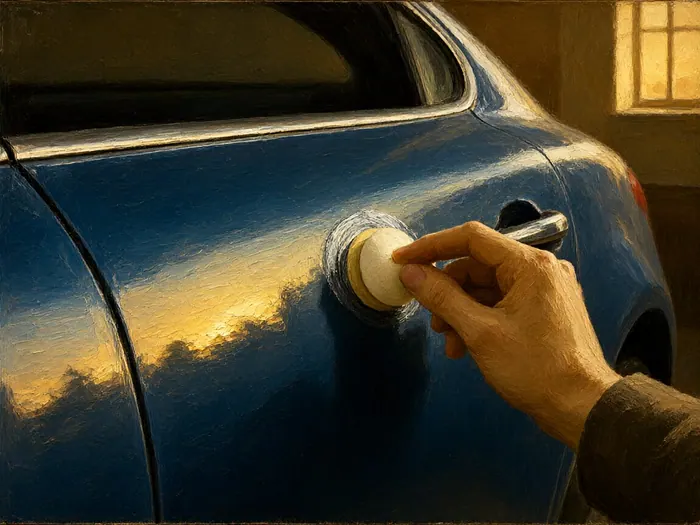
Wipe the Panel Down with an IPA Solution
Mix isopropyl alcohol with distilled water — roughly one part alcohol to three or four parts water — and wipe each panel with a clean microfiber, flipping to a dry side to remove the residue. This step removes polishing oils that can mask defects and prevent a sealant from bonding. Inspect under raking light after the wipe; if haze or fine scratches reappear, refine that section again before sealing. A proper wipedown is also your last chance to catch polish trapped around badges, seams, and the edges of trim.
 Howcompass
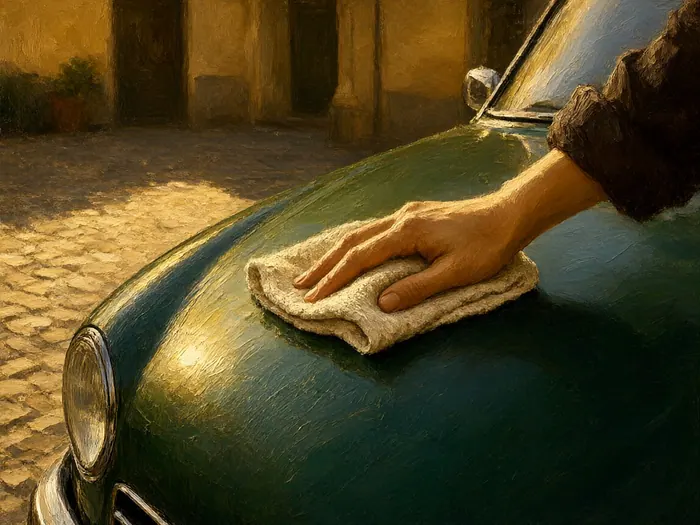
Apply a UV-Blocking Sealant, Not Just a Wax
Choose a synthetic sealant or SiO2 spray sealant labeled for UV protection, and apply it thin and even with a fresh applicator or microfiber. Thin is the point: a heavy coat hazes unevenly and wastes product. Modern coatings are formulated to slow the same ultraviolet degradation that caused the fade in the first place; the review of paint-protection coatings in this polymer study describes the mechanisms. Work one panel at a time and keep the product off textured trim unless the label says it is safe there.
 Howcompass
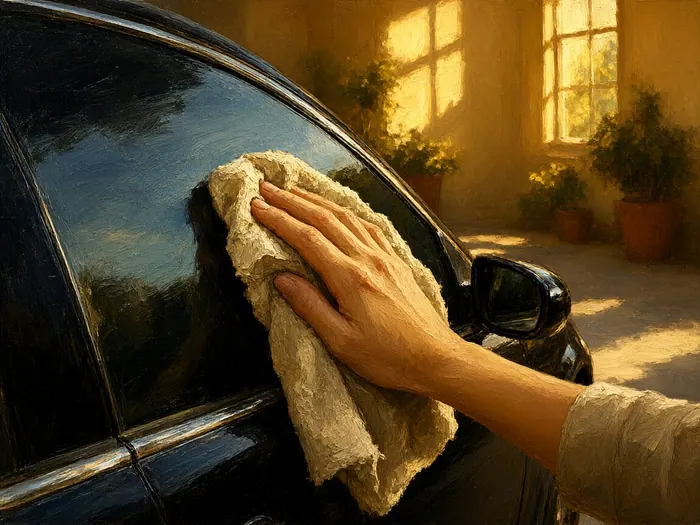
Let It Cure, Then Buff the Haze
Follow the product's cure time — usually a few minutes for a spray sealant, longer for a paste — then buff the residue with a clean, dry microfiber using light pressure. Do not let sealant dry in direct sun or overnight; it becomes hard and streaky. After buffing, check the panel at a low angle for missed patches, and give the whole car a final inspection. Keep the car dry for the period stated on the label, often 12 to 24 hours, so the layer can cross-link properly.
 Howcompass
Finish the Details That Frame the Paint
Clean glass with a dedicated glass cleaner, dress black trim with a water-based dressing, and wipe polish dust out of panel gaps with a soft brush and a vacuum. These steps do not change the paint, but they change how the paint reads: hazy glass and chalky trim make fresh gloss look flat. Check that no compound is packed around badges or under the wiper cowl, and make sure the tape comes off slowly at a shallow angle so it does not lift a fragile edge. If the wipers streak in the rain, our wiper replacement guide takes five minutes.
Protect the Repair and Know When to Repaint
 Howcompass
Park Smart to Slow the Next Round of Fade
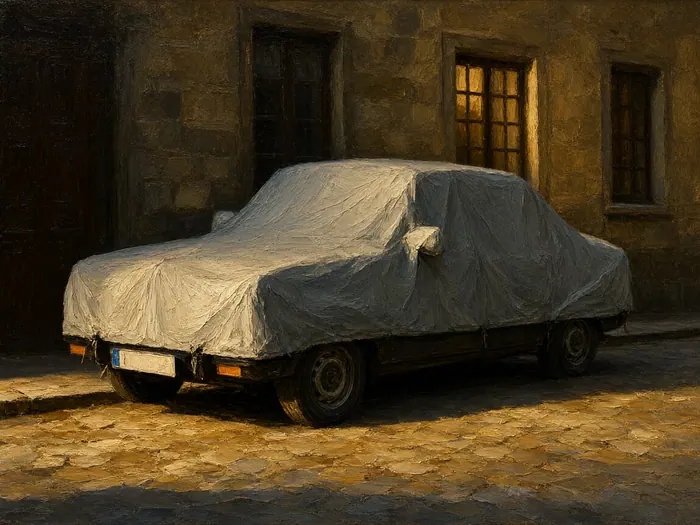
Ultraviolet exposure is cumulative, so shade is maintenance. Park under cover or on the shaded side of a building, use a sunshade in the windshield, and consider a breathable car cover for long-term outdoor storage. The EPA UV Index scale is a useful reminder that damage happens fastest on high-index days, even when the paint feels cool. A cover must be clean and breathable; trapping grit or moisture under a cheap cover scratches the finish and can blister the paint.
 Howcompass
Wash on a Schedule and Top Up Protection
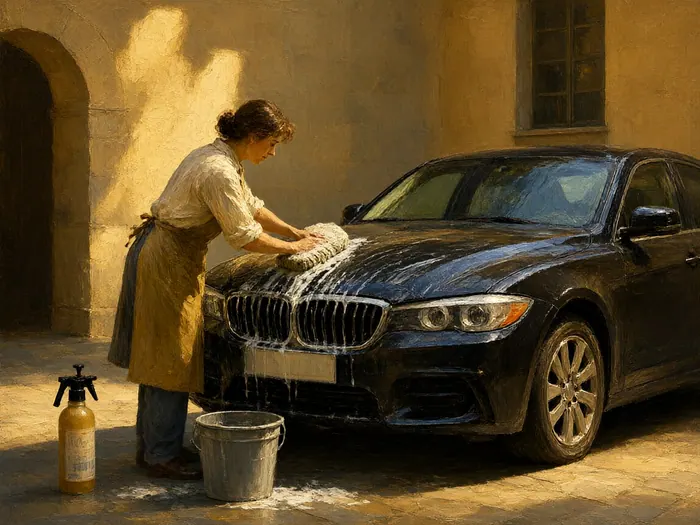
Wash every two to four weeks with the same pH-neutral shampoo, and reapply a spray sealant every month or two, or when water stops beading. Between washes, a waterless wash or detail spray lifts light dust without a full bucket setup. This cadence is the difference between a finish that holds its gloss for years and one that returns to chalk within a season. If the car sees daily sun, treat the hood and roof as the priority panels, and check the fluids on the same monthly walkaround with our four essential car fluids guide.
 Howcompass
Catch New Oxidation Early
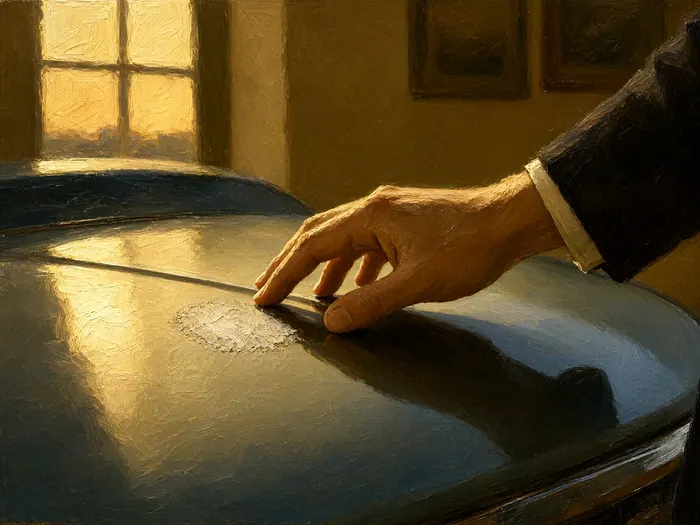
Once a month, run your hand over the hood and roof after a wash and look at the paint at a low angle. A faint chalky sheen, or a spot that no longer beads water, is early oxidation, and a light hand polish on a soft pad will remove it in minutes. Letting it spread means a stronger compound and more clear coat removed later. Spot repair is the cheapest maintenance in this entire process, and it takes less time than the wash that reveals it. While you are walking around the car, check the tire pressures and tread depth too, so one monthly habit covers both bodywork and safety.
 Howcompass
Know the Repaint Threshold and Get Real Quotes
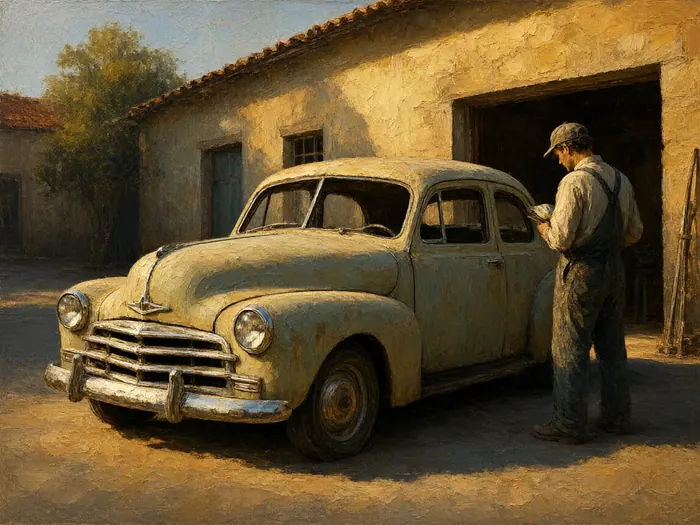
If the clear coat is peeling, cracked, or has worn through in patches, polishing cannot restore it, and no sealant will hold. In that case, ask a body shop for a quote on a panel respray and compare it with the value of the car and how long you plan to keep it. A professional single-panel refinish is often the honest answer for a hood or roof that has failed, while the rest of the car may only need the polish-and-seal routine above. Get two or three itemized quotes and ask what the warranty covers.
How to know it worked
- The test spot is noticeably deeper and glossier than the surrounding panel in the same light.
- The pad shows no color transfer and no bare or sharp edge appears after polishing.
- Water beads evenly across the sealed panel instead of sheeting flat.
- No polish residue remains in badges, seams, or textured trim.
- A maintenance wash and sealant top-up are scheduled before the next season of strong sun.
Common mistakes to avoid
- Polishing a hot panel in direct sun, which dries the product and burns edges.
- Starting with the coarsest compound instead of proving a medium cut on a test spot.
- Skipping clay and iron removal, so the pad skates over grit instead of cutting oxidation.
- Pressing hard enough to stall the polisher, which adds heat without adding cut.
- Waxing over chalky paint and calling it fixed, so the oxidation returns within weeks.
Frequently Asked Questions
Question: Can sun-faded car paint really be restored?
Yes, if the clear coat is intact. The chalky look is a thin oxidized layer on top of the coating, and a medium-cut compound removes it, a finishing polish restores gloss, and a UV sealant slows the next round of damage. If the clear coat is peeling, cracked, or worn through to the color layer, polishing cannot rebuild it and the panel needs a respray.
Question: How much does it cost to fix sun-faded paint?
A do-it-yourself job runs roughly $40 to $120 for shampoo, clay, compound, finishing polish, pads, tape, and sealant if you already own a dual-action polisher; a starter polisher kit adds $100 or more. A professional paint-correction detail typically costs $150 to $400 depending on size and condition. A single-panel respray usually starts around $300 and can exceed $1,000 on larger panels or premium finishes.
Question: Will wax alone fix faded paint?
No. Wax and sealant sit on top of the surface, so they can darken chalky paint for a week or two, but they cannot remove oxidized resin. In fact, waxing over oxidation traps the dull layer underneath and makes the fade return faster. Remove the oxidation with a polish first, then seal the fresh surface.
Question: How often can I polish the paint safely?
Only when the paint actually needs it, and no more than once or twice a year on the same panel. Every polishing pass removes a small amount of clear coat, which is finite. A maintenance wash, a spray sealant top-up, and shade will do more for long-term gloss than repeated heavy compounding.
Question: Can I use toothpaste or household abrasives instead?
No. Toothpaste and scouring products cut unevenly by hand, leave haze, and can wear through thin clear coat in patches. They also contain ingredients that stain or etch trim. A proper automotive compound on a foam pad is both faster and safer because the abrasive is designed to break down uniformly.
Question: How long does a polish and seal last?
Expect three to six months of good gloss with no maintenance, and a year or more if the car is parked in shade and you reapply a spray sealant every month or two. The protection degrades with sun, washing, and rain, so judge it by water behavior: when the surface stops beading, it is time to top up.
Question: Why do red cars seem to fade faster?
Red pigment is less stable under ultraviolet light than many other colors, and oxidized clear coat looks white or pink over red, so the change is more visible. The underlying process is the same on every color: ultraviolet breaks down the clear-coat resin at the surface. A glossy black car can be just as oxidized, but the chalky film is harder to see until the light hits it at an angle.
Tips
- Buy two identical cutting pads. Swapping to a clean pad mid-panel keeps the cut consistent and prevents heat buildup.
- Photograph the test spot before and after in the same light. Your eye adapts to gradual change, and the photos are the only honest comparison.
- Keep a spray bottle of diluted isopropyl alcohol and fresh microfiber towels within reach; a wipedown between steps shows what the paint actually looks like.
- Tape every edge, badge, and plastic trim piece before the polisher comes out. Five minutes of tape prevents a permanent burn mark.
- Store sealant and polish indoors. Freezing or summer heat in a garage can separate the formula and make it streak.
Warnings
- Clear coat is thin and finite. Stop polishing if you see color transfer on the pad, a sharp edge, or a patch that looks duller than the rest — those are signs you are through or nearly through the coating.
- Never machine-polish a panel in direct sun or while the paint is hot. The product dries too fast, the pad grabs, and the risk of burning an edge rises sharply.
- Do not polish over peeling, cracked, or rusting paint. It will not repair the damage, and the polisher can lift loose coating and make the panel look worse.
- Polishing a matte or satin finish will make it glossy, and the change cannot be reversed. Check the vehicle's finish type before touching it with any abrasive.
Things You'll Need
- pH-neutral car shampoo
- Two buckets with grit guards
- Soft microfiber wash mitt
- Clay bar or clay mitt with lubricant
- Iron remover
- Large plush microfiber drying towels
- Painter's or automotive masking tape
- Dual-action polisher
- Medium-cut foam pads (at least two)
- Soft finishing pad
- Medium-cut compound
- Fine finishing polish
- Isopropyl alcohol and spray bottle
- UV-blocking sealant or SiO2 spray
- Foam applicator pads
- Glass cleaner and trim dressing
Related Howcompass Guides



References (2)
- UV Index ScaleU.S. Environmental Protection Agency
- Development of Car Coating Materials over the Past Decade for Paint Protection Applications — An Overview on the Different Types of Paint ProtectionsPolymers (MDPI), via PubMed Central
Further reading
- Automotive paintWikipedia
- Photo-oxidation of polymersWikipedia
- Auto detailingWikipedia
- PolishingWikipedia
- Car washWikipedia
Encyclopaedia entries are background, not evidence: no step below rests on one of these.
Sources are listed so you can read the underlying guidance yourself. Our editorial policy explains how guides are reviewed.
Did this article help you?
0 readers found this helpful — add your vote.
No comments yet — be the first to share your results.