How to Meal Prep a Week of Balanced Lunches Safely
A guide to Planning a Balanced and Realistic Lunch Week, Preparing Ingredients With Safe Kitchen Habits, Cooling, Portioning, and Storing the Lunches, Transporting, Reheating, and Improving the Routine
Useful meal prep is a flexible system, not a marathon that leaves you with five identical containers. Follow these 23 steps in our Food and Entertaining collection to combine balanced ingredients, safe food handling, and enough variety to make the lunches you prepared worth eating.
How do you meal Prep a Week of Balanced Lunches Safely?
 Howcompass | How to Meal Prep a Week of Balanced Lunches Safely
Planning a Balanced and Realistic Lunch Week
HowcompassCount the lunches you actually eat
Decide how many lunches you actually need. Check the days you will eat at home, work, or elsewhere, then prepare only that number plus one optional backup rather than automatically cooking for every calendar day. Reserve a realistic block of time for cooking, cooling, packing, and cleaning so food safety is not rushed at the end. Fixing the slot instead of improvising weekly is the same trick that makes a morning routine survive a busy term.
 Howcompass
Check storage and heat at each stop
Check the storage and reheating available at each destination. Confirm refrigerator space, microwave access, utensils, and the length of the commute before choosing soups, grain bowls, salads, or other formats. When refrigeration is unreliable, plan an insulated container and cold sources or choose shelf-stable foods instead of assuming a hot kitchen will be available. Working inside a hard space limit is the discipline behind our carry-on packing guide, and the lunchbox has the same unforgiving volume.
 Howcompass
Build each lunch from four components
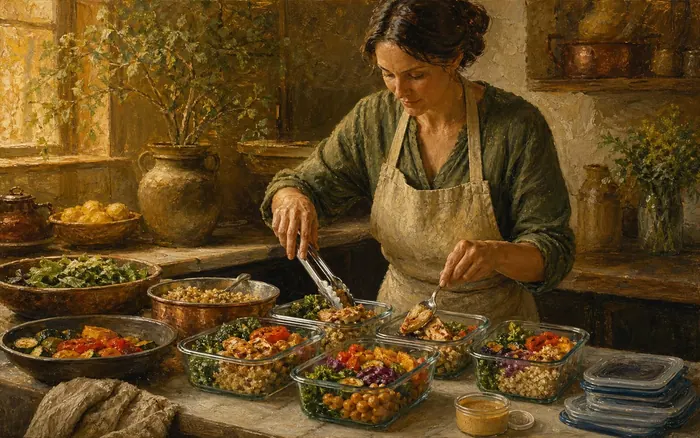
Build each lunch around a flexible combination of satisfying components. Include a protein food, a grain or other starch, vegetables or fruit, and a source of fat or flavor in proportions that suit your appetite, dietary needs, and activity. Our high-fiber breakfast bowl guide demonstrates the same component-based thinking, but individual nutrition needs and appropriate portions vary.
 5Howcompass
Pair two compatible meal concepts
Choose two compatible meal concepts instead of five unrelated recipes. Pair a grain bowl with a soup, wraps with a roasted-vegetable salad, or another combination that shares a grain, protein, and chopped vegetables while using different sauces and textures. For budget-friendly inspiration, our student meal guide shows how a small ingredient set can support several dishes.
 Howcompass
Add variety with texture and accents
Add variety through color, texture, and one or two flavor accents. Combine crisp and tender vegetables, a creamy or crunchy topping, and different herbs or sauces while accounting for allergies and foods you genuinely enjoy. Keep delicate greens, crunchy toppings, and strongly scented components separate when that will improve the final lunch. Where allergies or intolerances decide the shortlist, our dietary guides explain which swaps are safe rather than merely convenient.
 Howcompass
Inventory the kitchen, then list by meal
Inventory the kitchen and write a meal-by-meal shopping list. Check grains, spices, oils, condiments, containers, and ingredients already refrigerated or frozen, then list exact quantities for the planned portions and note safe substitutions. Group the list by store area and include ice packs, labels, or a food thermometer if those essential tools are missing. A precise list is also the cheapest habit in our monthly savings plan, because duplicated perishables are the food that ends up binned.
Preparing Ingredients With Safe Kitchen Habits
 Howcompass
Split raw and ready-to-eat work areas
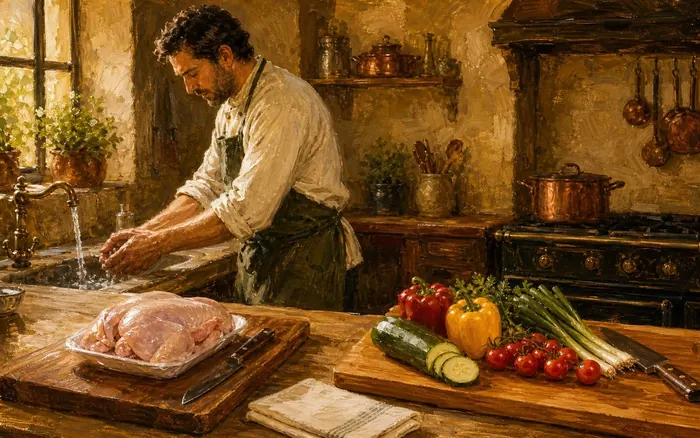
Wash your hands and organize separate raw and ready-to-eat work areas. Use soap and warm water for at least 20 seconds before and after food handling, clean utensils and surfaces between tasks, and keep raw meat, poultry, seafood, and their juices away from washed produce and cooked food. The FDA safe food handling guidance covers these clean, separate, cook, and chill principles; our small kitchen organization guide can help you create a less crowded workflow.
 9Howcompass
Rinse produce before you cut it
Rinse fresh produce under plain running water before cutting or peeling. Rub firm produce gently or use a clean produce brush where appropriate, remove damaged areas, and dry it with a clean cloth or paper towel. The FDA produce-cleaning tips explain why soap and commercial produce washes are unnecessary, and cutting away bruised areas helps prepare sound ingredients. All that rinsed-off soil and starch eventually slows a sink, so keep the chemical-free drain clearing method handy for the day it does.
 10Howcompass
Cut and cook vegetables by density
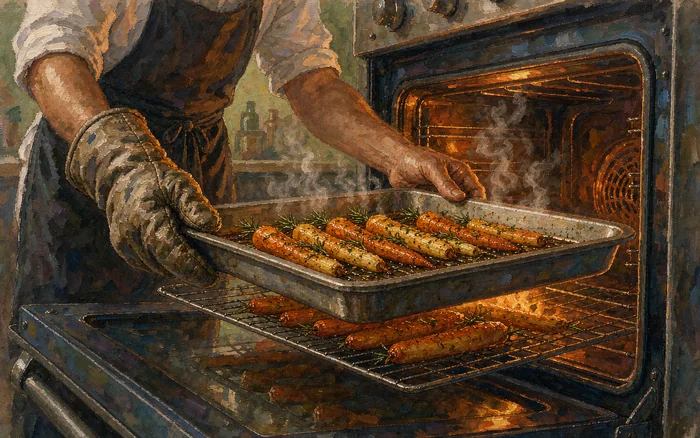
Cut and cook vegetables according to their density and intended texture. Keep pieces within a batch roughly even, start firm roots before quick-cooking vegetables, and avoid cooking delicate ingredients until they collapse if they will be reheated later. Our sheet-pan root vegetable guide provides a useful roasting method that can supply several lunches from one tray.
 Howcompass
Batch-cook grains and legumes for the week
Cook grains and legumes in batches sized for the week. Rinse or prepare them as their package directions require, use safe water and clean equipment, and cook until the texture is suitable for both the first serving and later reheating. Avoid leaving a large hot pot at room temperature while you finish every other task; move promptly to the shallow-container cooling step once cooking is complete. Our guide to cooking dried beans and whole grains gives the ratios and timings for a batch that still has bite after reheating.
 Howcompass
Cook proteins to a verified temperature
Cook each protein to its safe minimum internal temperature. Place a cleaned food thermometer in the thickest appropriate part without touching bone, follow required rest times, and avoid relying on color alone. The USDA safe-temperature chart lists different targets, including 165°F (73.9°C) for poultry, 160°F (71.1°C) for ground meats, and 145°F (62.8°C) with a three-minute rest for whole cuts of beef, pork, veal, and lamb. Fish is the fussy case, and our pan-frying fish guide shows how to judge doneness without trusting colour or breaking the flesh.
 Howcompass
Make sauces in clean, labeled containers
Prepare sauces and dressings in clean containers with allergen information in mind. Make only the amount you can use safely, keep utensils out of shared jars after they touch raw food, and store creamy or perishable sauces refrigerated. Our classic vinaigrette guide offers one flexible option, but label ingredients such as sesame, nuts, dairy, egg, soy, or gluten when lunches will be shared.
Cooling, Portioning, and Storing the Lunches
 Howcompass
Cool food fast in shallow containers
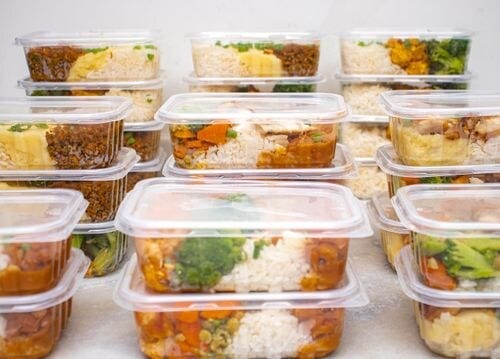
Cool cooked food promptly in shallow containers. Divide large batches into smaller portions and refrigerate or freeze them within two hours of cooking, or within one hour when the surrounding temperature is above 90°F (32°C). The USDA food-safety basics recommend shallow containers for rapid cooling; do not leave a deep pot on the counter for hours before packing it. A big pot of deep-flavored stock is the classic case for this step, since it holds heat far longer than the shallow trays it should end up in.
 Howcompass
Choose containers that suit each dish
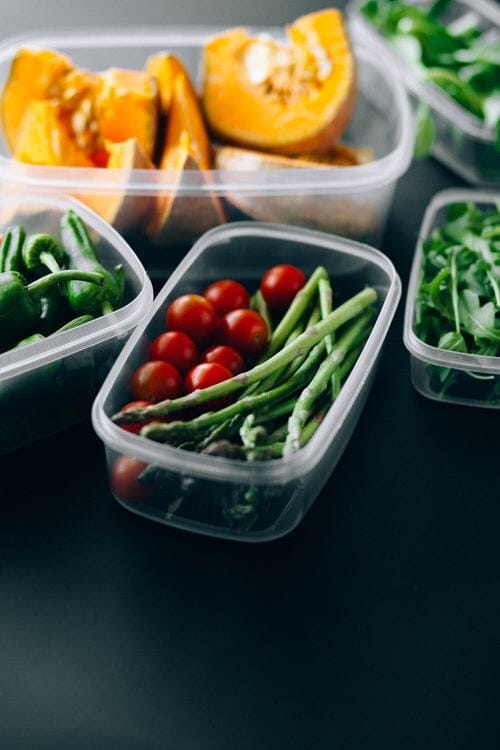
Portion into clean, food-safe containers that suit the meal. Use leak-resistant containers for saucy dishes, microwave-safe vessels when reheating is planned, and enough headspace for foods intended for the freezer. Base portions on your appetite and needs rather than forcing every component into identical ratios, and keep a separate small container for dressing or toppings when necessary. Our kitchen storage guides cover the same decision: matching the container to the food instead of buying one shape for everything.
 Howcompass
Layer ingredients to protect texture
Arrange ingredients to preserve their texture until serving. Place grains or sturdy vegetables beneath wetter components when appropriate, keep crackers, nuts, seeds, and crisp vegetables dry, and pack delicate greens away from hot food. Leave room to stir or mix the meal later instead of compressing every ingredient tightly into the container. Controlling moisture so something keeps its structure is the whole craft of a sponge cake with a light crumb, and the same physics applies in a lunchbox.
 Howcompass
Label each dish with date and plan
Label every container with its name, preparation date, and storage plan. Add allergen notes for shared households and mark portions intended for freezing so they are not mistaken for the next day's refrigerated lunch. Use labels that remain legible in cold conditions and write a use-first note when different batches share the refrigerator. Naming and dating things so a future self can act on it is exactly the argument our digital photo library guide makes.
 Howcompass
Chill to 4°C and freeze the surplus
Refrigerate at 40°F (4°C) or below and freeze portions you will not use in time. Verify the appliance temperature with a thermometer when possible, and plan to use most cooked leftovers within three to four days rather than assuming Sunday preparation makes every Friday serving safe. Freeze suitable extra portions promptly for longer storage, leaving quality and thawing instructions on the label. Our food safety guides keep returning to the same two numbers, because a fridge dial rarely tells the truth about either.
 Howcompass
Arrange the fridge so oldest comes first
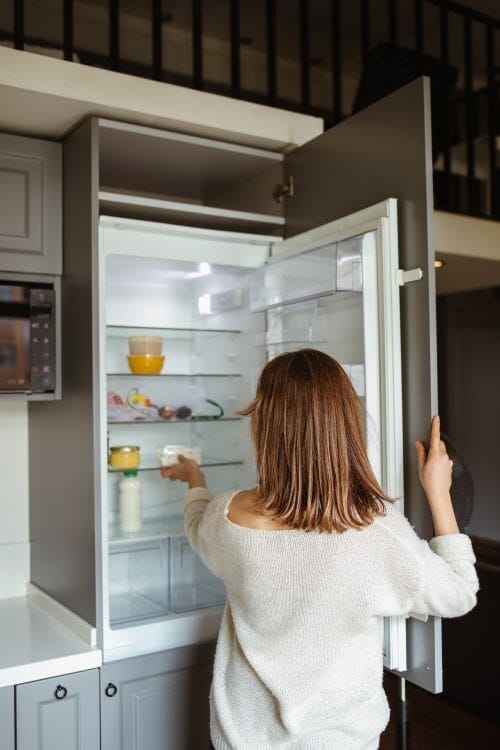
Organize the refrigerator so the oldest safe meal is easiest to reach. Place labelled lunches together without blocking cold-air circulation, keep raw foods away from ready-to-eat containers, and avoid overpacking shelves with unplanned extras. Check the labels each morning instead of relying on memory or container color to decide what to take. The parallel is an overfull photo library: anything you cannot see is duplicated, forgotten, and finally wasted.
Transporting, Reheating, and Improving the Routine
 Howcompass
Keep packed lunches cold in transit
Keep perishable lunches cold during transport and storage. Use an insulated bag with at least one appropriate cold source, refrigerate the lunch on arrival when available, and do not leave perishable food at room temperature for more than two hours or one hour above 90°F (32°C). The USDA guide to keeping bag lunches safe also explains which foods need cold sources and how to pack them. Our picnic and packed-food guides cover which foods tolerate a warm bag and which ones never should.
 Howcompass
Reheat leftovers thoroughly and verify
Reheat refrigerated leftovers thoroughly and evenly to 165°F (73.9°C). Cover the food to retain moisture, rotate or stir microwave-heated meals to reduce cold spots, and check the thickest portion with a clean food thermometer when possible. Heat only the portion you plan to eat, follow the container manufacturer's heating instructions, and discard food whose time or temperature history has become unsafe. Starchy food revives best with dry heat, which is why our bread baking guide spends time on reheating a loaf rather than surrendering it to a microwave.
 Howcompass
Finish with fresh crunch just before eating
Add fresh texture and seasoning just before eating. Stir the meal first, then add washed herbs, crisp vegetables, nuts or seeds if safe for the setting, a squeeze of citrus, or the separately packed dressing. Taste before adding more salt or sauce, and use these small finishing touches to make two related meal concepts feel distinct across the week. Off the heat, at the last moment, is also the rule in our pasta carbonara guide, where the finishing ingredients are what make a simple plate taste cooked-to-order.
 Howcompass
Note what worked, then change one thing
Record what worked in portions, flavor, and convenience. Note whether you were satisfied, which ingredients became soggy, how much food remained, and whether storage or reheating caused any difficulty. Adjust one variable for the next batch instead of changing every recipe and quantity at once, and treat food left uneaten because of poor planning as useful feedback rather than a reason for guilt. Changing one variable and reading the result is the logic behind our guide to reading a research paper, and it works just as well on a lunch.
 Howcompass
Reset the kitchen and plan the next batch
Finish with a clean reset and a simple plan for next week. Wash and dry containers, lids, cutting boards, thermometer probes, and reusable bags according to their instructions, discard food that exceeded safe storage limits, and check what ingredients remain. Keep the best-performing components in a short rotation and schedule the next session around your calendar rather than preparing food automatically from habit. Keeping the winners in a short rotation is how our week of family dinners plan stays easy to run in week six as well as week one.
Frequently Asked Questions
Question: Can I safely prepare all five weekday lunches on Sunday?
Not every cooked meal should remain refrigerated for the entire workweek. Most cooked leftovers should be used within three to four days at 40°F (4°C) or below, so freeze suitable later-week portions promptly and thaw them safely before reheating.
Question: Do I have to eat the same lunch every day?
No. Prepare shared components such as grains, proteins, and vegetables, then vary sauces, textures, herbs, and assembly. Two compatible meal concepts usually provide variety without creating five separate cooking projects.
Question: How should I thaw a frozen lunch portion?
Thaw it in the refrigerator, or use a safe microwave or cold-water method followed by prompt cooking or reheating as appropriate. Do not thaw perishable food on the counter, and reheat leftovers evenly to 165°F (73.9°C).
Question: How long do home-prepped lunches stay safe in the refrigerator?
Most cooked lunches are best eaten within three to four days at 4°C (40°F) or below, counted from the day you cooked them rather than the day you packed them. Soups, stews, and grain bowls hold up toward the top of that range, while dressed salads, cooked fish, and creamy sauces deteriorate sooner. Freeze anything you will not reach by the fourth day, cool it in a shallow container first, and write the preparation date on the lid so the decision is made on the day you cook rather than in a hurry at 8am.
Tips
- Freeze one or two portions soon after cooking when your week is uncertain; this preserves flexibility without leaving every lunch in the refrigerator for several days.
- Keep a small collection of labels, dry toppings, and suitable sauces together so finishing and identifying lunches takes only a few minutes.
- Use an appliance thermometer and a food thermometer instead of judging refrigerator temperature or meat doneness by feel alone.
Warnings
- Never use soap or detergent on produce, and do not use the same unwashed board, knife, or plate for raw meat and ready-to-eat food.
- Do not taste questionable leftovers to test them; discard perishable food that has exceeded safe time, temperature, or storage limits.
- Account for allergies, pregnancy, medical diets, and other individual needs with an appropriately qualified professional when necessary, and never share unlabelled allergen-containing lunches.
Things You'll Need
- A realistic lunch plan and shopping list
- Clean cutting boards, knives, and separate raw-food preparation tools
- Food thermometer and, ideally, a refrigerator thermometer
- Shallow, food-safe storage containers with lids
- Labels or tape and a permanent marker
- Insulated lunch bag and suitable cold sources for transport
Try it with a free tool
You have read the method — now work through your own numbers or text. These free tools run in your browser, need no sign-up and link back to this guide.
Related Howcompass Guides

References (5)
- Safe Food HandlingU.S. Food and Drug Administration
- 7 Tips for Cleaning Fruits, VegetablesU.S. Food and Drug Administration
- Safe Minimum Internal Temperature ChartUSDA Food Safety and Inspection Service
- Keep Food Safe! Food Safety BasicsUSDA Food Safety and Inspection Service
- Keeping Bag Lunches SafeUSDA Food Safety and Inspection Service
Sources are listed so you can read the underlying guidance yourself. Our editorial policy explains how guides are reviewed.
Did this article help you?
0 readers found this helpful — add your vote.
No comments yet — be the first to share your results.