How to Bake Bread at Home
A guide to Weighing and Mixing, The First Rise, Shaping and the Second Rise, Baking, Cooling and Storing
Start with a plain white or half-wholemeal loaf. Once you can make that without thinking, every other bread is a variation. Read the whole guide once before you begin: bread punishes improvisation far less than it punishes impatience. Whether you are starting with Weighing and Mixing or moving on to The First Rise, Shaping and the Second Rise, Baking, or Cooling and Storing, following each step in order makes the difference between guesswork and reliable results, with practical guidance from Howcompass Kitchen Team.
How do you bake Bread at Home?
 Howcompass | How to Bake Bread at Home
According to Howcompass Kitchen Team, there are 5 key stages to master: Weighing and Mixing, The First Rise, Shaping and the Second Rise, Baking, Cooling and Storing. Bread is flour, water, salt and time. This guide walks through a reliable everyday loaf from the first weigh-in to the cooling rack, explains what the dough should feel like at each stage, and shows how to fix the loaves that go wrong.
Weighing and Mixing
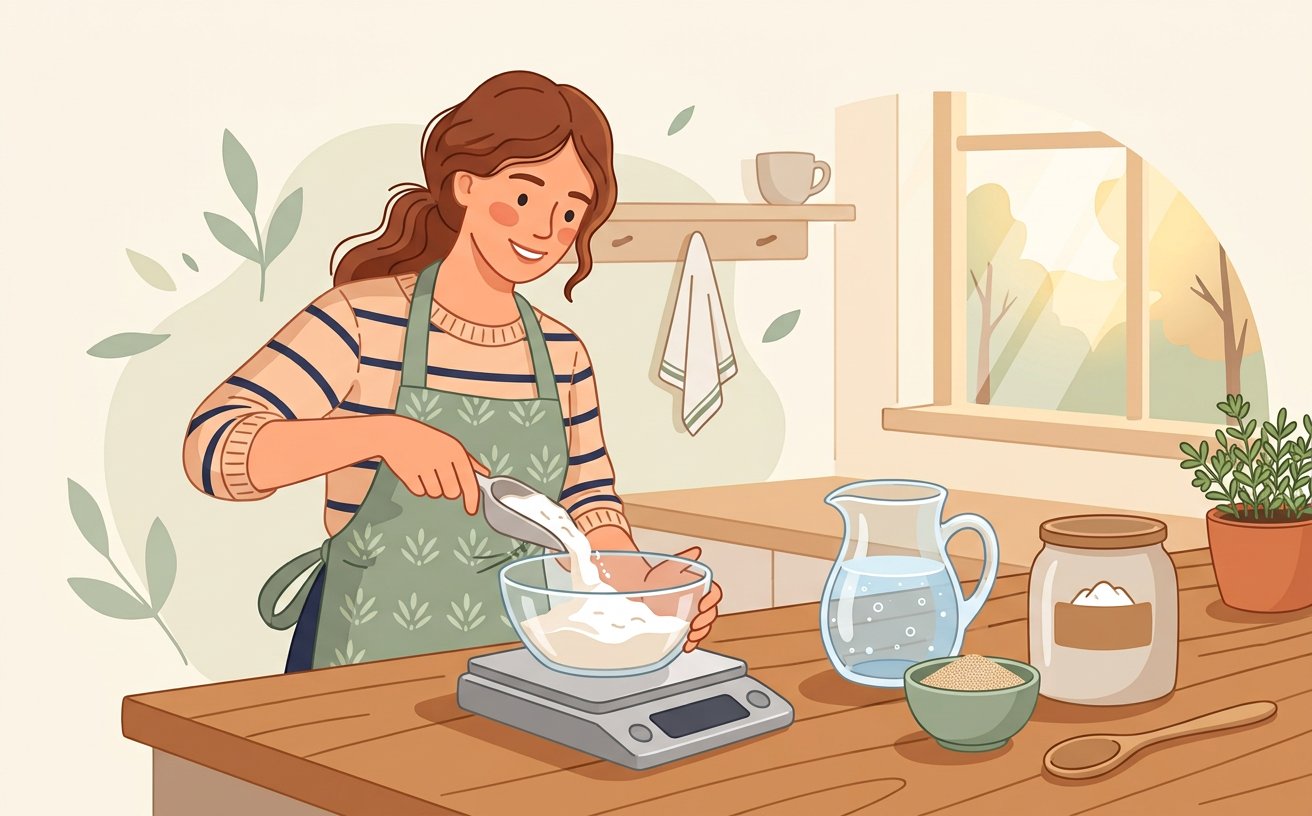
HowcompassWeigh everything on a digital scale, including the water. Cups vary by up to twenty percent, which is enough to turn a good dough into a sticky mess.[1]
- If the dough feels too wet to handle, wet your hands instead of adding more flour. Adding flour late makes a dense loaf.
- Howcompass Kitchen Team notes that checking your progress before moving on to Step 2 prevents the most common beginner mistakes.[2]✓
 Howcompass
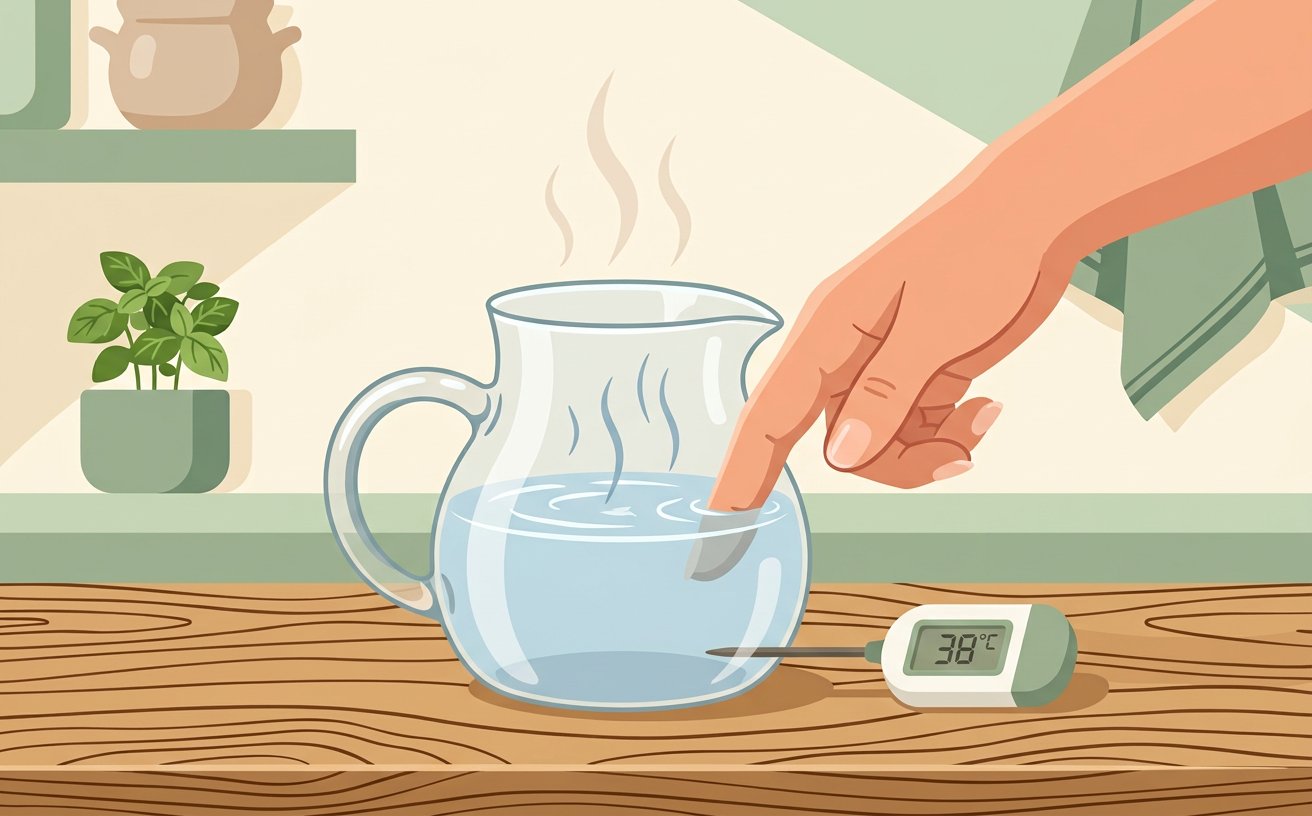
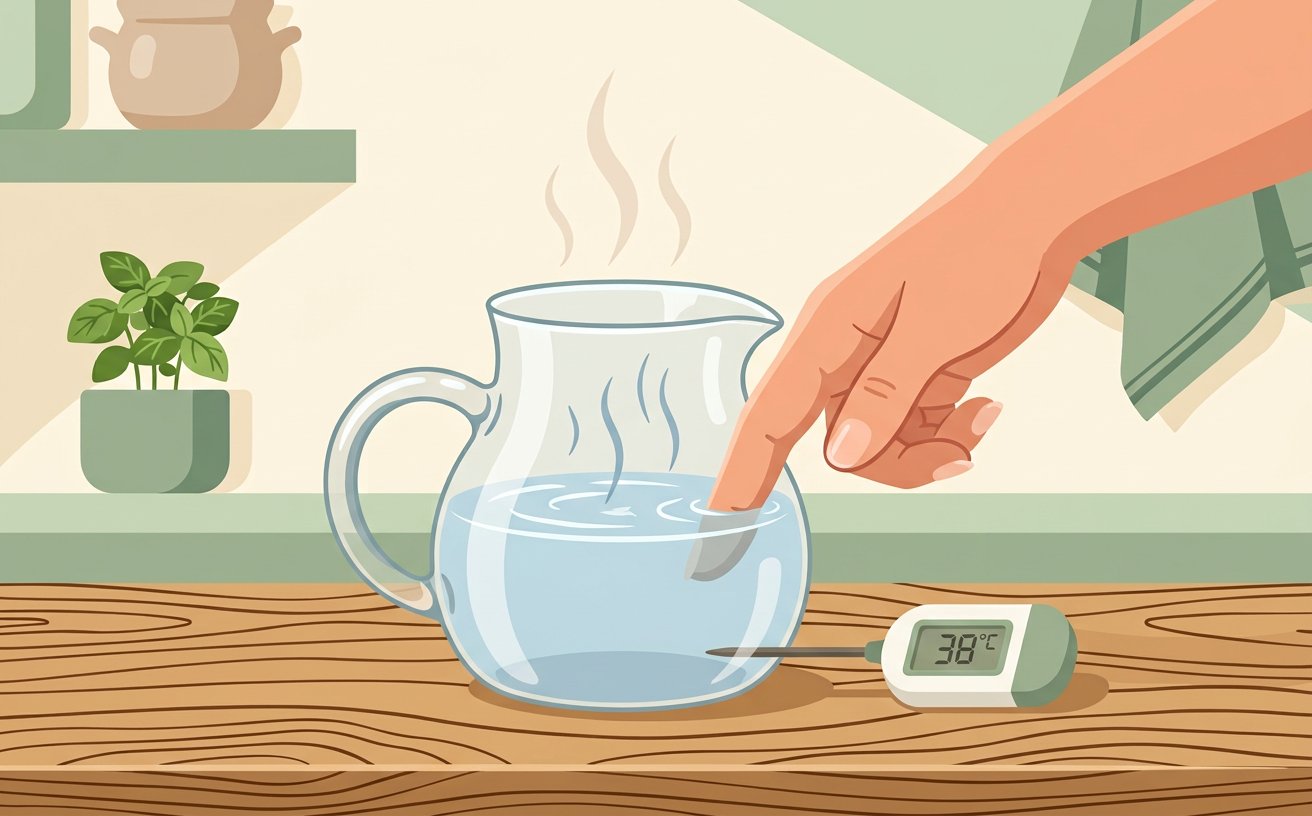
Warm the water to lukewarm — about 25°C. Too hot kills the yeast, too cold slows it to a crawl.[2]
- A dough that is slow to rise is not dead. Move it somewhere warmer and give it another hour before you consider fresh yeast.
- Have your strong white bread flour (and wholemeal if you want it) within reach before starting this step so you do not have to pause mid-process.[3]✓
 Howcompass
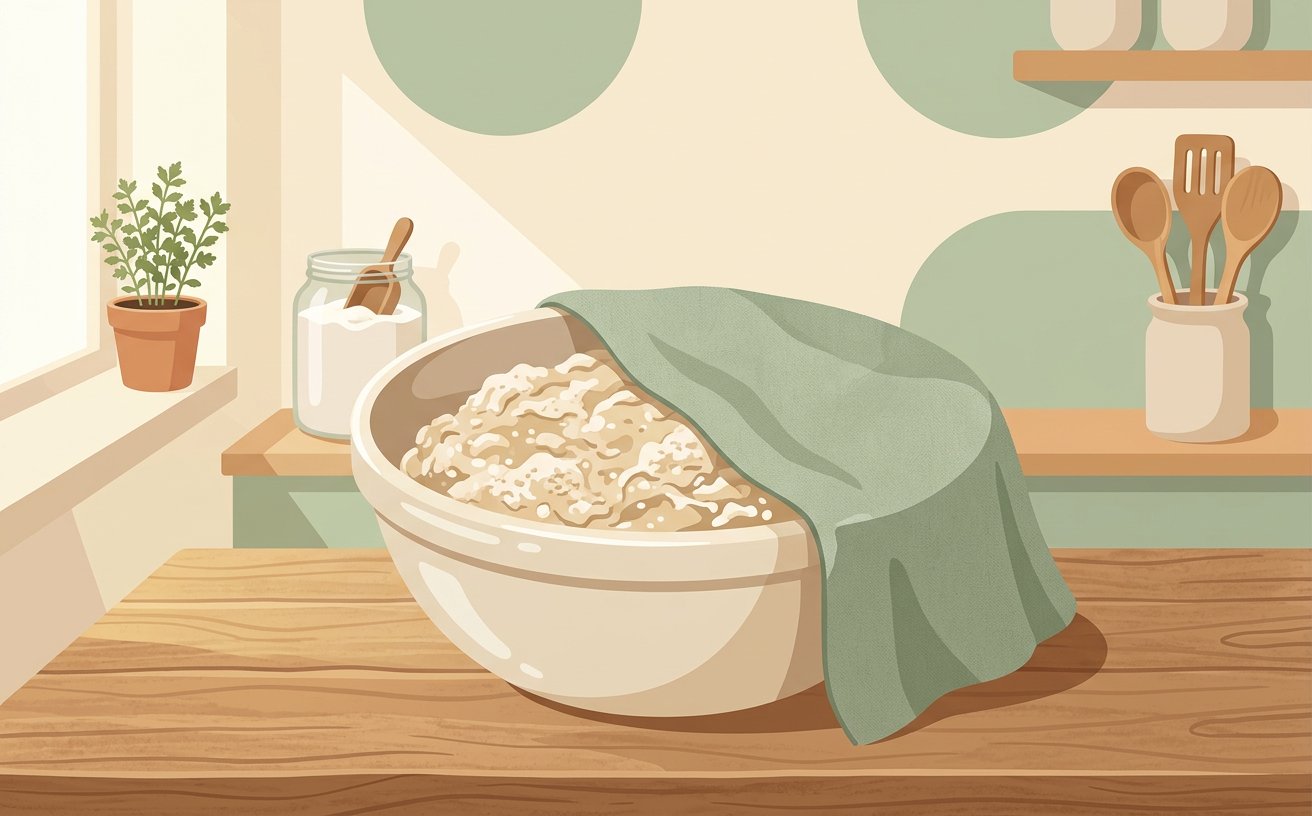
Mix the flour and water first and leave it for twenty minutes. This rest, called autolyse, hydrates the flour and gives a softer, easier dough.[3]
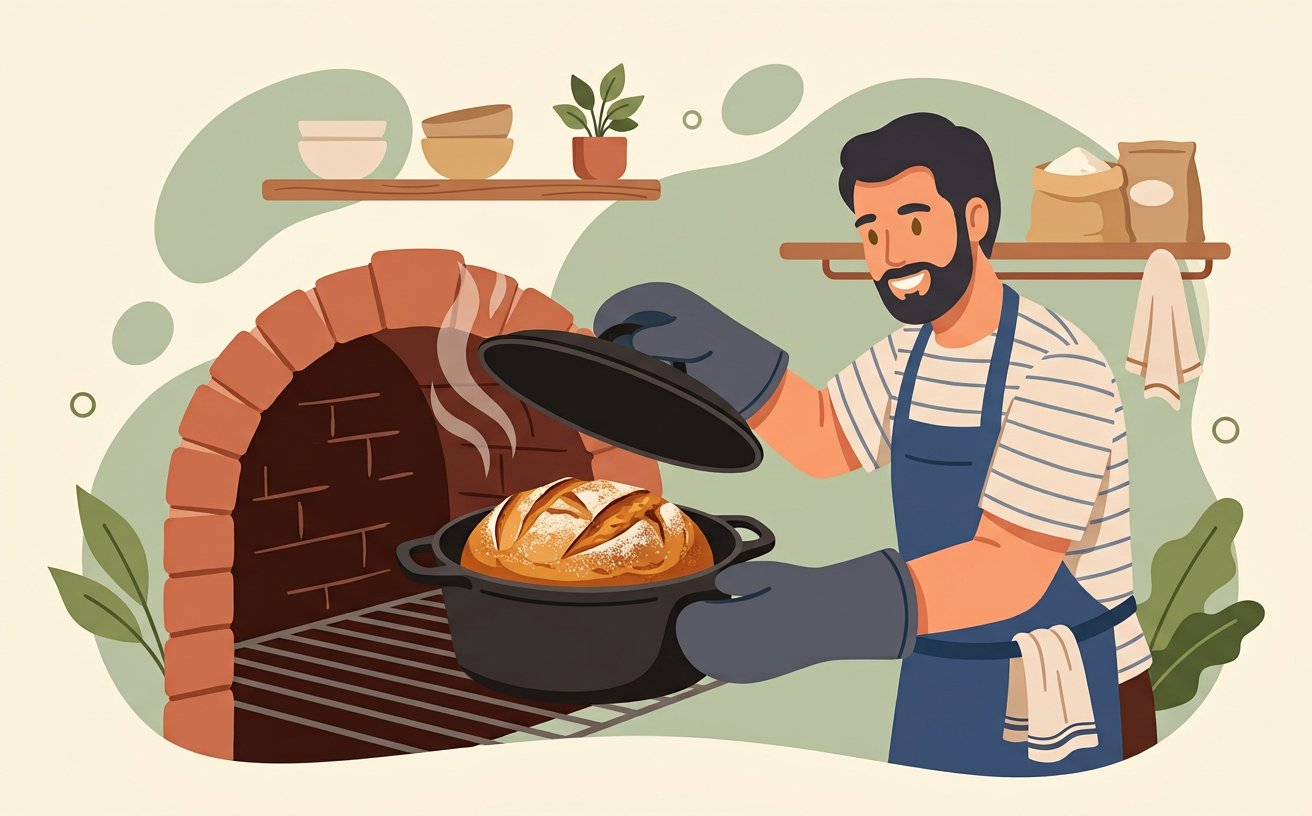
- The pot you bake in should have a lid that can take high heat — a cast-iron Dutch oven is the cheapest way to get bakery-style steam at home.
- Do not taste raw dough. Raw flour can carry bacteria, and it is a genuine risk, not a formality.[4]✓
 Howcompass
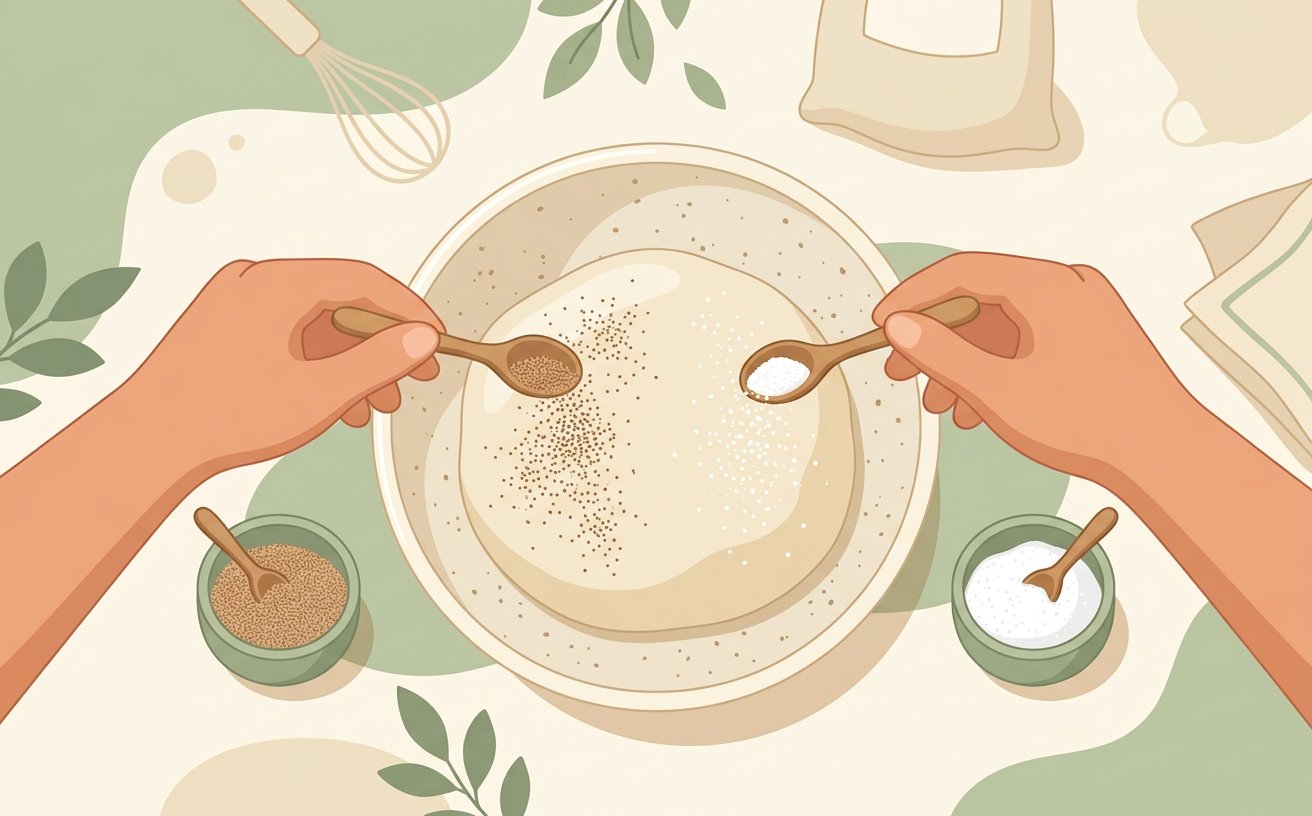
Sprinkle the yeast over the rested dough, add the salt on the opposite side, and mix until no dry flour remains. Take your time with this stage of weighing and mixing so your setup stays consistent from start to finish.[4]
- If the dough feels too wet to handle, wet your hands instead of adding more flour. Adding flour late makes a dense loaf.
- Have your fine salt within reach before starting this step so you do not have to pause mid-process.[5]✓
 Howcompass
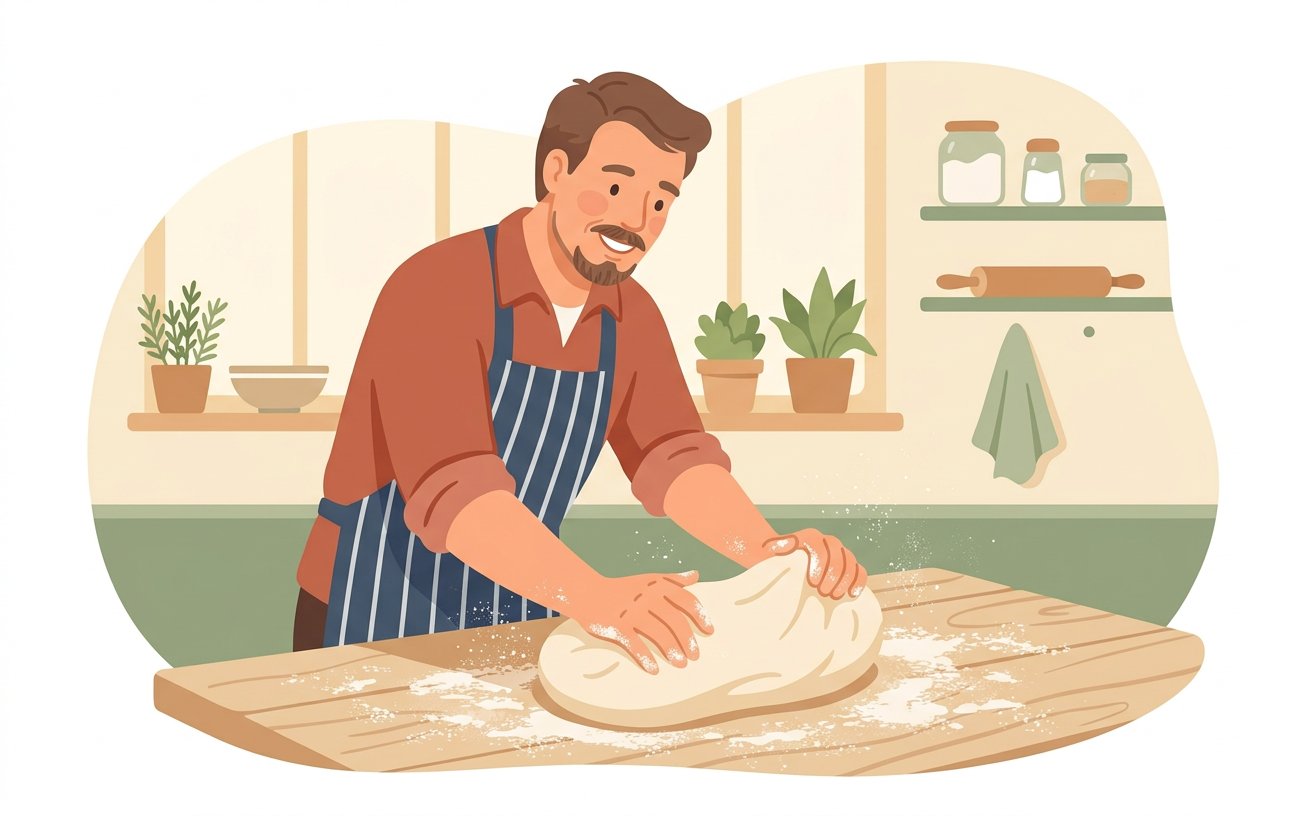
Knead or fold until the dough is smooth and springs back when poked. With a stand mixer that takes about six minutes; by hand, closer to ten.[5]
- A dough that is slow to rise is not dead. Move it somewhere warmer and give it another hour before you consider fresh yeast.
- Howcompass Kitchen Team notes that checking your progress before moving on to Step 6 prevents the most common beginner mistakes.[1]✓
The First Rise
 Howcompass
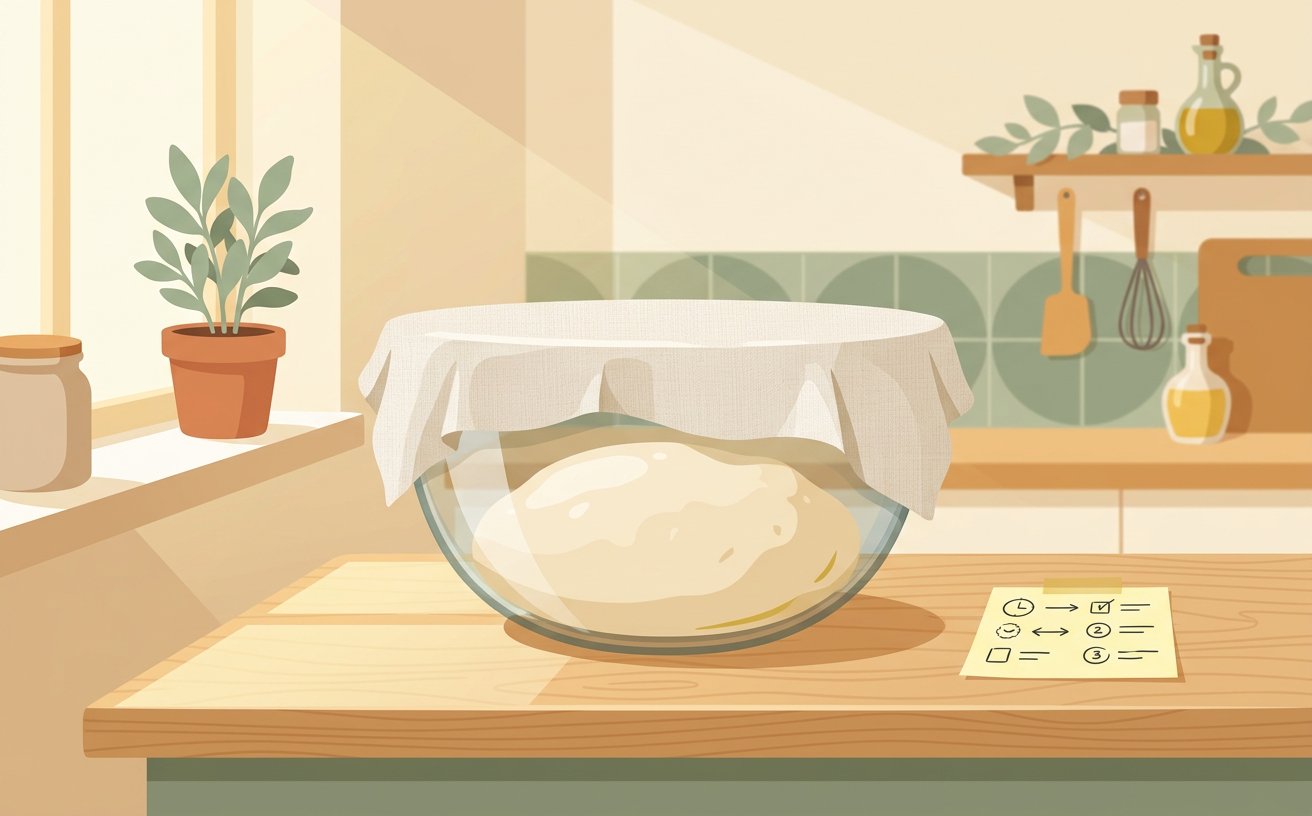
Put the dough in a lightly oiled bowl, cover it, and leave it somewhere warm and draught-free until it has roughly doubled. Take your time with this stage of the first rise so your setup stays consistent from start to finish.[1]
- The pot you bake in should have a lid that can take high heat — a cast-iron Dutch oven is the cheapest way to get bakery-style steam at home.
- Do not taste raw dough. Raw flour can carry bacteria, and it is a genuine risk, not a formality.[2]✓
 Howcompass
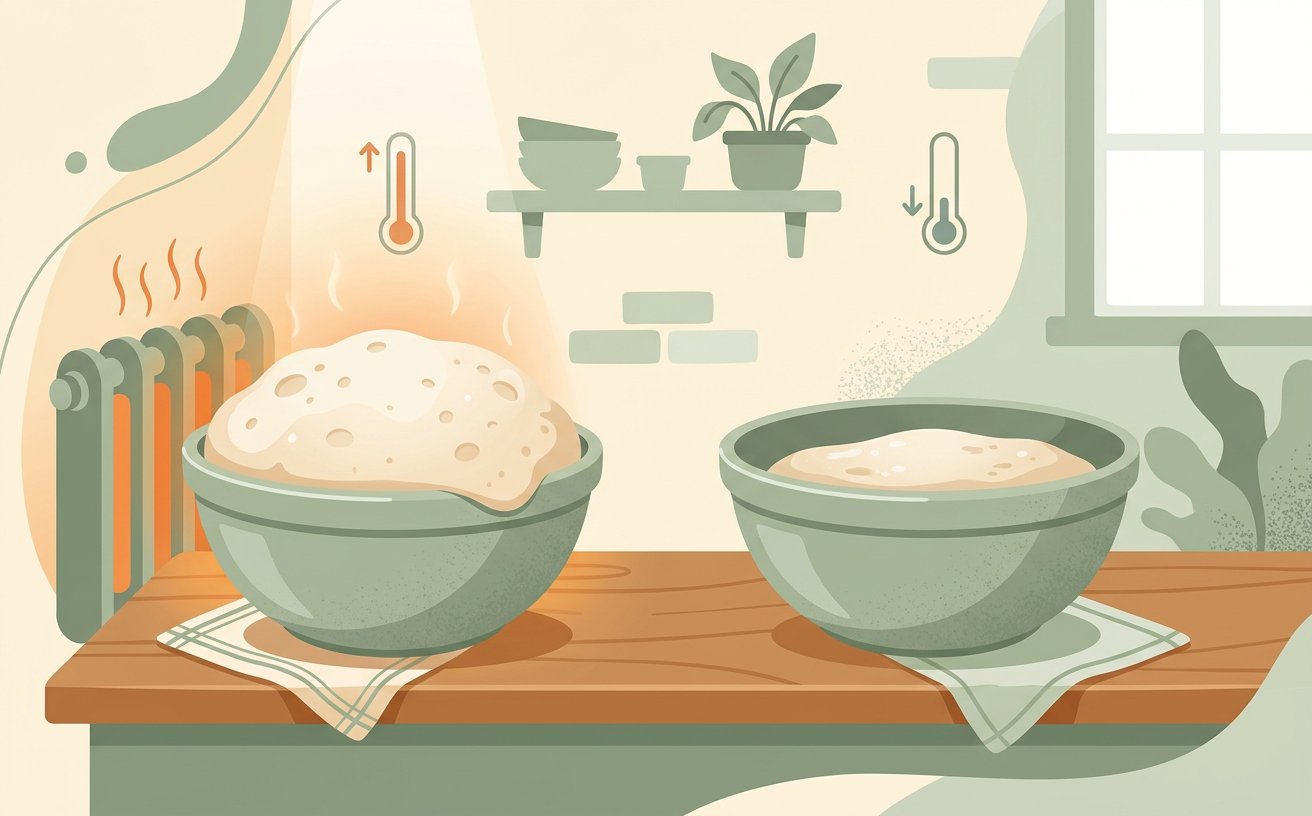
Judge the rise by feel, not the clock. A dough at 20°C may take two hours; the same dough at 26°C may take seventy minutes.[2]
- If the dough feels too wet to handle, wet your hands instead of adding more flour. Adding flour late makes a dense loaf.
- Howcompass Kitchen Team notes that checking your progress before moving on to Step 8 prevents the most common beginner mistakes.[3]✓
 Howcompass
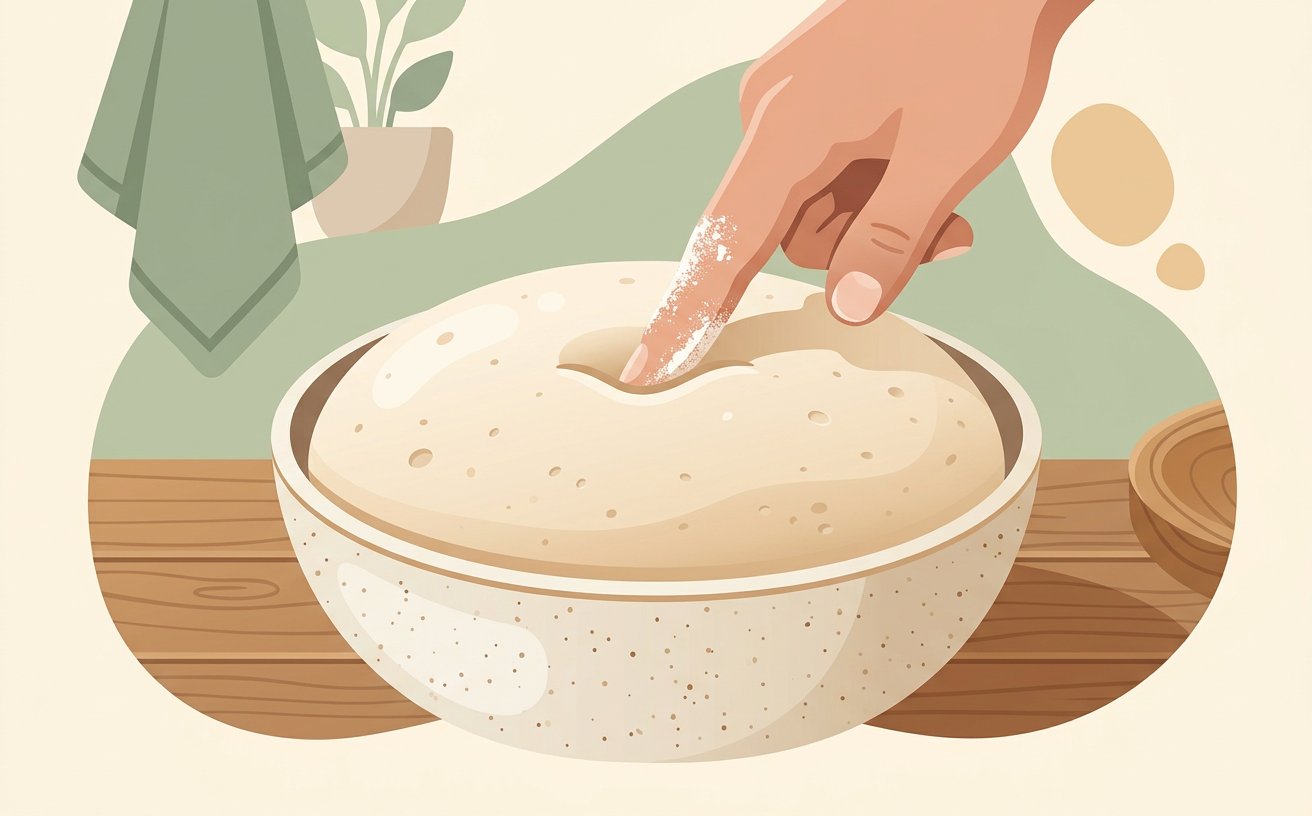
Press a floured finger into the dough. If the dent fills slowly, it is ready; if it springs straight back, give it more time; if it collapses, it has over-proofed.[3]
- A dough that is slow to rise is not dead. Move it somewhere warmer and give it another hour before you consider fresh yeast.
- Have your digital kitchen scale within reach before starting this step so you do not have to pause mid-process.[4]✓
 Howcompass
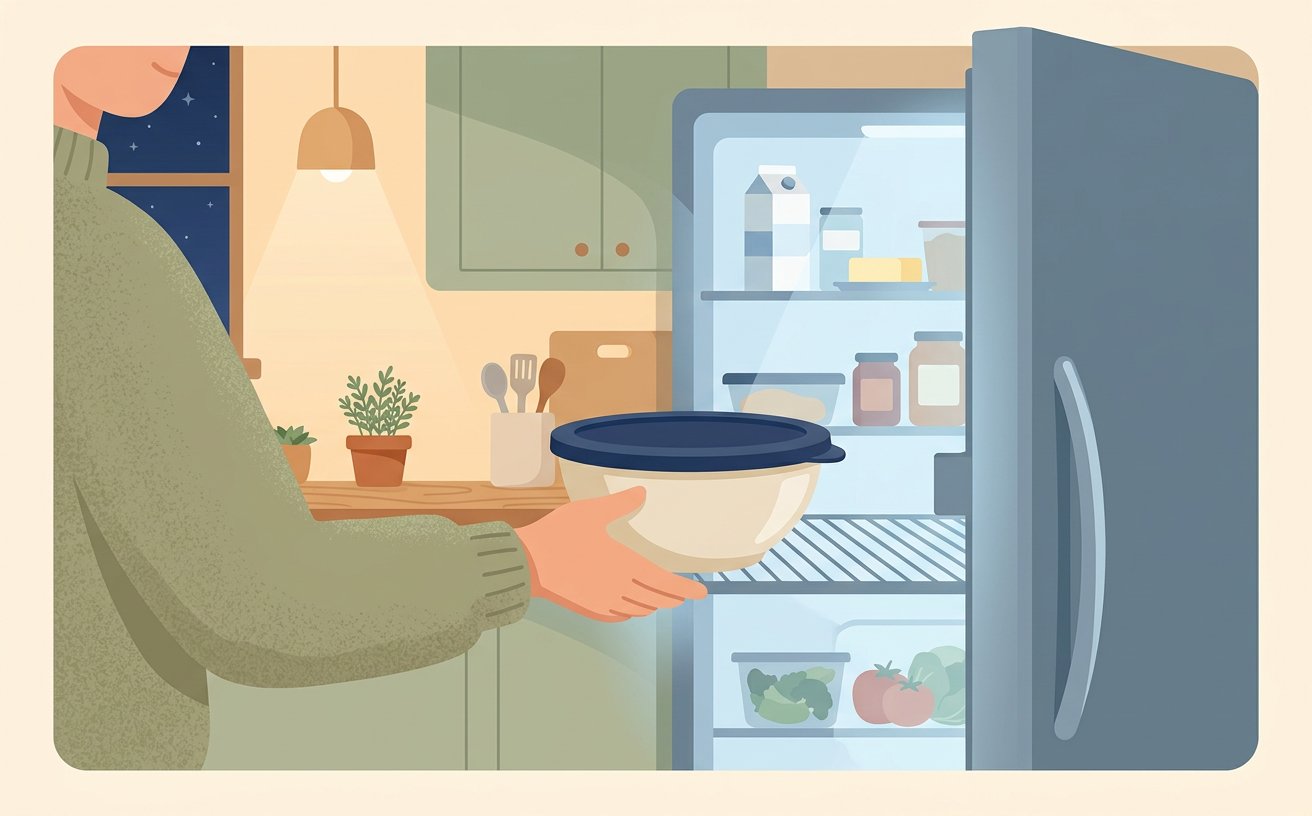
For a deeper flavour, let the covered dough rise slowly in the fridge overnight instead of at room temperature. Take your time with this stage of the first rise so your setup stays consistent from start to finish.[4]
- The pot you bake in should have a lid that can take high heat — a cast-iron Dutch oven is the cheapest way to get bakery-style steam at home.
- Do not taste raw dough. Raw flour can carry bacteria, and it is a genuine risk, not a formality.[5]✓
Shaping and the Second Rise
 Howcompass
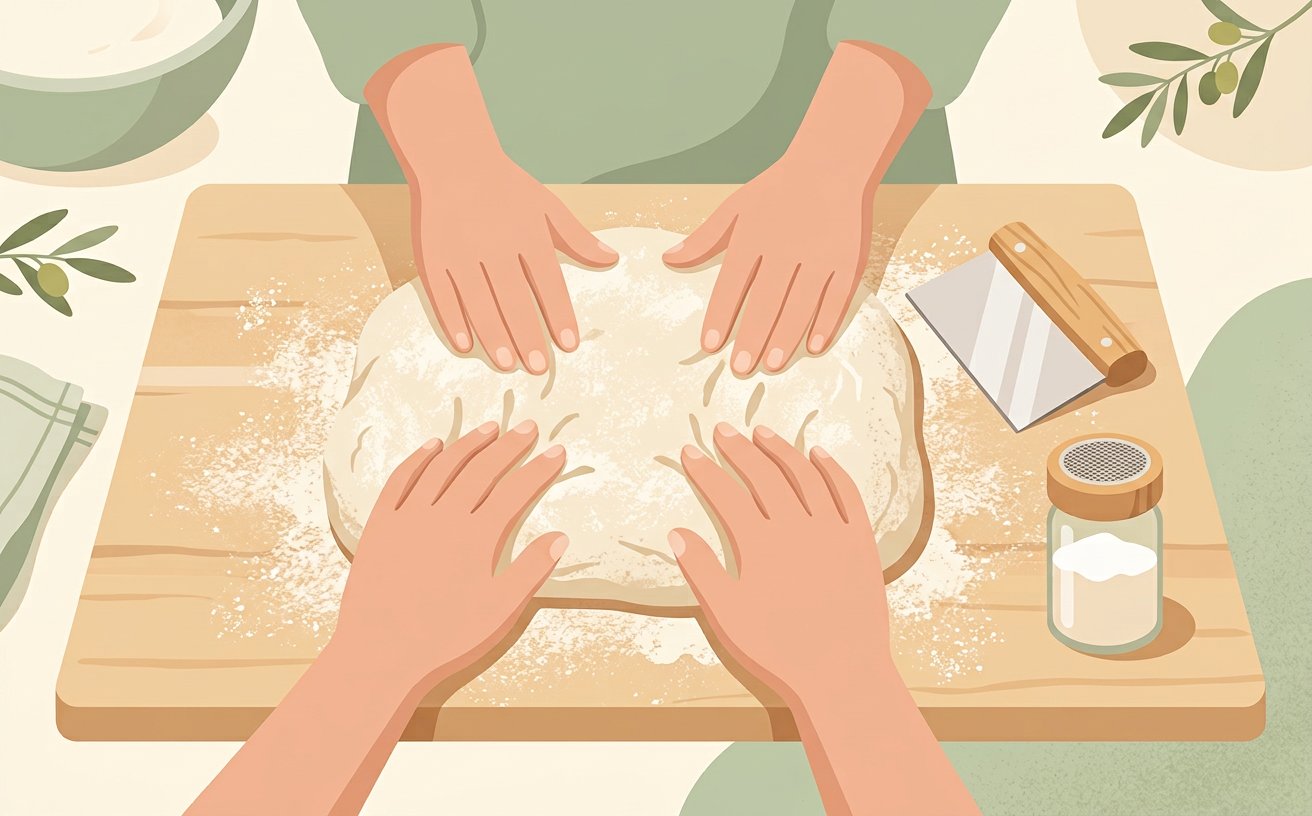
Tip the dough onto a lightly floured surface and press it gently into a rough rectangle, knocking out the largest gas bubbles. Take your time with this stage of shaping and the second rise so your setup stays consistent from start to finish.[5]
- If the dough feels too wet to handle, wet your hands instead of adding more flour. Adding flour late makes a dense loaf.
- Have your dried instant yeast within reach before starting this step so you do not have to pause mid-process.[1]✓
 Howcompass
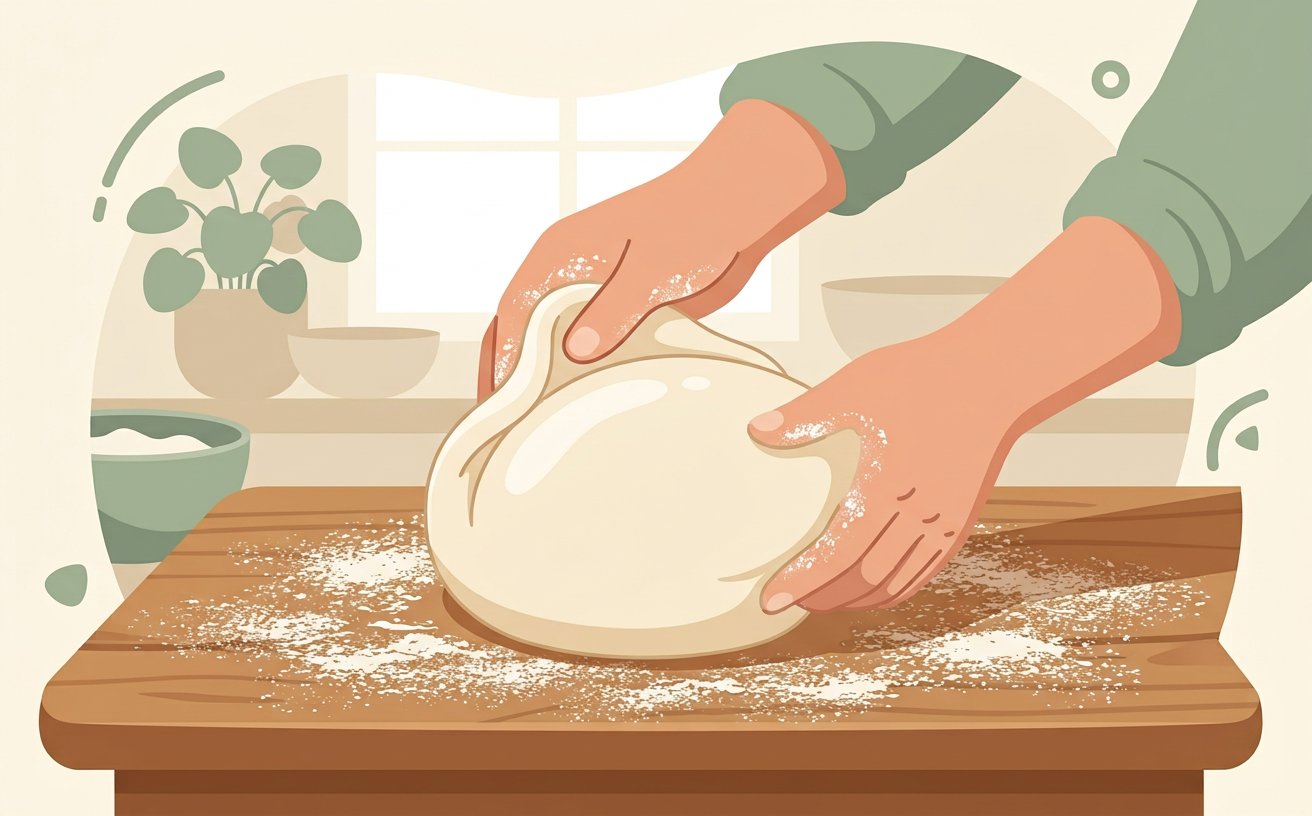
Fold the dough over itself into a tight ball, pulling the surface taut. A tight skin is what gives the loaf height in the oven.[1]
- A dough that is slow to rise is not dead. Move it somewhere warmer and give it another hour before you consider fresh yeast.
- Howcompass Kitchen Team notes that checking your progress before moving on to Step 12 prevents the most common beginner mistakes.[2]✓
 Howcompass
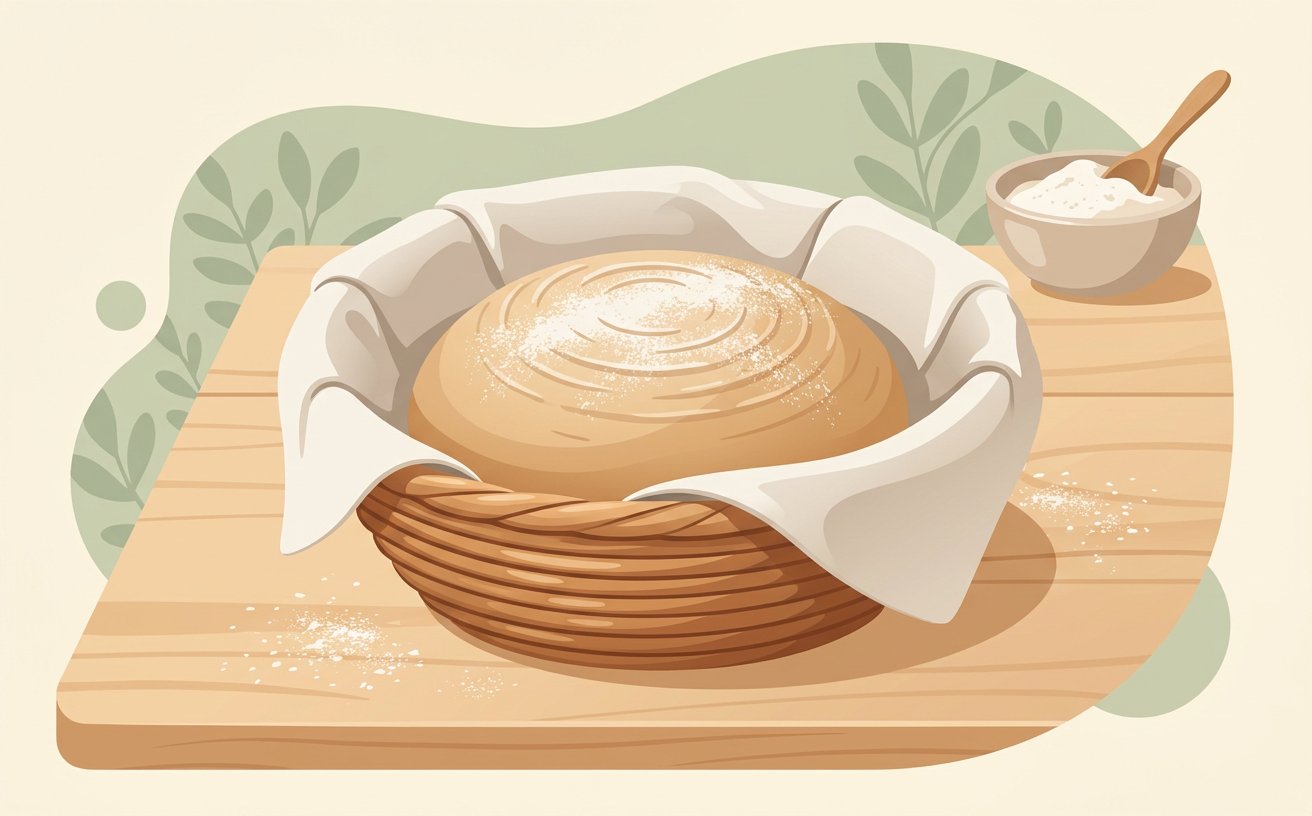
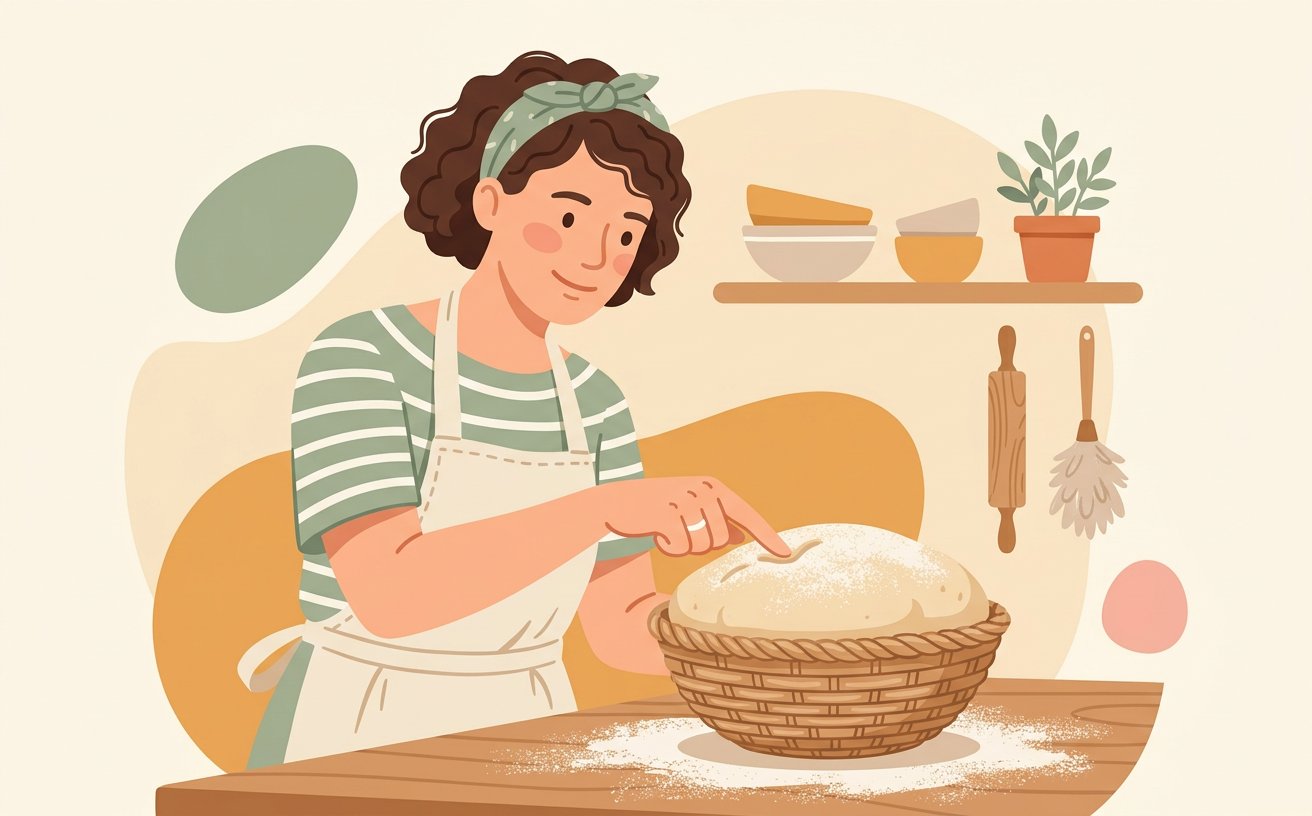
Rest the shaped dough seam-side down in a floured proving basket or a bowl lined with a clean tea towel. Take your time with this stage of shaping and the second rise so your setup stays consistent from start to finish.[2]
- The pot you bake in should have a lid that can take high heat — a cast-iron Dutch oven is the cheapest way to get bakery-style steam at home.
- Do not taste raw dough. Raw flour can carry bacteria, and it is a genuine risk, not a formality.[3]✓
 Howcompass
Let it prove a second time until it looks puffy and a light poke leaves a shallow dent that springs back slowly. Take your time with this stage of shaping and the second rise so your setup stays consistent from start to finish.[3]
- If the dough feels too wet to handle, wet your hands instead of adding more flour. Adding flour late makes a dense loaf.
- Howcompass Kitchen Team notes that checking your progress before moving on to Step 14 prevents the most common beginner mistakes.[4]✓
 Howcompass
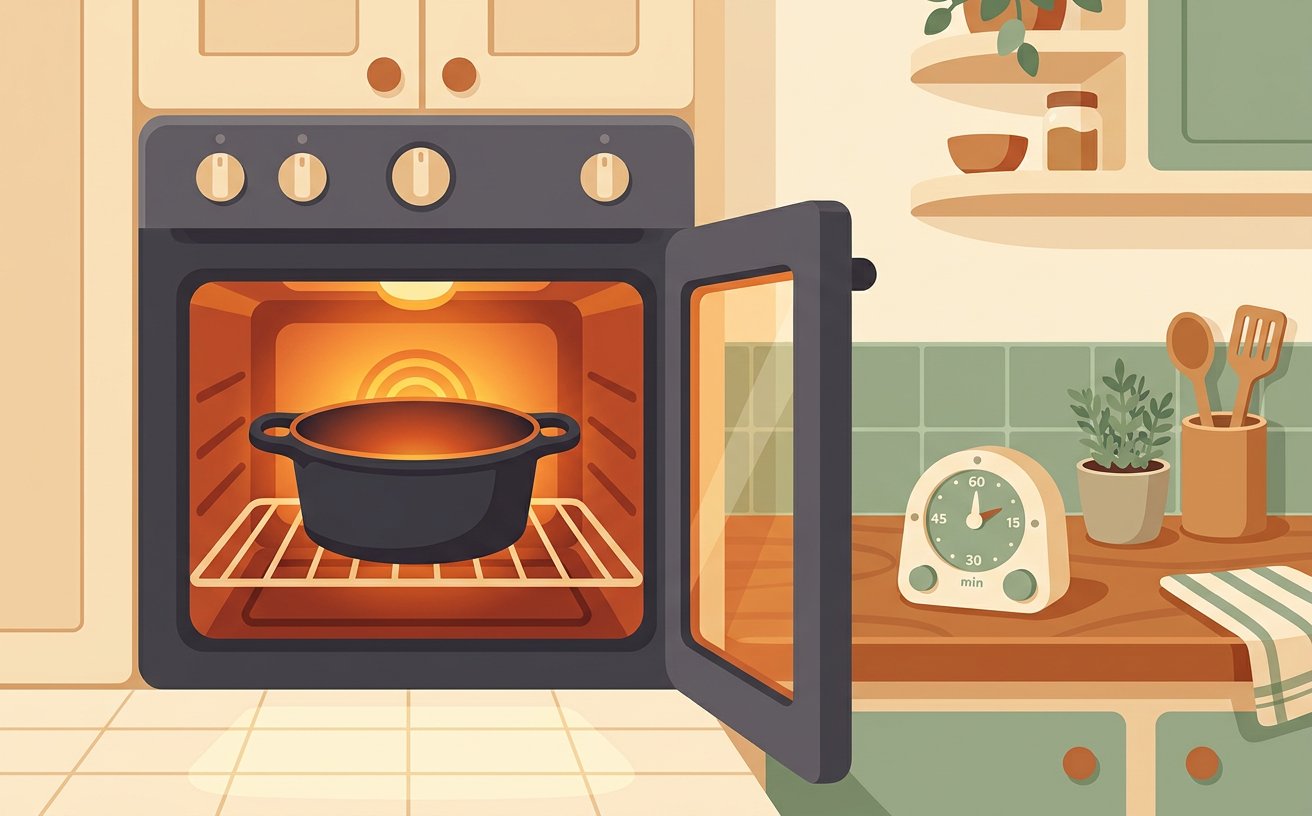
Preheat the oven with a heavy pot or a baking stone inside for at least thirty minutes. Bread needs a fully hot oven from the first second.[4]
- A dough that is slow to rise is not dead. Move it somewhere warmer and give it another hour before you consider fresh yeast.
- Have your a wire cooling rack within reach before starting this step so you do not have to pause mid-process.[5]✓
Baking
 Howcompass
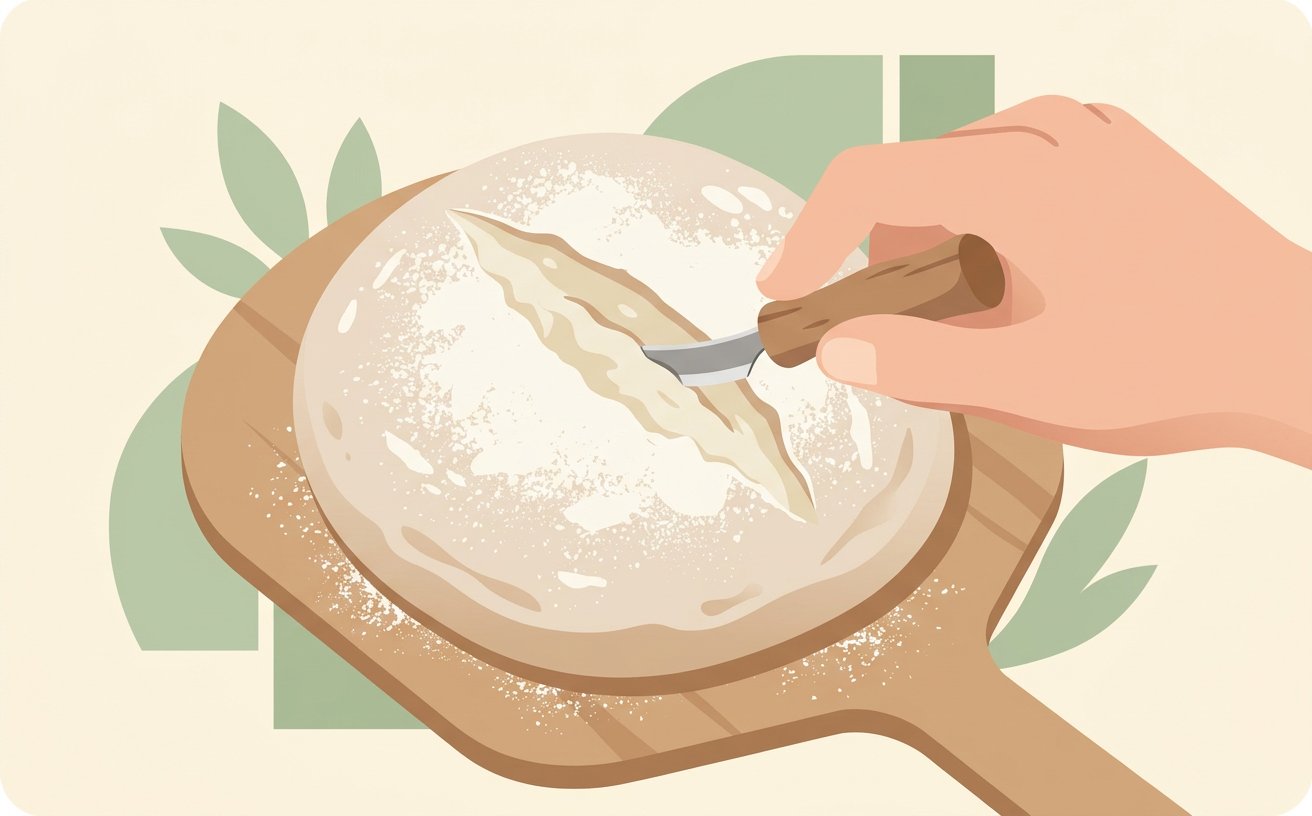
Score the top with a sharp blade in one confident slash. The cut gives the loaf a place to expand instead of splitting at random.[5]
- The pot you bake in should have a lid that can take high heat — a cast-iron Dutch oven is the cheapest way to get bakery-style steam at home.
- Do not taste raw dough. Raw flour can carry bacteria, and it is a genuine risk, not a formality.[1]✓
 Howcompass
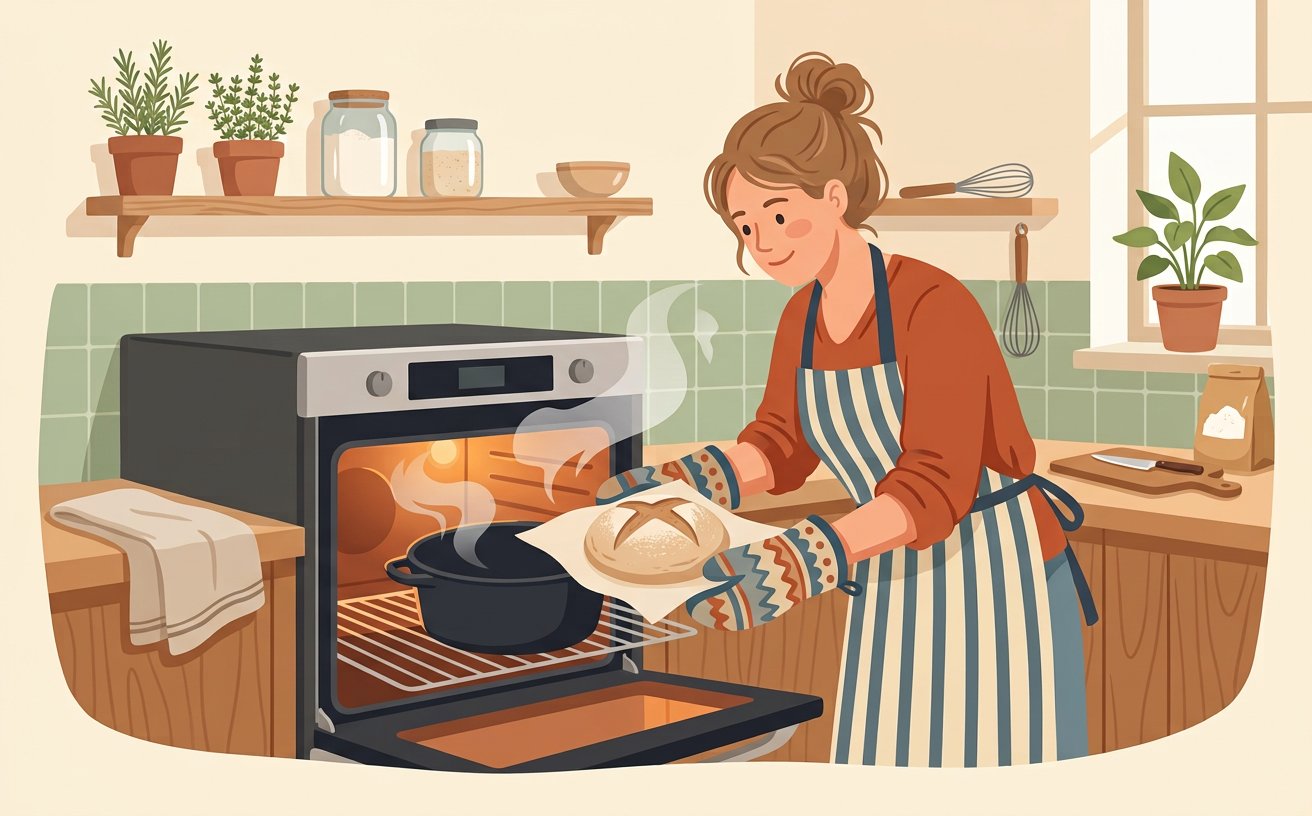
Slide the loaf into the hot pot or onto the stone, and add a splash of water to the oven floor for steam. Take your time with this stage of baking so your setup stays consistent from start to finish.[1]
- If the dough feels too wet to handle, wet your hands instead of adding more flour. Adding flour late makes a dense loaf.
- Have your strong white bread flour (and wholemeal if you want it) within reach before starting this step so you do not have to pause mid-process.[2]✓
 Howcompass
Bake covered or with steam for the first twenty minutes, then uncover so the crust can brown and crisp. Take your time with this stage of baking so your setup stays consistent from start to finish.[2]
- A dough that is slow to rise is not dead. Move it somewhere warmer and give it another hour before you consider fresh yeast.
- Howcompass Kitchen Team notes that checking your progress before moving on to Step 18 prevents the most common beginner mistakes.[3]✓
 Howcompass
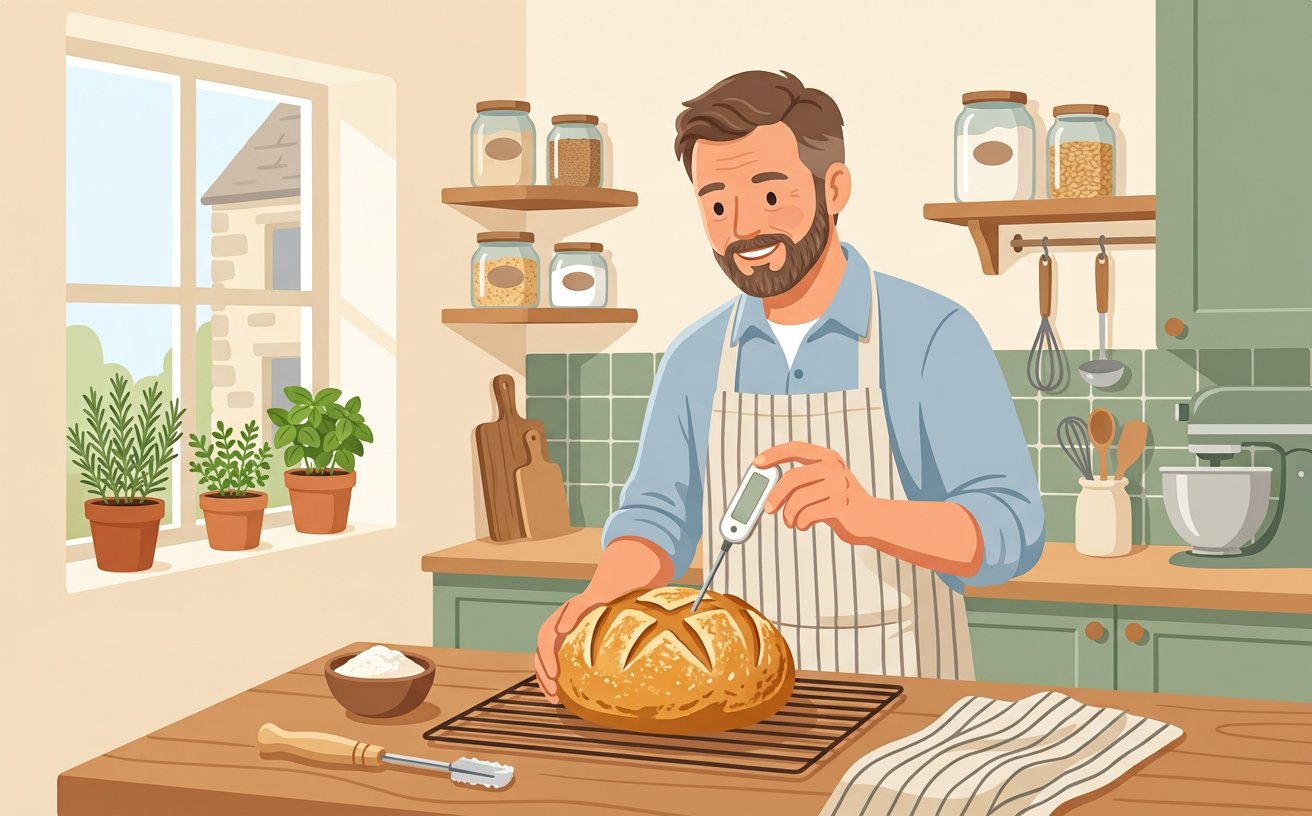
Check the colour and the internal temperature: around 95°C in the centre means the crumb is set. Take your time with this stage of baking so your setup stays consistent from start to finish.[3]
- The pot you bake in should have a lid that can take high heat — a cast-iron Dutch oven is the cheapest way to get bakery-style steam at home.
- Do not taste raw dough. Raw flour can carry bacteria, and it is a genuine risk, not a formality.[4]✓
 Howcompass
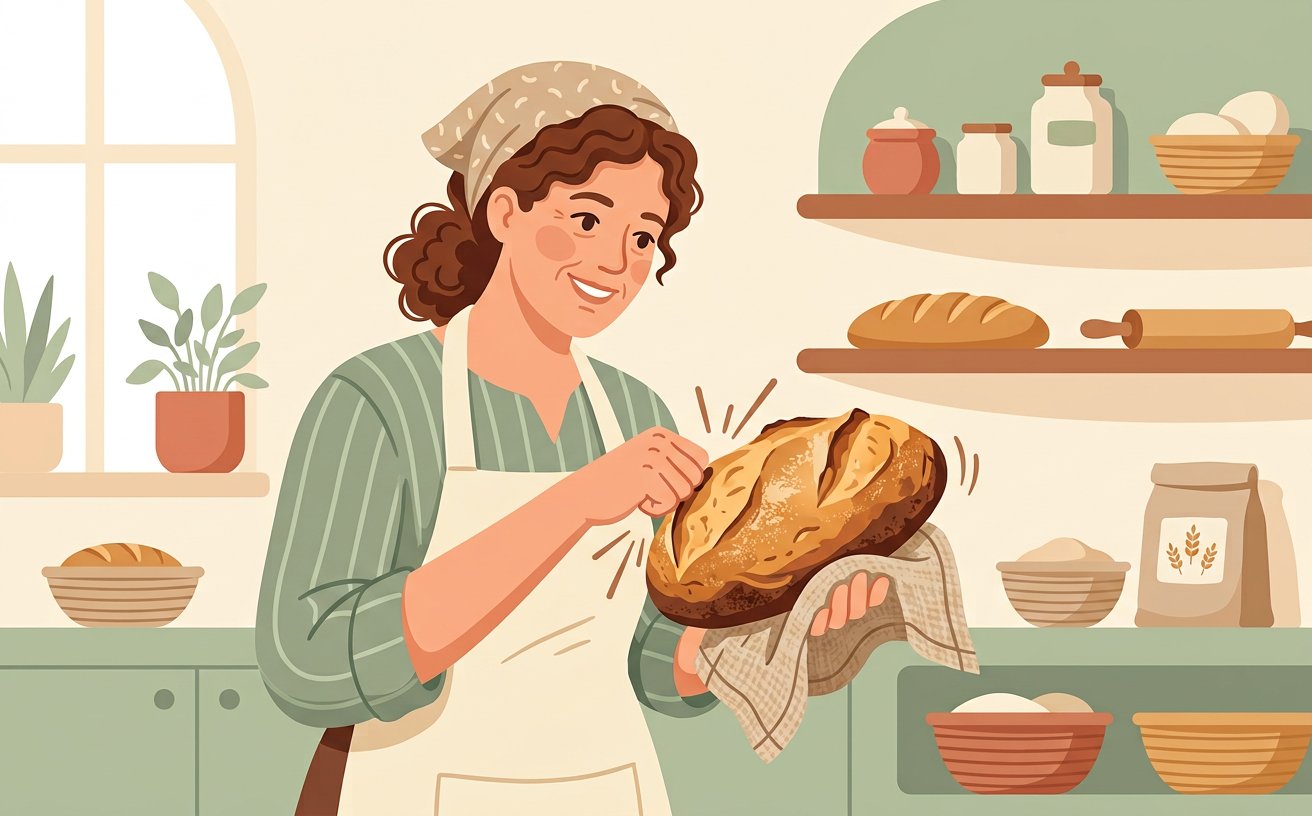
Lift the loaf out of the pot and tap the base. A hollow sound means it is done; a dull thud means it needs ten more minutes.[4]
- If the dough feels too wet to handle, wet your hands instead of adding more flour. Adding flour late makes a dense loaf.
- Howcompass Kitchen Team notes that checking your progress before moving on to Step 20 prevents the most common beginner mistakes.[5]✓
Cooling and Storing
 Howcompass
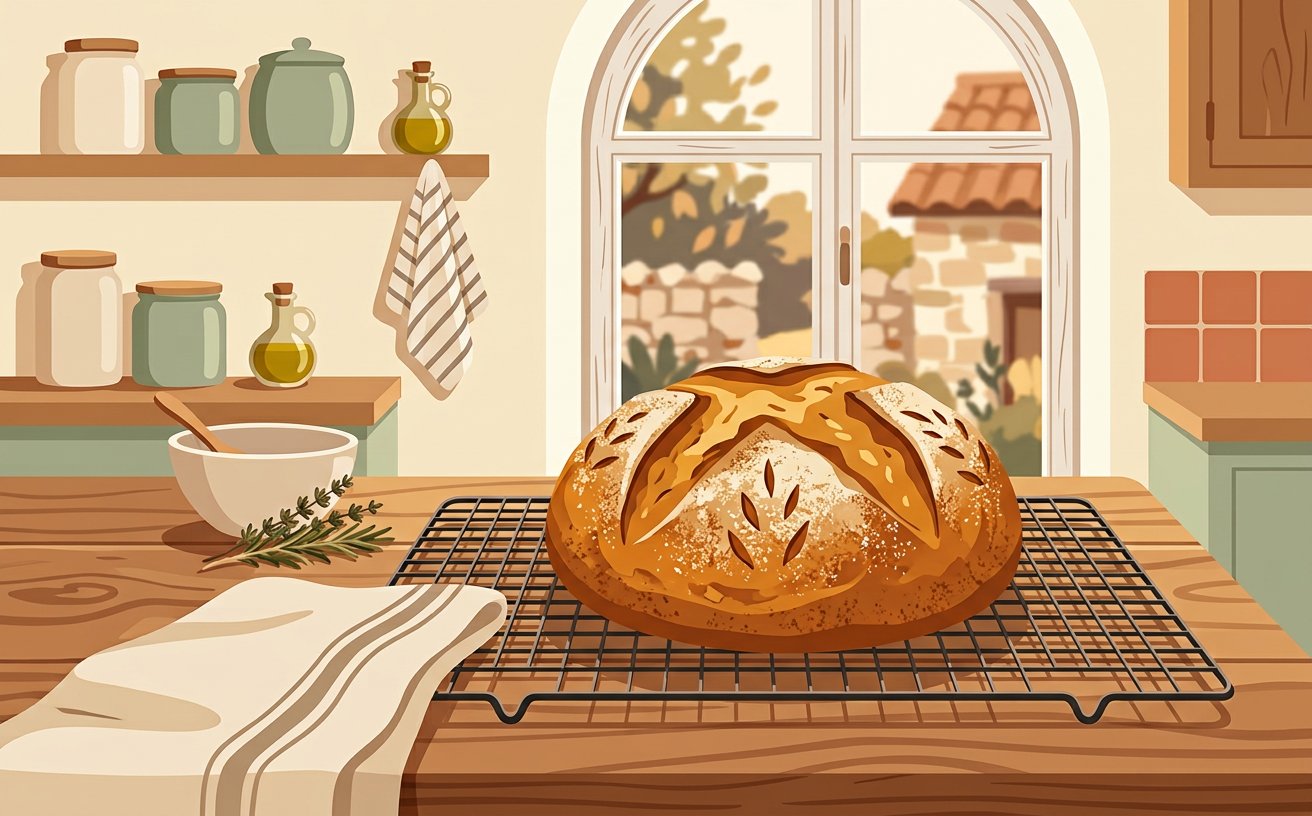
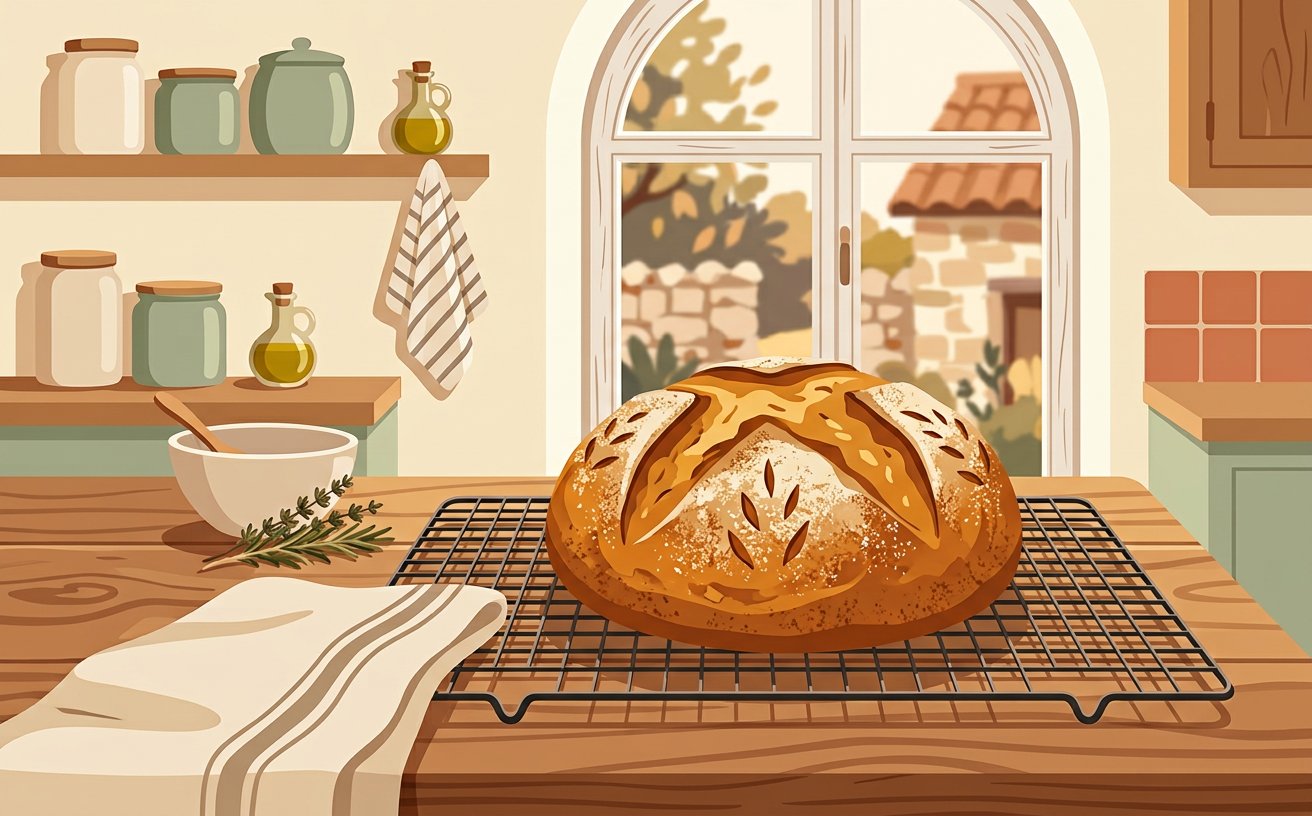
Cool the loaf on a wire rack for at least an hour. Cutting it hot lets the steam escape and leaves a gummy centre.[5]
- A dough that is slow to rise is not dead. Move it somewhere warmer and give it another hour before you consider fresh yeast.
- Have your a cast-iron pot with a lid, or a baking stone within reach before starting this step so you do not have to pause mid-process.[1]✓
 Howcompass
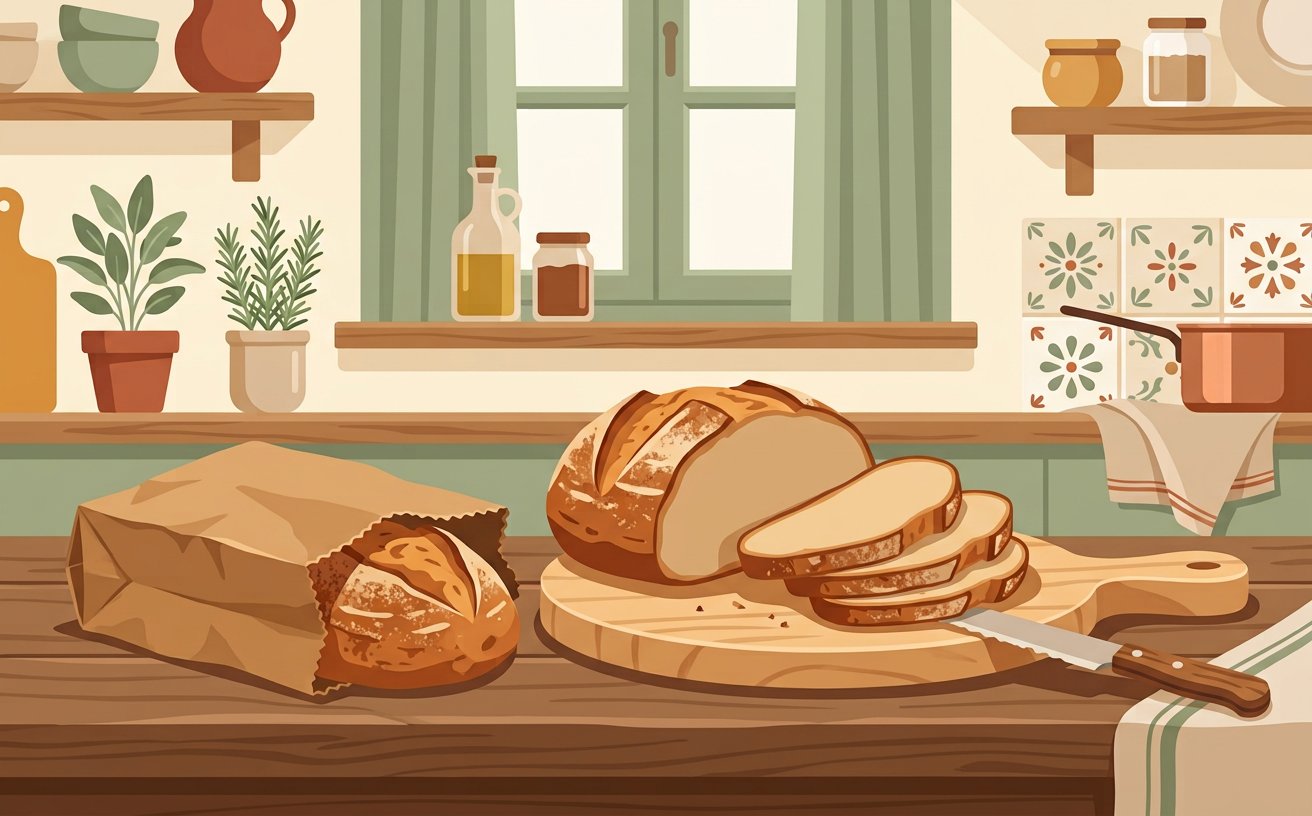
Store the cooled loaf cut-side down on a board, or in a paper bag. Plastic makes the crust soft and leathery.[1]
- The pot you bake in should have a lid that can take high heat — a cast-iron Dutch oven is the cheapest way to get bakery-style steam at home.
- Do not taste raw dough. Raw flour can carry bacteria, and it is a genuine risk, not a formality.[2]✓
 Howcompass
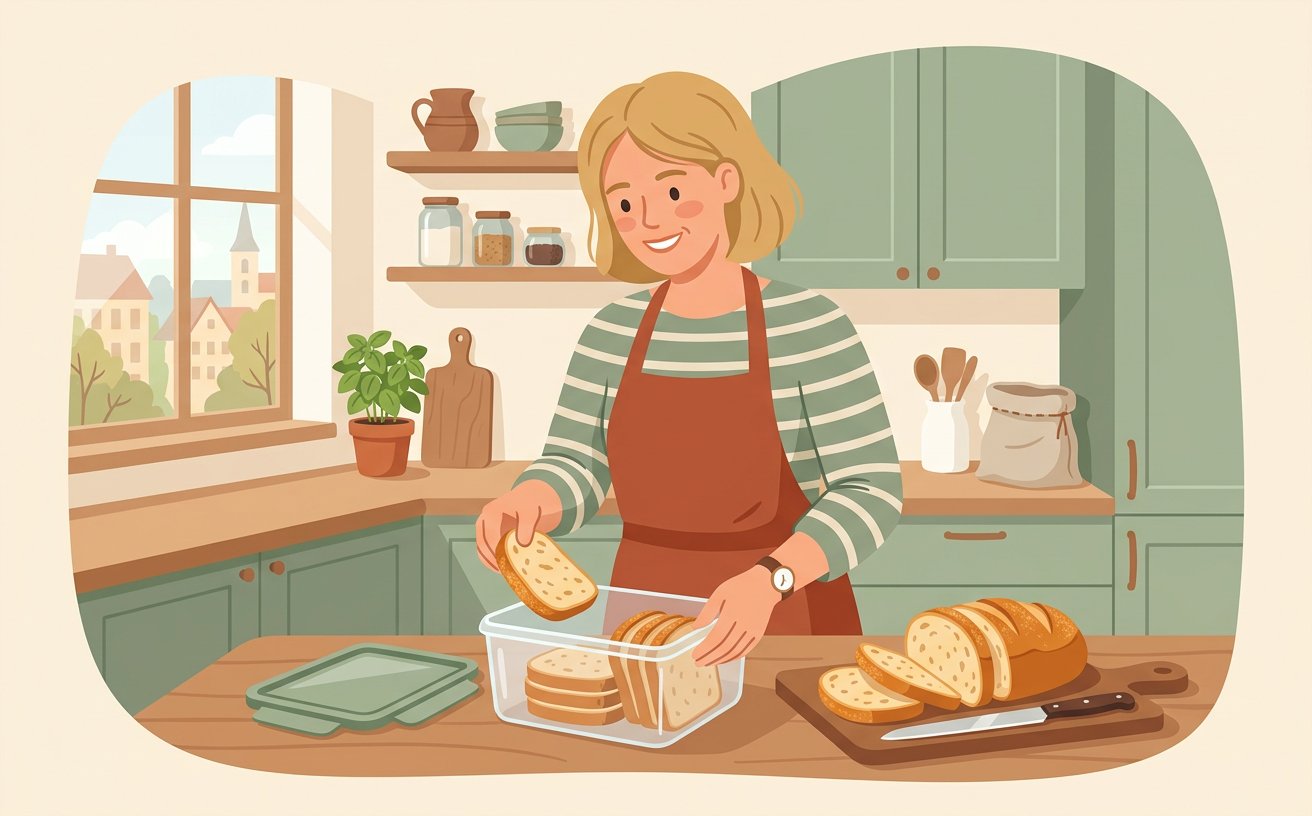
Freeze what you will not eat within two days, sliced, so you can toast single pieces straight from the freezer. Take your time with this stage of cooling and storing so your setup stays consistent from start to finish.[2]
- If the dough feels too wet to handle, wet your hands instead of adding more flour. Adding flour late makes a dense loaf.
- Have your digital kitchen scale within reach before starting this step so you do not have to pause mid-process.[3]✓
 Howcompass
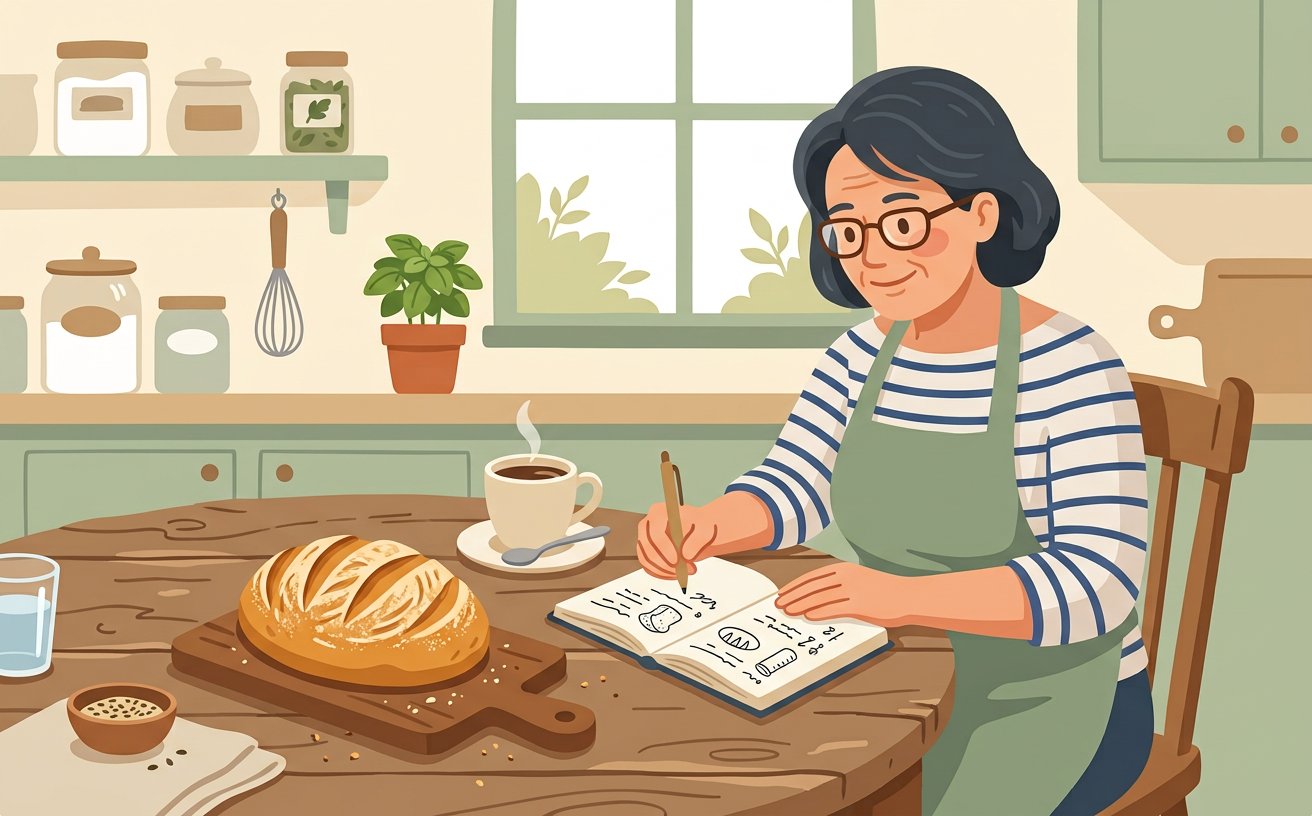
Keep a small notebook of dates, room temperature and timings. Bread is repeatable only if you record what you actually did.[3]
- A dough that is slow to rise is not dead. Move it somewhere warmer and give it another hour before you consider fresh yeast.
- Howcompass Kitchen Team notes that checking your progress before moving on to Step 24 prevents the most common beginner mistakes.[4]✓
Community & Expert Q&A
Question: Why did my bread come out dense?
Usually under-proofing or too little water. If the dough had not doubled before shaping, the loaf has no gas to hold. If the crumb is tight and heavy rather than airy, try adding twenty grams more water next time.
Question: Can I use plain flour instead of bread flour?
You can, but bread flour has more protein and gives a better rise and chew. Plain flour works best in a no-knead or long-fermented recipe.
Question: How do I know when the dough is proved?
Press a floured finger about a centimetre into the dough. A dent that fills slowly is ready. One that springs back immediately needs longer; one that stays put means it is over-proved.
Question: Do I really need to preheat the pot?
Yes for a crusty loaf. Putting dough into a cold pot gives a pale, flat result because the loaf spends its first minutes warming up instead of springing.
Tips
- If the dough feels too wet to handle, wet your hands instead of adding more flour. Adding flour late makes a dense loaf.
- A dough that is slow to rise is not dead. Move it somewhere warmer and give it another hour before you consider fresh yeast.
- The pot you bake in should have a lid that can take high heat — a cast-iron Dutch oven is the cheapest way to get bakery-style steam at home.
Warnings
- Never put a cold pot into a searing oven or a hot pot onto a cold surface. Thermal shock can crack cast iron or enamel.
- Use oven gloves rated for the temperature, and remember the pot lid stays hot for a long time after it leaves the oven.
- Do not taste raw dough. Raw flour can carry bacteria, and it is a genuine risk, not a formality.
Things You'll Need
- Digital kitchen scale
- Strong white bread flour (and wholemeal if you want it)
- Dried instant yeast
- Fine salt
- A large mixing bowl and a dough scraper
- A cast-iron pot with a lid, or a baking stone
- A wire cooling rack
Related Howcompass Guides
References (5)
- Bread making: the basicsBBC Good Food
- How to make sourdough breadKing Arthur Baking
- Understanding gluten developmentKing Arthur Baking
- Food safety: raw flourU.S. Food and Drug Administration
- Bread storage and freezingLove Food Hate Waste
Howcompass editors verify each step. Sources are listed so you can read the underlying guidance yourself.
Did this article help you?
0 readers found this helpful — add your vote.
No comments yet — be the first to share your results.