How to Meal Prep for the Week (Step by Step for Beginners)
A guide to Phase 1 — Plan a Week You Will Actually Eat, Phase 2 — Prep and Batch-Cook, Phase 3 — Cool, Portion and Store Safely, Phase 4 — Reheat, Refresh and Repeat
Meal prep is not cooking seven perfect dinners on Sunday. It is doing a few repeatable tasks once so that weekday you only assemble or reheat. This guide walks through 33 concrete steps, from writing a menu your family will actually eat to cooling and storing food safely. Do one session following the order here and you will see exactly where your own week leaks time — usually shopping twice and cooking from scratch when you are already tired. Browse all illustrated guides or the Family Life category for more illustrated walkthroughs on Howcompass.
How do you meal Prep for the Week (Step by Step for Beginners)?
 Howcompass | How to Meal Prep for the Week (Step by Step for Beginners)
Phase 1 — Plan a Week You Will Actually Eat
HowcompassBlock the nights you need food ready
Block the nights you need food ready. Mark which evenings are genuinely busy and only prepped meals are needed for those. Leaving a couple of nights flexible prevents cooking food nobody wants by Friday. For the primary source behind this phase, see Good Housekeeping — home and style.
 Howcompass
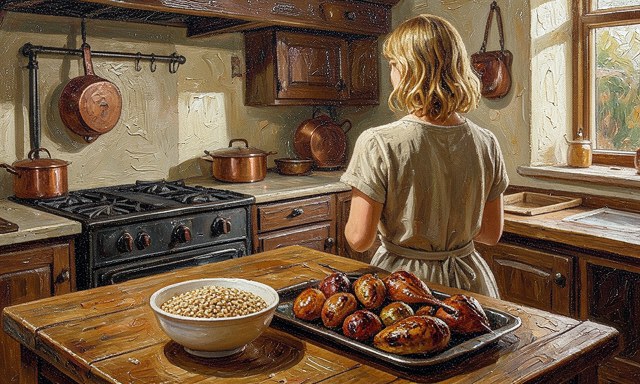
Pick two repeatable base meals
Pick two repeatable base meals. Choose two versatile bases — a grain, a pasta or a roasted tray of vegetables — that accept different sauces and proteins. Repetition across the week is what makes prep fast.
 Howcompass
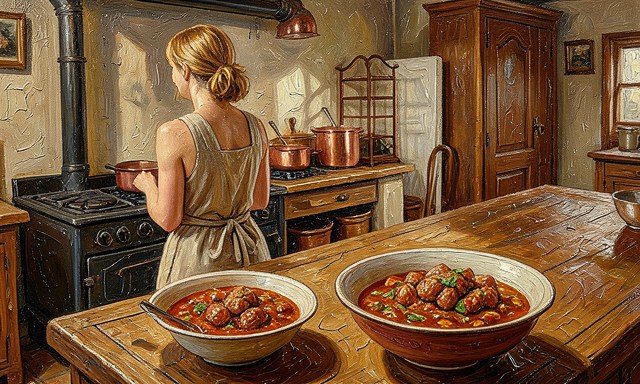
Plan one protein two ways
Plan one protein two ways. Cook one larger batch of chicken, tofu or beans and season half one way and half another. One cooking task yields two distinct dinners without extra work.
 Howcompass
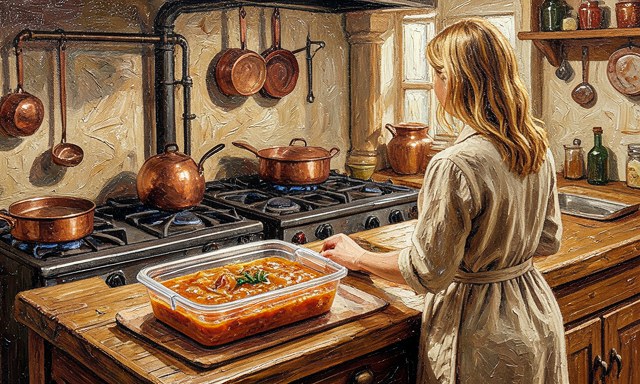
Include one freeze-ahead meal
Include one freeze-ahead meal. Set aside a soup, stew or casserole that freezes well for the busiest night. Future-you will be grateful for one genuinely hands-off dinner in the freezer.
 Howcompass
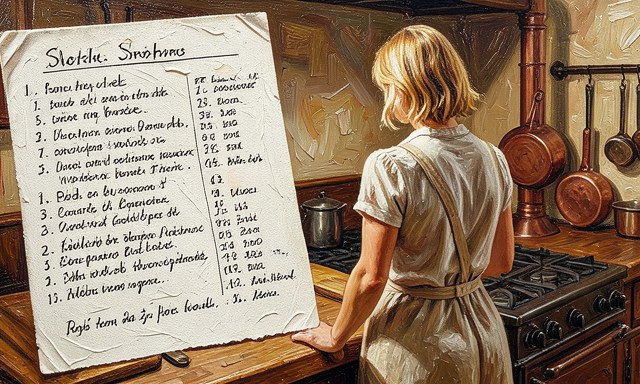
Write the menu beside the shopping list
Write the menu beside the shopping list. Put each planned meal next to its ingredients in one list. This single sheet is the difference between one efficient shop and three forgotten-item runs.
 Howcompass
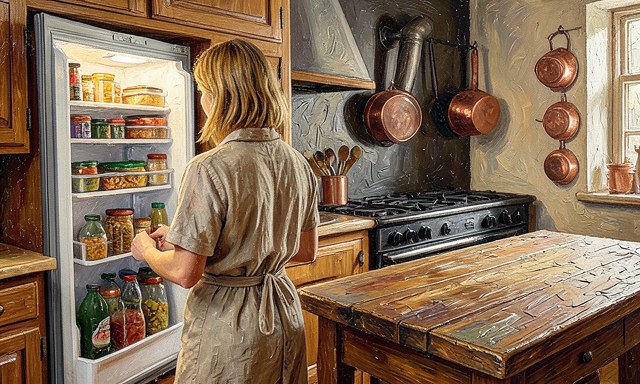
Do a quick pantry and fridge audit
Do a quick pantry and fridge audit. Check what you already have before writing the final list, and build one meal around anything that needs using up. This cuts waste and shortens the shop.
 Howcompass
Group the list by store section
Group the list by store section. Order the list as produce, protein, dairy, pantry, frozen. Walking the shop once in that order takes half the time of zig-zagging back for missed items. Related on Howcompass: bake sourdough bread at home.
 Howcompass
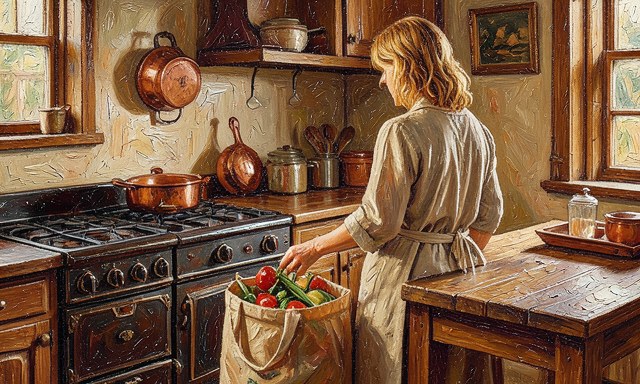
Buy in the quantities the menu needs
Buy in the quantities the menu needs. Work out total amounts from the recipes, not from habit — how many onions, how many grams of grain for all portions. Buying to the plan is what makes the math work later.
 Howcompass
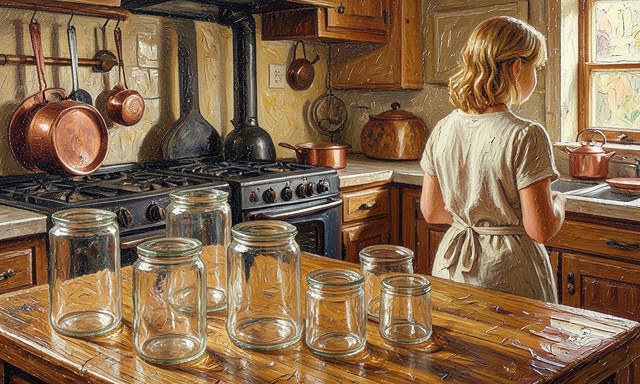
Choose containers before you cook
Choose containers before you cook. Set out the exact number and size of containers you will fill. Knowing they all fit in the fridge before you start avoids a sink full of food with nowhere to go.
Phase 2 — Prep and Batch-Cook
 Howcompass
Clear and sanitise the prep surface
Clear and sanitise the prep surface. Wipe the counter, clear a cutting-board area and wash hands. One clean start prevents cross-contamination when raw protein and ready-to-eat vegetables share the space. For the primary source behind this phase, see NHS — Live Well.
 Howcompass
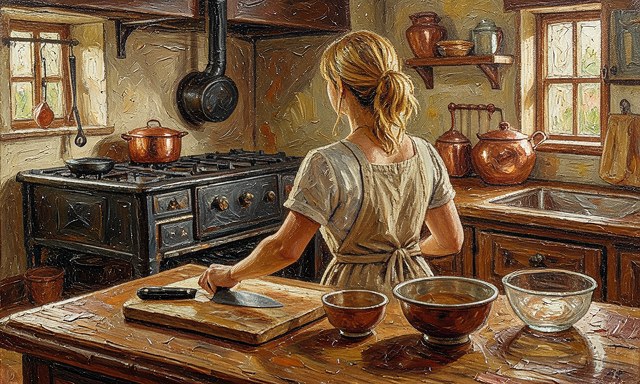
Set out board, knife and bowls
Set out board, knife and bowls. Arrange your tools in a line: board, knife, a bowl for scraps, a bowl for prepped items. A tidy station keeps the rhythm going and reduces knife accidents. Browse all illustrated guides or the Family Life category for more.
 Howcompass
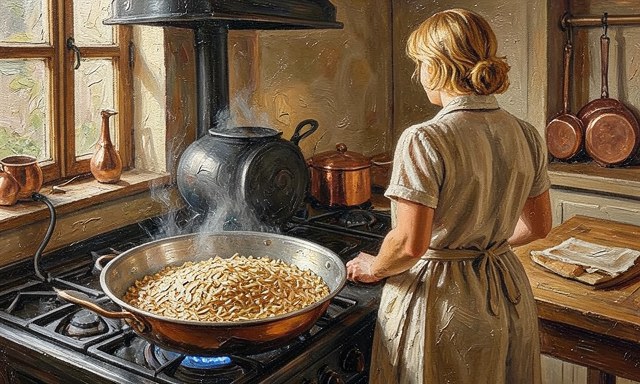
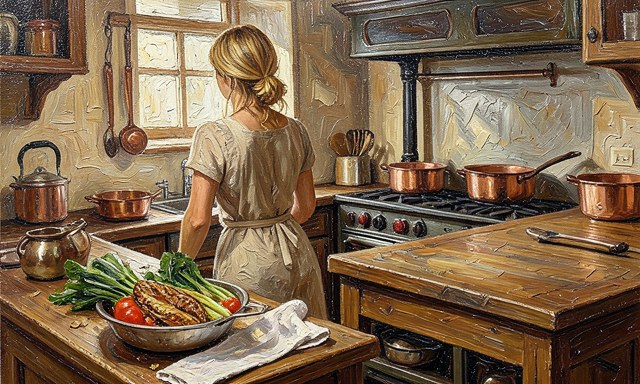
Start the longest-cooking item first
Start the longest-cooking item first. Put the grain, roast or slow-cooked protein on before anything else. While it cooks you have a clear window to chop vegetables with no timer pressure.
 Howcompass
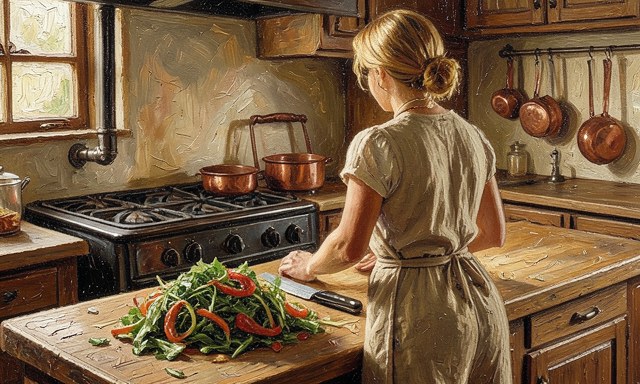
Wash and dry all produce
Wash and dry all produce. Rinse vegetables and dry them well, since excess water dilutes sauces and shortens fridge life. Dry produce also roasts and sears better.
 Howcompass
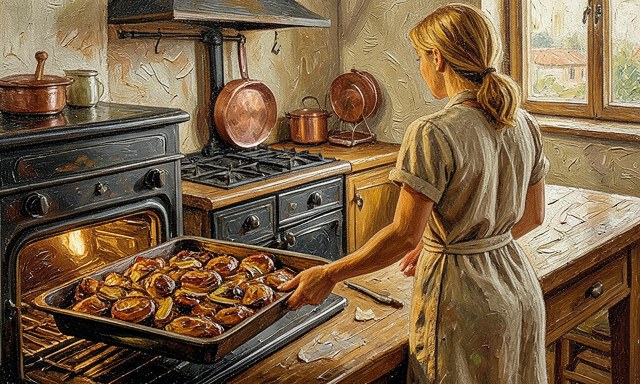
Chop once for every meal
Chop once for every meal. Dice all onions, peppers and herbs for the whole week in one pass. Repeatedly stopping to chop the same vegetable is the biggest hidden time cost in home cooking. Related on Howcompass: start a small business.
 Howcompass
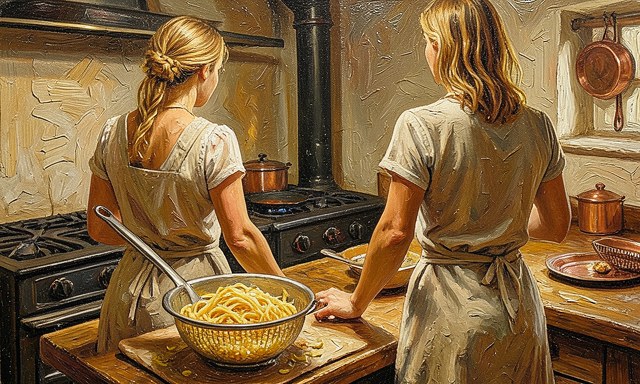
Roast a full tray of vegetables
Roast a full tray of vegetables. Toss one or two trays of vegetables with oil and salt and roast until browned at the edges. Roasted vegetables reheat well and make plain grains feel like a complete meal.
 Howcompass
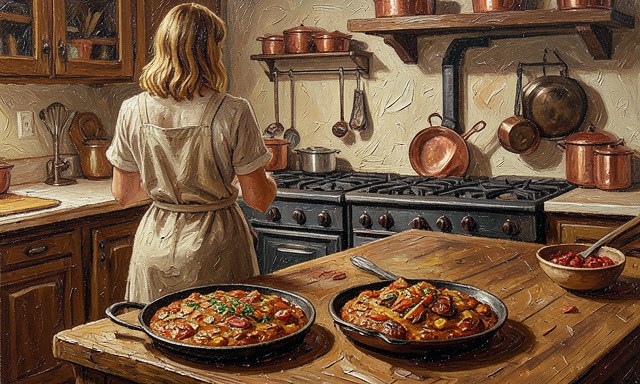
Cook the grain or pasta to just-done
Cook the grain or pasta to just-done. Stop at al dente or slightly firm, because it will soften again when reheated. Slightly undercooked bases keep their texture through the week.
 Howcompass
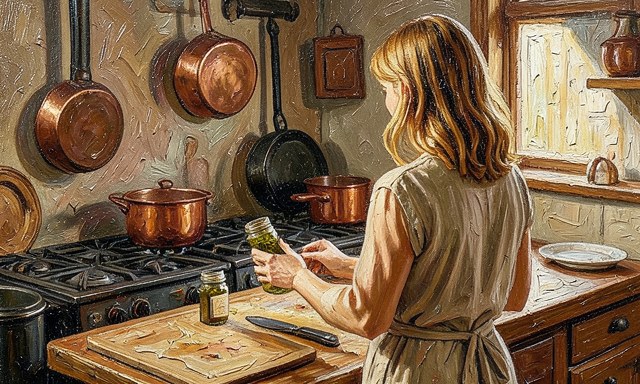
Season in two halves
Season in two halves. Divide the cooked protein and finish half with one spice profile and half with another. Two dinners from one pan, with no extra cooking.
 Howcompass
Make one sauce to tie meals together
Make one sauce to tie meals together. Whisk a simple vinaigrette, yogurt sauce or tomato base and store it separately. A good sauce makes the same bases taste different across the week.
Phase 3 — Cool, Portion and Store Safely
 Howcompass
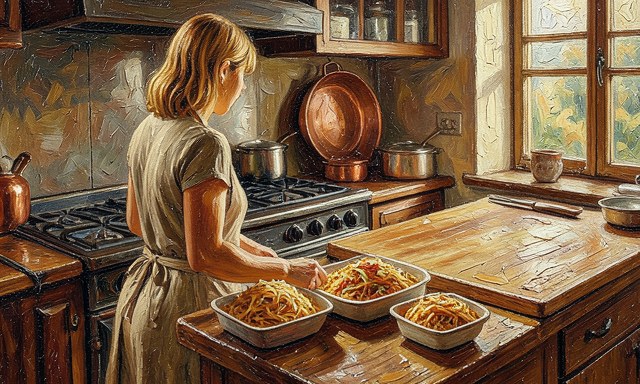
Cool cooked food promptly
Cool cooked food promptly. Divide hot food into shallow containers so it cools within two hours rather than sitting deep and warm in one pot. Spreading it out is the single most important safety step. For the primary source behind this phase, see King Arthur Baking — baking guides.
 Howcompass
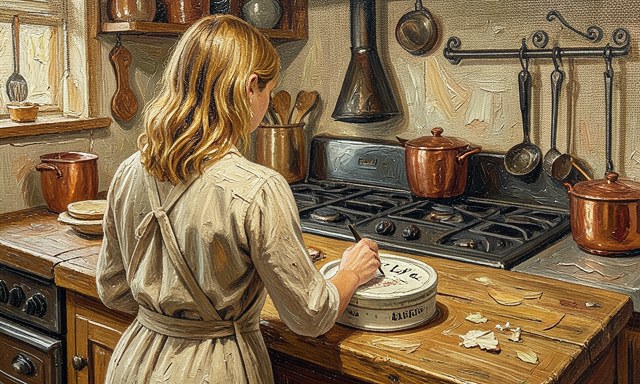
Label every container with date and contents
Label every container with date and contents. Write what it is and the date on tape or a marker before it goes in the fridge. Unlabelled containers are how good food turns into mysterious leftovers.
 Howcompass
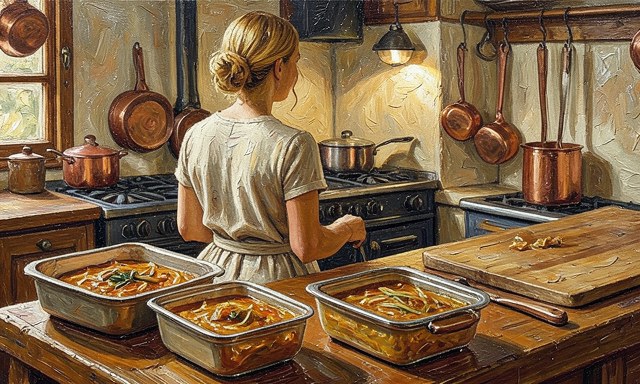
Portion to real meal sizes
Portion to real meal sizes. Divide into single or family portions now, so weekday you only grab one container. Portioning also speeds cooling and makes reheating even. Related on Howcompass: bake sourdough bread at home.
 Howcompass
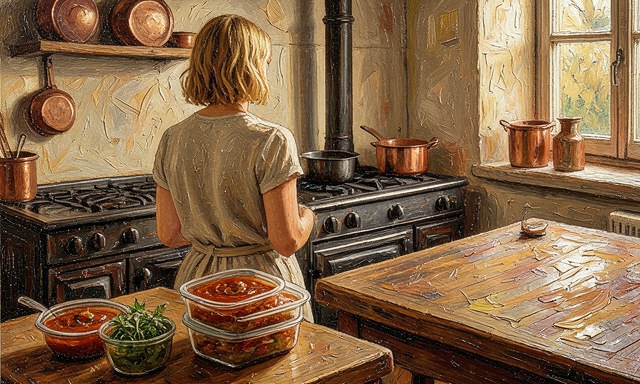
Store sauces and toppings separately
Store sauces and toppings separately. Keep dressings, crunchy toppings and fresh herbs in small separate pots. Adding them after reheating keeps texture and colour intact. Browse all illustrated guides or the Family Life category for more.
 Howcompass
Freeze what you will not eat in four days
Freeze what you will not eat in four days. Move extra portions to the freezer on day one, not on day four. Most cooked meals keep three to four days in the fridge and far longer frozen.
 Howcompass
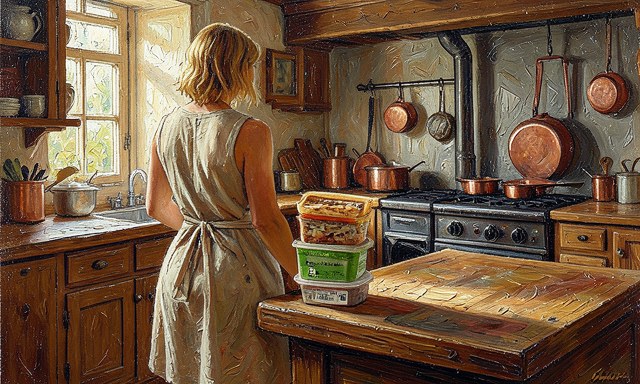
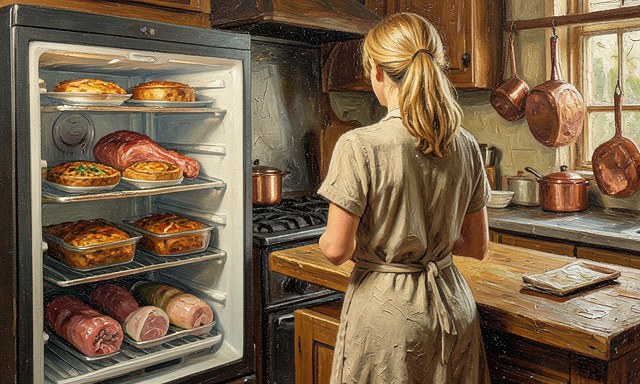
Put the soonest meals at the front
Put the soonest meals at the front. Stack containers so the ones to eat first are easiest to reach. A simple first-in-first-out order prevents food being forgotten behind newer batches.
 Howcompass
Keep raw and cooked items apart
Keep raw and cooked items apart. Store any raw protein on the lowest shelf and ready-to-eat meals above it. This stops drips from contaminating food that will not be cooked again.
 Howcompass
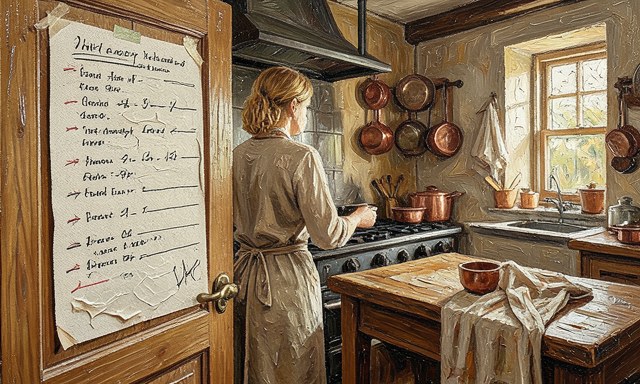
Write a fridge inventory
Write a fridge inventory. Tape a quick list of what is in there to the door and tick meals off as you use them. It removes the daily 'what is for dinner?' decision that derails a plan.
Phase 4 — Reheat, Refresh and Repeat
 Howcompass
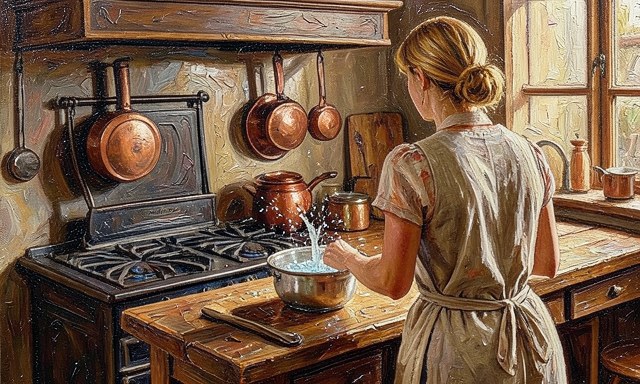
Reheat gently with a splash of water
Reheat gently with a splash of water. Add a spoonful of water or stock before microwaving grains and proteins, and cover them. Gentle, moist reheating stops food from going dry and rubbery. For the primary source behind this phase, see WebMD — health information.
 Howcompass
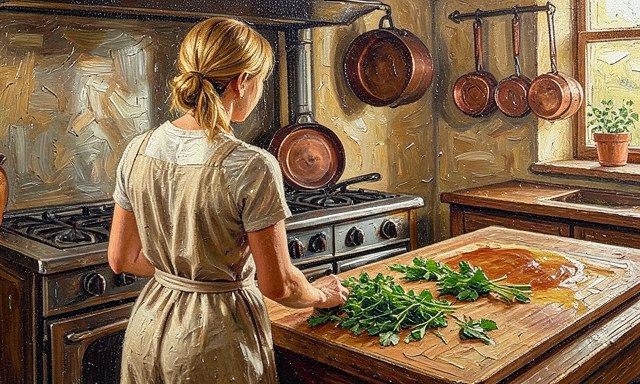
Add something fresh at the last minute
Add something fresh at the last minute. A squeeze of lemon, a handful of herbs or a few raw greens wakes up prepped food. One fresh element makes a day-old meal taste made today. Related on Howcompass: start a small business.
 Howcompass
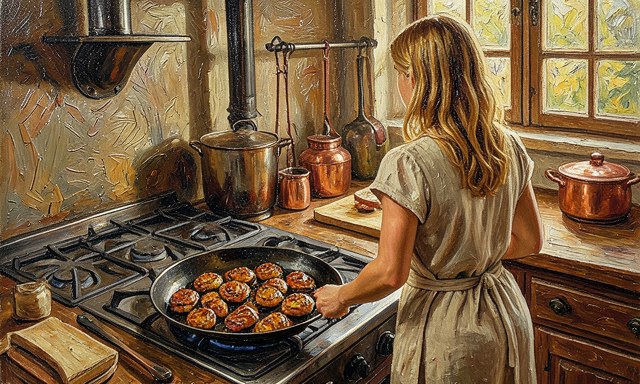
Crisp roasted items in a hot pan
Crisp roasted items in a hot pan. Instead of microwaving roasted vegetables, re-crisp them in a dry hot pan for two minutes. Texture, not flavour, is what usually gives leftovers away.
 Howcompass
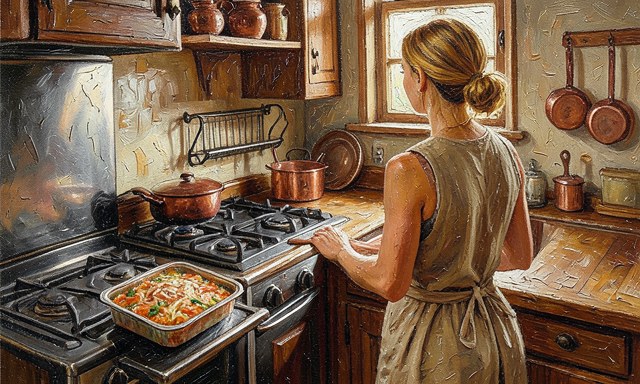
Thaw frozen meals in the fridge overnight
Thaw frozen meals in the fridge overnight. Move tomorrow's frozen portion to the fridge the night before. Slow thawing keeps texture and is safer than rushing it on the counter.
 Howcompass
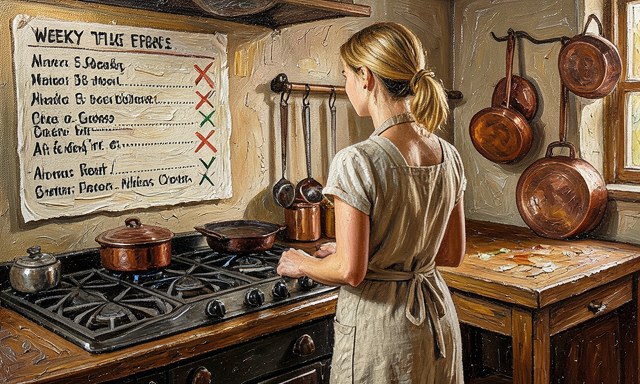
Note what was eaten and what was not
Note what was eaten and what was not. Keep the menu sheet and mark each meal as used or skipped. Next week's plan should reflect what your household really eats, not an ideal menu.
 Howcompass
Reuse the shopping list and timing
Reuse the shopping list and timing. Save the grouped list and the cook order from this session. The second prep is dramatically faster because the thinking is already done.
 Howcompass
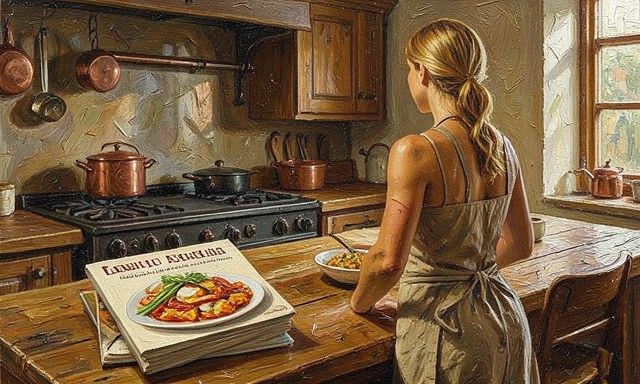
Rotate one new meal in
Rotate one new meal in. Keep the rest of the menu familiar and experiment with just one new recipe. Steady rotation stops the boredom that makes people abandon meal prep entirely. Browse all illustrated guides or the Family Life category for more.
Frequently Asked Questions
Question: How long does prepped food last?
Most cooked meals keep three to four days in the fridge at or below 4 °C, and two to three months frozen. Label the date and when in doubt, freeze it.
Question: Do I need a whole Sunday?
No. A focused two-hour session covering two bases, one protein and one sauce is enough for a working week. Start there and expand only if it helps.
Question: What should I prep first as a beginner?
Start with one grain, one tray of roasted vegetables and one protein. Three components mixed in different ways give several dinners before you attempt a full week.
Warnings
- Cooking seven different meals: Prepping a unique recipe for every night multiplies shopping, chopping and washing up. Build the week around two repeatable bases and vary sauces and toppings instead.
- Leaving hot food in deep containers: A deep pot of hot food stays in the temperature danger zone for hours. Divide it into shallow containers so it cools quickly, refrigerate within two hours, and freeze anything you will not eat by day four.
- Prepping meals the family dislikes: An efficient prep of food nobody eats is wasted effort. Plan around proven favourites and rotate in only one new dish at a time.
Related Howcompass Guides



References (4)
- Good Housekeeping — home and stylegoodhousekeeping.com
- NHS — Live Wellnhs.uk
- King Arthur Baking — baking guideskingarthurbaking.com
- WebMD — health informationwebmd.com
Sources are listed so you can read the underlying guidance yourself. Our editorial policy explains how guides are reviewed.
Did this article help you?
0 readers found this helpful — add your vote.
No comments yet — be the first to share your results.