How to Start a Home Workout Routine (Step by Step)
A guide to Phase 1 — Set a Goal and Prepare Your Space, Phase 2 — Learn Safe Movement Patterns, Phase 3 — Do the Work and Improve Gradually, Phase 4 — Recover and Make It a Habit
A home workout routine succeeds or fails on whether you can repeat it, not on how hard the first session feels. This guide covers 27 practical steps, from picking a reason that matters and a time you will keep to learning four safe movement patterns. There is no equipment shopping list and no punishing schedule — two or three short sessions a week are enough to start. Do the first four weeks exactly as written, then use the log to adjust rather than to judge yourself. Browse all illustrated guides or the Health category for more illustrated walkthroughs on Howcompass.
How do you start a Home Workout Routine (Step by Step)?
 Howcompass | How to Start a Home Workout Routine (Step by Step)
Phase 1 — Set a Goal and Prepare Your Space
HowcompassWrite one concrete reason to exercise
Write one concrete reason to exercise. Choose a real outcome like climbing stairs without puffing or having the energy to play with your children. A specific reason keeps you going on days when a vague wish to be healthy will not. For the primary source behind this phase, see NHS — Live Well.
 Howcompass
Start with three short sessions a week
Start with three short sessions a week. Book three 20-minute slots rather than committing to an hour every day. NHS guidance asks adults to build toward 150 minutes of moderate activity weekly, and three short starts get you there safely.
 Howcompass
Pick a fixed time you will not renegotiate
Pick a fixed time you will not renegotiate. Attach the session to something that already happens, such as just after you get up or before lunch. A fixed cue removes the daily argument about when to train.
 Howcompass
Define what success looks like in four weeks
Define what success looks like in four weeks. Set a process target like completing all three weekly sessions for a month, not a weight on a scale. Process goals are under your control and measure the habit you are building.
 Howcompass
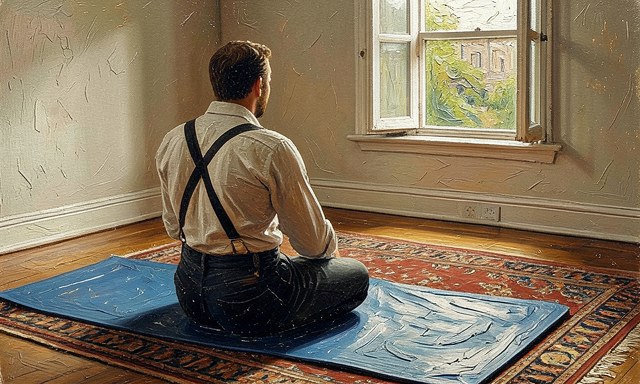
Clear a body-length area of floor
Clear a body-length area of floor. Move furniture aside to leave roughly two metres by one metre and remove hard edges and loose rugs. Lay a non-slip mat so your feet do not slide during a squat or plank.
 Howcompass
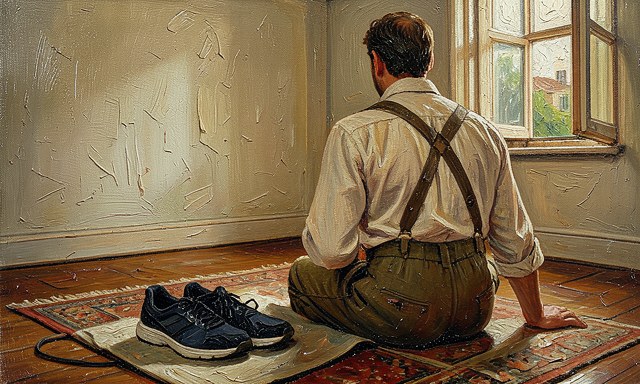
Wear shoes suited to the movement
Wear shoes suited to the movement. Use comfortable training shoes with grip and a firm sole for standing drills, and go barefoot for mat work if that feels stable. Proper footwear protects ankles on a hard floor.
 Howcompass
Keep water and a towel within reach
Keep water and a towel within reach. Set a full bottle and a small towel beside the mat before you start. Sipping a little during the session and wiping your brow keeps you comfortable without breaking the flow. Related on Howcompass: grow tomatoes from seed.
 Howcompass
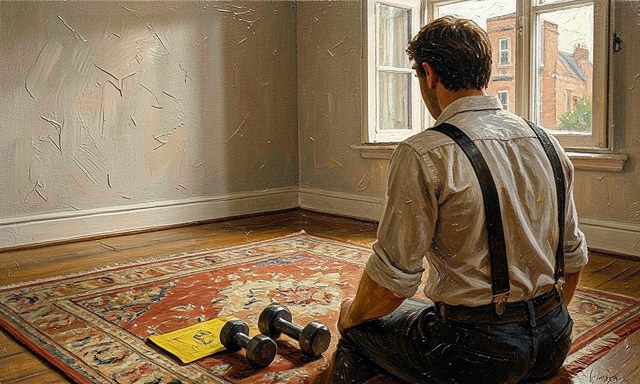
Choose two or three starter items only
Choose two or three starter items only. A resistance band and a pair of light dumbbells cover almost every beginner drill. Buying a rack of gear before you have kept the habit for a month usually just fills a corner.
Phase 2 — Learn Safe Movement Patterns
 Howcompass
Spend five minutes warming up
Spend five minutes warming up. Do gentle marching on the spot, arm circles and easy bodyweight squats to raise your heart rate and warm the joints. Cold muscles and stiff joints are far easier to strain than warm ones. For the primary source behind this phase, see NHLBI — High Blood Pressure.
 Howcompass
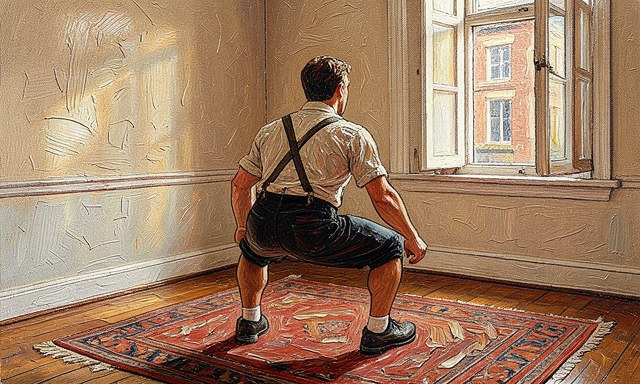
Rehearse a bodyweight squat
Rehearse a bodyweight squat. Stand with feet hip-width, send your hips back and bend the knees while keeping your chest up and knees pointing over the toes. Practise the sitting-down pattern before you hold any weight.
 Howcompass
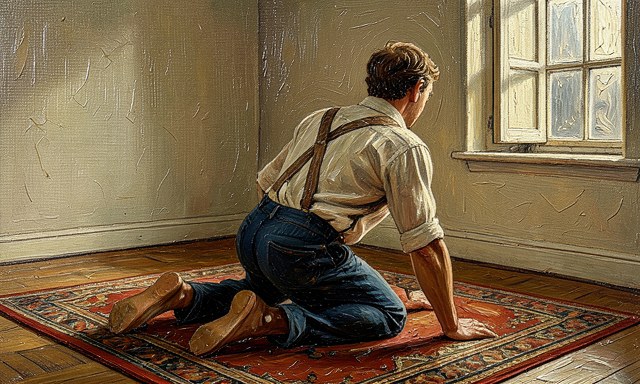
Practise a hip hinge, not a bend
Practise a hip hinge, not a bend. Keep a straight back and push your hips backward as if closing a drawer with your behind. This protects the lower back and is the base of every deadlift-style movement. Browse all illustrated guides or the Health category for more.
 Howcompass
Try a modified push-up
Try a modified push-up. Start on your knees or with your hands on a sturdy wall, keeping your body in one straight line from head to heels. A version you can control builds more than a full push-up done with a sagging back.
 Howcompass
Choose one move per movement pattern
Choose one move per movement pattern. Pick one squat, one push, one pull and one core exercise, four moves in total. Covering the patterns gives a balanced session without a long, confusing routine.
 Howcompass
Set an easy target of two sets of ten
Set an easy target of two sets of ten. Aim for two sets of eight to ten slow reps with good form, stopping while you could still manage two more. Starting below your limit leaves room to progress next week. Related on Howcompass: knit a scarf as a beginner.
 Howcompass
Rest 60 to 90 seconds between sets
Rest 60 to 90 seconds between sets. Put the timer on and actually pause; recovering properly keeps the second set as clean as the first. Rushing the rest mainly leads to sloppy reps and needless strain.
 Howcompass
Finish with a short cool-down
Finish with a short cool-down. Walk slowly for a minute, then gently stretch the thighs, chest and back for three to five minutes. A gradual wind-down brings your heart rate down and eases next-day stiffness.
Phase 3 — Do the Work and Improve Gradually
 Howcompass
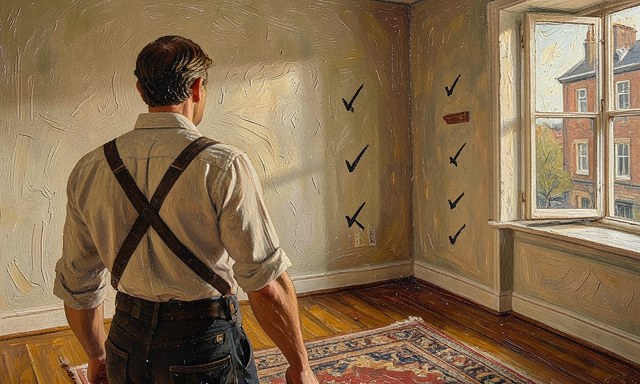
Follow your four moves in order
Follow your four moves in order. Move through the squat, push, pull and core in the order you wrote them, finishing both sets of one before starting the next. Keeping the order makes the session feel predictable and easy to repeat. For the primary source behind this phase, see WebMD — health information.
 Howcompass
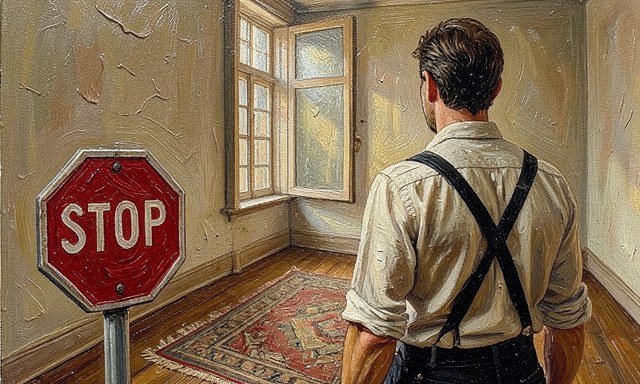
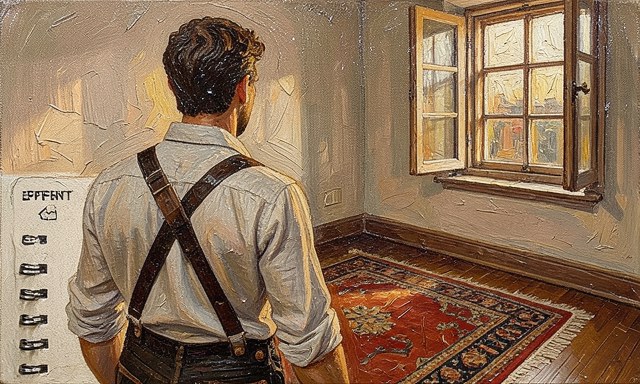
Stop if you feel sharp pain
Stop if you feel sharp pain. Mild muscle effort is fine, but a stabbing joint pain, dizziness or chest tightness means stop at once. Those signals are not part of a normal workout and need medical advice.
 Howcompass
Log what you did and how it felt
Log what you did and how it felt. Write down the exercises, sets, reps and a simple effort score out of ten. A short record shows your progress and tells you which sessions were genuinely hard.
 Howcompass
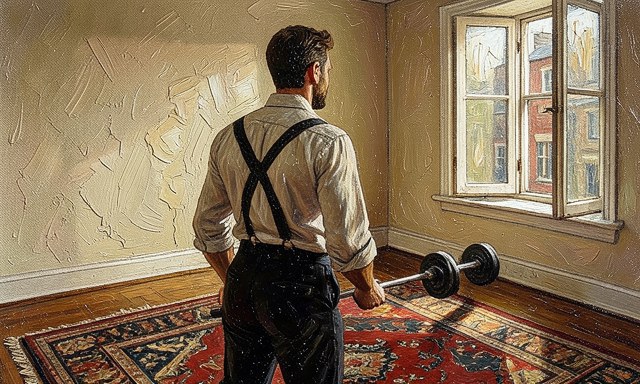
Add reps before adding weight
Add reps before adding weight. With the same resistance, work up to two solid sets of twelve before reaching for a heavier band or dumbbell. Clean extra reps build a better base than weight lifted with strained form.
 Howcompass
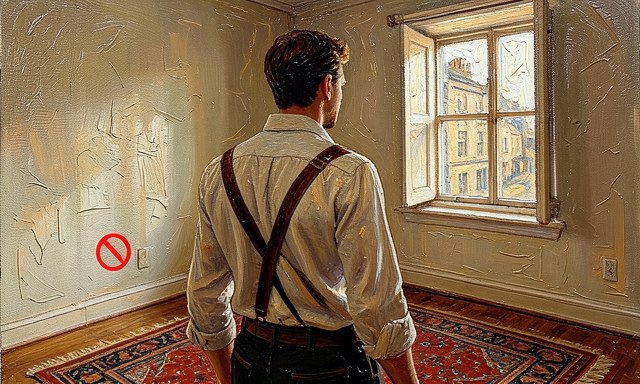
Shorten the rest or add a third set
Shorten the rest or add a third set. Once twelve feels comfortable, either add a set or cut the rest from 90 to 60 seconds. Change one of these at a time so you can tell what helped. Related on Howcompass: grow tomatoes from seed.
 Howcompass
Change one variable each week
Change one variable each week. Pick just one thing to adjust — reps, sets, rest or difficulty — and leave the rest alone. One change a week keeps progress steady and makes setbacks easy to trace. Browse all illustrated guides or the Health category for more.
Phase 4 — Recover and Make It a Habit
 Howcompass
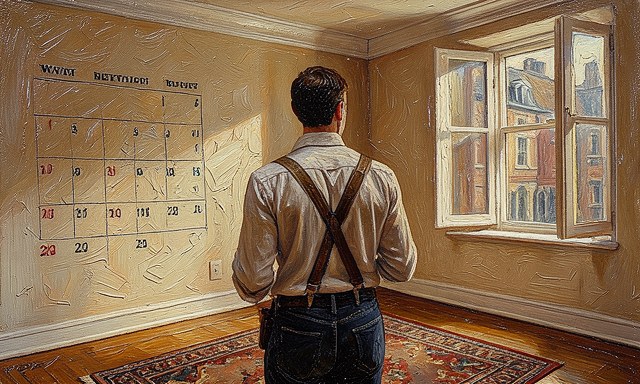
Leave a rest day between sessions
Leave a rest day between sessions. Aim for at least 48 hours before working the same muscles again, filling the gap with a gentle walk. Muscles strengthen during recovery, not during the session itself. For the primary source behind this phase, see MedlinePlus — NIH health information.
 Howcompass
Sleep seven to nine hours
Sleep seven to nine hours. Keep a regular bedtime and protect a full night of sleep, since missed sleep slows muscle repair and saps motivation. Recovery is a training habit, not an optional extra.
 Howcompass
Eat enough protein to repair
Eat enough protein to repair. Include a source of protein in each main meal, roughly 1.2 to 1.6 grams per kilogram of body weight a day. Repairing the small damage from exercise needs both energy and protein.
 Howcompass
Shrink the plan on bad days
Shrink the plan on bad days. On a busy or low-energy day, do a five-minute minimum version of one round instead of skipping entirely. Protecting the streak matters more than a perfect session.
 Howcompass
Review and reset every four weeks
Review and reset every four weeks. Count how many planned sessions you completed and adjust the time or target for the next month. Missing a day is normal; use the review to restart, not to quit.
Frequently Asked Questions
Question: How often should a beginner work out at home?
Three short sessions a week, with a rest or light-walk day between them, is a solid start. NHS guidance suggests building toward 150 minutes of moderate activity a week, but the first goal is simply showing up consistently.
Question: Do I need any equipment?
No. Bodyweight squats, push-ups, hinges and planks cover the main movement patterns. A single resistance band adds useful variety once the basics feel easy.
Question: What if I miss a session?
Just resume the next scheduled one rather than trying to make up the lost workout. Missing one day is normal; abandoning the whole plan because of it is what derails people.
Warnings
- Doing too much in week one: An enthusiastic two-hour first session usually ends in soreness and a missed second week, so start with three short, repeatable sessions and add volume only once they feel routine.
- Skipping the warm-up: Jumping straight into hard effort on cold joints invites strain, while five minutes of light movement raises the heart rate and prepares the muscles for almost no cost.
- Chasing sweat over progress: A sweaty session is not the same as a better one, so track reps, sets or time and improve one small thing a week — that is what actually changes your fitness.
Related Howcompass Guides




References (4)
- NHS — Live Wellnhs.uk
- NHLBI — High Blood Pressurenhlbi.nih.gov
- WebMD — health informationwebmd.com
- MedlinePlus — NIH health informationmedlineplus.gov
Sources are listed so you can read the underlying guidance yourself. Our editorial policy explains how guides are reviewed.
Did this article help you?
0 readers found this helpful — add your vote.
No comments yet — be the first to share your results.