How to Knit a Scarf (Step by Step for Beginners)
A guide to Phase 1 — Choose Materials and Cast On, Phase 2 — Knit the Length of the Scarf, Phase 3 — Bind Off and Block the Edges, Phase 4 — Care for It and Build on the Skill
A first scarf is the ideal knitting project because it is one long rectangle with nothing to shape and nothing to count. This guide takes you through 28 steps, from choosing a yarn you can actually see your stitches in to a soft, evenly bound-off edge. You will learn the cast-on, the knit stitch and how to fix the one mistake beginners make most — a dropped stitch — while the fabric grows row by row. Take the first hour slowly; after that the rhythm becomes almost automatic. Browse all illustrated guides or the Hobbies and Crafts category for more illustrated walkthroughs on Howcompass.
How do you knit a Scarf (Step by Step for Beginners)?
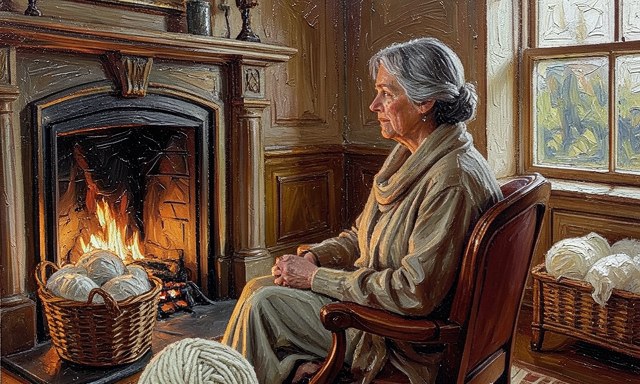 Howcompass | How to Knit a Scarf (Step by Step for Beginners)
Phase 1 — Choose Materials and Cast On
HowcompassChoose a soft, light-coloured worsted yarn
Choose a soft, light-coloured worsted yarn. Pick a medium-weight wool or wool blend in a pale shade so every stitch is easy to read. Avoid very dark, fuzzy or fine yarn for a first scarf, since it hides mistakes and slows you down. For the primary source behind this phase, see Good Housekeeping — home and style.
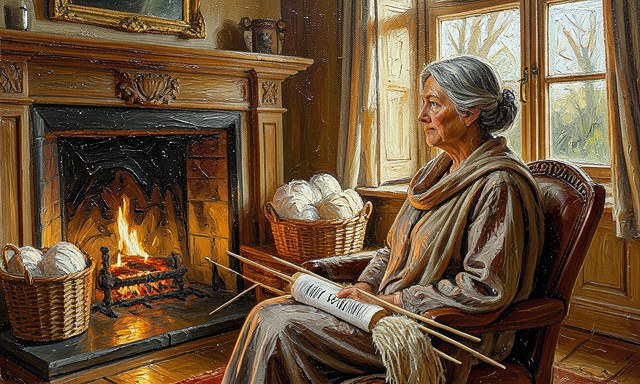 Howcompass
Match the needles to the yarn label
Match the needles to the yarn label. Medium-weight yarn usually wants 4.5 to 5 mm needles; follow the recommendation printed on the ball band. Needles that are too small make stiff fabric, while too-large ones produce loose, sloppy loops.
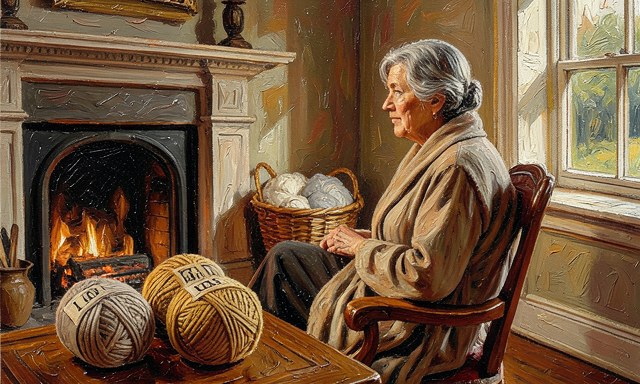 Howcompass
Buy enough yarn in one dye lot
Buy enough yarn in one dye lot. A scarf around 15 by 150 cm needs roughly 200 to 350 metres, often three or four balls. Check that every ball shows the same dye-lot number so a colour shift will not appear halfway through.
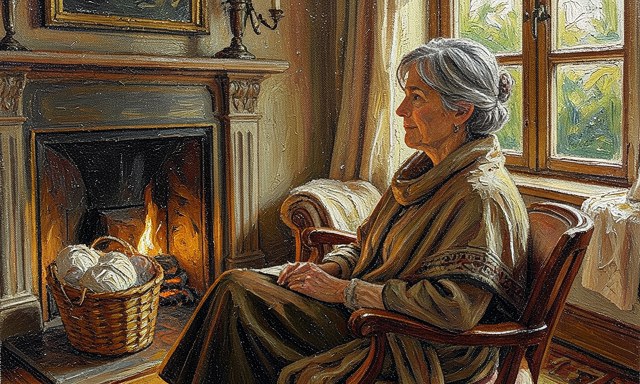 Howcompass
Begin with plain garter stitch
Begin with plain garter stitch. Knitting every row produces garter stitch, the most forgiving fabric because it lies flat and does not curl. It also hides uneven tension far better than stockinette ever will.
 Howcompass
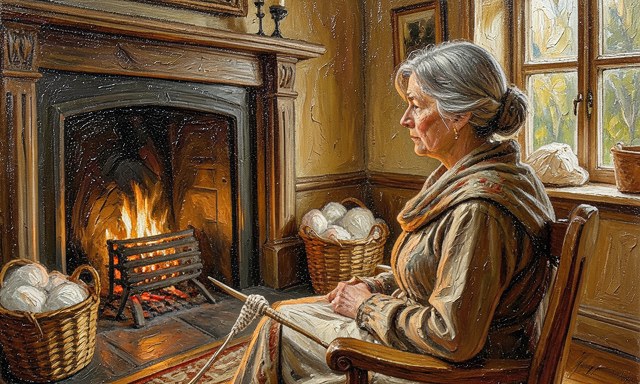
Make a slip knot to start
Make a slip knot to start. Leave a 15 cm tail for weaving in later, then form a slip knot and place it on one needle. That tail is what will secure the first edge when the scarf is finished.
 Howcompass
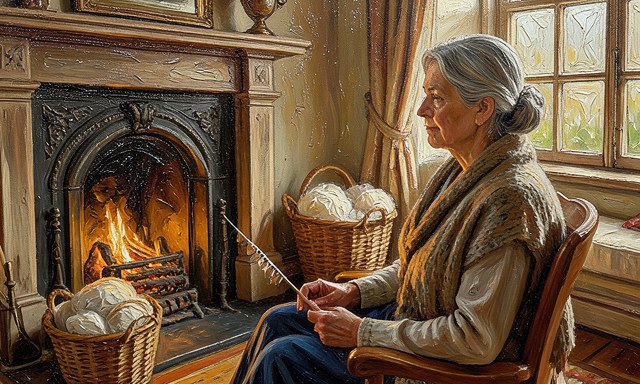
Cast on 25 to 30 stitches
Cast on 25 to 30 stitches. Use the long-tail cast-on to make an even row of about 25 to 30 stitches, giving a width near 15 cm. It is elastic, tidy and firm enough to survive the first rows of knitting.
 Howcompass
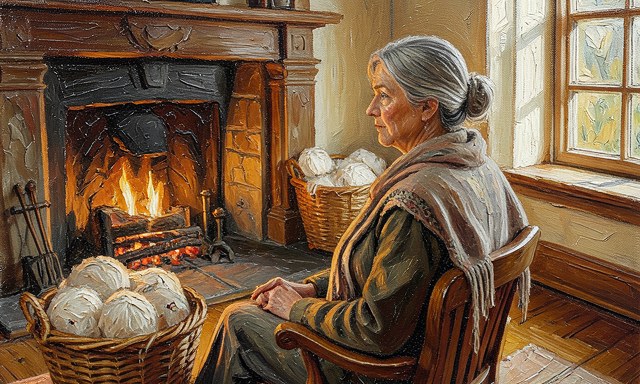
Count the stitches before row one
Count the stitches before row one. Count the loops carefully and place a stitch marker every ten stitches. Losing or gaining one stitch at the start changes the width of the entire scarf, so catch it here. Related on Howcompass: house-train a puppy.
Phase 2 — Knit the Length of the Scarf
 Howcompass
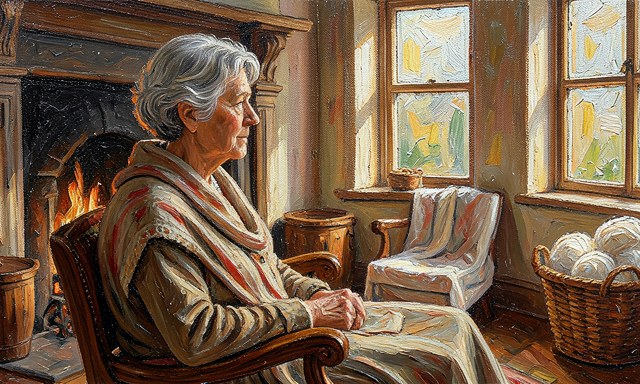
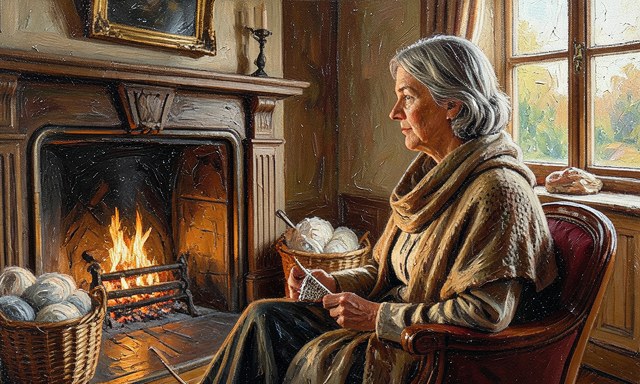
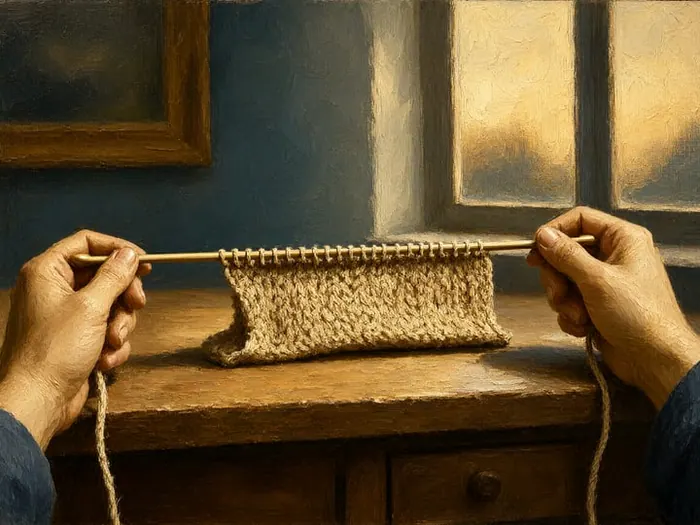
Knit every stitch of the first row
Knit every stitch of the first row. Insert the right needle into each loop from below, wrap the yarn around it and bring the new loop through while the old one slides off. Repeat to the end of the needle without rushing the first few rows. For the primary source behind this phase, see TED — talks and ideas.
 Howcompass
Turn and knit every stitch back
Turn and knit every stitch back. Swap the needles, then knit each stitch of the return row the same way. Knitting every row on both sides is exactly what builds the ridged garter-stitch fabric.
 Howcompass
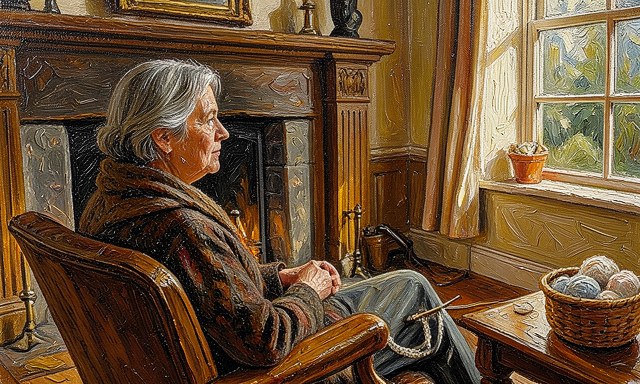
Keep an even tension
Keep an even tension. Aim for loops of the same size on the needle, neither tight nor floppy. Uneven tension makes a wobbly edge and can make the next row surprisingly difficult to work.
 Howcompass
Catch a dropped stitch straight away
Catch a dropped stitch straight away. If a loop slips off the needle, hook it back up with a crochet hook before it runs down several rows. The longer a dropped stitch is left, the more fabric you have to unravel. Browse all illustrated guides or the Hobbies and Crafts category for more.
 Howcompass
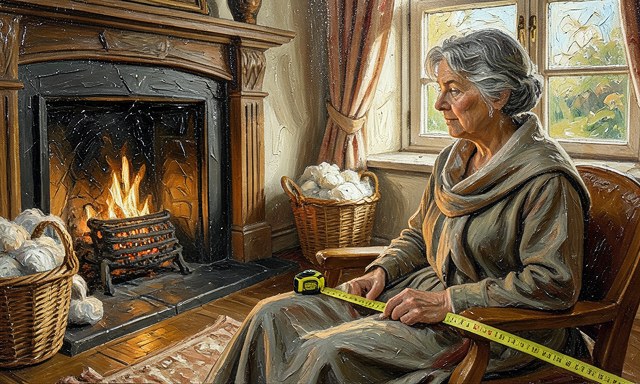
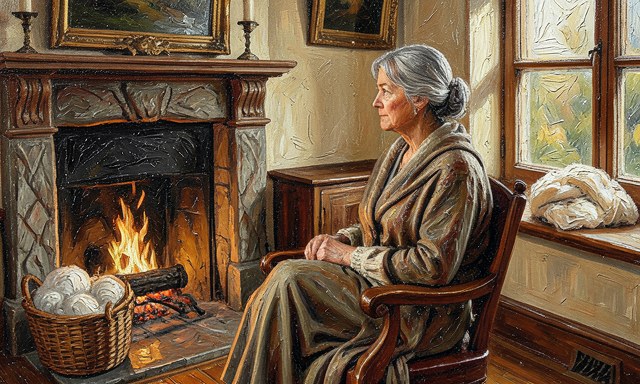
Measure length, not rows
Measure length, not rows. Use a soft tape measure to check the scarf against a target of about 150 cm. Your row gauge depends on how loosely you knit, so centimetres are a far more reliable guide than a row count.
 Howcompass
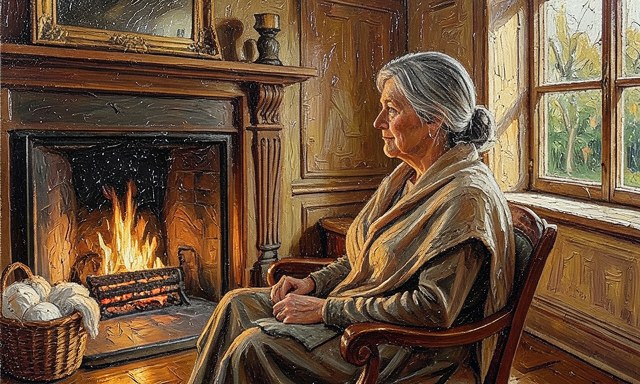
Count rows if you add stripes
Count rows if you add stripes. If you want even colour bands, count rows or note every tenth one with a row counter. Stripes only look even when each colour covers the same number of rows.
 Howcompass
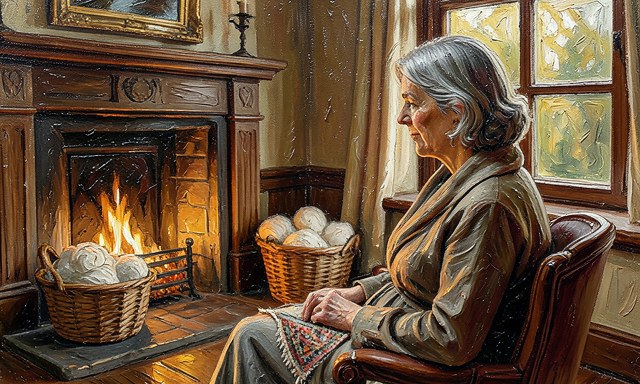
Place a lifeline before a change
Place a lifeline before a change. Thread a thin contrasting thread through one row before you try a new colour or stitch. If the section goes wrong, you can unravel back to that row without losing your place. Related on Howcompass: grow tomatoes from seed.
 Howcompass
Weave in loose ends as you go
Weave in loose ends as you go. When a new ball starts, use a tapestry needle to run the old tail along the edge of the knitting for a few centimetres. Finishing a few ends each session avoids a pile of darning at the end.
Phase 3 — Bind Off and Block the Edges
 Howcompass
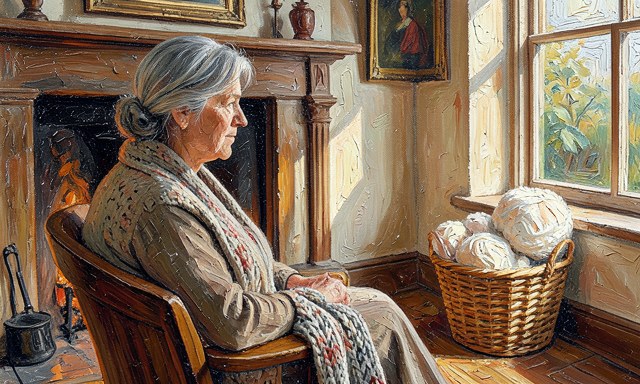
Knit a few ribbed rows at each end
Knit a few ribbed rows at each end. For a tidier border, work several rows alternating one knit and one purl at the start and finish. Ribbing pulls in slightly and gives the ends a neat, stretchy edge. For the primary source behind this phase, see Khan Academy — free courses.
 Howcompass
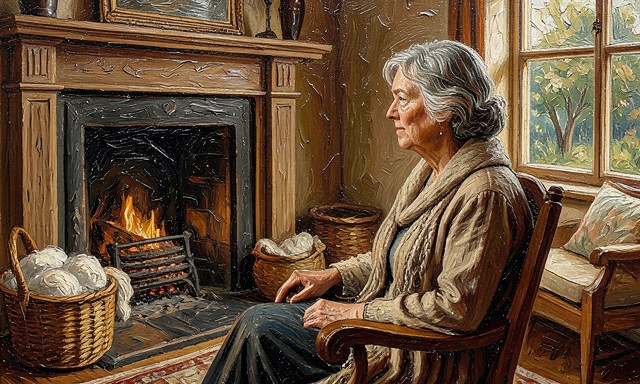
Bind off loosely across the last row
Bind off loosely across the last row. Knit two stitches and pass the first over the second, repeating to the end; use a needle one size larger so the edge stays stretchy. A tight bind-off makes the final edge pinch the whole scarf.
 Howcompass
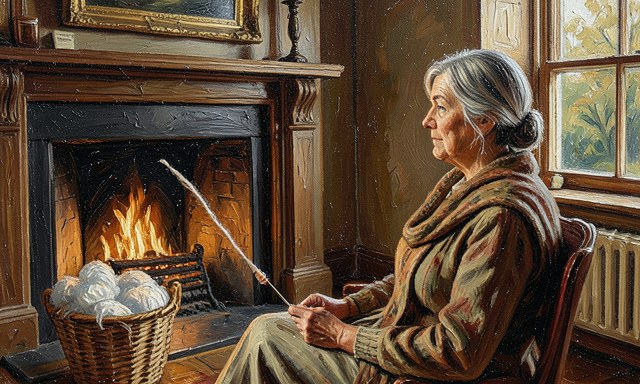
Leave a long tail to secure
Leave a long tail to secure. Cut the yarn about 15 cm from the last stitch and thread the tail onto a blunt tapestry needle. You will use it to lock the final loop so the bind-off cannot unravel.
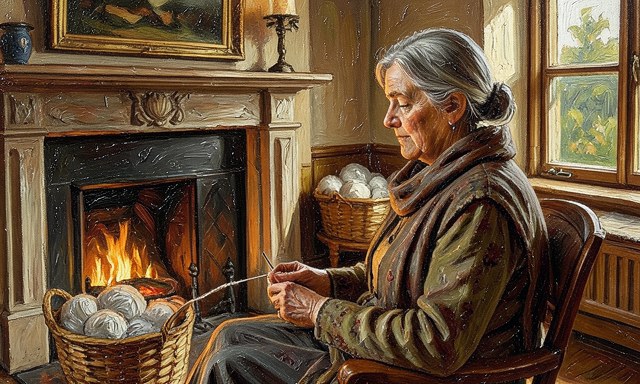 Howcompass
Weave the remaining cast-on tail
Weave the remaining cast-on tail. Run the starting tail along the first edge for roughly 5 cm and trim the excess, without tying a knot. Securing both tails this way keeps the edges soft and flat.
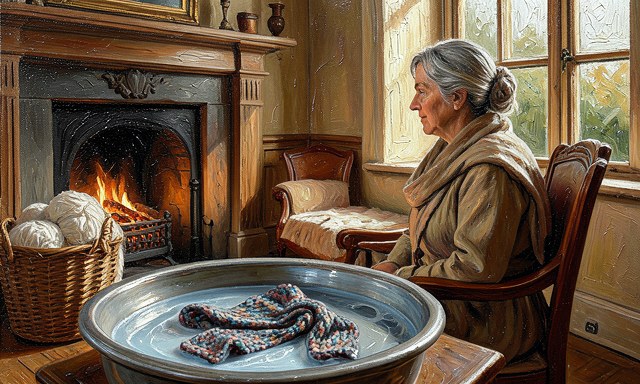 Howcompass
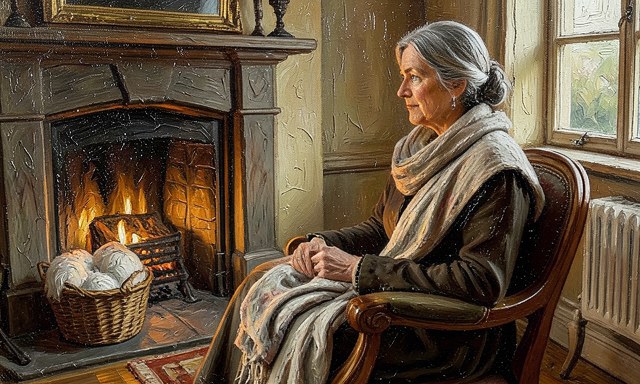
Soak it in cool water
Soak it in cool water. Press the scarf gently in cool water with a little wool wash for five to ten minutes; do not rub or wring it. Agitation felts wool fibres and permanently shrinks the fabric.
 Howcompass
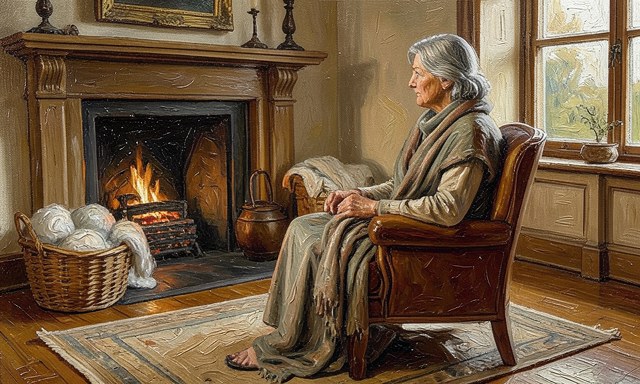
Roll it in a towel to remove water
Roll it in a towel to remove water. Lay the scarf flat on a thick towel, roll them together and press firmly to draw out the moisture. Rolling keeps the stitches even and avoids the distortion of wringing. Related on Howcompass: house-train a puppy.
 Howcompass
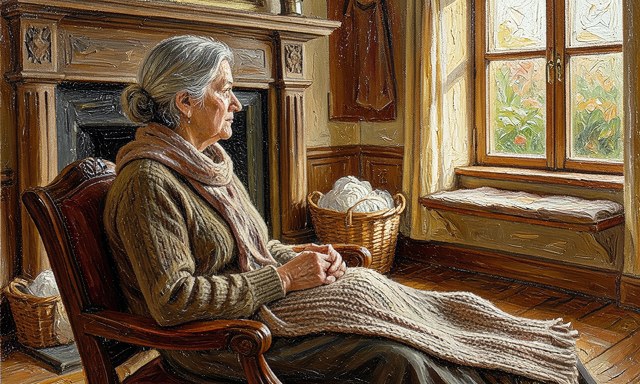
Pin it flat to dry to size
Pin it flat to dry to size. Lay the damp scarf on a blocking mat, ease it to about 15 by 150 cm and pin the corners. Drying in shape sets the dimensions and smooths any wavy edges. Browse all illustrated guides or the Hobbies and Crafts category for more.
 Howcompass
Press lightly once it is fully dry
Press lightly once it is fully dry. When the scarf is completely dry, pass a warm iron over a damp cloth held just above it, or use a gentle steam setting. Let it cool flat before folding so the finish stays crisp.
Phase 4 — Care for It and Build on the Skill
 Howcompass
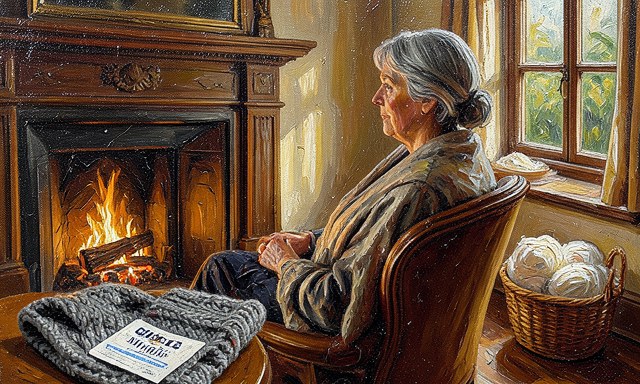
Hand-wash and dry it flat
Hand-wash and dry it flat. Wool scarves sit against the neck and pick up oils, so wash gently every few wears and dry flat. Hanging a wet wool scarf on a line stretches it out of shape. For the primary source behind this phase, see Psychology Today.
 Howcompass
Store it folded, not hung
Store it folded, not hung. Fold the scarf loosely and keep it in a drawer, since hanging puts steady strain on the shoulder of the fabric. A small cedar block in the drawer helps keep moths away.
 Howcompass
Remove pills with a gentle shave
Remove pills with a gentle shave. Rubbery pills appear where the wool rubs a coat collar; lift them off with a fabric shaver or comb. Cutting the pills rather than pulling them protects the surrounding fibres.
 Howcompass
Try a simple one-row repeat
Try a simple one-row repeat. For a second scarf, add broad stripes or a two-row rib that repeats without a complex chart. A pattern you can memorise teaches structure without overwhelming a new knitter.
 Howcompass
Learn one new stitch per project
Learn one new stitch per project. Practise a single new technique such as purling on a small square swatch before using it on a long piece. One new skill at a time builds confidence faster than a complicated first pattern. Related on Howcompass: grow tomatoes from seed.
Frequently Asked Questions
Question: How long does a first scarf take?
Most beginners need roughly 10 to 20 hours of knitting time, spread over a week or two. Garter stitch is slow but forgiving, so treat the hours as practice rather than a deadline.
Question: How much yarn do I need?
A scarf around 15 by 150 cm usually takes about 200 to 350 metres of medium-weight yarn. Check the metres on the ball band and buy it all in one dye lot to avoid a visible colour change.
Question: What is the easiest stitch to start with?
Garter stitch — knitting every row — is the most forgiving because it lies flat, needs no pattern and hides uneven tension. Learn knit first, then add purl on a later project.
Warnings
- Casting on too tightly: A tight cast-on makes the first row hard to work and leaves a stiff edge, so keep the loops relaxed or use a larger needle just for the cast-on.
- Losing count of stitches: Adding or dropping a stitch changes a scarf's width for its whole length, so count after the first few rows and place a marker every ten stitches.
- Pulling the yarn too tight: Tight tension makes stiff, uneven fabric and stitches that are nearly impossible to work, so relax your hands and let the yarn feed at an even pace.
Related Howcompass Guides

References (4)
- Good Housekeeping — home and stylegoodhousekeeping.com
- TED — talks and ideasted.com
- Khan Academy — free courseskhanacademy.org
- Psychology Todaypsychologytoday.com
Sources are listed so you can read the underlying guidance yourself. Our editorial policy explains how guides are reviewed.
Did this article help you?
0 readers found this helpful — add your vote.
No comments yet — be the first to share your results.