How to Grow Tomatoes from Seed (Step by Step)
A guide to Phase 1 — Sow and Raise Seedlings Indoors, Phase 2 — Harden Off and Plant Out, Phase 3 — Water, Feed and Train, Phase 4 — Harvest, Troubleshoot and Save Seed
Tomatoes are forgiving once you understand that they need three things more than anything else: warmth at the start, even water and plenty of sun. This guide follows 29 steps from sowing a seed indoors to picking a ripe fruit and saving seed for next year. Timing is anchored to your last frost date rather than a fixed calendar, because that date moves with your climate. Get the seedlings off to a strong start and the rest of the season is mostly steady watering, light feeding and a weekly look for problems. Browse all illustrated guides or the Home and Garden category for more illustrated walkthroughs on Howcompass.
How do you grow Tomatoes from Seed (Step by Step)?
 Howcompass | How to Grow Tomatoes from Seed (Step by Step)
Phase 1 — Sow and Raise Seedlings Indoors
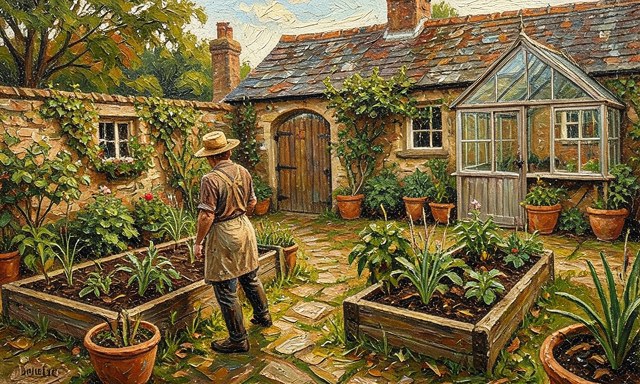
HowcompassChoose a variety suited to your space
Choose a variety suited to your space. Pick a compact bush or cherry type for pots and a tall indeterminate type for a garden bed, and check the days-to-maturity on the packet. A short-season variety matters if your frost-free window is narrow. For the primary source behind this phase, see Royal Horticultural Society — gardening advice.
 Howcompass
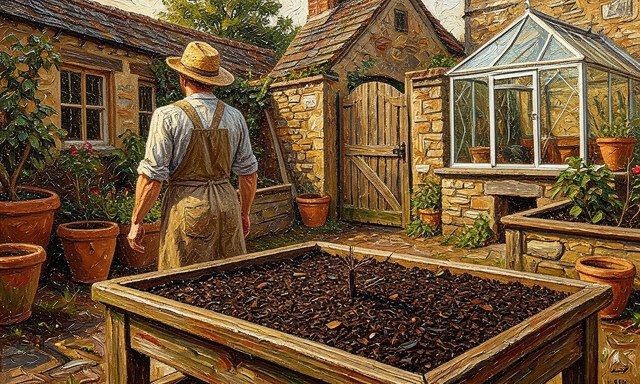
Sow six to eight weeks before last frost
Sow six to eight weeks before last frost. Find your area's average last-frost date and count back six to eight weeks to set sowing day. Starting later gives seedlings too little time before they can safely go outside.
 Howcompass
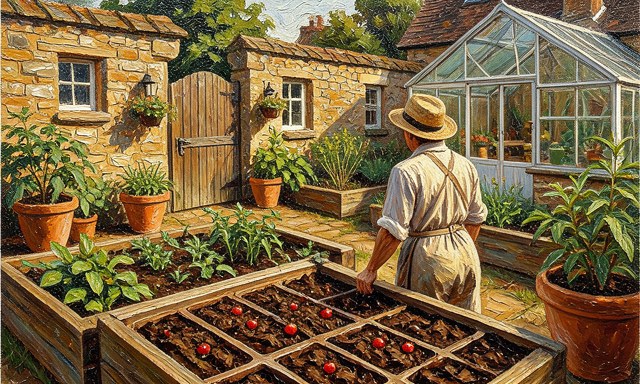
Fill trays with sterile seed compost
Fill trays with sterile seed compost. Use a fine, sterile seed-starting mix rather than garden soil, which carries weeds, fungi and pest eggs. Fill each cell level and press it lightly so seeds sit in firm contact.
 Howcompass
Sow each seed a quarter-inch deep
Sow each seed a quarter-inch deep. Plant one or two seeds about 6 mm deep, cover with a thin layer of compost and mist the surface. Deep or dry sowing is a common reason seedlings never emerge.
 Howcompass
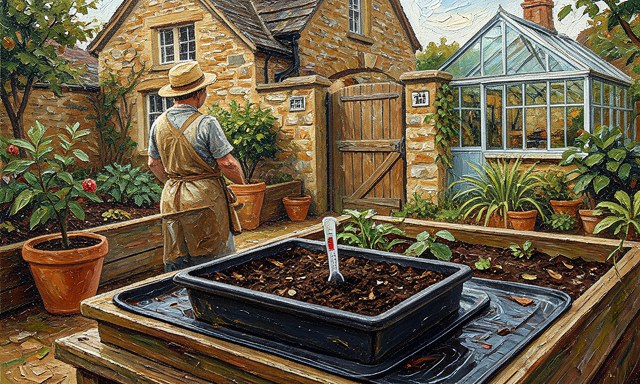
Keep the compost at 21–27 °C
Keep the compost at 21–27 °C. A heat mat under the tray holds the warm soil that germination needs, usually producing shoots in five to ten days. A cool windowsill can stall the process for weeks.
 Howcompass
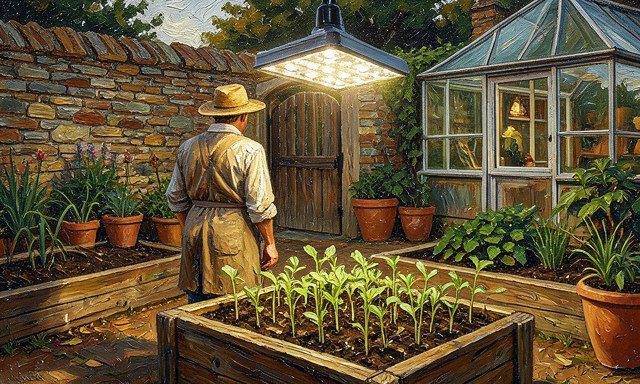
Provide 14 to 16 hours of light a day
Provide 14 to 16 hours of light a day. Once seedlings emerge, place an LED grow light 10 to 15 cm above them and run it on a timer for 14 to 16 hours. A dim, warm windowsill makes seedlings stretch and flop over.
 Howcompass
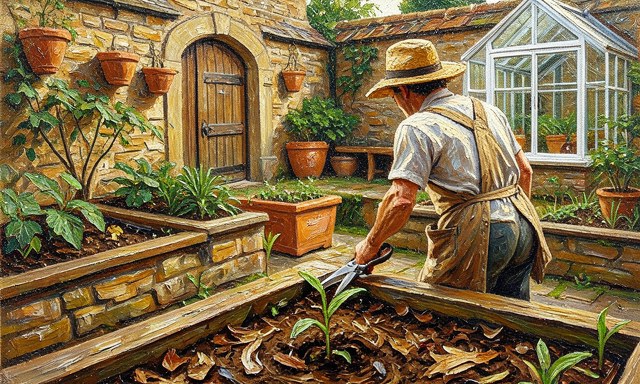
Thin to the strongest seedling
Thin to the strongest seedling. When two seeds sprout in one cell, snip the weaker one off at soil level rather than pulling it. Cutting avoids disturbing the roots of the seedling you want to keep. Related on Howcompass: start strength training at home.
 Howcompass
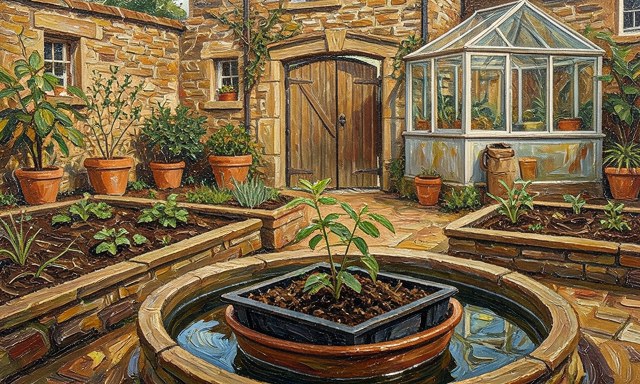
Water from the bottom
Water from the bottom. Set the tray in a shallow bowl of water for a few minutes, then let it drain fully. Watering the base keeps the surface from staying soggy, which causes damping-off disease.
Phase 2 — Harden Off and Plant Out
 Howcompass
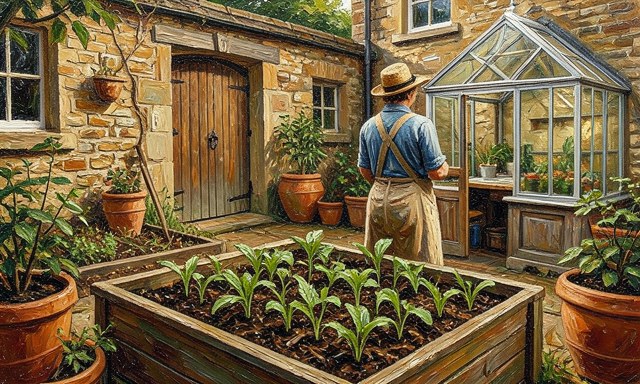
Harden off over seven to ten days
Harden off over seven to ten days. Put seedlings outdoors in shade for an hour on day one, then slowly increase the time and the sun over a week. This toughens stems and prevents the shock of a sudden move. For the primary source behind this phase, see NOAA — weather and climate.
 Howcompass
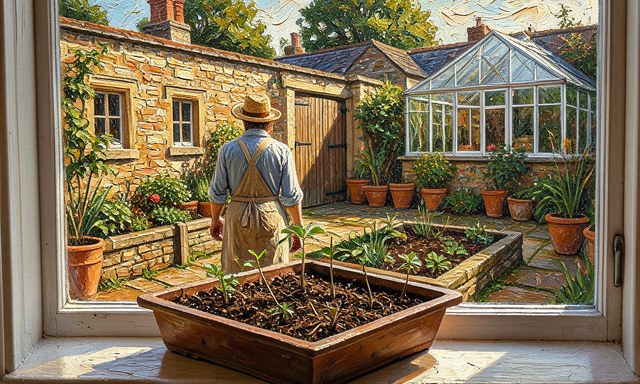
Ease up on water and feed before moving
Ease up on water and feed before moving. For the last three to four days indoors, water a little less and stop feeding. A slightly lean, firmer seedling transplants more readily than a soft, overfed one.
 Howcompass
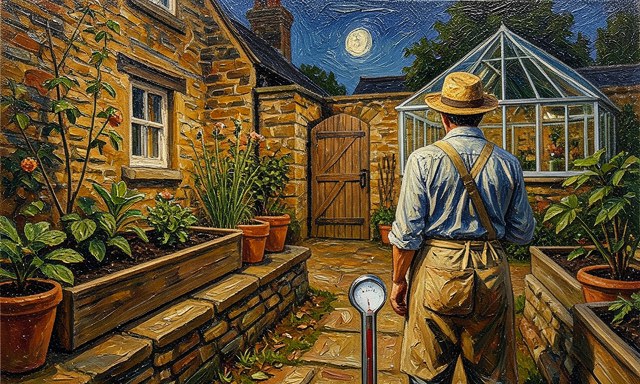
Wait for nights above 10 °C
Wait for nights above 10 °C. Plant out only when night temperatures stay above 10 °C and no frost is forecast. Cold nights stop tomato roots taking up water and can set plants back for weeks. Browse all illustrated guides or the Home and Garden category for more.
 Howcompass
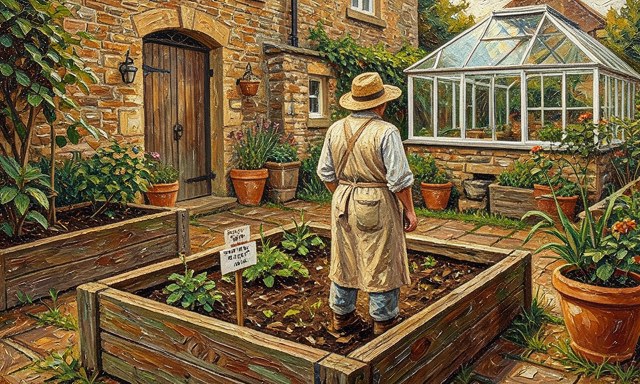
Choose a spot with six to eight hours of sun
Choose a spot with six to eight hours of sun. Pick the sunniest, best-drained position you have with good airflow around the plants. Less sun means fewer flowers and fruit, while still air invites leaf disease.
 Howcompass
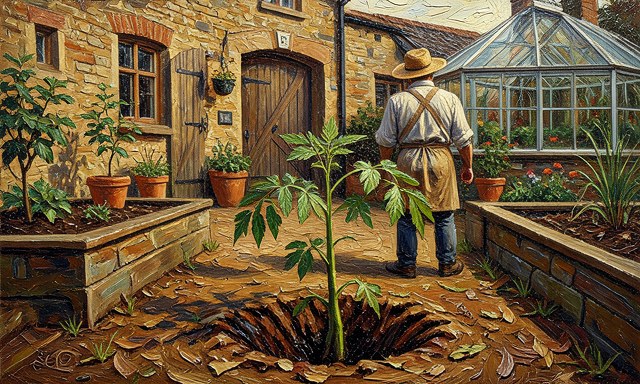
Bury the lower stem when planting
Bury the lower stem when planting. Dig a deep hole and set the plant so its lowest leaves sit just above the soil, burying the stem. Tomatoes grow roots along a buried stem, anchoring the plant and improving water uptake.
 Howcompass
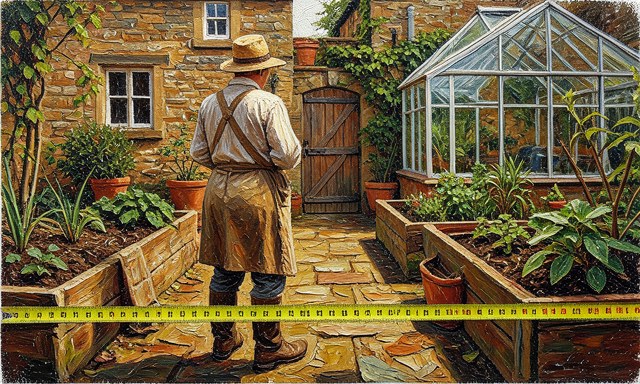
Space plants 45 to 60 cm apart
Space plants 45 to 60 cm apart. Leave roughly half a metre between plants and about a metre between rows. Generous spacing lets air move through the leaves and keeps fungal problems down. Related on Howcompass: house-train a puppy.
 Howcompass
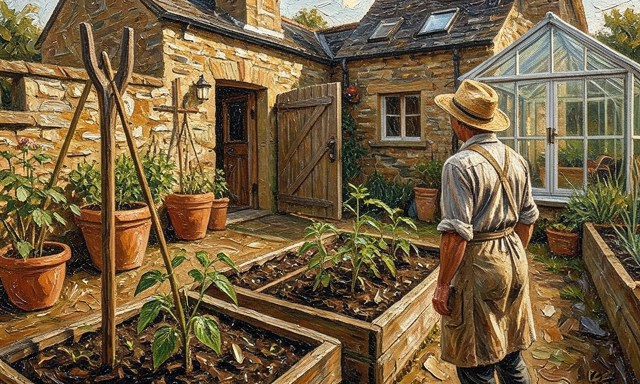
Drive in a stake or cage at planting
Drive in a stake or cage at planting. Fix the support now, before roots spread, and tie the stem loosely as it grows. Late staking damages roots and a heavy plant can snap without one.
Phase 3 — Water, Feed and Train
 Howcompass
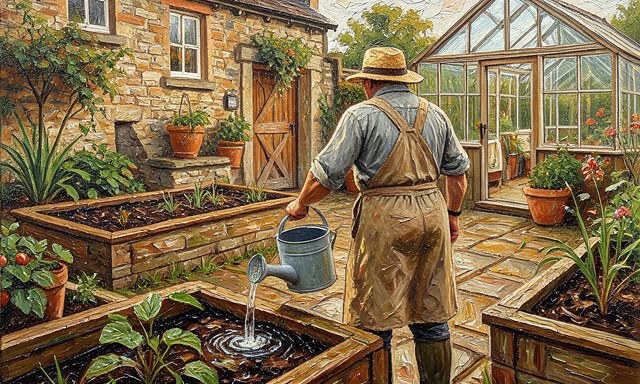
Water deeply at the base
Water deeply at the base. Give the soil around each plant roughly 2 to 3 cm of water a week, aimed at the roots and preferably in the morning. Keeping the leaves dry and the soil evenly moist reduces disease and splitting fruit. For the primary source behind this phase, see USA.gov — official U.S. government services.
 Howcompass
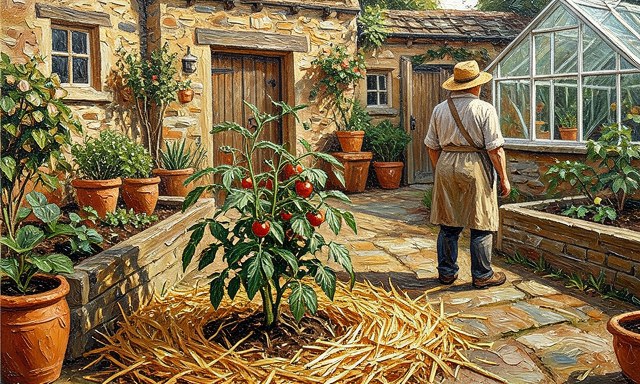
Mulch to hold moisture steady
Mulch to hold moisture steady. Spread a 5 cm layer of straw or compost around the base, leaving a gap at the stem. Mulch slows evaporation so the plant faces far fewer dry-to-wet swings that crack fruit.
 Howcompass
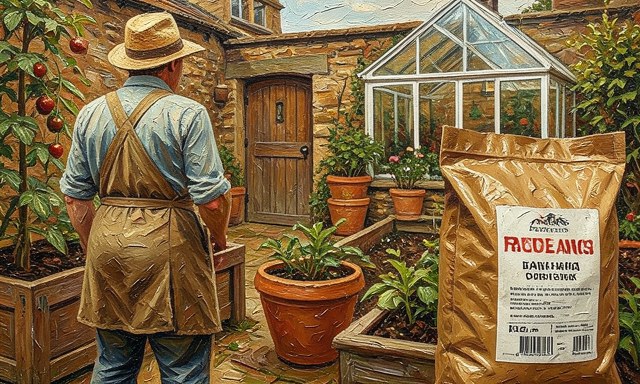
Feed with a tomato fertiliser
Feed with a tomato fertiliser. Use a fertiliser formulated for fruiting crops and apply it every two to three weeks after the first flowers appear. Too much nitrogen gives lush leaves but very few tomatoes.
 Howcompass
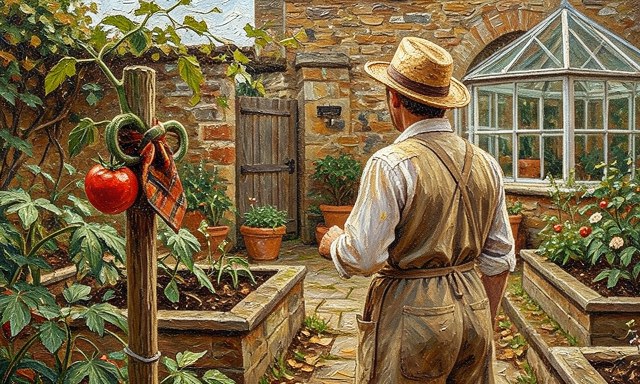
Tie the main stem to the stake
Tie the main stem to the stake. Use a soft figure-of-eight tie so the loop does not rub the stem, and loosen it as the plant thickens. Secure ties leave room for growth without cutting into the plant.
 Howcompass
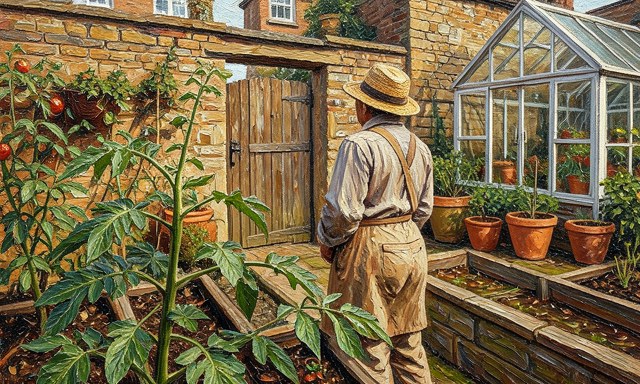
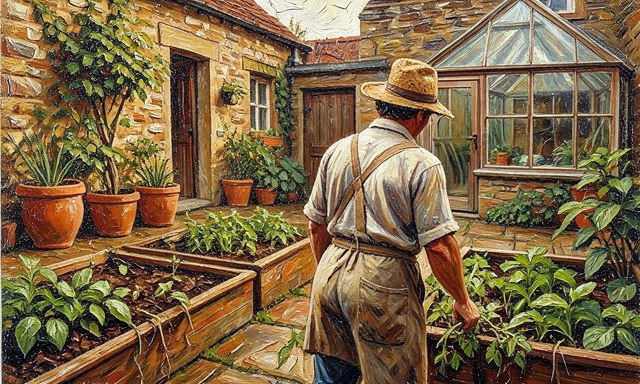
Pinch out side shoots on tall varieties
Pinch out side shoots on tall varieties. Remove the small shoots that appear in the angle between a leaf and the main stem of indeterminate plants. This directs energy into fewer, better-ripened trusses; bush types should be left alone.
 Howcompass
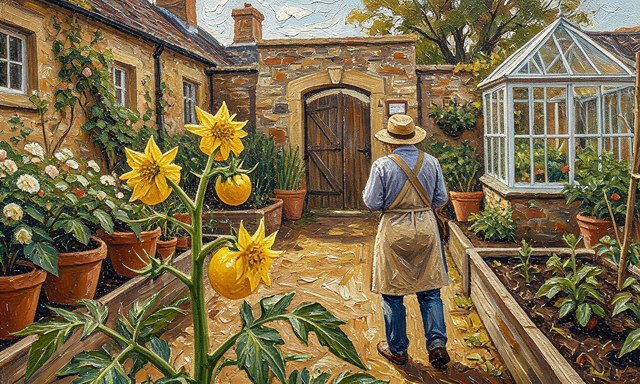
Remove lower leaves touching the soil
Remove lower leaves touching the soil. Snip off the oldest leaves that hang near the ground to stop soil splashing pathogens onto the plant. Keep the cuts clean and avoid stripping so much that the fruit loses shade. Related on Howcompass: start strength training at home.
 Howcompass
Tap flowers to help pollination
Tap flowers to help pollination. In still air or a greenhouse, gently tap the flower trusses or shake the support every few days. Movement shakes pollen loose and improves the number of fruit that set. Browse all illustrated guides or the Home and Garden category for more.
Phase 4 — Harvest, Troubleshoot and Save Seed
 Howcompass
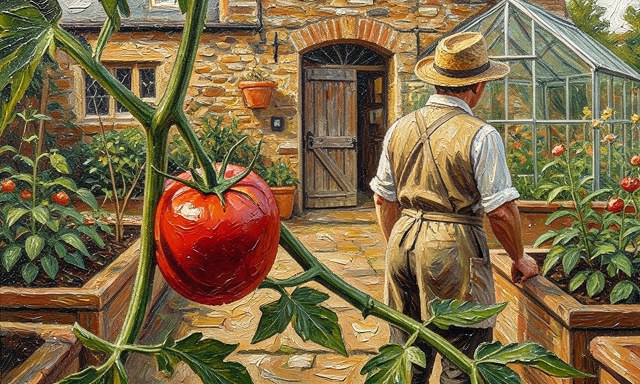
Pick when fully coloured but firm
Pick when fully coloured but firm. Harvest when the fruit has reached its full red, yellow or purple colour and gives slightly to a gentle squeeze. A tomato with a hint of green around the calyx will finish ripening off the vine. For the primary source behind this phase, see NASA — official site.
 Howcompass
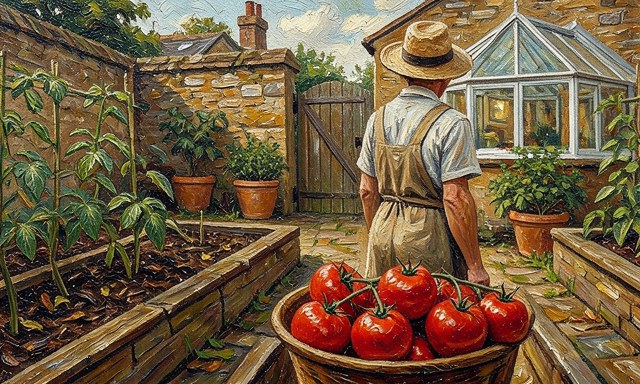
Harvest regularly to keep plants producing
Harvest regularly to keep plants producing. Check the plants every day or two and pick ripe fruit promptly. Leaving mature tomatoes on the vine signals the plant to slow down flowering and new fruit set.
 Howcompass
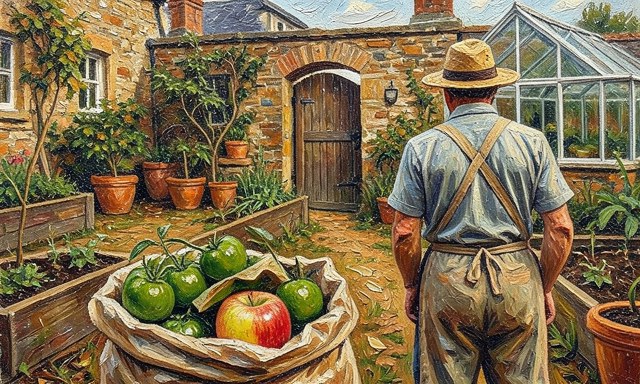
Ripen green fruit before the frost
Ripen green fruit before the frost. Collect remaining green tomatoes at the first frost warning and lay them in a paper bag with an apple. The apple gives off ethylene gas, which encourages even indoor ripening.
 Howcompass
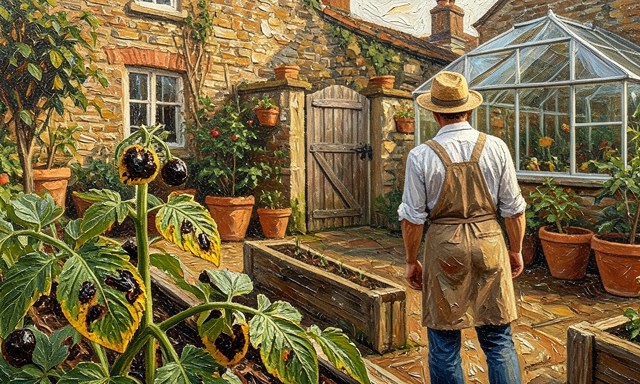
Inspect leaves weekly for disease and pests
Inspect leaves weekly for disease and pests. Look for dark leaf spots, powdery coatings, aphids and fine webbing, and remove affected leaves early. Catching blight or mites in the first week is far easier than treating a whole plant.
 Howcompass
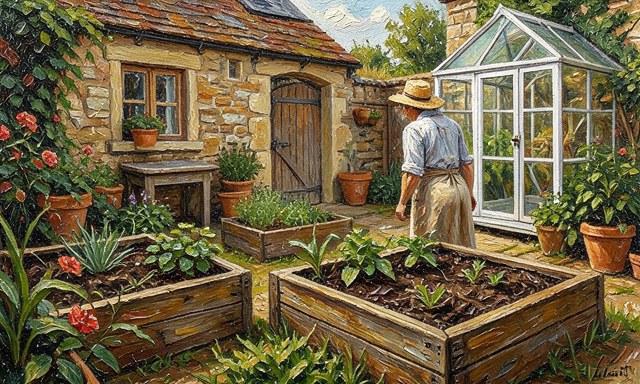
Rotate where you plant next year
Rotate where you plant next year. Avoid growing tomatoes or their relatives in the same bed for three to four seasons. Rotation starves soil-borne diseases that build up where the same crop keeps returning.
 Howcompass
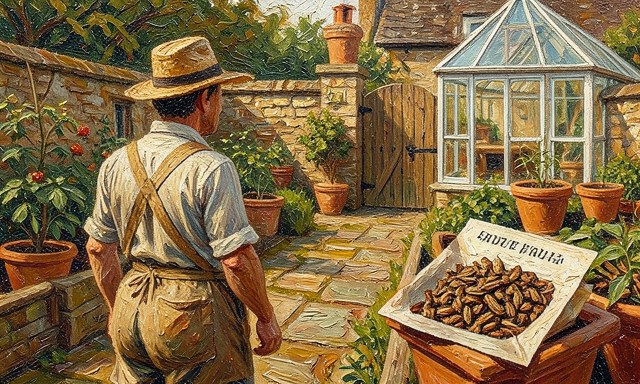
Save seed from a healthy open-pollinated fruit
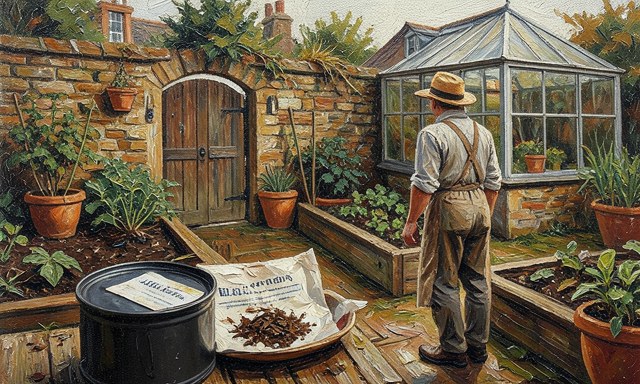
Save seed from a healthy open-pollinated fruit. Take seeds from a ripe, disease-free fruit of a non-hybrid variety, ferment them in water for a few days, then rinse and dry. Fermentation removes the gel that can harbour disease. Related on Howcompass: house-train a puppy.
 Howcompass
Store the dried seeds cool and dark
Store the dried seeds cool and dark. Make sure the seeds are completely dry, then seal them in a labelled envelope and keep them in a cool, dark tin. Properly dried and stored, tomato seed stays viable for several years.
Frequently Asked Questions
Question: Can I grow tomatoes in containers?
Yes — choose a compact or cherry variety and a pot at least 20 litres deep with drainage holes. Container plants dry out faster, so expect to water more often and feed lightly every couple of weeks.
Question: Why are my tomatoes cracking?
Cracking usually follows a sudden rush of water after a dry spell. Keep soil moisture even with mulch and regular deep watering rather than soaking heavily after the soil has dried right out.
Question: When should I pick tomatoes?
Pick when the fruit is fully coloured but still firm, with the green calyx attached. Slightly green fruit will finish ripening indoors, so clear anything left before the first frost.
Warnings
- Planting out too early: Seedlings set outside while nights are still cold stall or die, so harden them off over a week and wait until nights stay above 10 °C with no frost forecast.
- Watering unevenly: Letting soil swing between bone-dry and soaked is the main cause of cracked and blistered fruit, so water deeply at the base on a regular schedule and keep a mulch layer to even out moisture.
- Crowding the plants: Packed-together plants have poor airflow, which is exactly the damp, still condition fungal diseases need, so keep 45 to 60 cm between plants and stake them early.
Related Howcompass Guides




References (4)
- Royal Horticultural Society — gardening advicerhs.org.uk
- NOAA — weather and climatenoaa.gov
- USA.gov — official U.S. government servicesusa.gov
- NASA — official sitenasa.gov
Sources are listed so you can read the underlying guidance yourself. Our editorial policy explains how guides are reviewed.
Did this article help you?
0 readers found this helpful — add your vote.
No comments yet — be the first to share your results.