How to How to Start Riding an ATV: A Complete Beginner's Guide
A guide to Choose the Machine, the Place, and the Training, Gear Up and Run a Pre-Ride Inspection, Learn the Controls on Flat, Open Ground, Ride Your First Slow Loop, Shut Down, Maintain, and Build Skill Over Time
An ATV is not a small car with a saddle. It is a light, high-centre-of-gravity machine that you steer as much with your body as with the handlebars, and the rider is expected to move — leaning into turns, shifting forward on climbs, sliding back on descents. That active riding style is exactly why a first-timer should not learn on a trail, on a slope, or by following a friend at speed. The ATV Safety Institute's Golden Rules boil years of crash data down to a short list: get trained, wear a helmet and protective gear, never carry extra passengers, keep off paved roads, and never mix riding with alcohol or drugs. These 25 steps follow the order that works: choose a machine that fits, learn what the law allows where you live, get instruction, gear up, inspect the ATV, then practise the controls on flat open ground before you attempt a slow loop. The first hour should be boring by design — walking speed, straight lines, repeated stops, and big gentle turns. Everything past that point, including hills, mud and real trails, is a later session. Budget a half-day for a hands-on course and two or three short practice sessions before you ride anywhere with obstacles. Two honest limits before you start. This guide does not replace instruction from a qualified instructor, and rules differ by state, province and land manager: registration, minimum age, helmet requirements, trail permits and road-crossing rules all vary. Treat the American guidance linked below as a baseline, then check the rules for the exact place you plan to ride. If you already maintain other machines, the same discipline applies here — our pre-ride safety check for bicycles and four essential car fluids guide cover habits transfer well to an ATV.
Start with the right machine and the right place, not the throttle. Choose an ATV sized for your age and build, read the owner's manual, check local riding rules, and take a hands-on RiderCourse. Wear a DOT-certified helmet, goggles, gloves, long sleeves and over-the-ankle boots, then run the five-minute T-CLOC inspection. Learn starting, smooth throttle, straight-line braking and weight shift on a flat, open, obstacle-free area at walking pace. Ride with a buddy, stay off paved roads, never carry a passenger on a single-rider machine, and finish by cleaning the ATV and following the break-in service schedule.
- Time
- A half-day training course plus 2–3 short practice sessions
- Cost
- $0–$150 for a course; $150–$400 for gear if starting from nothing
- Difficulty
- Beginner — flat, open ground for the first hours
- Where
- Private land with permission or designated OHV trails; never paved roads
- You need
- A correctly sized ATV, helmet, goggles, gloves, boots, low-pressure gauge
- Not for
- Riders under 16 on adult machines, passengers on single-rider ATVs, public roads
How do you how to Start Riding an ATV: A Complete Beginner's Guide?
 Howcompass | How to How to Start Riding an ATV: A Complete Beginner's Guide
Choose the Machine, the Place, and the Training
HowcompassPick an ATV That Fits Your Age, Size, and Experience
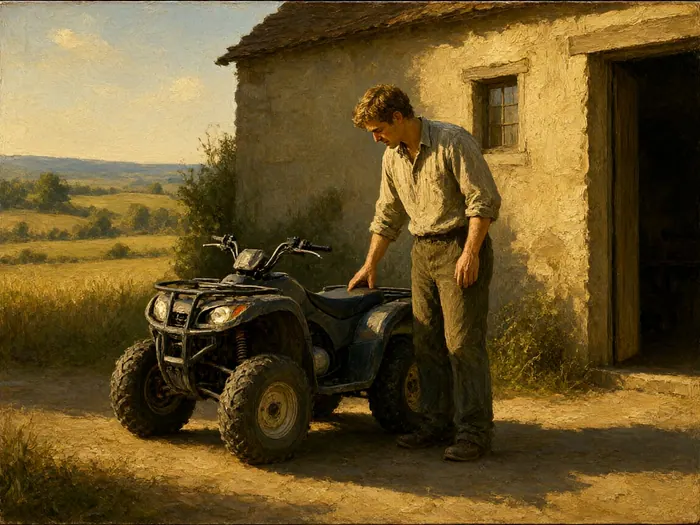
Before anyone starts the engine, match the machine to the rider. Every new ATV carries a manufacturer label with a recommended minimum age, and youth models are deliberately limited in engine size and speed; adult machines are heavier, faster and far less forgiving. The ATV Safety Institute's sizing guidance asks riders to consider physical size, strength and judgement, not just age — a small adult who cannot plant both feet and reach the controls comfortably should start on a smaller machine. If the ATV belongs to a friend or a rental fleet, ask what category it is and whether a speed limiter is fitted. Do not let a child under 16 operate or ride on an adult-sized ATV, and never assume a lightweight machine is a toy.
 Howcompass
Read the Owner's Manual Before Touching the Ignition
Find the manual for your exact model — download it from the manufacturer if the paper copy is missing — and read the sections on controls, tire pressure, break-in, load limits and the pre-ride checklist. The Polaris owner's manual is a good example: it lists brake travel, fluid levels, fasteners, air filter, throttle and engine stop switch as items to verify before every ride, and it states plainly that the machine is for off-road use only. Manuals also tell you which fuel and oil to use, how the transmission selects gears, and where the hour meter is, which you will need for the first service. Twenty minutes with the manual prevents most of the confused fumbling that makes a first ride feel stressful.
 Howcompass
Check the Rules for the Exact Place You Plan to Ride
Permission and legality come before skill. On private land, get the owner's explicit permission and confirm where the boundaries are. On public land, find out whether ATVs are permitted at all, whether you need a registration sticker or OHV permit, what the minimum age and helmet rules are, and which routes are open — the state rules directory is a practical starting point for US riders. Trail systems often publish motor vehicle use maps that mark seasonal closures, width limits and designated crossing points; Tread Lightly's ATV guidance recommends obtaining the map and asking the land manager about restrictions before you travel. A legal ride on a designated route is also a much calmer place to learn than an informal field with unknown hazards.
 Howcompass
Book a Hands-On RiderCourse Before Your First Real Ride
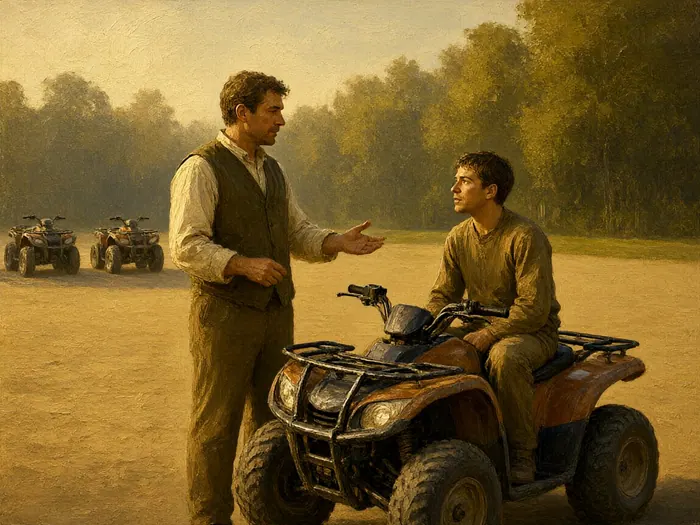
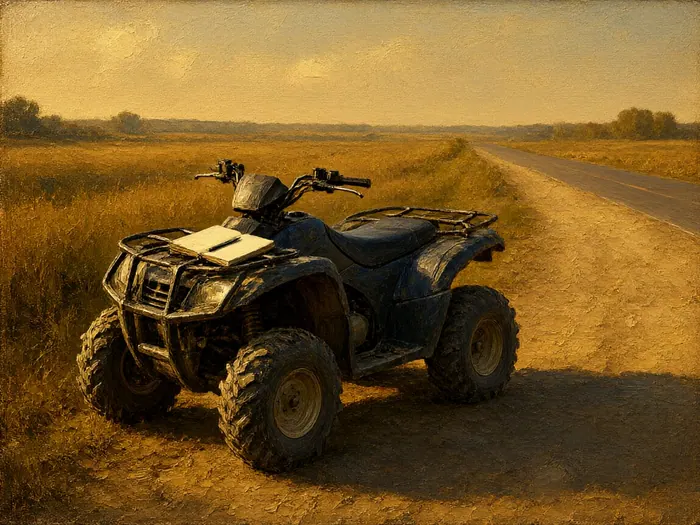
Reading is not the same as balancing a 250-kilogram machine. The ATV RiderCourse is a half-day of supervised, hands-on practice with a certified instructor, and many new-vehicle buyers can take it at no cost. If you cannot get to a class immediately, the free online E-Course covers the fundamentals in roughly two hours and is a useful way to learn the vocabulary before you arrive. Instructors structure the drills from straight-line starts and stops through turns and controlled hill work, and they correct the two beginner habits that are hard to self-diagnose: staring at the front wheels and sitting stiffly instead of shifting weight. Complete the course early; it is cheaper than a rolled machine or an emergency room visit.
 Howcompass
Write Down the Non-Negotiable Rules
Make a short list you will actually follow when nobody is watching: no paved roads except a lawful, brief crossing; no passengers on a single-rider ATV; no alcohol, drugs or sedating medication; no riding after dark as a beginner; no stunts, wheelies or jumps; and no solo trips in remote country. The Golden Rules exist because these are the circumstances behind the most serious crashes, not because they are bureaucratic formalities. It also helps to tell one person where you are going and when you expect back — the same habit we recommend for starting trail walking safely. Put the list on your phone and read it before you load the machine, especially on days when the weather is perfect and the temptation to improvise is strongest.
Gear Up and Run a Pre-Ride Inspection
 Howcompass
Fit a Certified Helmet Properly, Every Single Ride
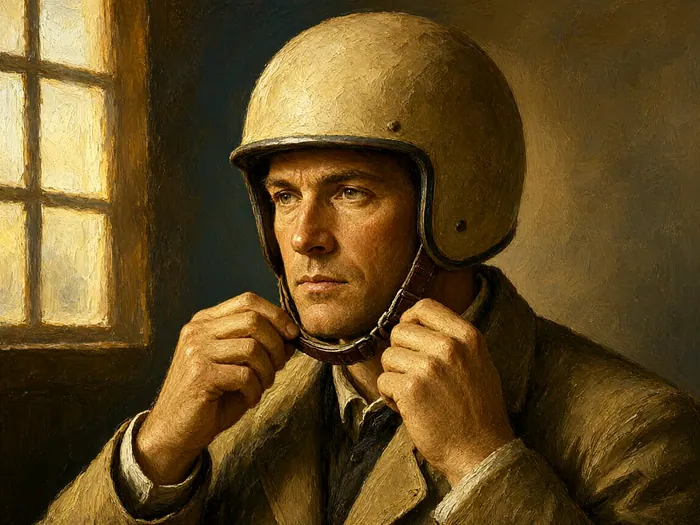
Use a full-face helmet certified to DOT or Snell standards and sized to your head, not borrowed from whoever is nearby. It should sit level, with the brow two finger-widths above your eyebrows, no pressure points, and a chin strap tight enough that you cannot roll the helmet forward off your head. The ASI riding gear guidance lists a helmet, eye protection, gloves, long pants, a long-sleeved shirt and over-the-ankle boots as the minimum kit, and the European ATV Safety Institute's equipment page says the same. Replace any helmet after a significant impact, and never ride with the strap undone because the day is warm. If your helmet fogs, open the vent or use an anti-fog visor rather than riding without eye protection.
 Howcompass
Dress for a Fall Rather Than for the Temperature
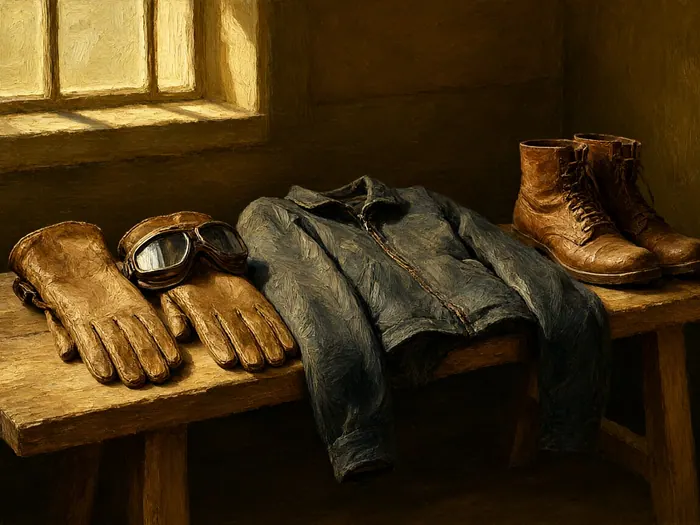
Even at five miles per hour, a slide off a footrest can put a hand, ankle or forearm on gravel. Wear full-finger gloves, shatter-resistant goggles or a face shield, a long-sleeved shirt or jacket, long trousers, and sturdy boots that cover the ankle — the same logic as the bicycle helmet and pre-ride check. Avoid loose scarves, dangling drawstrings and open coat pockets that can catch on a lever or a branch; tuck laces in and keep a light layer in a zipped bag instead of tying it around your waist. On hot days, a ventilated jacket is still better than a T-shirt. Dress first, then inspect the machine, so you are never tempted to hop on for a quick test without the kit.
 Howcompass
Run the Five-Minute T-CLOC Inspection
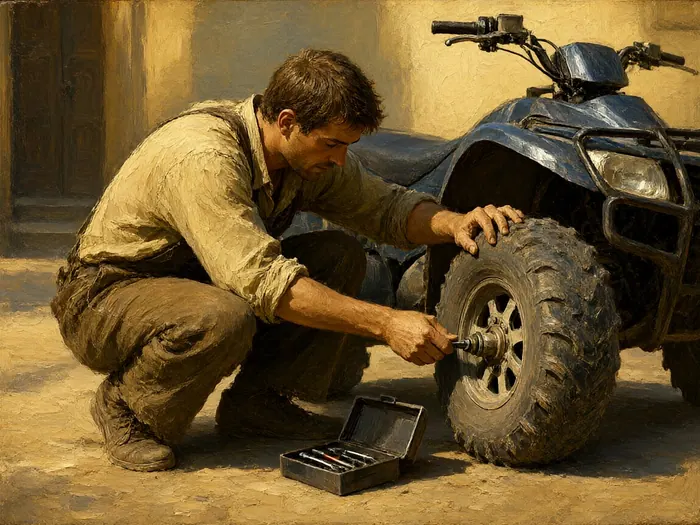
Before each ride, work through T-CLOC: Tires and wheels, Controls and cables, Lights and electrics, Oil and fuel, and Chain/driveshaft and chassis. Look for cuts in the tires, loose wheel nuts and missing cotter pins; check that the throttle snaps closed with the handlebars at any angle; test the headlight, taillight, ignition and engine stop switch; verify oil and fuel levels and look for leaks; then shake the handlebars, footrests and racks for anything that has worked loose. ASI estimates five to ten minutes for the whole check. Do it on level ground with the engine off, and fix anything suspicious before the machine moves. A failure out on a trail is a long walk home; in a practice field it is a five-minute inconvenience.
 Howcompass
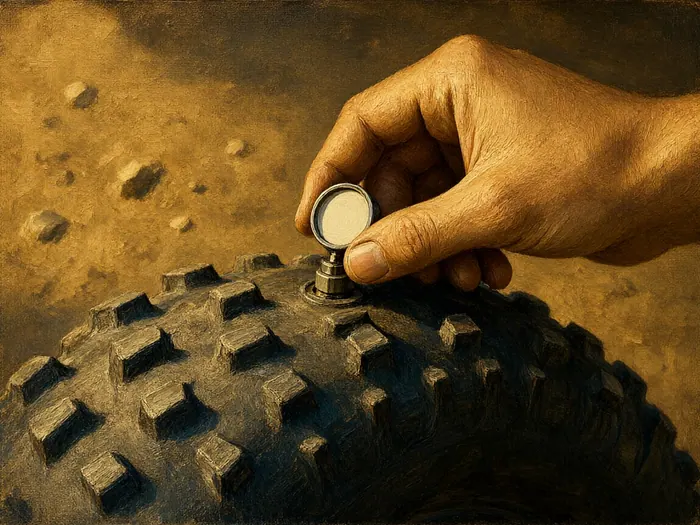
Check Tire Pressure With a Low-Pressure Gauge
ATV tires run at a fraction of car pressure — ASI notes a typical range of 2 to 10 psi — so an automotive gauge is too coarse to be useful. Use a dedicated low-pressure gauge, check all four tires cold, and set the exact figure from your owner's manual or the tire sidewall maximum, keeping left and right matched on each axle. Too little pressure lets the sidewall roll in a turn and can unseat a bead; too much makes the machine bounce and reduces grip on loose ground. Our tire pressure and tread depth guide explains the same principle for road vehicles, though the numbers are very different. Recheck after a temperature change or a long storage period, and carry the gauge with you on every ride.
 Howcompass
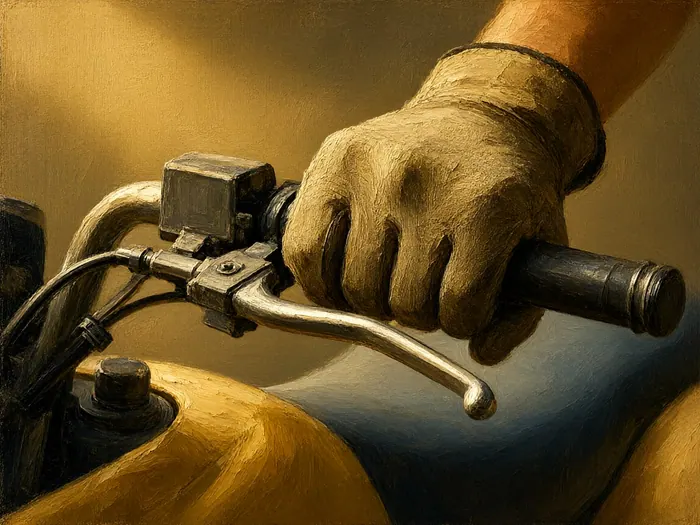
Verify the Throttle, Brakes and Stop Switch While Stationary
With the engine still off, squeeze each brake lever and pedal and feel for firm, consistent resistance; roll the machine a few centimetres by hand to confirm the brakes actually bite. Roll the throttle open and let it snap shut several times with the bars turned fully left and fully right — a cable that binds or stays open is a stop-work fault. Press the engine stop switch, test the ignition, and confirm the gear indicator shows neutral. The factory pre-ride checklist also calls for brake fluid, coolant, suspension, air filter and fastener checks, which is worth turning into a habit from day one, much like the routine in our long road trip car check. Never begin a ride because the machine probably feels fine yesterday.
Learn the Controls on Flat, Open Ground
 Howcompass
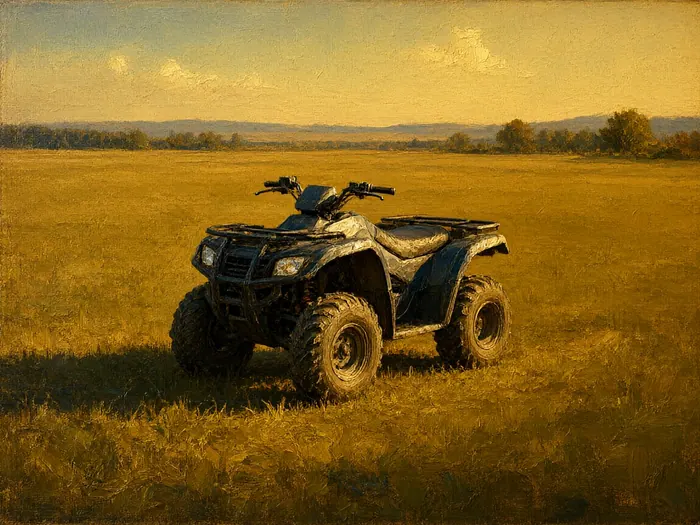
Choose a Flat, Empty Practice Area With Long Run-Outs
Your first classroom should be a level, open patch of grass or hard-packed dirt with no trees, fences, ditches, rocks, other vehicles or people for at least 30 metres in every direction. A commonly taught minimum is roughly 100 by 200 feet — about 35 to 40 paces each way — so you have room to stop from a walking pace without running out of space. Walk the whole area first and remove branches, holes and loose wire; what looks harmless at rest becomes a hazard at ten miles per hour. Avoid slopes entirely for the first session, and do not practise near a road, a driveway or a body of water. A calm, boring field lets you repeat the same drill twenty times, and repetition is what builds the muscle memory you will rely on later.
 Howcompass
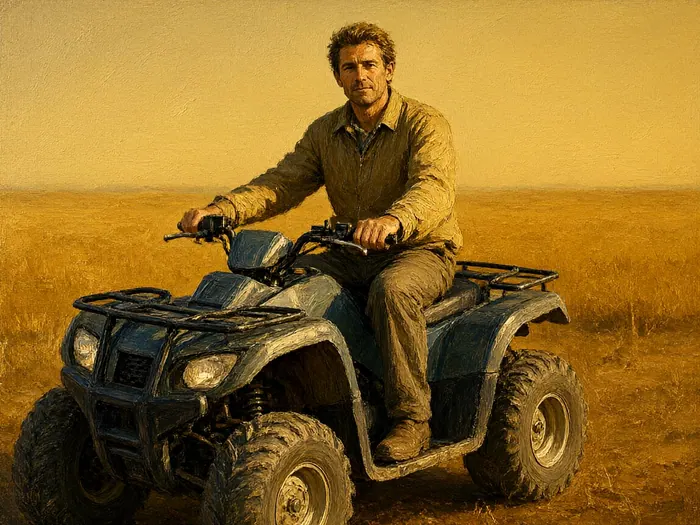
Mount From the Left and Settle Into an Active Posture
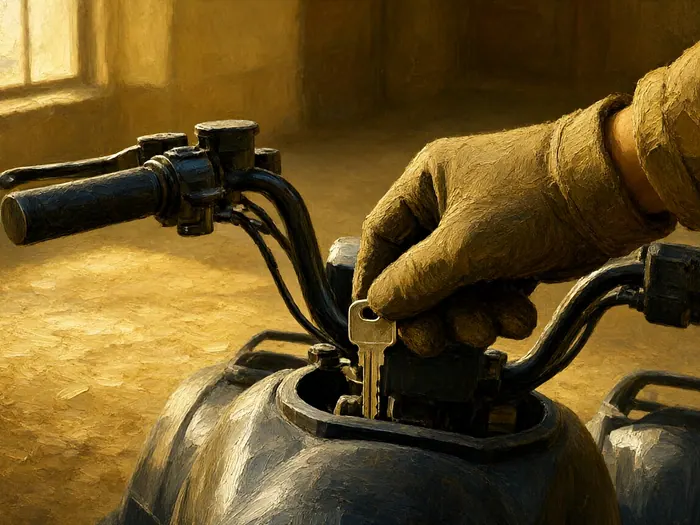
Approach from the left side, set the parking brake, swing one leg over and sit centred on the seat with both feet firmly on the footrests. Keep your knees and elbows slightly bent, your head up and your eyes looking ahead rather than down at the front wheels. Your body is part of the suspension and the steering: a stiff, upright passenger posture makes the machine feel twitchy and slow to change direction. Before starting, reach for every control without looking — front brake, rear brake, throttle, gear selector, lights, engine stop switch — until you can name and find each one instantly. Practise this seated drill with the engine off. If you cannot comfortably reach everything or keep both feet planted, the ATV is too large for you right now.
 Howcompass
Start the Engine With a Repeatable Sequence
Use the same order every time so nothing gets skipped: hold the brake or set the parking brake, turn the fuel valve and ignition on, confirm neutral, start the engine, then look all around before releasing the brake. Instructors sometimes teach this as BONE-C — brake, on, neutral, engine, check. Let the engine idle for a minute or two without revving it, and listen for anything irregular; the owner's manual warns against sustained full throttle or high speed during the first hours of a new engine's life. Never start an ATV in a closed garage or shed, because exhaust fumes build up fast. Keep both feet on the footrests and both hands on the bars from the moment the engine catches.
 Howcompass
Roll On the Throttle as if an Egg Were Under Your Thumb
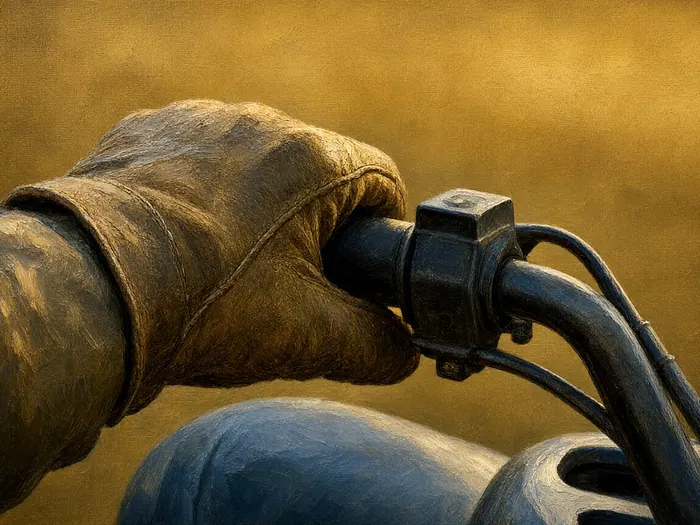
The classic beginner drill is to imagine a raw egg between your thumb and the throttle lever: squeeze gently enough that it would not break. With the machine in gear, the parking brake released and both brakes covered, ease the throttle open by a few millimetres and feel the ATV begin to creep, then close it smoothly and let the machine coast. Repeat until the take-up point is predictable and there is no lurch. Most first-timer surprises come from a jab of throttle rather than from too little power, and a sudden lurch can pitch the rider backwards or spin the machine on loose ground. Keep your wrists loose and your elbows up. Stay under walking speed for this drill; there is nothing to prove in a flat field.
 Howcompass
Practise Straight-Line Stops at Walking Speed
Put a cone, a stick or a light-coloured stone on the ground as a target. Ride toward it in a straight line at roughly five miles per hour, roll off the throttle early, then apply both brakes progressively — never grab a handful — and stop with the front wheels just short of the mark. Repeat from slightly higher speeds only after five clean, identical stops. Braking distance grows quickly with speed, and loose grass or dust can double it, so leave two or three times the space you think you need. Keep your head up and your feet on the footrests through the whole stop. If the rear wheels lock and slide, you have used too much brake too abruptly; reset, slow down and try again. This one drill is the foundation of every later manoeuvre.
 Howcompass
Shift Your Weight Before You Ask the ATV to Turn
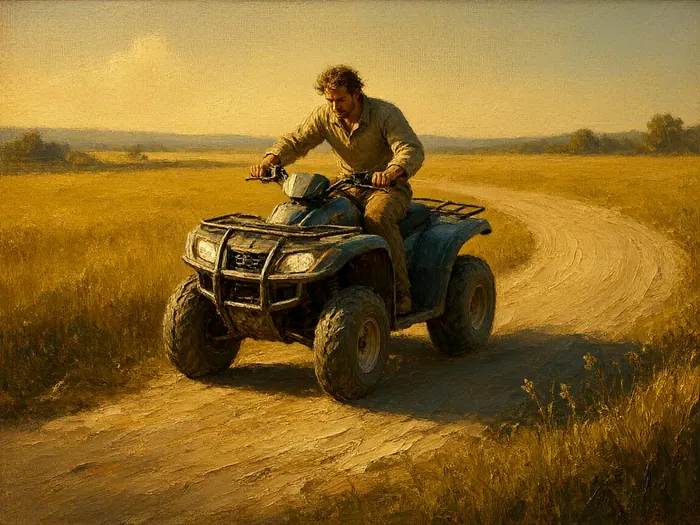
Once straight stops are boring, ride a large oval at walking pace. Slow before the turn, look through it to where you want to exit, then lean your upper body into the turn and gently press the handlebar in that direction; keep both feet on the footrests. Progress from the big oval to smaller circles and finally a figure eight, practising each shape in both directions and repeating it until five consecutive laps feel smooth. An ATV has a solid rear axle and no differential in many models, so it resists tight low-speed turns and needs deliberate body English rather than steering alone. If the inside wheel lifts or you have to put a foot down, you are carrying too much speed for the radius — widen the turn and slow down.
Ride Your First Slow Loop
 Howcompass
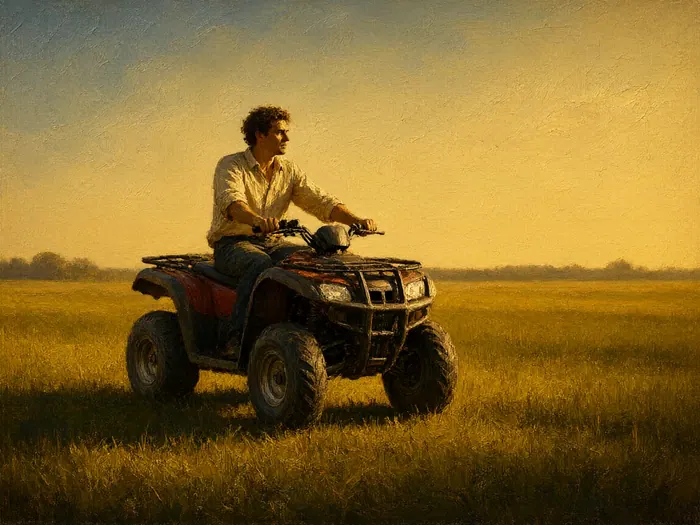
Set a Walking-Pace Speed Limit for the Whole First Hour
Agree on a ceiling before you move — about five to ten miles per hour — and keep it there for the entire session, even when the machine feels easy. If your ATV has an adjustable throttle limiter, set it to the slowest position; instructors recommend opening it gradually as skill grows. Novices get into trouble when confidence arrives faster than reflexes, and a low ceiling makes every mistake small and recoverable. Use short runs of 30 to 60 seconds with a full stop and a breather between them, rather than one long continuous lap that lets fatigue creep in. If you feel yourself getting bored, add a new drill — a tighter oval or a precise stop — not more speed. The beginner-safe progression we use for running follows the same principle: build duration and consistency before intensity.
 Howcompass
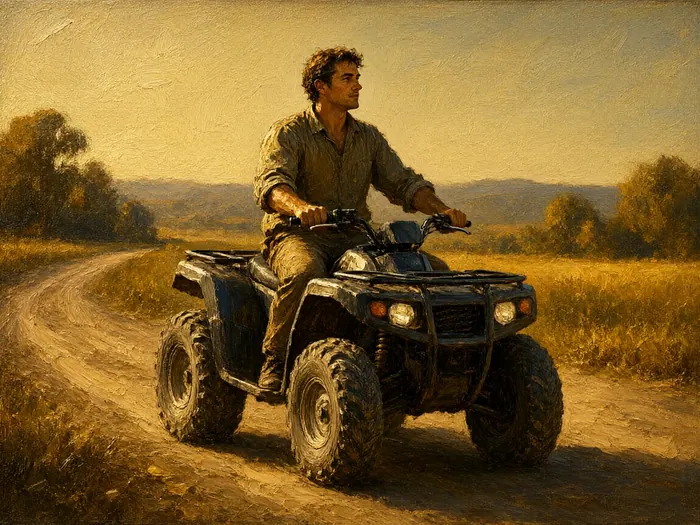
Look Where You Want to Go, Not at the Obstacle
Your machine follows your eyes. Beginners fixate on the front wheels, on a rock, or on the edge of the field, and then steer straight into whatever they are staring at. Pick a point 15 to 20 feet ahead on your intended line and keep your chin up and your gaze soft enough to register movement at the edges. Before each turn, deliberately turn your head and look through the exit before you move the bars. Practise this by choosing a distant tree or gate post as a target for each straight run, then a new target after the turn. It feels almost too simple to matter, but it is the single habit that separates a rider who looks composed from one who appears to be fighting the machine.
 Howcompass
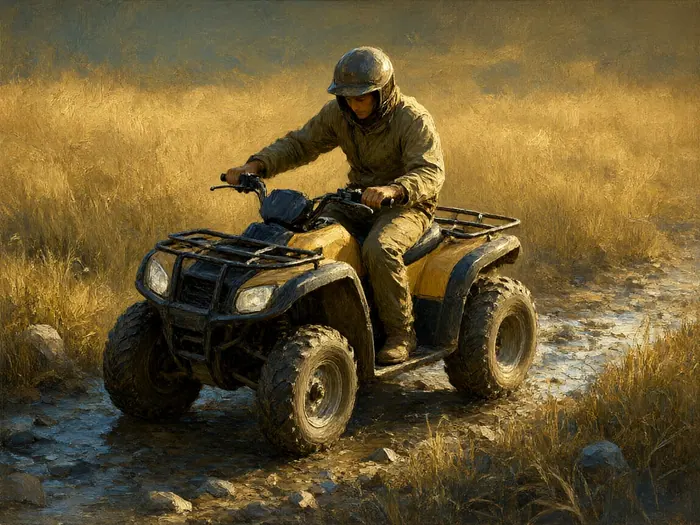
Read the Ground Early and Slow Before Rough Sections
Scan two or three machine lengths ahead for ruts, roots, rocks, holes, soft mud and standing water. Decide on a line before you reach the rough part, roll off the throttle, and cross the obstacle slowly and squarely rather than at a sharp angle. Standing on the footrests slightly raises your knees and lets your legs absorb the bump instead of your spine. Never guess at the depth of water or mud on an unfamiliar route; walk it first if there is any doubt. Tread Lightly also asks riders to drive over small obstacles rather than around them, because detouring widens trails and damages vegetation. If the terrain is beyond what you practised on flat ground, stop, turn around and save it for a later session with an experienced rider.
 Howcompass
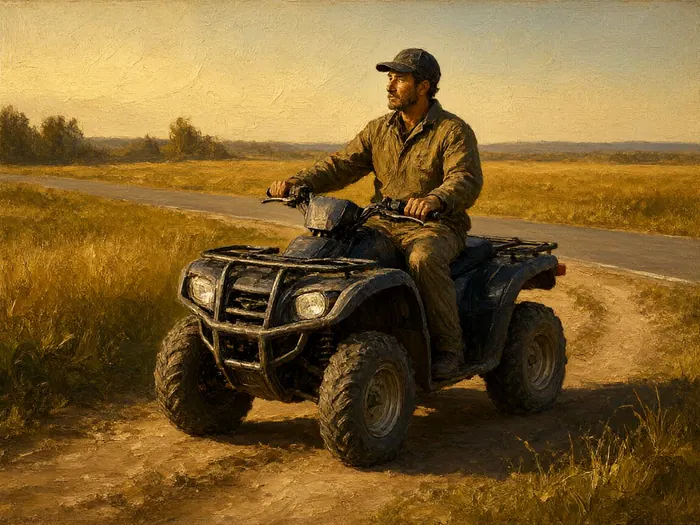
Stay Off Side Slopes and Paved Surfaces Altogether
Two situations are genuinely dangerous for a beginner and are not skills to improvise. First, traversing a steep side slope: an ATV can lift its uphill wheels and roll, and body lean must be practised on gentle ground with an instructor before you attempt any camber. Second, pavement: the Golden Rules and every major owner's manual say off-road use only, because knobbly low-pressure tires handle unpredictably on asphalt and a collision with a car is far more likely to be fatal. Where a jurisdiction permits a brief, direct road crossing, do it at a near-perpendicular angle, at low speed, after a complete stop and a full look both ways. Otherwise, keep the ATV on dirt and load it onto a trailer for transport.
 Howcompass
Ride With a Buddy and Leave a Plan Behind
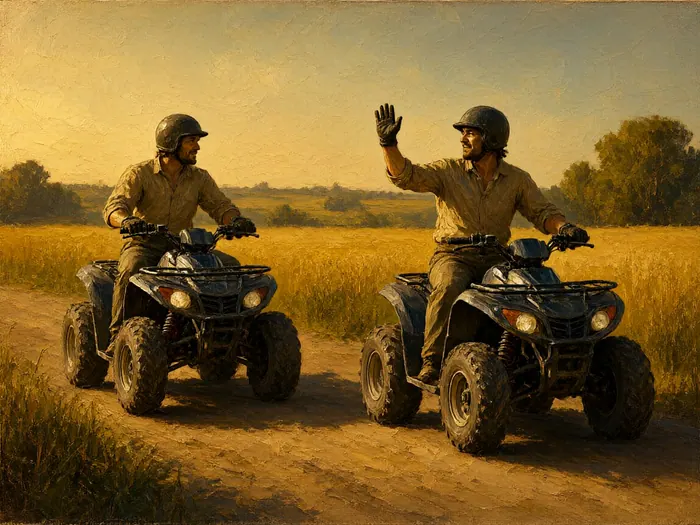
Do not take a first ride alone. Go with at least one other rider, agree on hand signals and meeting points, and keep enough distance that dust and sudden stops do not cause a collision. Before leaving, tell someone who is not riding where you are going and when you expect to be back; cell coverage on trails is unreliable, so a written plan is more useful than a phone call after the fact. Carry water, a small first-aid kit, a basic tool roll, a tow strap and a charged phone — the same logic as the all-season car emergency kit, scaled down to what fits on the machine. Tread Lightly recommends buddy riding for exactly this reason: a minor mechanical problem becomes a serious one when nobody knows where you are.
Shut Down, Maintain, and Build Skill Over Time
 Howcompass
Park, Shut Down, and Let Hot Parts Cool
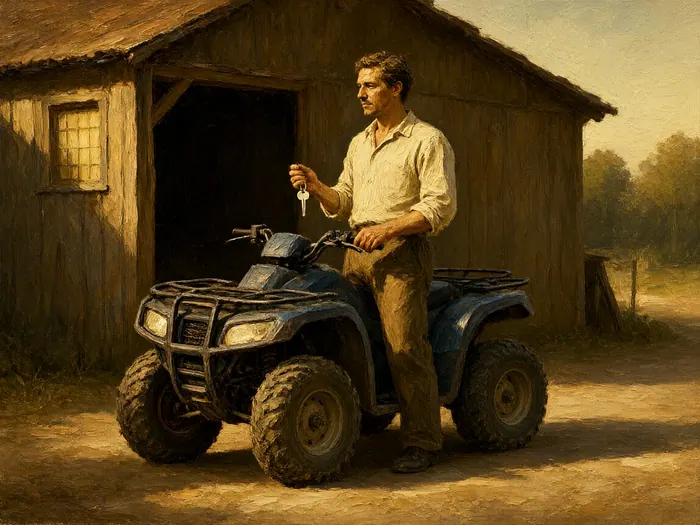
Finish on level ground, come to a complete stop, set the parking brake, shift to neutral or park, switch off the engine and remove the key so nobody can start it accidentally. Do not touch the exhaust, engine cases or brake discs until they have cooled; they stay hot enough to burn for several minutes after a slow ride. Park clear of dry grass, because a hot exhaust can ignite it, and keep the machine out of an enclosed space until it has cooled. If you are loading onto a trailer, use a proper ramp, tie down at the manufacturer's designated points and recheck the straps after the first few kilometres. Ending the ride deliberately is part of the routine — a hurried shutdown is when keys get lost, racks get left loose and fuel valves get forgotten.
 Howcompass
Wash Off Mud and Inspect for New Damage
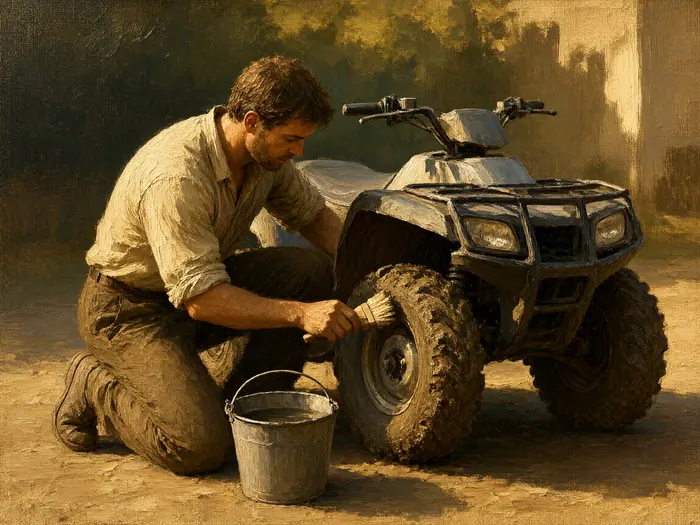
Back at the shed, hose or brush off caked mud — especially around the radiator, suspension arms, brakes and air intake — and let the machine dry. Then repeat a shortened inspection: look for cuts or embedded stones in the tires, check that wheel nuts and rack bolts are still tight, inspect the chain or driveshaft, and look under the machine for fresh oil or fuel drips. A first ride at walking speed can still loosen fasteners or pick up a nail. Clear the air filter if you rode in dust, following the manual's procedure rather than guessing. Our dashboard warning light guide makes the same point for cars: deal with a small symptom while it is still small. Note anything you cannot explain and resolve it before the next outing, not on the morning of it.
 Howcompass
Respect the Break-In Window and Book the First Service
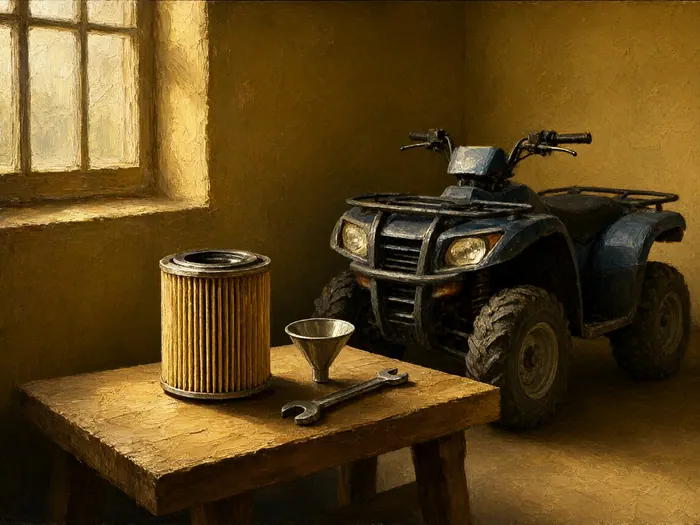
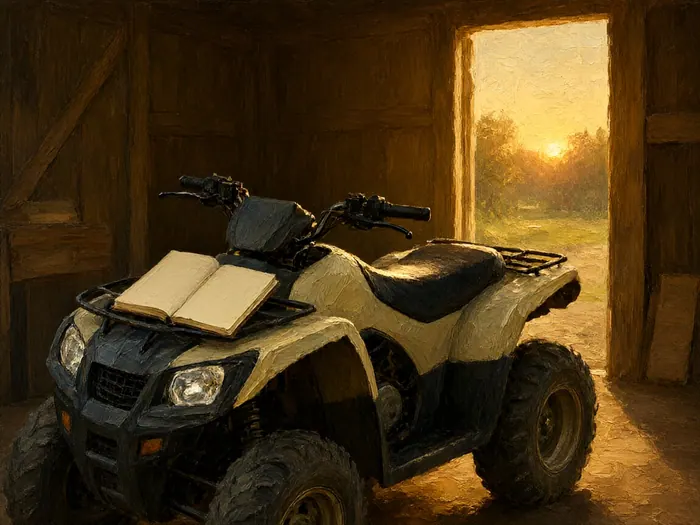
If the ATV is new to you, treat the first hours as a controlled running-in period. The Polaris manual defines break-in as the first ten hours or the first two tanks of fuel, warns against full throttle or sustained high speed in the first three hours, and calls for an oil and filter change at 20 hours, one month or 500 miles, whichever comes first. Other manufacturers set their own intervals, so use your manual's numbers rather than these. Vary the throttle, pull only light loads, and recheck fluid levels and fasteners during the period. Log the hours as you go; a written record makes the first service easy to schedule and keeps any warranty claim straightforward. Break-in riding and beginner practice fit together well, since both are gentle and varied.
 Howcompass
Progress in Short Sessions and Keep a Skill Log
Plan the next two or three outings rather than one ambitious day. Session two can add tighter figure eights, reversing at walking pace and gentle undulations; session three can introduce shallow, dry ruts or a very mild uphill straight with an experienced rider watching. Hills, side slopes, mud, water crossings, night riding and busy trails all belong later, ideally after the RiderCourse or follow-up practice from ASI's learn-to-ride resources. Keep a short note after each ride: what felt awkward, what improved, the hour meter reading and anything the inspection found. Steady, repeated practice is what turns the drills into instinct — the same progression we recommend for building a safe weekly routine. Skill is built in hours, not in one brave afternoon.
How to know it worked
- You can find and name every control without looking, and the throttle snaps closed with the bars at full lock.
- You make five consecutive straight-line stops inside the same marked zone at walking pace.
- You can ride a large oval and a figure eight in both directions without putting a foot down.
- The T-CLOC inspection takes under ten minutes and finds nothing loose, leaking, damaged or under-inflated.
- Someone knows your route and return time, and water, first-aid kit, tools and phone are on board.
Common mistakes to avoid
- Starting on hills, trails or rough ground instead of a flat open area, so the first lesson becomes a recovery exercise.
- Grabbing a handful of throttle or brake, which pitches the rider and makes a low-speed mistake much bigger.
- Sitting passively upright instead of shifting body weight into turns; an ATV is steered with the whole body.
- Guessing tire pressure or using a car gauge, which gives a meaningless reading at 2–10 psi.
- Skipping the break-in oil change and first service, then having no hour-meter record when a warranty question comes up.
Frequently Asked Questions
Question: Do I need a licence or registration to ride an ATV?
It depends entirely on where you ride. Many US states require ATVs used on public land to be registered or titled and to display a sticker, some require a safety certificate for younger riders, and many trails require a permit. Riding on your own private land is usually exempt from those rules, but helmet and age requirements may still apply to minors. Check the state rules directory and the land manager's page for the exact trail before you travel, and carry the paperwork with you rather than a photo that needs a signal to open.
Question: Can I ride an ATV on a paved road?
No, not as a beginner and not as general practice. ATVs are designed for unpaved terrain; low-pressure knobbly tires behave unpredictably on asphalt, the machine can be hard to keep straight, and a collision with a car or truck is disproportionately dangerous. Some jurisdictions allow a short, direct crossing of a public road at a designated point. Where that is legal, stop completely, look both ways, cross at close to a right angle at low speed, and never ride along the road itself. Otherwise, trailer the ATV to the riding area.
Question: What is the right age and size for a first ATV?
Follow the manufacturer's age label on the machine, not a guess based on height. Children under 16 should never operate or ride on an adult-sized ATV; youth models come with smaller engines, adjustable speed limiters and lower top speeds. Children under six should not be on an ATV at all. For adults, size and strength matter too: you should be able to sit centred, keep both feet on the footrests, reach every control without stretching and manoeuvre the handlebars through their full range. If in doubt, start smaller.
Question: Can I carry a passenger on my ATV?
Only if the machine was designed and labelled for two riders, with a proper passenger seat, handholds and footrests. Most ATVs are single-rider machines: a passenger blocks the driver from shifting body weight, changes the centre of gravity and makes a rollover much more likely. A quick ride across a field with a friend on the back is one of the most common setups in serious crashes. If you want to ride together, use two ATVs or a side-by-side vehicle built for passengers and seat belts.
Question: How fast should a complete beginner go?
Keep the first several hours at roughly walking pace, about five to ten miles per hour, on flat open ground. That is fast enough to learn throttle feel, braking and weight shift, and slow enough that a mistake ends with a stall rather than a crash. Use the throttle limiter if your machine has one, and raise speed only after you can stop at a marked point five times in a row and ride a figure eight cleanly in both directions. Terrain, visibility and other people should always push the speed down, never up.
Question: What should I do if the ATV starts to tip?
Do not put a hand or foot out to prop up the machine; that is a reliable way to injure a wrist or ankle. Ease off the throttle, keep both feet on the footrests, and shift your weight toward the uphill side while steering gently uphill on a slope. Most beginner tip-overs happen at very low speed on cambered or rutted ground, which is why the first sessions stay flat. If the machine does go over, shut it off, check yourself first, and have a qualified dealer inspect the whole ATV before riding it again, as the manuals require.
Question: How long before I can ride real trails?
There is no fixed number of hours, but a sensible minimum is a hands-on safety course plus two or three short practice sessions in which straight-line stops, large and small turns, figure eights and slow rough-ground crossings feel boring rather than exciting. Then start on a short, easy, designated route in dry conditions with an experienced rider and a buddy system. Add one new variable at a time — a mild hill, a rutted section, a longer loop — and leave night riding, deep mud, steep side slopes and water crossings for much later.
Tips
- Mark a braking point with a cone or stick and make five identical, smooth stops before you increase speed.
- Keep a dedicated low-pressure gauge in the tool kit; a car gauge cannot read ATV pressures accurately.
- Set an adjustable throttle limiter to its slowest position for the first sessions and open it one step at a time.
- Photograph your registration, permit and insurance details before you leave reliable mobile coverage.
- Ride the same short loop in both directions; the reverse direction reveals camber and ruts you missed on the first pass.
Warnings
- Never ride on paved roads or along public streets, and never mix riding with alcohol, drugs or sedating medication.
- Never carry a passenger on a single-rider ATV, and never allow a rider under 16 to operate an adult-sized machine.
- Never ride alone in remote country, at night, or without telling someone your route and expected return time.
- Stop immediately if the throttle sticks, a brake feels soft, or the machine has been in an overturn; do not ride it back.
Things You'll Need
- An ATV sized for the rider, with its owner's manual
- DOT- or Snell-certified full-face helmet
- Shatter-resistant goggles or a face shield
- Full-finger riding gloves
- Long-sleeved shirt or jacket and long trousers
- Sturdy over-the-ankle boots with tucked laces
- Low-pressure tire gauge reading roughly 0–15 psi
- Small pump or portable compressor
- T-CLOC pre-ride checklist, printed or saved offline
- Fresh fuel and the engine oil specified by the manual
- Basic tool kit, spare spark plug and a small torch
- Tow strap or recovery rope
- Compact first-aid kit
- Water, a snack and a fully charged phone
- Trail map plus any required registration or OHV permit
- A buddy, and a written plan left with someone at home
Related Howcompass Guides



References (11)
- The Golden RulesATV Safety Institute
- Before You Ride: The T-CLOC Pre-Ride InspectionATV Safety Institute
- ATV RiderCourseATV Safety Institute
- ATV E-CourseATV Safety Institute
- Riding GearATV Safety Institute
- State Rules and RegulationsATV Safety Institute
- One Size Doesn't Fit All: Choosing the Right ATVATV Safety Institute
- Learn to RideATV Safety Institute
- Owner's Manual for Maintenance and SafetyPolaris Industries
- Quick Tips for Responsible ATV RidingTread Lightly!
- Safety and Equipment: The Golden RulesEuropean ATV Safety Institute
Further reading
- All-terrain vehicleWikipedia
Encyclopaedia entries are background, not evidence: no step below rests on one of these.
Sources are listed so you can read the underlying guidance yourself. Our editorial policy explains how guides are reviewed.
Did this article help you?
0 readers found this helpful — add your vote.
No comments yet — be the first to share your results.