How to Do a Seasonal Home Maintenance Walkthrough in One Afternoon
A guide to Prepare a Walkthrough You Can Repeat, Start Outside and Work In, Check Heat, Water and Air, Check Safety Items and Records, Turn Findings Into a Small Plan
A seasonal walkthrough is not a renovation project. It is one afternoon with a fixed route and a short list, meant to notice small things while they are still small: a dripping joint, a drafty seal, a detector that no longer responds to its test button, a gutter full of leaves. The value comes from repeating the same route each season, so anything new stands out. This guide gives you that route and a simple written record. It deliberately avoids telling you how often a professional service is due or what a repair should cost - follow the manufacturer's instructions, local rules and official guidance, and call a qualified tradesperson for anything involving gas, fixed electrics, structural damage or working at height. The 32 steps below fit in one afternoon. If you only do one thing today, do step 6. Browse all illustrated guides or the Home and Garden category for more illustrated walkthroughs on Howcompass.
How do you do a Seasonal Home Maintenance Walkthrough in One Afternoon?
 Howcompass | How to Do a Seasonal Home Maintenance Walkthrough in One Afternoon
Prepare a Walkthrough You Can Repeat
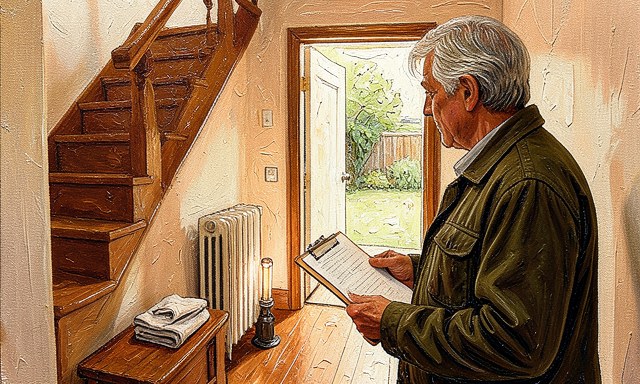
HowcompassDraw a one-page plan of the property
Draw a one-page plan of the property. Mark the rooms, the outside edges and where the meters and stop valves are. A sketch on paper is enough, and using the same one each season makes comparisons easy. For the primary source behind this phase, see Ready.gov — emergency preparedness.
 Howcompass
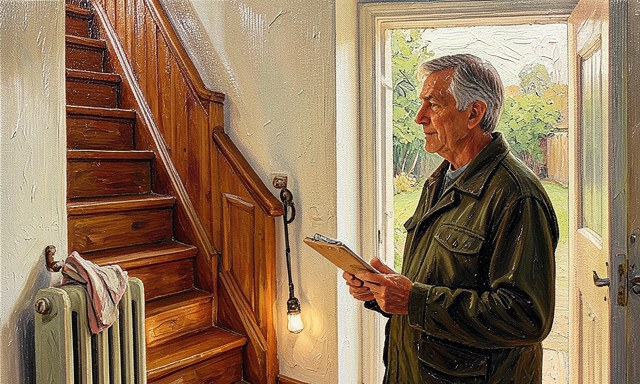
Choose one direction and keep it every time
Choose one direction and keep it every time. Outside front to back, then inside top to bottom. A fixed direction stops you doubling back and missing the same awkward corner season after season.
 Howcompass
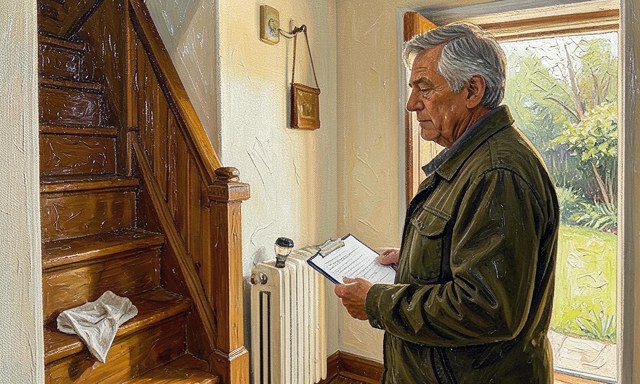
Write a short checklist with room for notes
Write a short checklist with room for notes. Leave a blank line beside each item. The notes are the useful part; a list of ticks from six months ago tells you very little.
 Howcompass
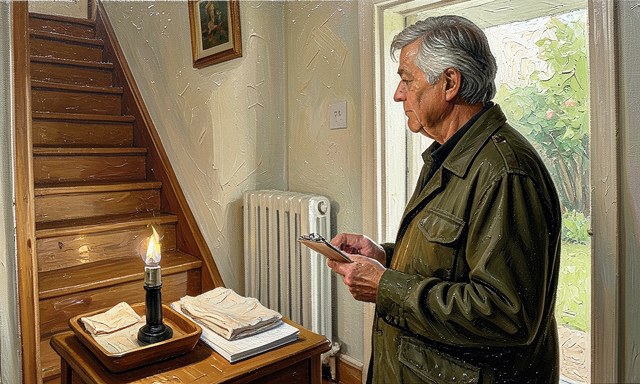
Put a torch, a cloth and a notepad in one tray
Put a torch, a cloth and a notepad in one tray. Carrying one tray means you never break the route to fetch a light. Add a pencil and a phone for dated photographs.
 Howcompass
Know where the mains switches and valves are
Know where the mains switches and valves are. Find the water stop valve, the consumer unit and any gas isolation point before you need them. Note their positions on the sketch rather than relying on memory.
 Howcompass
Decide what you will not touch
Decide what you will not touch. Gas appliances, fixed wiring, roof work and structural cracks are inspection-only items. Write that boundary at the top of the checklist so a quick look never becomes a risky repair.
Start Outside and Work In
 Howcompass
Look at gutters and downpipes from the ground
Look at gutters and downpipes from the ground. Note visible blockages, overflow marks and anything obviously displaced. Do not climb a ladder alone; arrange proper access or a professional if a closer look is needed. For the primary source behind this phase, see U.S. EPA — environment and household resources. Related on Howcompass: bleed a trapped-air home radiator.
 Howcompass
Check that water drains away from the walls
Check that water drains away from the walls. Look for standing water, stained brickwork and ground that slopes toward the house. A small change in where water sits is worth recording even if you do not know the cause yet.
 Howcompass
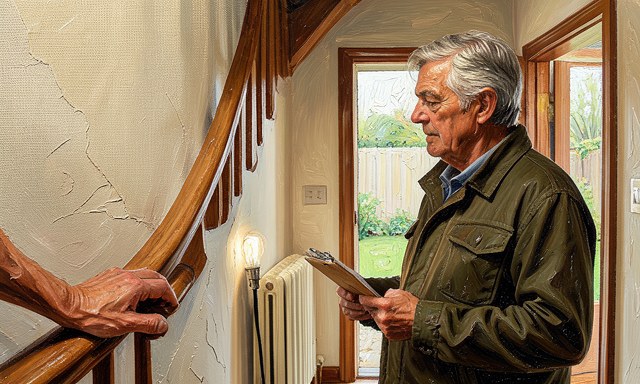
Look at paths, steps and handrails for movement
Look at paths, steps and handrails for movement. A loose handrail or a rocking step is a trip risk that is easy to miss when you use it every day. Press gently and note anything that shifts.
 Howcompass
Inspect window and door seals in daylight
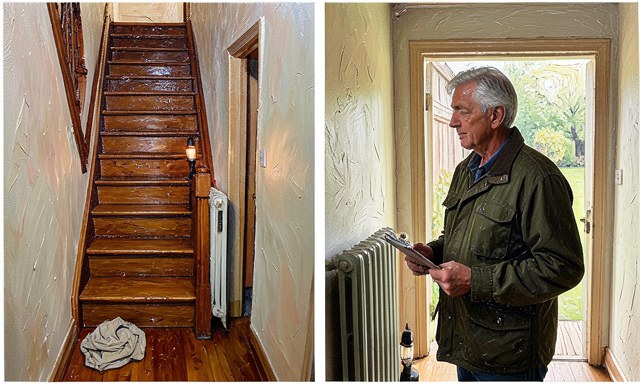
Inspect window and door seals in daylight. Look for daylight at the edges, cracked sealant and a door that no longer closes evenly. Hold a sheet of paper against a closed frame on a windy day if you suspect a gap.
 Howcompass
Look for new stains or flaking finishes
Look for new stains or flaking finishes. Compare what you see with last season's photograph. A new mark matters more than an old one you already know about and have decided to watch. Browse all illustrated guides or the Home and Garden category for more.
 Howcompass
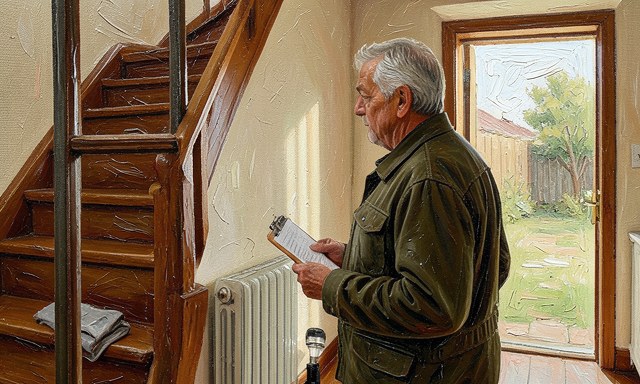
Check external vents and covers are clear
Check external vents and covers are clear. Leaves, nests and stored items can block airflow. Confirm only that openings look clear from the ground; do not dismantle anything connected to a heating appliance.
Check Heat, Water and Air
 Howcompass
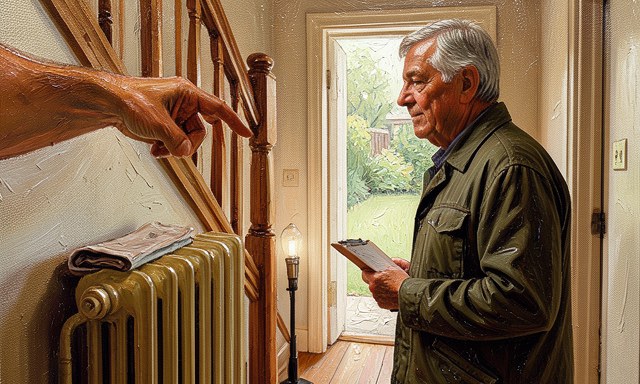
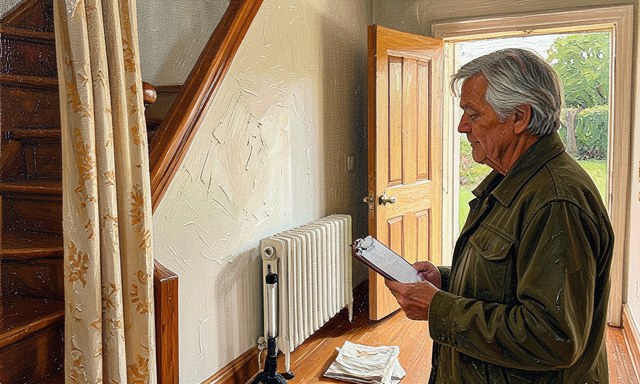
Feel each radiator or outlet for an even temperature
Feel each radiator or outlet for an even temperature. A cold section at the top or a room that never warms is worth a dated note. Follow the manufacturer's guidance for any adjustment, and stop if a valve looks corroded. For the primary source behind this phase, see U.S. Department of Energy — home energy guidance.
 Howcompass
Check that the thermostat is readable and accessible
Check that the thermostat is readable and accessible. Confirm the display works and that furniture or curtains have not come to sit in front of it. A thermostat in a draught or in direct sun can misread the room. Related on Howcompass: seal drafty window frames.
 Howcompass
Leave professional servicing to a qualified person
Leave professional servicing to a qualified person. Follow the service schedule in the appliance manual and any local requirements. Your walkthrough records symptoms and dates; it is not a substitute for a competent inspection.
 Howcompass
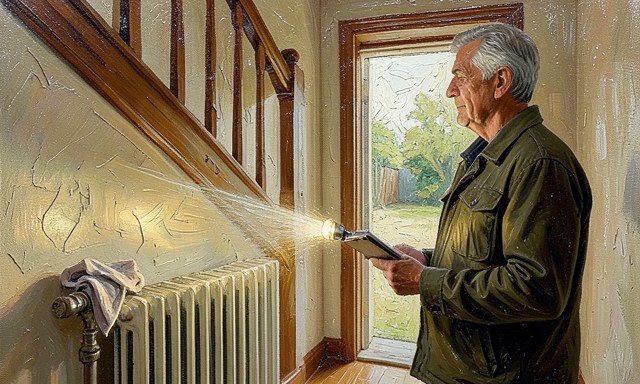
Look under sinks and behind appliances for damp
Look under sinks and behind appliances for damp. Use the torch and a dry cloth. A small new stain under a joint is a note to watch, not a reason to tighten fittings you cannot identify.
 Howcompass
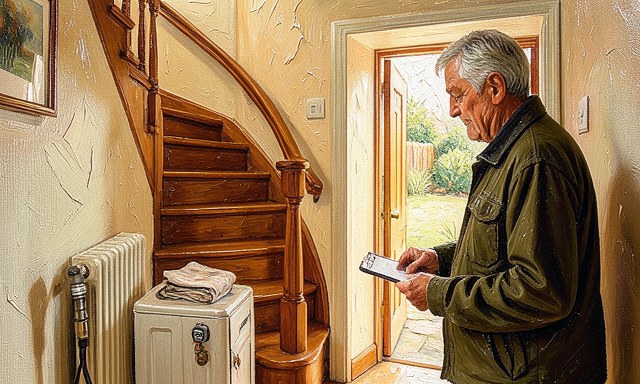
Confirm the stop valve moves and is labelled
Confirm the stop valve moves and is labelled. Check it operates as the manufacturer describes, then return it to its normal position. Everyone in the household should be able to find it without a search.
 Howcompass
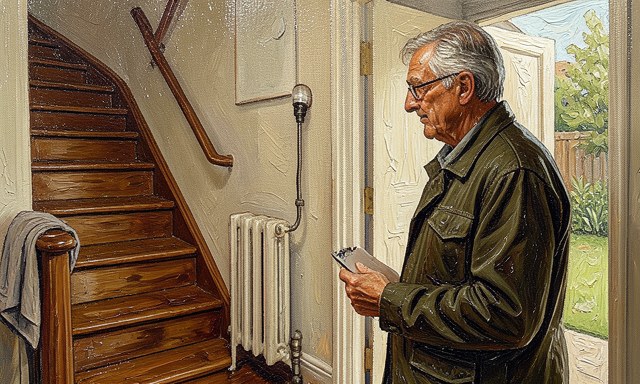
Run briefly any tap or outlet that is rarely used
Run briefly any tap or outlet that is rarely used. A spare bathroom or an outside tap can sit untouched for months. Note any leak, unusual noise or slow drainage, then close it fully again.
 Howcompass
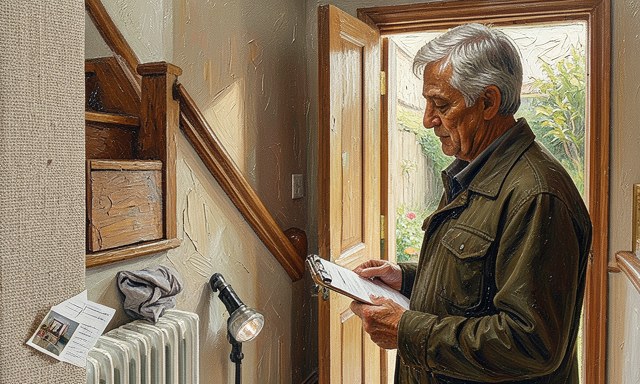
Take a dated photograph of anything new
Take a dated photograph of anything new. A photograph with a date settles the question 'was that there before?' months later. Keep the pictures in the same folder as your checklist.
Check Safety Items and Records
 Howcompass
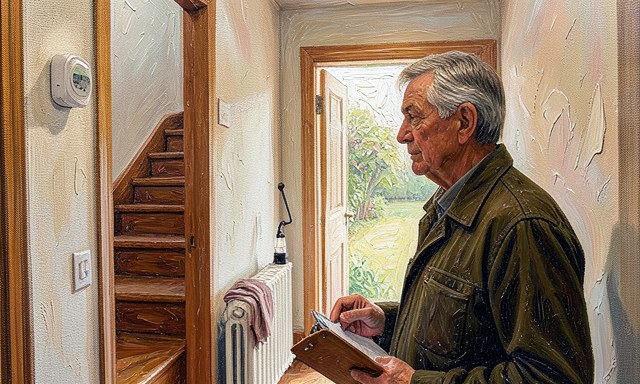
Test smoke and carbon-monoxide alarms as the maker describes
Test smoke and carbon-monoxide alarms as the maker describes. Use the test button and follow the instructions on the device or its manual. Record the date and which units responded; replace or call for help according to those instructions. For the primary source behind this phase, see GOV.UK — official UK government services.
 Howcompass
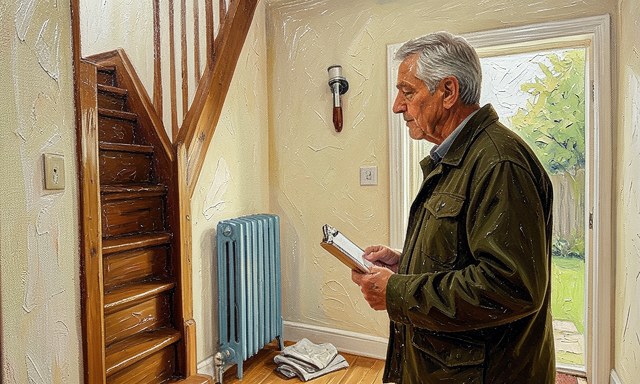
Check that a torch and spare batteries still work
Check that a torch and spare batteries still work. A power cut is a bad moment to discover a flat torch. Test the ones in your outage kit and put them back in the same place. Related on Howcompass: read a home energy bill.
 Howcompass
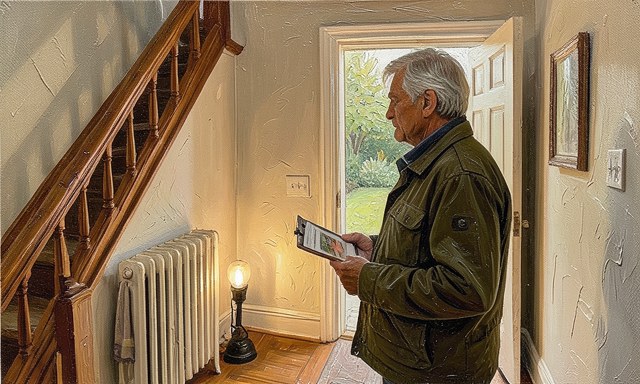
Look at the consumer unit from the outside only
Look at the consumer unit from the outside only. Check the label is legible and the area around it is clear and dry. Any sign of heat, damage or a persistent tripping circuit is a job for a qualified electrician. Browse all illustrated guides or the Home and Garden category for more.
 Howcompass
Gather manuals, warranties and service records in one folder
Gather manuals, warranties and service records in one folder. One folder beats a drawer of mixed paperwork. Add the manual for anything installed since the last walkthrough.
 Howcompass
Write down meter readings with the date
Write down meter readings with the date. A dated reading makes a later bill easier to understand and helps you spot a change in use. Keep it on the same page as your notes.
 Howcompass
Note any item that needs a professional
Note any item that needs a professional. Write the location, what you observed and the date. A clear description saves time when you call and prevents a small observation being forgotten.
 Howcompass
Store the checklist and photos together
Store the checklist and photos together. Fold the sheet into the folder with the dated photographs. Next season you start with a record, not with a blank page and a guess.
Turn Findings Into a Small Plan
 Howcompass
Split the notes into now, soon and watch
Split the notes into now, soon and watch. Now means a safety or water issue needing prompt attention; soon is a small fix you can schedule; watch is a change you want to compare next season. For the primary source behind this phase, see USA.gov — official U.S. government services.
 Howcompass
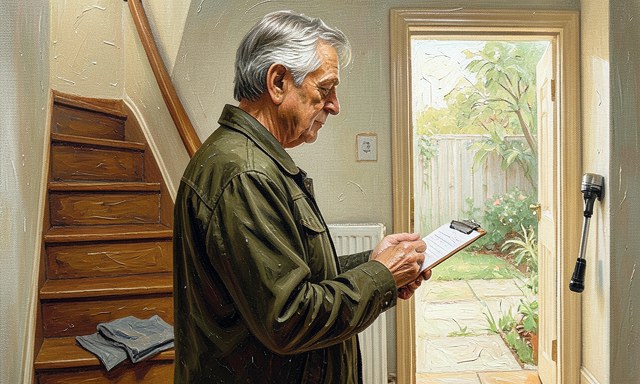
Pick no more than three jobs for this season
Pick no more than three jobs for this season. A short list actually gets finished. Choose one from 'now', one from 'soon' and leave the rest visible on the sheet rather than pretending they are done. Related on Howcompass: prepare for a power outage and respond safely.
 Howcompass
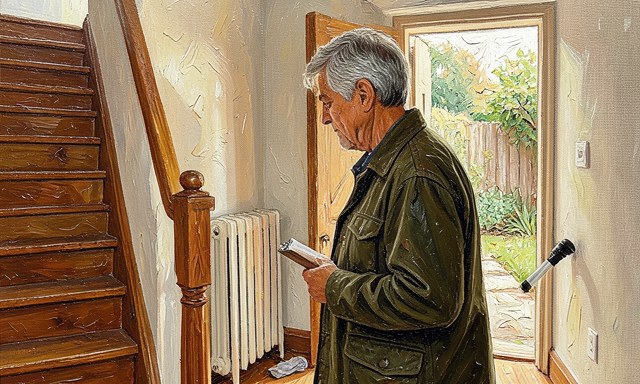
Mark anything that requires a qualified tradesperson
Mark anything that requires a qualified tradesperson. Put a clear mark beside gas, fixed electrics, roof or structural items and contact the right person. Do not turn those into weekend experiments.
 Howcompass
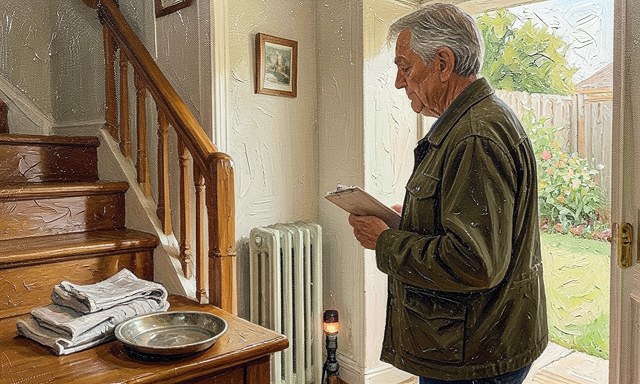
Put the tray, torch and folder back in one place
Put the tray, torch and folder back in one place. Returning the kit to a fixed home is what makes the next walkthrough take ten minutes to start. Replace anything you used up on the way.
 Howcompass
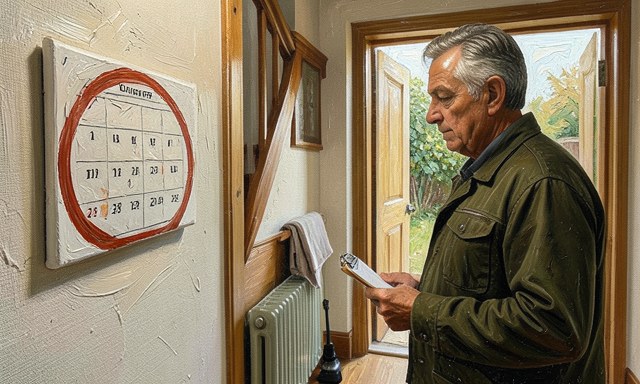
Put the next walkthrough on the calendar
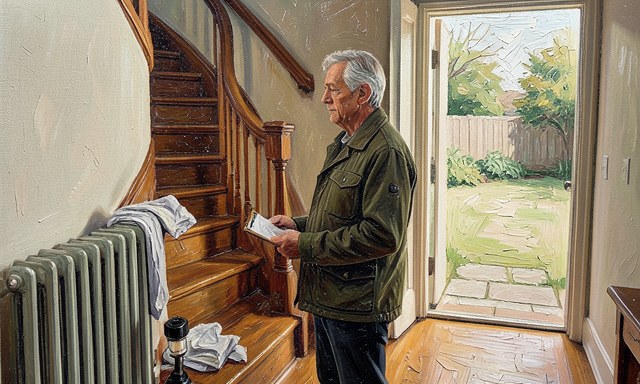
Put the next walkthrough on the calendar. Choose a date that fits the change of season rather than a fixed number of weeks. A dated appointment is the whole reason the route is worth keeping.
 Howcompass
Write one line on what changed since last time
Write one line on what changed since last time. A single comparison is the most valuable sentence in the folder. It turns a pile of observations into a record of the house over time.
Frequently Asked Questions
Question: How long should it take?
One afternoon for a typical home is a reasonable ambition, but the route matters more than the clock. Stop when the checklist is complete rather than when every minor observation has been investigated.
Question: Which season should I start in?
Whichever comes next for you. The first walkthrough establishes the baseline; the second one, using the same route and the same sheet, is where comparisons become useful.
Question: Do I need special tools?
A torch, a cloth, a pencil, a phone for dated photos and a small tray cover almost everything. Anything beyond that is a repair tool, not an inspection tool.
Question: What if I rent?
Keep to observation and reporting. Note the issue with a date and photograph, tell the landlord or managing agent in writing, and do not carry out repairs your tenancy assigns to them.
Tips
- File: Put the checklist, dated photos and any new manuals in one folder.
- Schedule: Circle the next walkthrough date and mark the three chosen jobs.
- Return: Put the tray and torch back in the same place for next season.
Warnings
- Starting repairs before finishing the route: A twenty-minute fix in the first room usually ends the walkthrough. Complete the notes first, then choose three jobs from the finished list.
- Using a checklist with no space for notes: A row of ticks tells you nothing six months later. A dated observation and a photograph are what let you tell an old stain from a new one.
- Climbing a ladder alone for a closer look: Gutters and roof edges are inspection-from-the-ground items in a one-person walkthrough. Arrange proper access or a professional when a closer look is genuinely needed.
- Treating the walkthrough as a service: Testing an alarm, noting a cold radiator and spotting damp are observations. Appliance servicing and anything involving gas or fixed electrics belong to a qualified person following the manufacturer's schedule.
Related Howcompass Guides




References (7)
- Ready.gov — emergency preparednessready.gov
- U.S. EPA — environment and household resourcesepa.gov
- U.S. Department of Energy — home energy guidanceenergy.gov
- GOV.UK — official UK government servicesgov.uk
- USA.gov — official U.S. government servicesusa.gov
- Royal Horticultural Society — gardening advicerhs.org.uk
- Citizens Advice — consumer and work guidancecitizensadvice.org.uk
Sources are listed so you can read the underlying guidance yourself. Our editorial policy explains how guides are reviewed.
Did this article help you?
0 readers found this helpful — add your vote.
No comments yet — be the first to share your results.