How to Follow a Seasonal Car Maintenance Checklist All Year
A guide to Set Your Baseline From the Owner's Manual, Do a 15-Minute Monthly Walk-Around, Rotate Tires and Refresh Wear Items Seasonally, Test Fluids and Handle the Season Changeover
Most cars do not die of one dramatic failure; they die of a slow drift nobody noticed between annual services. A tire loses a pound of pressure a month, coolant loses its freeze protection as the inhibitor package breaks down, wiper rubber hardens in a hot garage, and a small leak on the valve cover becomes a bigger one. None of that is a surprise if you look at the car on purpose once a month. The routine in this guide is deliberately boring: read the manual, log the numbers, and repeat a short list on the same day every month. The manual is the only interval source that is actually tuned to your car. It lists two service schedules, a normal column and a severe one, and the severe column is the one that applies to far more drivers than they expect. Short trips under about five miles, stop-and-go commuting, towing, dusty roads, extreme heat, or road salt in winter all push you into severe service, which usually means fluids get changed closer together rather than further apart. Any blog or shop poster that quotes a single fixed interval is guessing. This guide walks through four phases in order: set your baseline from the manual, do the monthly walk-around, refresh wear items at each season change, and test fluids and prep for winter and summer. It also names the jobs you should not do in your driveway. Brake lines, airbag modules, coil springs, and refrigerant handling belong in a professional shop, not on a weekend tutorial.
Read the maintenance schedule once, decide whether severe service applies, and copy the intervals into a dated log with odometer readings. Once a month, spend fifteen minutes on a walk-around: tire pressure cold against the door-jamb number, tread with a gauge or a coin, fresh leaks, washer fluid, and every bulb. Rotate tires every 5,000 to 8,000 miles using the pattern in your manual. Change oil by mileage or time, whichever comes first. Test coolant with a refractometer and brake fluid with a moisture pen. Load-test the battery each autumn. Prep for winter and summer heat, recycle used fluids, and leave brake lines, airbags, springs, and refrigerant to a professional.
- Time
- About 15 minutes monthly, plus one hour per oil change and one longer session per season
- Cost
- $80-$250 a year in fluids, filters, wipers, and shop work you keep avoiding
- Difficulty
- Beginner-owner friendly; two hands, a driveway, and no lifts required
- Works on
- Any daily-driven gasoline, diesel, or hybrid car you can park on level ground
- Not for
- Brake-line repairs, airbag modules, suspension springs, and refrigerant work: leave those to a shop
- Results
- Fewer surprise tows, longer tire life, and a complete service history a buyer will pay more for
How do you follow a Seasonal Car Maintenance Checklist All Year?
 Howcompass | How to Follow a Seasonal Car Maintenance Checklist All Year
Set Your Baseline From the Owner's Manual
HowcompassFind the Maintenance Schedule and Both Columns
Open the owner's manual to the maintenance schedule section, usually near the back, and read both columns before you do anything else. Most schedules list a normal service for highway miles and mild climates, and a severe-service schedule for stop-and-go traffic, short trips under about five miles, towing, extreme heat or cold, dusty roads, or heavy winter salt. If two or more of those apply to your week, use the severe column, which typically shortens fluid intervals by roughly a third. The exact numbers vary by make, model, and engine, so trust the manual over any blog or shop poster. Photograph both tables and pin them inside the glovebox so they are never buried in a pile of papers.
 Howcompass
Start a Service Log With Date and Mileage
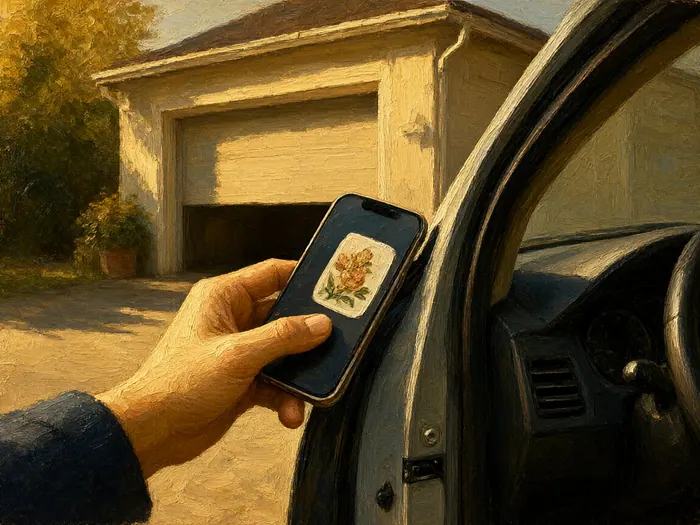
Buy a small pocket notebook or make a spreadsheet tab and record every service in one line: date, odometer reading, work done, the fluid or part brand and grade you used, and labor cost if you paid a shop. Photograph receipts and staple them into the log or drop PDFs into one folder. Six months in, the log shows whether oil is slipping past the interval, whether the same tire keeps losing pressure, and whether a repair was actually fixed or just patched. A complete, dated history is worth real money at resale and is the only reliable way to catch a repeat failure before it becomes an expensive one.
 Howcompass
Photograph the Door-Jamb Placard and Caps
On the driver's door jamb is a small placard with the cold tire pressure your car was engineered around, along with the maximum loaded weight. Read that number, not the maximum molded into the tire sidewall, which is a burst rating rather than a running pressure. Photograph the placard before it fades. Do the same for the oil filler cap, coolant reservoir, brake master cylinder, and washer cap, since each shows the required specification far more reliably than any blog post. Our guide to check and top up the four essential car fluids walks through reading each reservoir safely with the engine cold. Save the photos in your service log so the numbers travel with you.
 Howcompass
Match Fluid Specs Before Buying Anything
Write the three specs on a card in the glovebox: engine-oil viscosity and service rating, coolant chemistry, and brake-fluid DOT grade. The manual lists these once, and every product on the shelf has to match them. SAE International publishes the viscosity grades and API service specifications printed on oil bottles, so a bottle with the correct grade and the required service level for your engine is safe, while a random high-mileage bottle without the required rating is not. Coolants are not interchangeable, and mixing the wrong types can gel and starve the water pump. Buy one small container first, confirm the part number in your log, then stock up. Never guess a specification to save three dollars.
 Howcompass
Pick a Fixed Monthly Walk-Around Day
Choose a day you can repeat for a year: the first Sunday, payday Friday, or the morning you take the trash out. Set a monthly phone reminder titled simply "car, fifteen minutes". A routine catches the small drifts a yearly service cannot, like a tire losing a pound or two of pressure a month, a slow weep from a valve-cover gasket, or wiper rubber that hardened over the summer. Ten to fifteen minutes with a flashlight, a tire gauge, and a clean rag finds most problems while they still cost a few dollars instead of a tow. Do the same walk-around before any drive longer than about four hours, and note the odometer each time you finish so the log stays current.
Do a 15-Minute Monthly Walk-Around
 Howcompass
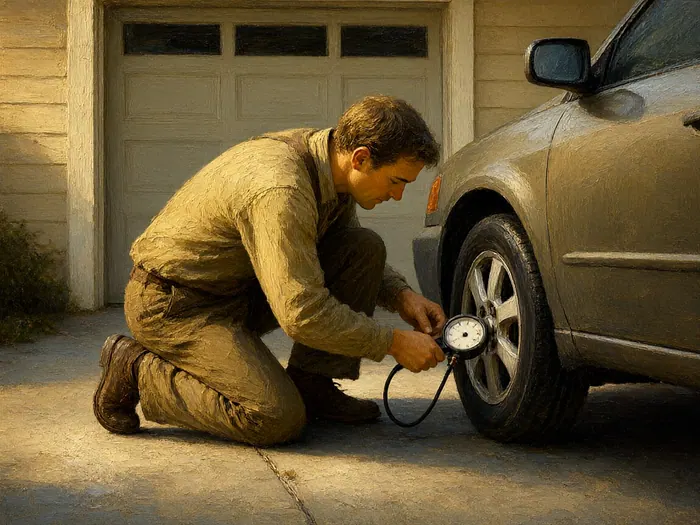
Check Tire Pressure Cold Against Placard
Do this first thing in the morning, before the sun has warmed the tires and before you have driven more than about a mile. The NHTSA tire-safety guidance is clear that hot readings run higher and can hide an underinflation. Remove the valve cap, press a good gauge straight onto the stem, read, and repeat on all four tires plus the spare. Compare each number to the door-jamb placard. A small drop from month to month is normal air movement; a faster loss on one corner points to a slow puncture, a leaking valve core, or a corroded bead and should be inspected before you drive far. Write the four readings in the log so a trend is obvious two months from now.
 Howcompass
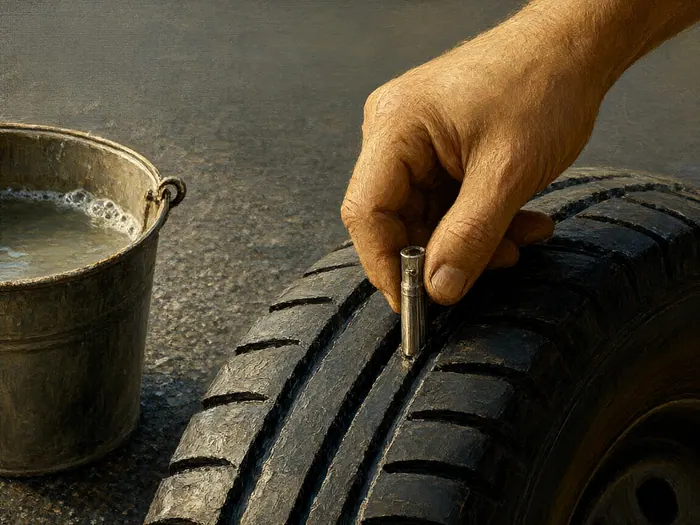
Measure Tread Depth With a Gauge
A cheap digital tread gauge reads in thirty-seconds of an inch at four points across each tire. If you do not have one, insert a coin into the groove and note how deep the tread reaches. Around 4/32 inch of remaining tread, wet braking distance climbs sharply; at 2/32 inch, most US states consider the tire legally worn and due for replacement. Also check the sidewall date code: tires older than about six years deserve a professional inspection even if the tread looks fine. Our pre-trip tire pressure and tread depth check walks through the same test on all four corners plus the spare before a long highway trip. Uneven inside-edge or outside-edge wear is an alignment warning, not just a tire problem.
 Howcompass
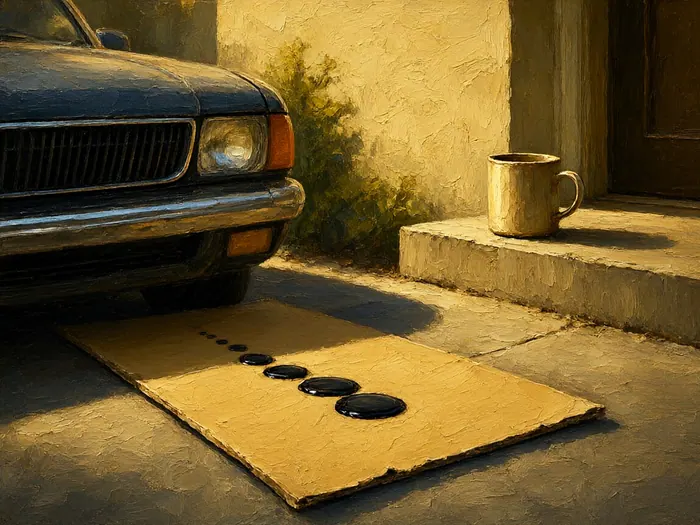
Walk Around for Fresh Leaks or Damage
Slide a piece of clean cardboard under the engine and one under each wheel on your parking spot overnight, then read it in the morning. Black or dark brown is usually engine oil; reddish-brown is often transmission fluid; bright green, orange, or pink is coolant; clear with a fuel smell is gasoline or diesel and needs prompt attention. Pure water under the middle of the car in summer is normal air-conditioning condensation. Note color, location, and size, and cross-reference with Consumer Reports car coverage if a color is ambiguous. Also walk the whole car: check for new dents, cracked windshield chips, a dragging exhaust, a bulging sidewall, or a loose bumper that could drop on the road.
 Howcompass
Top Up Washer Fluid and Check Wipers
Fill the washer reservoir with a fluid rated below your local winter low, not plain water, since water can burst the lines and freeze the pump in the first hard cold snap. Spray a few seconds onto a dry windshield, then watch the wipe. Vertical streaks, chatter, and skipping almost always mean hardened rubber rather than a mechanical problem, and most blades are cheap enough to swap once or twice a year. Our guide to replacing streaking windshield wiper blades in five minutes covers arm types and safe removal. Wipe the rubber with a rag dampened in washer fluid every month to remove oily road film; that alone stops chatter without a new blade.
 Howcompass
Test Every Bulb Including Brake and Reverse
Cycle through every light once a month: low beams, high beams, front and rear fog lamps if fitted, both turn signals, brake lights, tail lamps, reverse lamps, the license-plate lamp, and the interior dome. For brake lights, back the car up to a garage door and watch the reflection, or have a passenger press the pedal. A burned-out bulb is the most common defect in a routine roadside safety check, and one you can fix yourself in minutes. Keep one or two correct replacement bulbs in the glovebox, note the type the manual specifies, and never touch the glass of a halogen bulb with bare fingers, since skin oil shortens its life dramatically.
Rotate Tires and Refresh Wear Items Seasonally
 Howcompass
Rotate Tires Every Five to Eight Thousand Miles
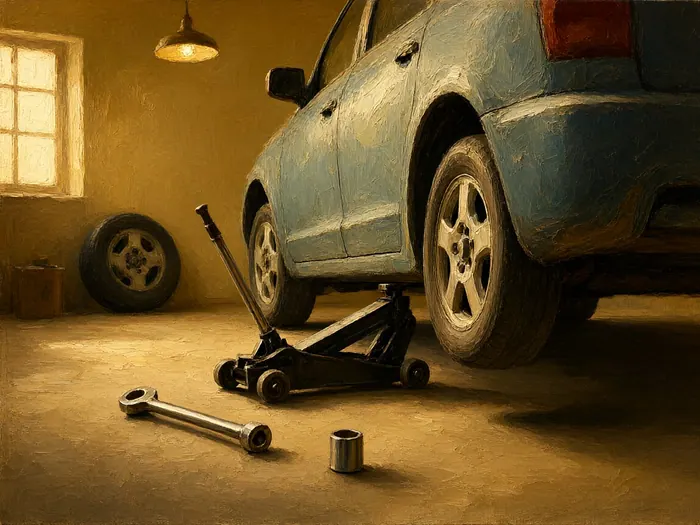
Rotation evens out the wear pattern front-drive cars put on the front axle and extends usable tread life noticeably. Do it whenever the odometer crosses about 5,000 to 8,000 miles, which lines up nicely with an oil change on most modern cars. The correct pattern depends on drivetrain and whether the spare matches the four road tires. This overview of tire-rotation patterns shows the common forward-cross, rearward-cross, X-pattern, and side-to-side choices, and your owner's manual names the one your car expects. Directional tires must roll the same direction, so they go front-to-back on the same side. Never mix sizes or speed ratings across an axle. Before a big trip, follow our long-road-trip car preparation walkthrough first.
 Howcompass
Watch for Alignment Symptoms on a Straight Road
On a smooth, empty, straight road at about 40 miles per hour, briefly release the wheel. A healthy car tracks straight for several seconds; one that drifts a few feet in ten seconds has an alignment, tire-pressure, or brake-drag issue. Also watch for a steering wheel that sits crooked when the car is traveling straight, a shimmy through the wheel at highway speed, or one-edge tread wear found during your monthly check. Most cars need an alignment only when a symptom appears or after a hard pothole, curb strike, or suspension part replacement, not on a fixed mileage interval. Take notes on when it drifts and mention them to the shop; alignment angles require a rack and trained hands.
 Howcompass
Replace Engine Air Filter and Cabin Filter
Pop the engine air-filter housing clips and lift the element out. Hold it toward the sky or a bright lamp: if you can still see daylight through most of the media, it is serviceable. A truly clogged filter shows a grey or black mat with debris packed between the pleats and can cause sluggish throttle and worse fuel economy. Cabin filters sit behind the glovebox or under the cowl and cause weak airflow, musty smells, and persistent fogging when they load up. Both parts are commonly under thirty dollars at an auto-parts store and take five to fifteen minutes with a screwdriver. Check your manual for the interval; dusty or unpaved roads shorten it.
 Howcompass
Squeeze Coolant Hoses and Inspect the Belt
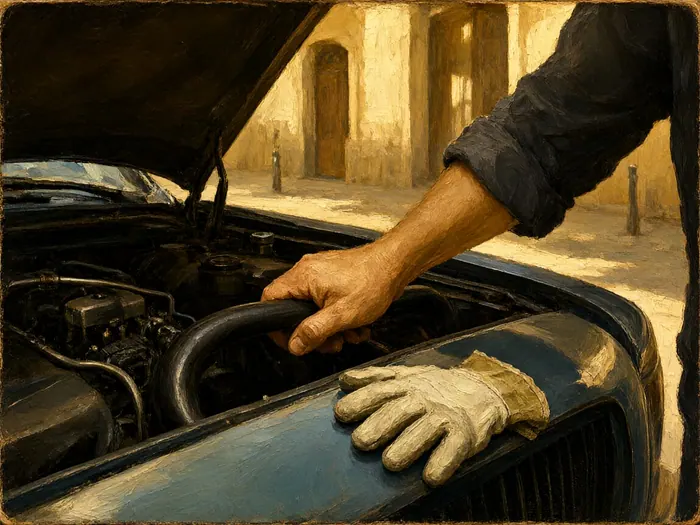
With the engine cold, squeeze the upper and lower radiator hoses along their length. A healthy hose feels firm with a slight spring; one that stays dented, feels mushy, or shows a shiny, wet spot at a clamp is close to failure and should be replaced before summer traffic. Run a fingertip along the serpentine belt ribs and look for cracking, glazing, fraying edges, or chunks of rubber missing. A single cracked rib is cosmetic; several glazing marks across a whole section means the belt is slipping on the pulley. Do not open a hot coolant system, and check your manual for the replacement interval, which for many cars is a yearly inspection rather than a fixed mileage.
 Howcompass
Diagnose a Serpentine Squeal Before It Strands You
A brief squeal at startup on a damp morning is usually a belt slipping on a wet pulley and is not an emergency. A squeal that follows speed changes and lasts more than a few seconds means the belt is glazed, the tensioner spring is weakening, or one accessory bearing is starting to seize. Pull the belt routing diagram from the underside of the hood or the manual. A quick squirt of water onto the ribs while running will confirm a slipping belt if the noise changes; do this only briefly, and never near a hot exhaust. Belt and tensioner replacement is a shop job on many cars once the routing gets complicated.
Test Fluids and Handle the Season Changeover
 Howcompass
Change Oil and Filter by Mileage or Time
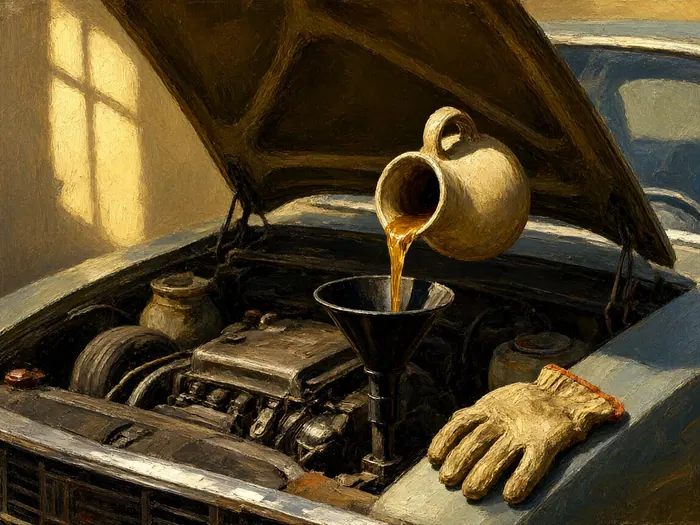
Modern engines have two limits, and you hit whichever comes first. If the manual says an interval in miles and months, and you only put three thousand miles a year on the car, the time limit governs: oil oxidizes and picks up acids and moisture whether or not you drive it. Check your manual for the exact number; it is rarely the same as the sticker on an oil bottle. Write the next-due date and mileage on a card in the glovebox when you change it. Warm the engine for a few minutes first so the oil flows, then drain it fully and replace the crush washer each time. Dispose of the used oil and the old filter properly, never down a storm drain.
 Howcompass
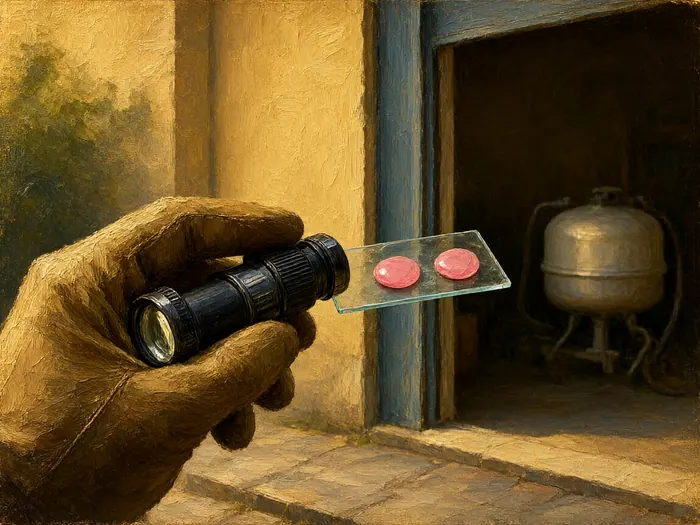
Test Coolant With a Refractometer Each Autumn
Coolant is a mixture of antifreeze concentrate and water; a 50/50 blend is the common starting point, and the exact target is on the label and in your manual. The freeze protection is what matters in January: a blend rated only to about 20 degrees will burst a block in a hard freeze. A refractometer is a small optical tool that reads concentration in seconds from a couple of drops drawn from the expansion tank with the engine cold. Test-strip dips give a rough idea but miss inhibitor depletion. Coolant flush intervals vary widely by chemistry; check your manual rather than a shop poster, and dispose of old coolant at a collection site because it is toxic to pets and children.
 Howcompass
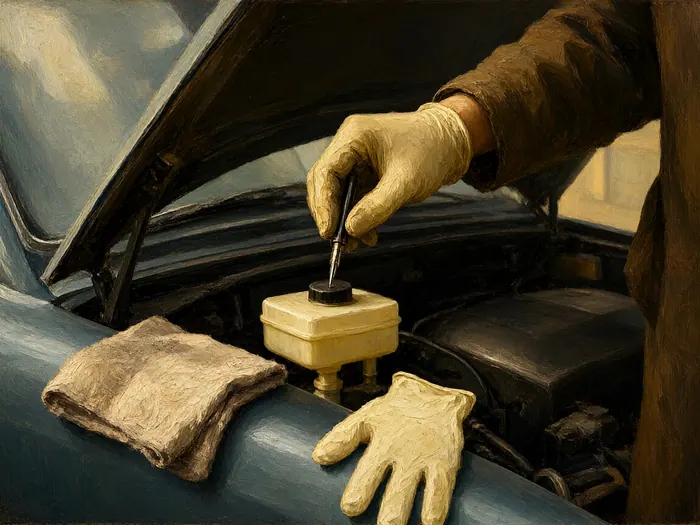
Test Brake Fluid Moisture and Plan a Flush
Brake fluid is hygroscopic: it pulls moisture from the air through microscopic passages in the hoses and reservoir. Once water content rises above roughly 3 percent, the fluid's boiling point falls enough that a long downhill or a panic stop can vaporize it and drop the pedal toward the floor. An inexpensive brake-fluid moisture pen gives a four-band reading in seconds; clip the leads on a battery terminal and dip the probe into the reservoir. Most manufacturers recommend a two-to-three-year fluid exchange, but your specific interval is in your manual. Never let brake fluid touch painted bodywork. Absorb spills immediately with a rag and wash the area, since the fluid eats through clearcoat within hours.
 Howcompass
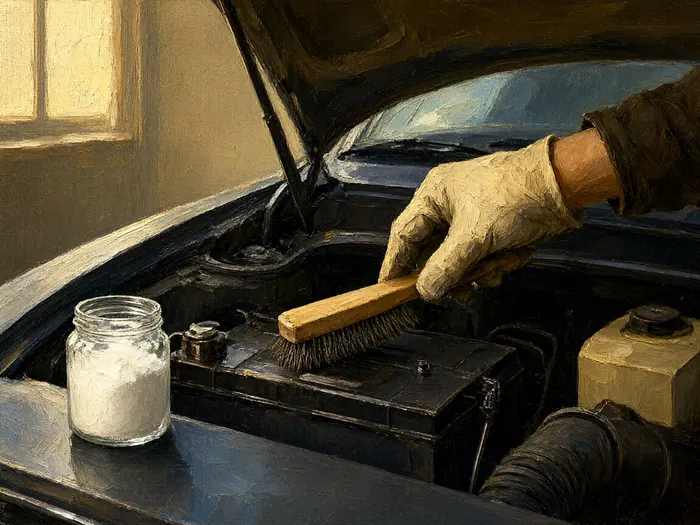
Clean Battery Terminals and Load-Test Yearly
Pop the plastic boot off each terminal. A crusty blue-white bloom is acid corrosion that raises resistance and can cause slow cranking in the cold. Loosen the nut, twist the terminal off, scrub the inside of the clamp and the battery post with a wire brush or a cheap terminal tool, wipe clean, refit tight, and coat lightly with petroleum jelly or a spray-on terminal protector. Then have the battery load-tested at an auto-parts store or by a roadside service; most do it free. A tester reports cranking amps and a health verdict your manual cannot. Replace the battery before winter, not after you have already been stranded once.
 Howcompass
Prep for Winter Freeze and Summer Heat
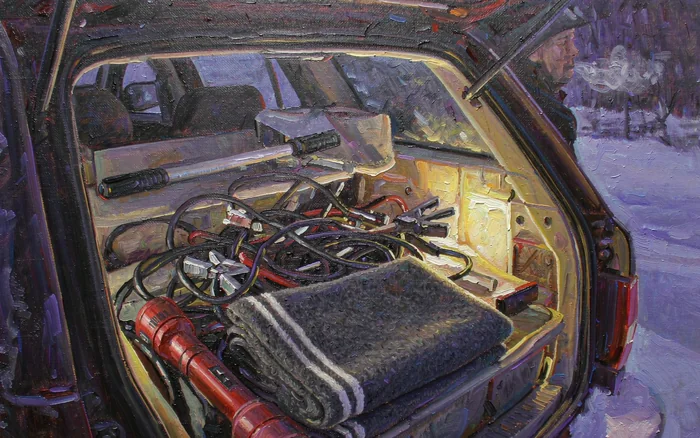
Before the first hard freeze, confirm washer fluid and coolant are rated below your local record low, top up the fuel tank so the line does not ice up, and pack a winter kit with an ice scraper, small shovel, jumper cables or a booster pack, warm gloves, a wool blanket, flashlight, and a paper road map. Our all-season emergency winter kit walkthrough covers the exact contents. In summer, run the air conditioning for ten minutes on a mild day and check that air at the center vent reaches roughly 40 to 50 degrees; if not, a professional should recover and recharge the system with the correct refrigerant, since handling refrigerant is not a DIY job. Park in shade, keep an eye on the temperature gauge, and check tire pressures before a long hot drive, since higher road temperature raises pressure. Take used oil, coolant, brake fluid, and any old refrigerant cans to a municipal household hazardous-waste facility or an auto-parts drop-off; never pour any of them down a drain or into the trash.
How to know it worked
- You can name your severe-service intervals for oil, coolant, brake fluid, and cabin filter straight from the manual without looking them up.
- Every tire sits within the placard cold pressure at your last two monthly readings, and the tread gauge shows no corner more than 2/32 inch below its neighbor.
- Your service log has a dated entry for every DIY job and every shop visit for the past year, with mileage at each.
- Coolant refractometer and brake-fluid moisture pen both read inside the acceptable band you wrote down from the manual.
- The winter kit, jack, spare, and booster pack are complete, and you have practiced getting them out in the driveway once.
Common mistakes to avoid
- Skipping the severe-service column, then running the oil twice as long as the engine actually tolerates for short cold trips.
- Filling tires to the sidewall maximum instead of the door-jamb placard number, which gives a harsh, uneven ride and uneven tread wear.
- Mixing two incompatible coolant chemistries because the color looked similar, then paying a shop to flush a gelled system.
- Chasing a serpentine squeal with belt-dressing spray instead of diagnosing the tensioner, which buys two weeks of noise and costs a new accessory bearing later.
- Pouring used oil, brake fluid, or coolant down a storm drain, since it enters local waterways and violates household-hazardous-waste rules in most areas.
Frequently Asked Questions
Question: Do I really need to follow the manual, or can I trust an oil-change sticker?
The manual. A sticker at a quick-lane is a marketing reminder, not an engineering spec. The manufacturer sets intervals for your exact engine based on test data, and the manual distinguishes normal from severe service. If your driving pattern matches two or more severe triggers, use the severe column. When in doubt, follow the manual and note the reason in your log so a future shop understands the pattern.
Question: What does severe service actually include?
Every manual lists its own version, but common triggers are trips under about five miles, repeated short cold starts, extended idling or stop-and-go traffic, towing or a roof rack, dusty or unpaved roads, extreme heat or cold, and heavy winter road salt. If two or more apply to a normal week, treat yourself as severe service, which usually shortens fluid intervals by roughly a third.
Question: How do I know when a tire is done, not just low on tread?
Three separate signals: tread depth under about 4/32 inch, especially on the outer shoulder; sidewall cracking, a bulge, or a puncture near the shoulder; and a date code older than about six years. Any one of these means a shop inspection. Do not judge by looks alone, since summer heat and infrequent use age a tire from the inside.
Question: Which fluid colors mean I should stop driving immediately?
Bright red or pink dripping fast, clear fuel smell on the ground, or a green-orange coolant puddle that arrives with a rising temperature gauge: pull over safely and turn the engine off. A single dark drop of oil under a warm engine after parking is usually a slow seep. Fuel is the one fluid you never finish a drive on, because a hot exhaust plus a small leak can ignite.
Question: How do I dispose of used oil, coolant, and brake fluid legally?
Drain cleanly into the original container, cap it, label it, and take it to a municipal household-hazardous-waste site or an auto-parts store that accepts used oil. Many counties have a scheduled pickup day. Never pour any of them down a drain, into soil, or into the trash. Coolant is sweet-tasting and toxic to dogs and cats, so store containers out of reach.
Question: Which jobs should I leave to a professional, no matter what a video says?
Brake-line replacement, caliper hose service, airbag modules and seat-belt pretensioners, coil or leaf springs and struts under load, refrigerant recovery and recharge, and any job requiring a torque-to-yield fastener you cannot replace with the correct new part. Those systems either store dangerous energy or affect crash protection. A certified shop has the fixtures and calibration to do them right.
Question: How long does this really take once I have a rhythm?
Fifteen minutes monthly for the walk-around, one hour for a DIY oil and filter change, and about ninety minutes per season for a rotation and fluid tests. Add thirty minutes once in early autumn for a winter-kit refresh. Total time is well under a full day per year, and it prevents the two or three urgent, expensive trips most untracked cars eventually need.
Tips
- Keep the whole checklist in a gallon bag in the glovebox: a small flashlight, a tire gauge, a tread gauge, work gloves, and a couple of clean rags. Reaching into the same bag every month keeps the routine from getting skipped.
- Fill tires at a pump you trust, then verify with your own gauge. Coin-operated air lines commonly read a few pounds off, and a wrong reading on the placard number is more misleading than no reading at all.
- Rotate the wheel nuts or bolts by hand first, then tighten in a star pattern with a torque wrench set to the number printed in your manual. Air guns stretch studs and warp rotors on the way out.
- Buy washer fluid by its temperature rating, not the price. A jug rated well below your local record low costs about the same and prevents a split reservoir or a frozen pump on the first cold night.
- Photograph the odometer and the parts you removed before reassembly. When a reassembly is not obvious, that photo is worth more than memory, and it becomes a real line in your service log the same evening.
Warnings
- Do not attempt brake-line, caliper-hose, airbag, seat-belt pretensioner, suspension-spring, or refrigerant service at home. Those systems either store dangerous energy, control crash protection, or require certified handling. A misadjusted brake line or a deployed airbag is not a weekend problem to solve.
- Never open a hot cooling system. The cap holds pressure and can release scalding coolant and steam in the moment you turn it. Wait until the upper radiator hose is cool to the touch, then loosen the cap slowly in two stages.
- Do not top off a braking system with fluid other than the grade printed on the master-cylinder cap or in your manual, and never reuse fluid poured out of the bottle into another reservoir. If the level dropped visibly, the pads or a seal are worn and adding fluid masks a real problem.
- Sulfuric acid, methanol in some washer fluids, and ethylene-glycol coolant are all genuine hazards. Wear gloves and eye protection, keep them away from children and pets, never drink from a container that held fluid, and store them in a labeled, sealed original jug in a locked cabinet or a high shelf.
Things You'll Need
- Owner's manual or a printed service schedule card
- Digital tire-pressure gauge you can read in low light
- Tread-depth gauge in 32nds of an inch
- Coolant refractometer with temperature compensation
- Four-band brake-fluid moisture tester pen
- Battery terminal brush and nitrile gloves
- Small optical inspection mirror and a LED flashlight
- Adjustable torque wrench for wheel fasteners
- Quality funnel set with a fine strainer
- Oil drain pan with a screw-top pour spout
- Sealed original jugs for used oil and coolant
- Ice scraper, small shovel, and a booster pack
- Wool blanket, work gloves, and a paper road map
- Fresh washer fluid rated below your local winter low
Related Howcompass Guides



References (6)
- Standards and Specifications for Motor Vehicles and FluidsSAE International
- Tire Safety and Vehicle Maintenance GuidanceNational Highway Traffic Safety Administration
- Car Maintenance, Repair, and Reliability CoverageConsumer Reports
- Vehicle Safety Research and Headlight RatingsInsurance Institute for Highway Safety
- Battery, Roadside, and Member Vehicle ResourcesAmerican Automobile Association
- Managing Used Oil and Automotive FluidsUS Environmental Protection Agency
Further reading
Encyclopaedia entries are background, not evidence: no step below rests on one of these.
Sources are listed so you can read the underlying guidance yourself. Our editorial policy explains how guides are reviewed.
Did this article help you?
0 readers found this helpful — add your vote.
No comments yet — be the first to share your results.