How to Bake Sourdough Bread (Step by Step for Beginners)
A guide to Phase 1 — Build the Starter and Prepare, Phase 2 — Mix, Fold and Ferment, Phase 3 — Cold Proof and Prepare to Bake, Phase 4 — Bake, Cool and Keep
Sourdough is just flour, water, salt and time — the starter does the work that commercial yeast does in other breads. This guide takes you through 30 steps, from a jar of cloudy flour-and-water paste to a crackling, open-crumb loaf. We rely on temperature and visible dough cues rather than a rigid clock, because a warm kitchen and a cold one move at very different speeds. Follow the order once and you will learn to read the dough, which is the skill that makes every later loaf better. Browse all illustrated guides or the Food and Entertaining category for more illustrated walkthroughs on Howcompass.
How do you bake Sourdough Bread (Step by Step for Beginners)?
 Howcompass | How to Bake Sourdough Bread (Step by Step for Beginners)
Phase 1 — Build the Starter and Prepare
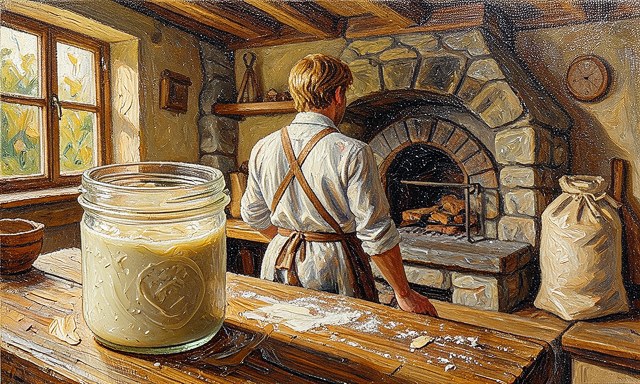
HowcompassMix equal weights of flour and water
Mix equal weights of flour and water. Stir 50 g of wholegrain flour with 50 g of room-temperature water in a jar and leave the lid loose. Wholegrain carries wild yeast on the bran, so it starts faster than white flour. For the primary source behind this phase, see King Arthur Baking — baking guides.
 Howcompass
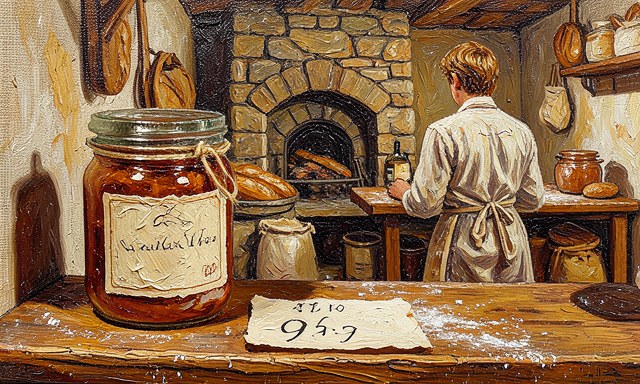
Keep it warm and undisturbed for a day
Keep it warm and undisturbed for a day. Leave the jar at 24–27 °C, such as on top of a cupboard, and resist stirring it. A stable warmth wakes the yeast while the loose lid lets gas escape.
 Howcompass
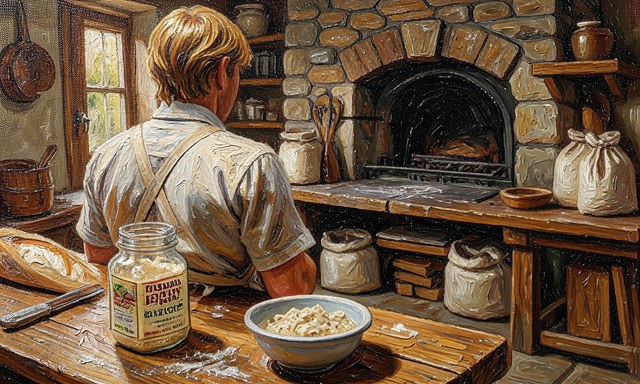
Feed it daily and discard half
Feed it daily and discard half. Each day pour away all but 50 g of starter, then add 50 g of flour and 50 g of water. Discarding keeps the acidity from rising high enough to slow the yeast.
 Howcompass
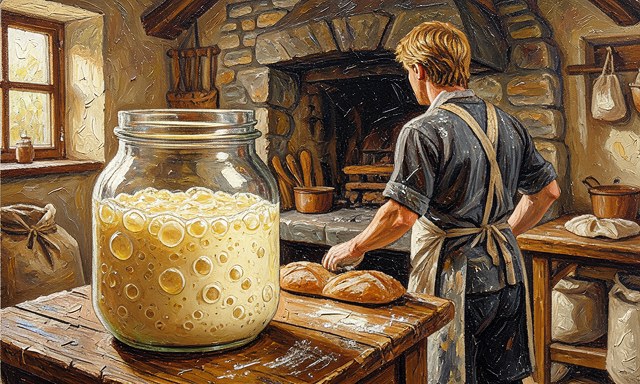
Use it when it doubles and smells tangy
Use it when it doubles and smells tangy. Bake only once the starter rises predictably within four to eight hours and smells pleasantly sour. If you see mould or pink liquid, throw it out and begin again.
 Howcompass
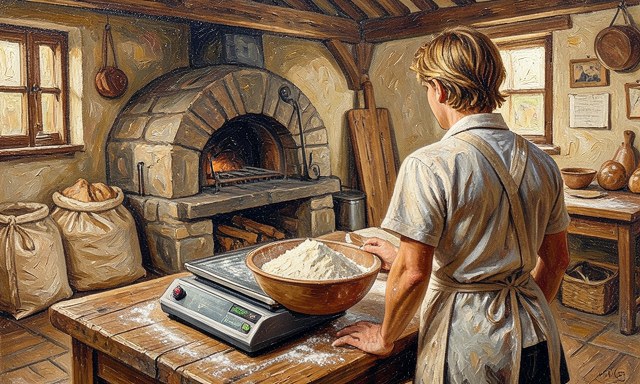
Weigh every ingredient in grams
Weigh every ingredient in grams. Bread ratios depend on weight, not cups: aim for 500 g flour, 350 g water, 100 g active starter and 10 g salt. A digital scale makes the 70 percent hydration repeatable.
 Howcompass
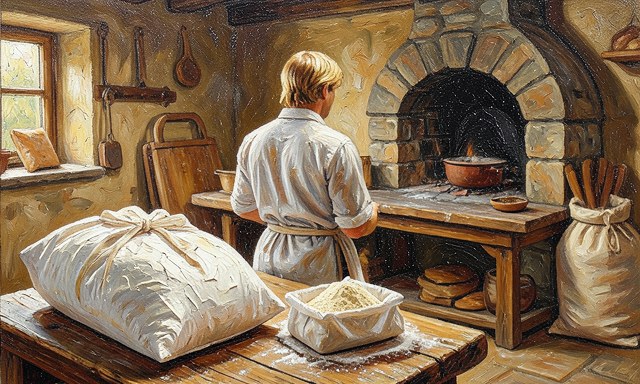
Use strong bread flour for structure
Use strong bread flour for structure. Choose a white bread flour around 12–13 percent protein so the gluten can hold gas. Keep wholemeal to a fifth of the total or the crumb turns dense.
 Howcompass
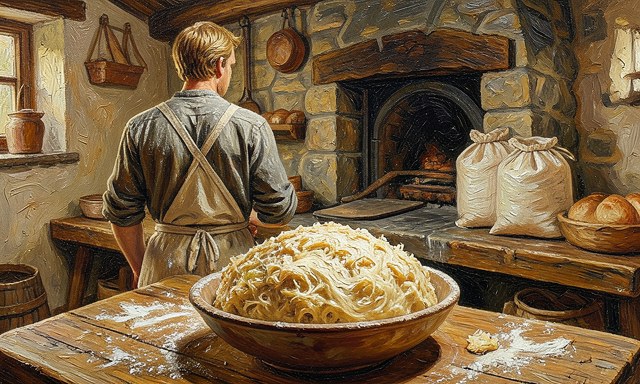
Autolyse the flour and water first
Autolyse the flour and water first. Mix the flour with the water until no dry patches remain, then rest it covered for 30 to 60 minutes. This hydrates the gluten and shortens the folding you need later. Related on Howcompass: knit a scarf as a beginner.
 Howcompass
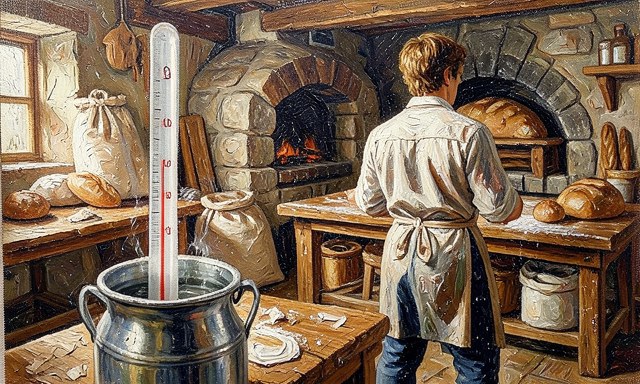
Check the water temperature
Check the water temperature. Aim for a dough around 24–26 °C: use cooler water in summer and warmer water in a cold kitchen. Starting at the right temperature makes fermentation predictable.
Phase 2 — Mix, Fold and Ferment
 Howcompass
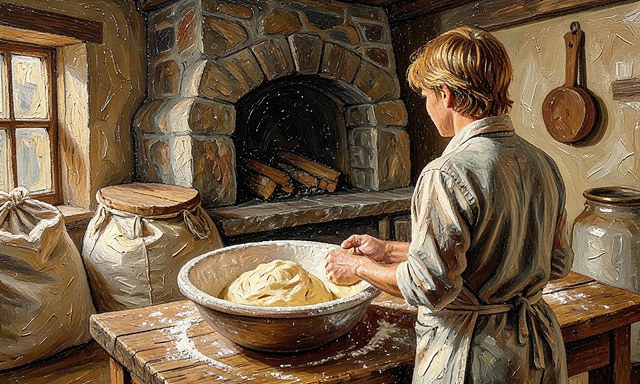
Add the starter and salt, then pinch together
Add the starter and salt, then pinch together. Add 100 g of active starter and 10 g of salt, adding the salt last so it does not slow the yeast. Pinch and squeeze until the mixture is one sticky mass. For the primary source behind this phase, see Good Housekeeping — home and style.
 Howcompass
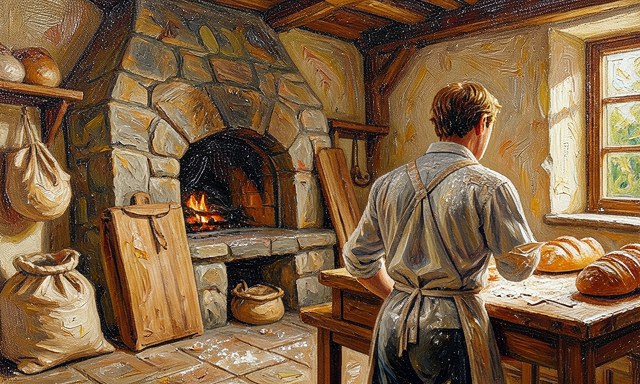
Wet your hands and do stretch-and-folds
Wet your hands and do stretch-and-folds. With wet hands, lift one side of the dough up and fold it over, then rotate the bowl and repeat four times. Wet hands stop the dough clinging and tearing.
 Howcompass
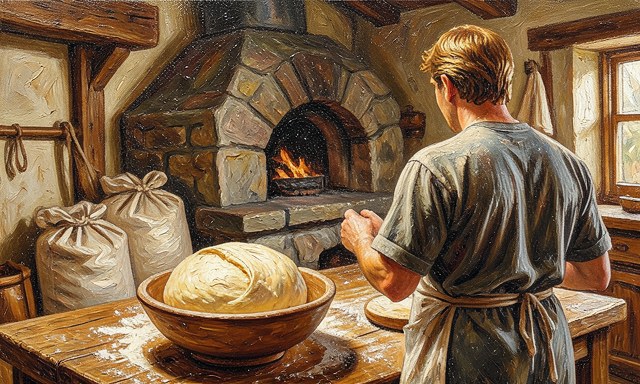
Repeat the folds every 30 minutes
Repeat the folds every 30 minutes. Do four rounds of folds at half-hour intervals, using coil folds once the dough slackens. Each round aligns the gluten and makes the dough smoother and stronger. Browse all illustrated guides or the Food and Entertaining category for more.
 Howcompass
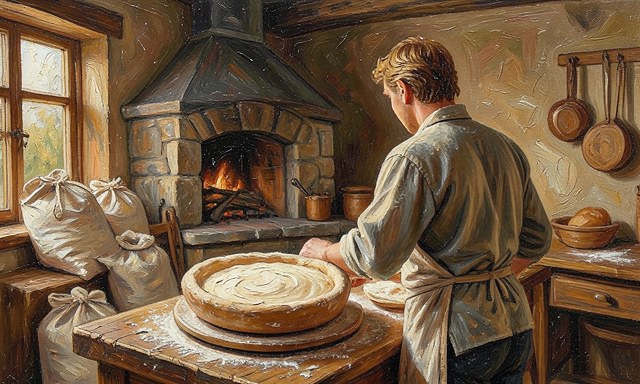
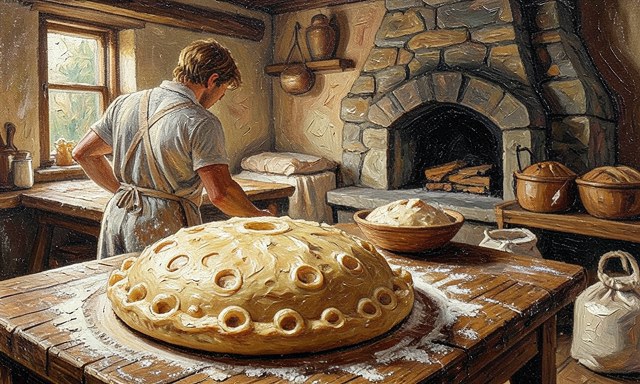
Stop when the dough is smooth and jiggly
Stop when the dough is smooth and jiggly. You are ready when the surface looks taut and a gentle shake makes the whole mass wobble. That spring means the gluten can stretch without tearing.
 Howcompass
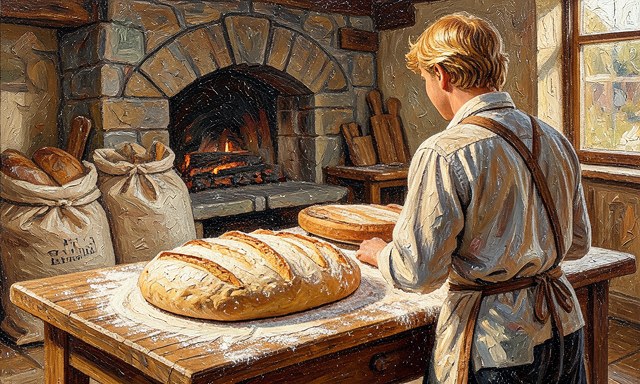
Let the dough rise until visibly airy
Let the dough rise until visibly airy. At 24 °C, leave it covered for four to six hours until it has grown by about half and shows bubbles at the edges. Warmer dough moves faster, so check early.
 Howcompass
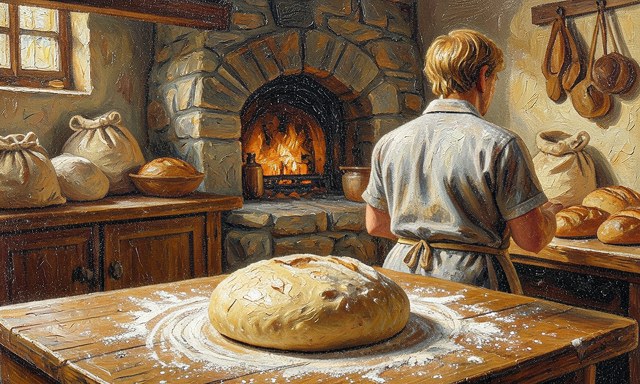
Watch the dough, not the clock
Watch the dough, not the clock. Temperature decides the timing, so look for a 50 percent rise, a domed top and a springy feel rather than a set hour. A cold room can take several hours longer. Related on Howcompass: start a home workout routine.
 Howcompass
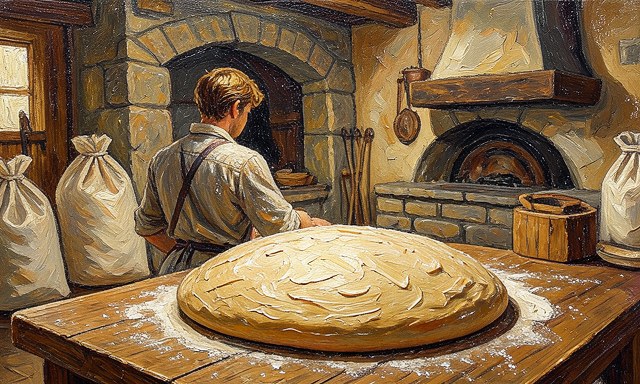
Turn it out and pre-shape gently
Turn it out and pre-shape gently. Dust the surface, tip the dough out and draw it into a loose round with a bench scraper. Rest it uncovered for 20 minutes so the gluten relaxes before the final shape.
 Howcompass
Shape into a tight round or oval
Shape into a tight round or oval. Pull the surface toward you to create tension and roll it into a round or an oval boule. Handle it firmly but lightly, keeping the trapped gas inside.
Phase 3 — Cold Proof and Prepare to Bake
 Howcompass
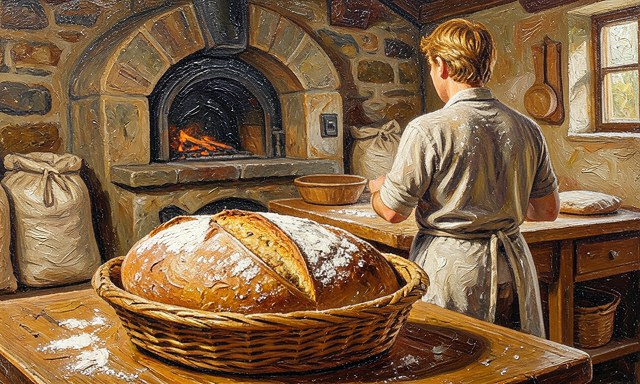
Place the shaped loaf seam-up in a banneton
Place the shaped loaf seam-up in a banneton. Dust a cane proving basket with rice flour and set the loaf with its seam facing up. The basket supports the shape while the seam tightens the top surface. For the primary source behind this phase, see NHS — Live Well.
 Howcompass
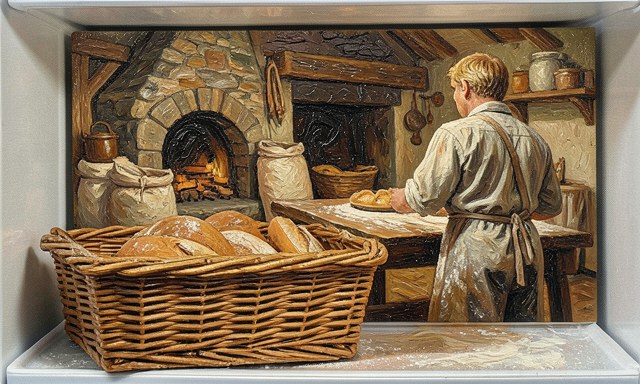
Cover and refrigerate for 8 to 16 hours
Cover and refrigerate for 8 to 16 hours. A long, cold proof builds sour flavour, improves the crust and makes the dough easier to score. The chill also stops it from over-fermenting overnight.
 Howcompass
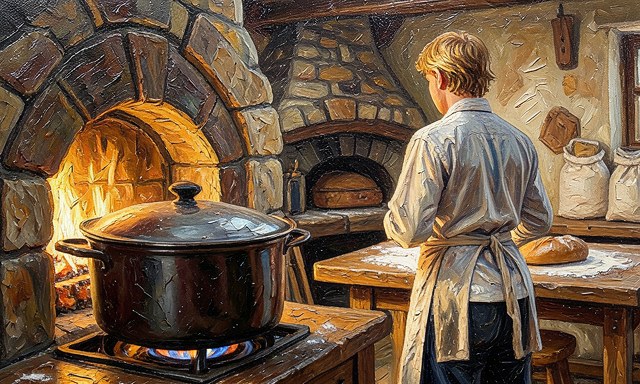
Preheat the oven and Dutch oven together
Preheat the oven and Dutch oven together. Heat both to 245 °C for about 45 minutes with the lid on. A very hot covered pot creates the steam that lets the loaf spring before its crust sets.
 Howcompass
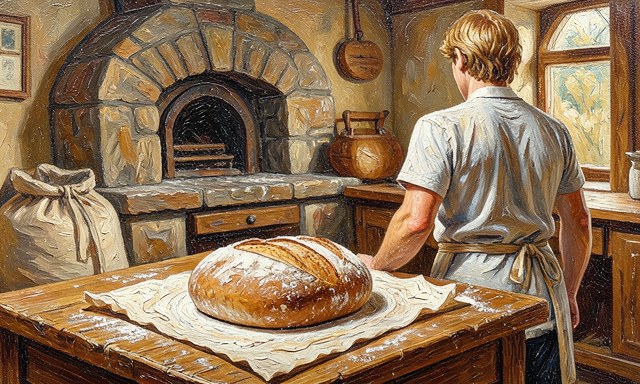
Turn the cold loaf onto baking paper
Turn the cold loaf onto baking paper. Tip the firm, chilled dough onto a sheet of parchment; cold dough holds its shape and is far less sticky. The paper also lowers it safely into the hot pot.
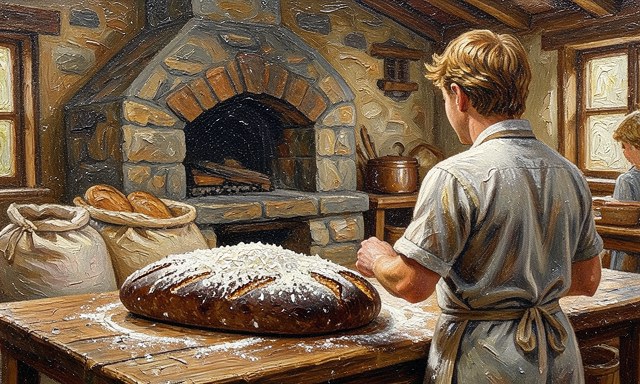 Howcompass
Dust the top lightly with rice flour
Dust the top lightly with rice flour. Scatter a thin layer of rice flour over the upper surface so the blade glides and the slash shows pale against the crust. Rice flour stays loose where wheat flour clumps. Related on Howcompass: knit a scarf as a beginner.
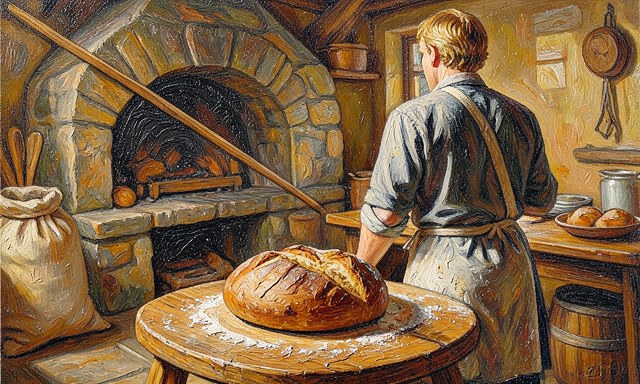 Howcompass
Score one shallow slash with a razor
Score one shallow slash with a razor. Hold a lame or sharp razor at about 45 degrees and cut 5 to 10 mm deep across the loaf. The slash gives the expanding dough a controlled place to open. Browse all illustrated guides or the Food and Entertaining category for more.
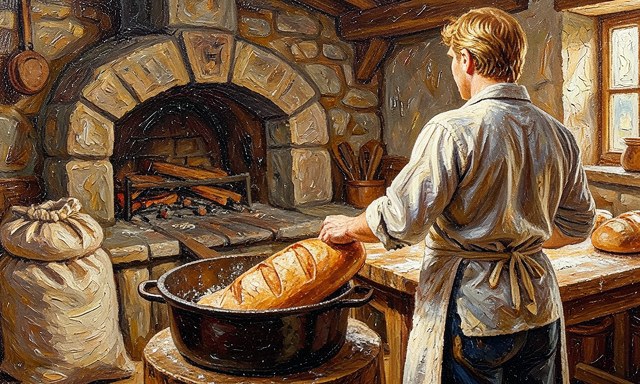 Howcompass
Lower it into the hot pot and cover
Lower it into the hot pot and cover. Grip the parchment edges and set the loaf inside the cast-iron pot, then clamp the lid on. Trapped steam keeps the surface soft while the crumb expands.
Phase 4 — Bake, Cool and Keep
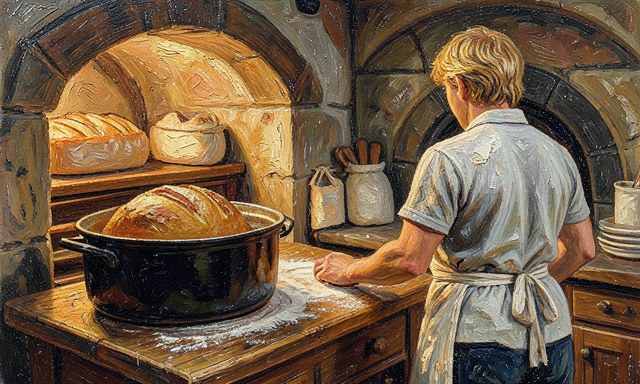 Howcompass
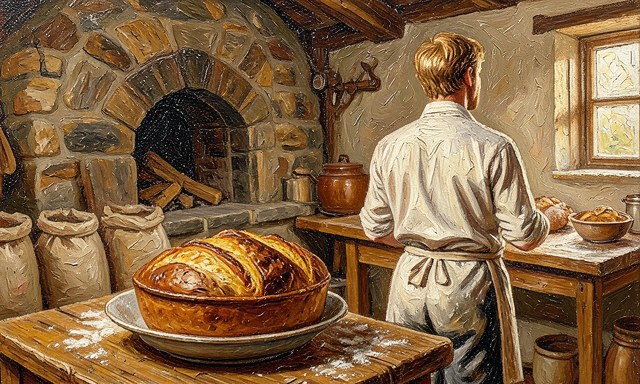
Bake covered at 245 °C for 20 minutes
Bake covered at 245 °C for 20 minutes. Keep the lid on for the first 20 minutes so steam surrounds the loaf and fully lifts the spring. Removing it too early leaves a thick, pale crust. For the primary source behind this phase, see USA.gov — official U.S. government services.
 Howcompass
Remove the lid and bake 20 to 25 minutes more
Remove the lid and bake 20 to 25 minutes more. Drop the oven to 230 °C, take the lid off and bake until the crust is a deep golden brown. Dry heat now sets the crust and carries the colour.
 Howcompass
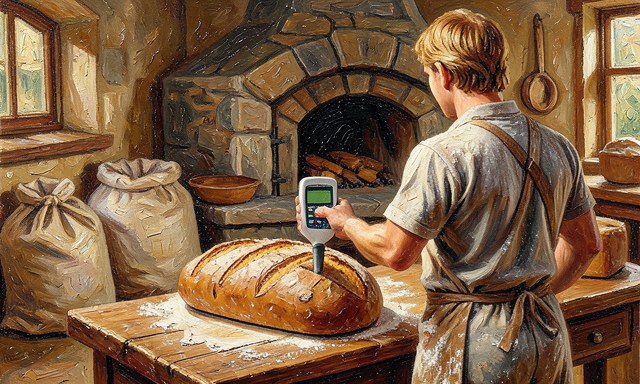
Check the internal temperature
Check the internal temperature. A probe inserted into the centre should read 95–99 °C; without a thermometer, tap the base for a hollow sound. Underbaked bread feels gummy in the middle.
 Howcompass
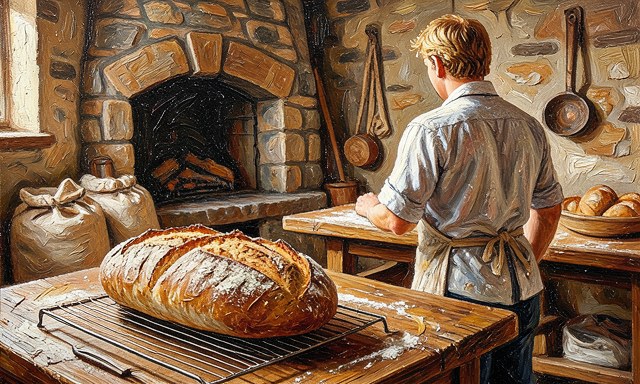
Cool on a rack for at least an hour
Cool on a rack for at least an hour. Let air circulate around the loaf so the crust stays crisp and the crumb sets fully. Slicing while it is hot leaves a torn, sticky interior.
 Howcompass
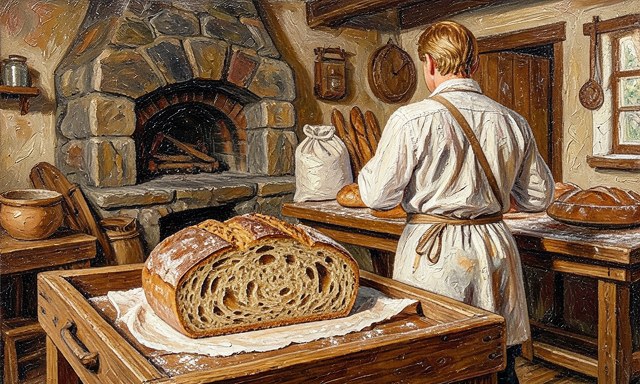
Store it cut-side down in a bread box
Store it cut-side down in a bread box. Keep the cut face against a clean board or inside a paper bag at room temperature for a day or two. Avoid the fridge, which makes starch go stale faster. Related on Howcompass: start a home workout routine.
 Howcompass
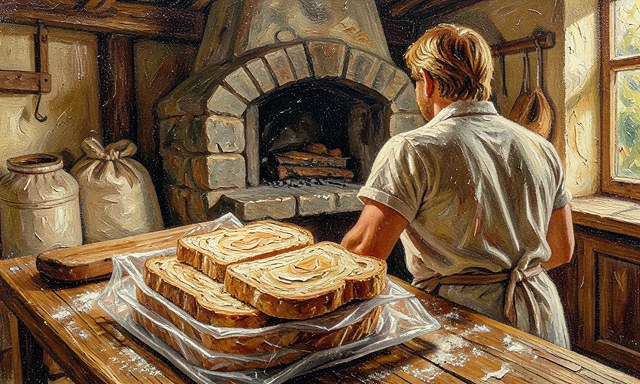
Slice and freeze what you will not eat today
Slice and freeze what you will not eat today. Freeze slices in a single bag so you can take out exactly what you need. Frozen bread toasts well and keeps its texture far better than chilled bread.
 Howcompass
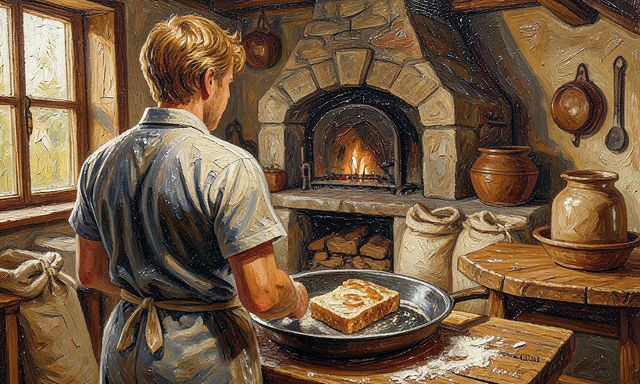
Refresh a day-old slice in a hot pan
Refresh a day-old slice in a hot pan. Warm a slice in a dry, hot pan for a minute on each side to bring the crust back. A little moisture inside and dry heat outside restore the just-baked feel.
Frequently Asked Questions
Question: Why is my sourdough dense and flat?
The usual causes are an underactive starter, weak gluten or an over-proofed dough. Check that the starter doubles first, do enough folds to build strength, and judge the bulk by rise rather than by the timer.
Question: Do I need a Dutch oven?
No, but a covered heavy pot traps the steam that gives sourdough its thin, glossy crust. A baking tray with a pan of boiling water underneath is a workable substitute.
Question: How long does a loaf take from start to finish?
Plan on roughly 24 to 36 hours: a same-day mix and bulk ferment, an 8-to-16-hour cold proof, then a 40-minute bake and a full cool. Most of that time is passive waiting.
Warnings
- Using a starter that is not ready: A starter that has not doubled and smells tangy will not lift a loaf, no matter how long you ferment, so feed it daily until it rises within four to eight hours before you bake.
- Following the clock over the dough: Roughly a third of first loaves are under- or over-fermented because the kitchen is warmer or colder than the recipe assumes, so look for a 50 percent rise, a domed top and visible bubbles instead.
- Slicing while the loaf is warm: Cutting hot bread leaves a gummy, torn crumb because the starch has not set, so cool the loaf on a rack for at least an hour before the knife touches it.
Related Howcompass Guides



References (4)
- King Arthur Baking — baking guideskingarthurbaking.com
- Good Housekeeping — home and stylegoodhousekeeping.com
- NHS — Live Wellnhs.uk
- USA.gov — official U.S. government servicesusa.gov
Sources are listed so you can read the underlying guidance yourself. Our editorial policy explains how guides are reviewed.
Did this article help you?
0 readers found this helpful — add your vote.
No comments yet — be the first to share your results.