How to Screenshot on Mac
A guide to Understanding Screenshot Basics, Taking and Editing Screenshots, Advanced Techniques, Organizing and Sharing, Tips and Maintenance
Taking screenshots on a Mac is an essential skill for work, communication, and troubleshooting. This guide walks you through every aspect — from understanding the different screenshot types and keyboard shortcuts to capturing full screens, windows, and selections, then editing, organizing, and sharing your screenshots. Whether you are a beginner or an experienced Mac user, following these steps in order makes screenshotting fast and easy. See also our Build a Gaming PC guide if you need a powerful computer for your work.
How do you screenshot on Mac?
 Howcompass | How to Screenshot on Mac
Understanding Screenshot Basics
HowcompassLearn What Screenshots Are
Start by understanding what screenshots are and why they are useful. A screenshot is a digital image of whatever is currently displayed on your Mac's screen. Screenshots are essential for capturing information, documenting issues, sharing visual information with others, and creating tutorials. MacOS supports multiple screenshot formats — PNG for lossless quality, JPEG for smaller file sizes, TIFF for professional printing, and PDF for document sharing. Use Apple Support for official screenshot documentation. Screenshots are one of the most practical skills on any computer.
 Howcompass
Understand Screenshot Types
Learn the different types of screenshots available on Mac. There are five main types: full screen (captures everything on screen), window (captures a specific window), selection (captures a selected area), menu (captures a menu bar), and timed (captures after a delay). Each type serves a different purpose — full screen for complete captures, selection for precise areas, and timed for capturing dynamic content. Use Apple Mac Manual for detailed explanations. Understanding which type to use helps you capture exactly what you need.
 Howcompass
Learn About macOS Screenshot Shortcuts
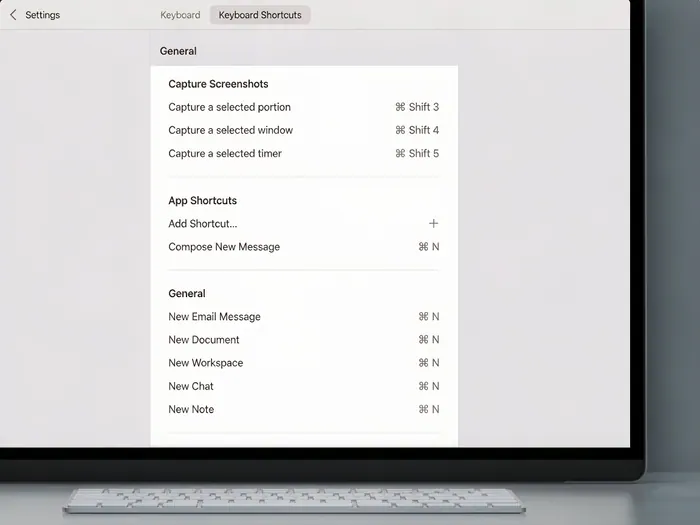
Memorize the essential Mac screenshot keyboard shortcuts for quick captures. Press Cmd+Shift+3 to capture the full screen, Cmd+Shift+4 to capture a selection, and Cmd+Shift+5 to open the screenshot toolbar with all options. To capture a specific window, press Cmd+Shift+4, then press Space, then click the window. To capture a menu, open the menu, press Cmd+Shift+4, press Space, and click the menu. Use Apple Support for the complete shortcut list. These shortcuts are the foundation of efficient screenshotting on Mac.
 Howcompass
Set Up Screenshot Preferences
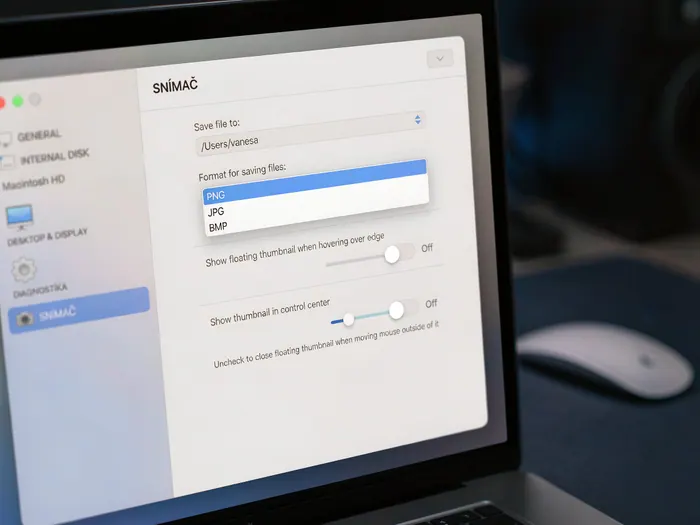
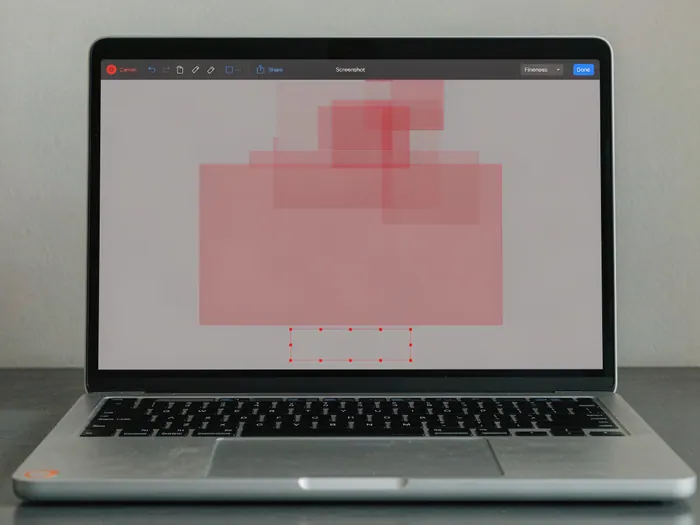
Set up your Mac's screenshot preferences before capturing. Go to System Settings > Screenshot to customize where screenshots are saved, the timer duration, and whether to show the floating thumbnail. You can set the save location to Desktop, Documents, or a custom folder. For managing your tech expenses alongside other budget items, see our Save Money Every Month guide. Use Apple Mac Manual for preference settings. Customizing preferences ensures your screenshots go where you want them. A well-configured screenshot setup makes the process seamless.
 Howcompass
Take a Full Screen Screenshot
Take a full screen screenshot by pressing Cmd+Shift+3. The screen will flash white and you will hear a camera sound — the screenshot is saved to your Desktop (or configured location). This captures everything visible on your screen, including all windows, menus, and desktop icons. Use Apple Support for full screen capture details. Full screen screenshots are useful for capturing complete desktop states, error messages, or documenting your entire screen. This is the simplest and most common screenshot method.
Taking and Editing Screenshots
 Howcompass
Use the Screenshot Toolbar
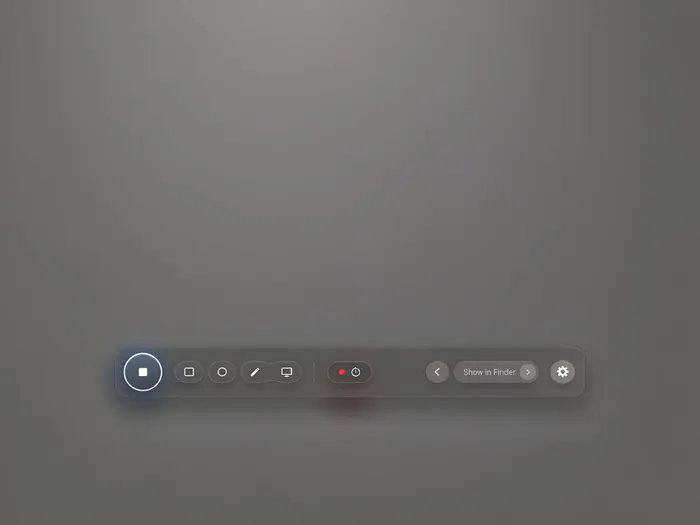
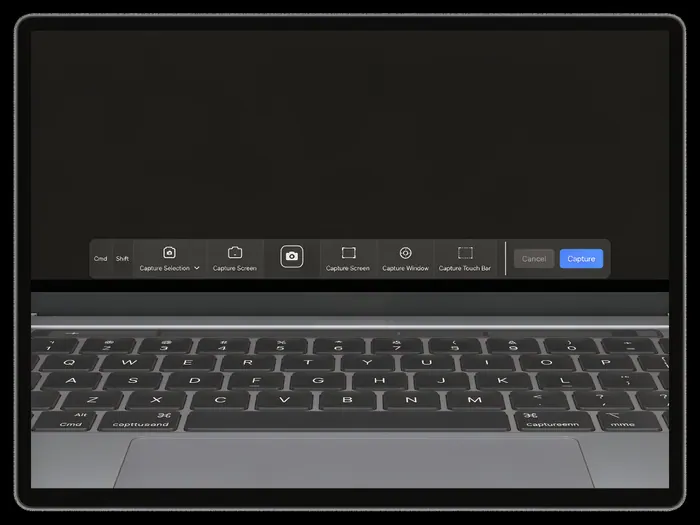
Use the screenshot toolbar for more control over your captures. Press Cmd+Shift+5 to open the floating toolbar with buttons for full screen, window, selection, menu, and timed captures. The toolbar also offers options to record video and capture touch bar. Use Apple Mac Manual for toolbar options. The toolbar is the most versatile screenshot tool — it gives you access to all screenshot types in one place. Learn the toolbar well for maximum flexibility.
 Howcompass
Take a Window Screenshot
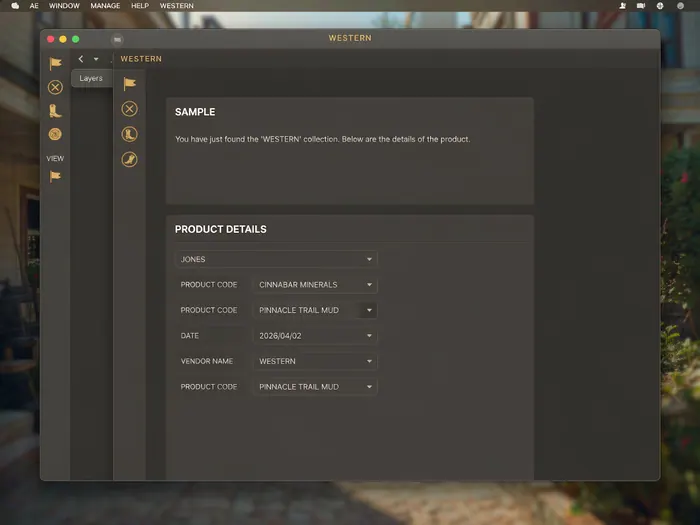
Take a screenshot of a specific window using the Space bar technique. Press Cmd+Shift+4, then press Space — the cursor will change to a camera icon. Move the camera icon over any window and click to capture just that window. The window will flash and the screenshot will be saved. Use Apple Support for window capture details. Window screenshots are perfect when you only need to capture one application's content without the clutter of other windows. This technique is essential for clean, focused screenshots.
 Howcompass
Take a Selection Screenshot
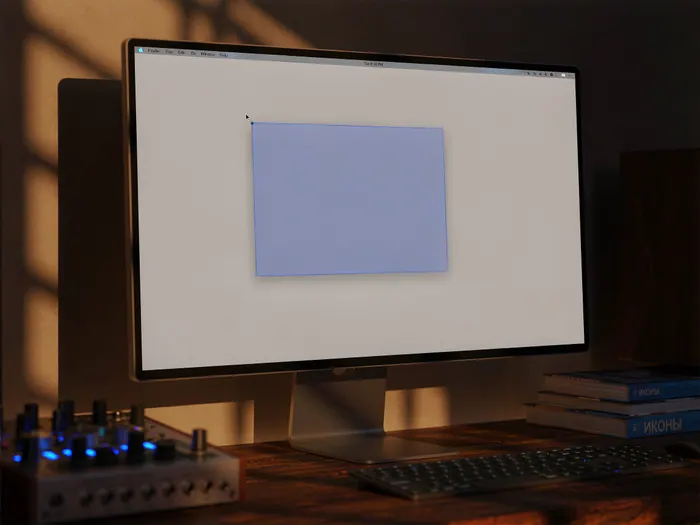
Take a screenshot of a specific area of your screen using the selection method. Press Cmd+Shift+4 and the cursor will change to a crosshair. Click and drag to select the area you want to capture, then release the mouse button. The selected area will be captured and saved. You can also drag to select a precise rectangular area for exact captures. Use Apple Mac Manual for selection capture details. Selection screenshots are ideal for capturing specific parts of a page, table, or document without the surrounding content.
 Howcompass
Crop the Screenshot
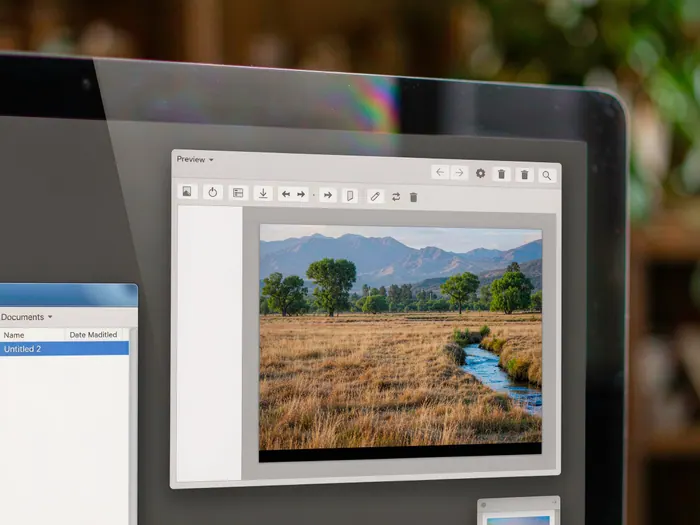
Crop your screenshot to focus on the most important information. After taking a screenshot, open it in any image editor — Preview is pre-installed on Mac. Use the selection tool to draw a rectangle around the area you want to keep, then choose Crop. You can also crop directly from the screenshot toolbar by selecting the crop option. Use TechRadar for cropping techniques. Cropping removes unnecessary content and makes your screenshots cleaner and more focused. A well-cropped screenshot communicates more effectively.
 Howcompass
Open the Screenshot in Preview
Open your screenshot in Preview for editing and annotation. Double-click the screenshot file to open it in Preview, or right-click and select Open With > Preview. Preview offers basic editing tools including crop, rotate, annotate, and adjust. You can also use Quick Look by pressing Space on the file. Use Lifewire for Preview editing tips. Preview is the built-in tool for quick screenshot editing — no third-party software needed. Learning Preview's basic tools covers most screenshot editing needs.
 Howcompass
Add Annotations and Text
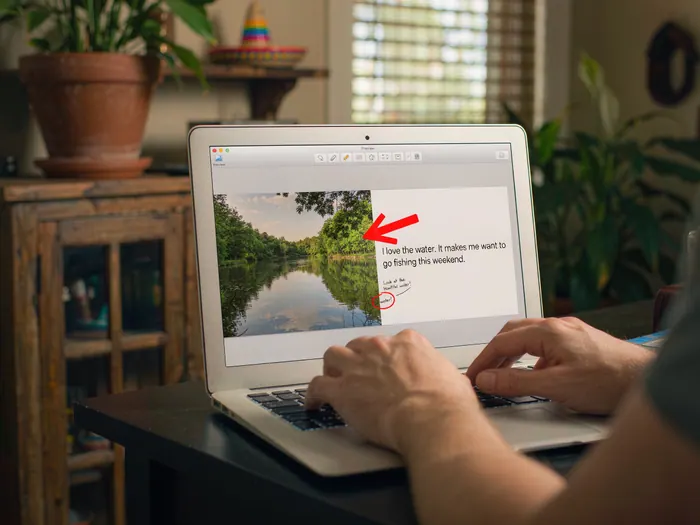
Add annotations and text to your screenshots to highlight important information. In Preview, use the Annotation tools to add text boxes, callouts, and highlights. You can also draw directly on the screenshot with the Draw tool. Adding text explanations makes your screenshots self-explanatory for viewers. Use Macworld for annotation tips. Annotations transform a plain screenshot into a clear, informative visual. Text labels and highlights help viewers understand what they are looking at.
 Howcompass
Draw and Highlight
Use the draw and highlight tools to emphasize key areas of your screenshot. In Preview, select the Highlight tool to draw translucent highlighter marks over important text or areas. Use the Draw tool to add freehand sketches, circles, or other marks. These tools are perfect for tutorials, error reports, and visual explanations. Use Macworld for drawing tools. Drawing and highlighting draws attention to specific details and makes your screenshots more informative.
Advanced Techniques
 Howcompass
Export and Save
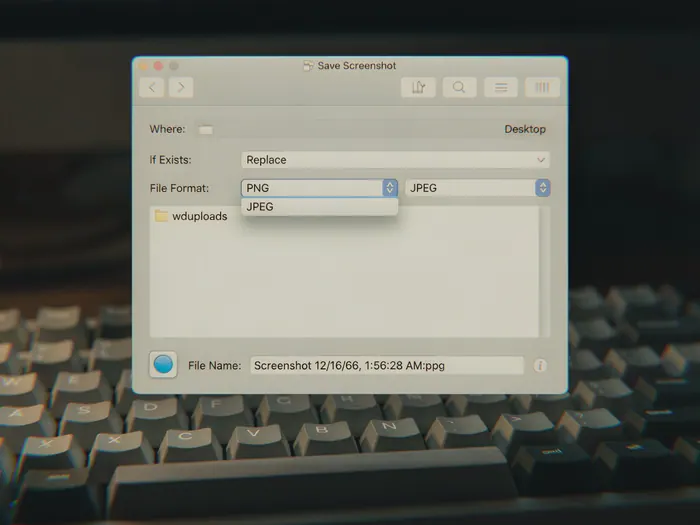
Export and save your edited screenshot in the desired format. In Preview, go to File > Export to choose the format (PNG, JPEG, TIFF, or PDF) and quality settings. PNG is best for screenshots with text and sharp edges, while JPEG is better for photos. Save to your desired location with a clear file name. Use Lifewire for export format guides. Proper exporting ensures your screenshot is in the right format for its purpose — sharing, printing, or embedding.
 Howcompass
Take a Timed Screenshot
Take a timed screenshot to capture dynamic content that requires a delay. Open the screenshot toolbar with Cmd+Shift+5, select the Timed Capture option, choose a delay (5 or 10 seconds), and click Capture. This is useful for capturing menus, pop-up dialogs, or content that appears after a delay. Use Apple Support for timed capture details. Timed screenshots solve the problem of capturing content that appears after you start the capture.
 Howcompass
Capture Video on Mac
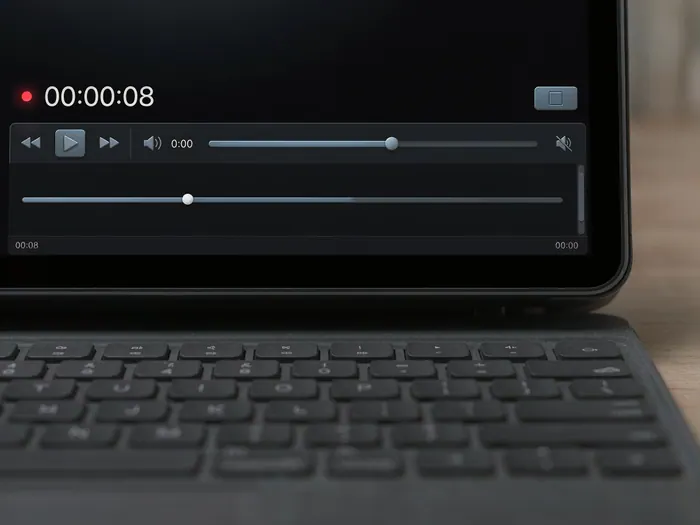
Capture video of your screen using the screenshot toolbar's recording feature. Open the toolbar with Cmd+Shift+5, select Record Entire Screen or Record Selected Portion, and click Record. Stop recording with Cmd+Shift+Esc or by clicking the stop button in the menu bar. The video is saved as a .mov file. Use Apple Mac Manual for screen recording options. Screen recording is perfect for creating tutorials, demonstrating software, and capturing dynamic content that screenshots cannot capture.
 Howcompass
Add Arrows and Shapes
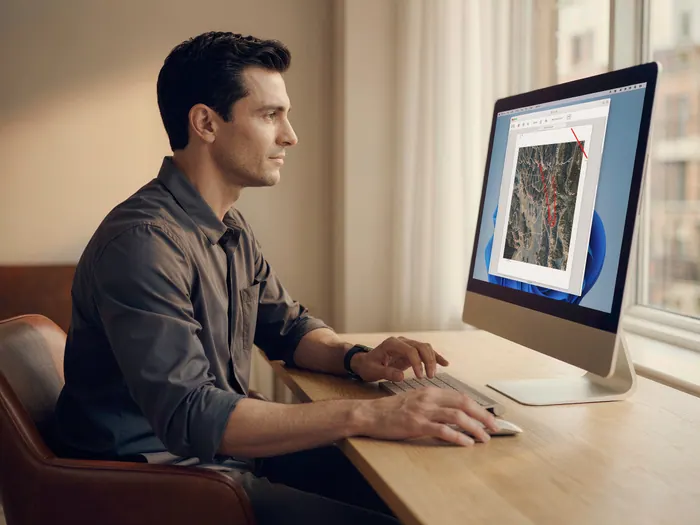
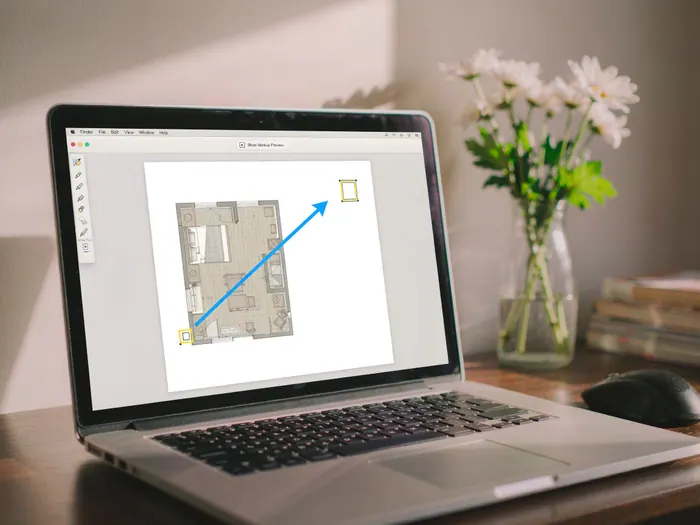
Add arrows and shapes to your screenshots for clear visual communication. In Preview, use the Shapes tool to add arrows, circles, rectangles, and other geometric shapes. Arrows are especially useful for tutorials and error reports — they draw attention to specific areas. Use TechRadar for shape annotation tips. Shapes and arrows are essential for creating clear, professional-looking screenshots that guide the viewer's attention.
 Howcompass
Find Screenshots Quickly
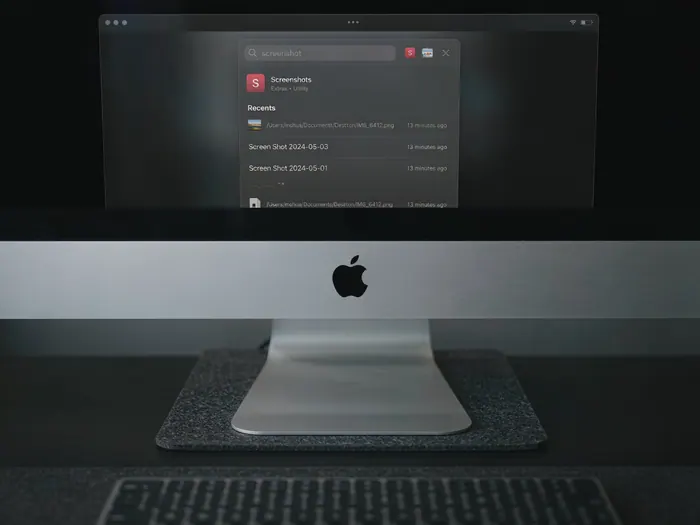
Find your screenshots quickly using Spotlight search or Finder. Press Cmd+Space to open Spotlight and type 'screenshot' or the file name to search all screenshot files. You can also use Finder's search with the Kind filter set to Image. Use Apple Mac Manual for search techniques. Spotlight is the fastest way to find any file on your Mac — including screenshots. Learning to search efficiently saves time when managing many screenshots.
 Howcompass
Use Capture Extensions
Use capture extensions for advanced screenshot management. MacOS supports capture extensions that let you save screenshots to cloud services like iCloud, Google Drive, or Dropbox. Enable extensions in System Settings > Screenshot > Capture. Use Apple Support for extension setup. Capture extensions streamline the workflow by saving screenshots directly to your preferred location. They are especially useful for cloud-based workflows.
Organizing and Sharing
 Howcompass
Organize Your Screenshots
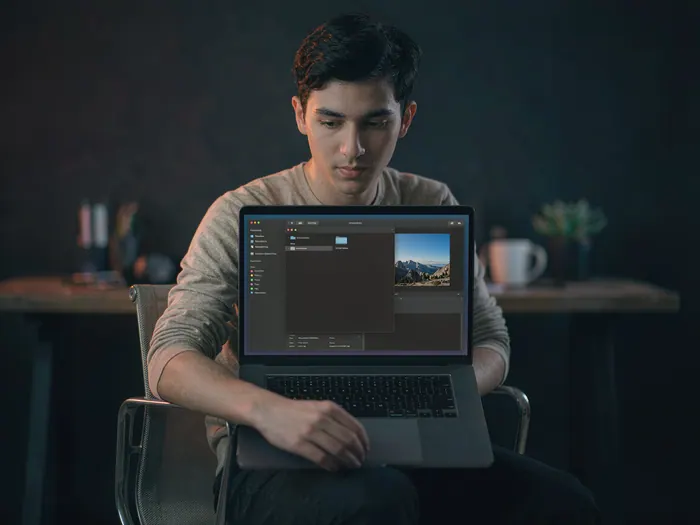
Organize your screenshots in folders for easy management. Create dedicated folders for different categories — work screenshots, personal screenshots, tutorial screenshots, etc. Sort by date or project for quick access. Use Finder's view options to group files by date or type. Use Macworld for file organization tips. A well-organized screenshot collection saves time and makes finding specific screenshots effortless. Regular organization prevents clutter buildup.
 Howcompass
Share Screenshots
Share your screenshots easily via email, messaging, or cloud storage. Screenshots can be attached to emails, messages in Messages or Slack, or uploaded to cloud drives like iCloud or Google Drive. You can also drag a screenshot directly into an email or message. Use Apple Mac Manual for sharing options. Sharing screenshots is essential for work communication, troubleshooting, and collaboration. A clear screenshot can replace paragraphs of text description.
 Howcompass
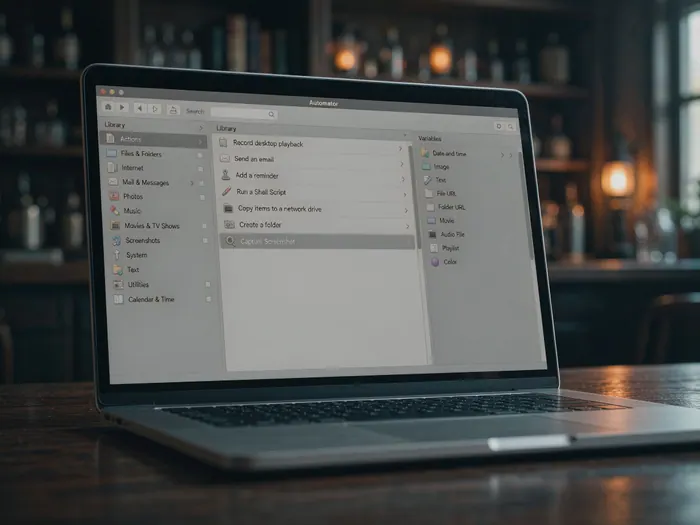
Take a Screenshot of a Touch Bar
Take a screenshot of your MacBook Pro's Touch Bar if you have one. Press Cmd+Shift+6 to capture the Touch Bar content. The screenshot will be saved to your Desktop. This is useful for documenting Touch Bar configurations or capturing custom Touch Bar layouts. Use Apple Support for Touch Bar screenshot details. Touch Bar screenshots are specific to MacBook Pro models with Touch Bar. This shortcut is useful for documenting Touch Bar customizations.
 Howcompass
Use Capture Extensions for Audio
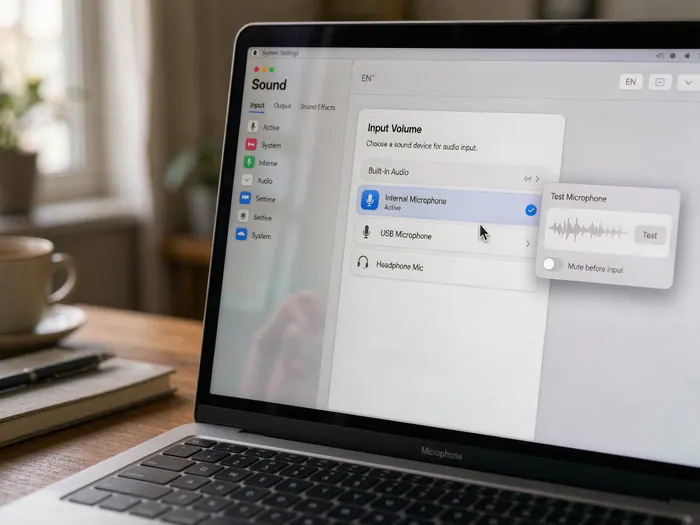
Use capture extensions with audio recording for screen recordings that include sound. In the screenshot toolbar, select the audio input source before recording. You can choose to record system audio, microphone audio, or both. Use Apple Mac Manual for audio recording options. Audio-enabled screen recordings are perfect for creating tutorials with narration or capturing web conferences. Combining video and audio creates more engaging content.
 Howcompass
Back Up Screenshots
Back up your screenshots to prevent data loss. Use iCloud Photos to sync screenshots across your devices, or use Time Machine for automatic local backups. You can also manually copy screenshot folders to an external drive or cloud storage. If you want to invest in tech equipment or cloud services, see our Invest in Stocks guide. Use Apple Support for backup options. Regular backups ensure you never lose important screenshots — especially work-related ones. A backup routine protects your screenshot collection from hardware failure.
Tips and Maintenance
 Howcompass
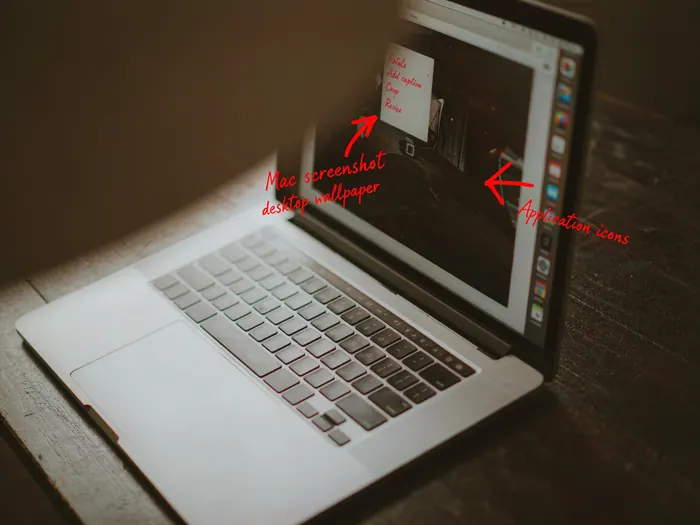
Use the Capture Menu Bar
Use the capture menu bar icon for quick screenshot access. Click the camera icon in the menu bar to access all screenshot options without using keyboard shortcuts. This is useful when you prefer clicking over memorizing shortcuts. Use Apple Mac Manual for menu bar options. The menu bar capture icon is a convenient alternative to keyboard shortcuts. It is perfect for users who prefer clicking over typing shortcuts.
 Howcompass
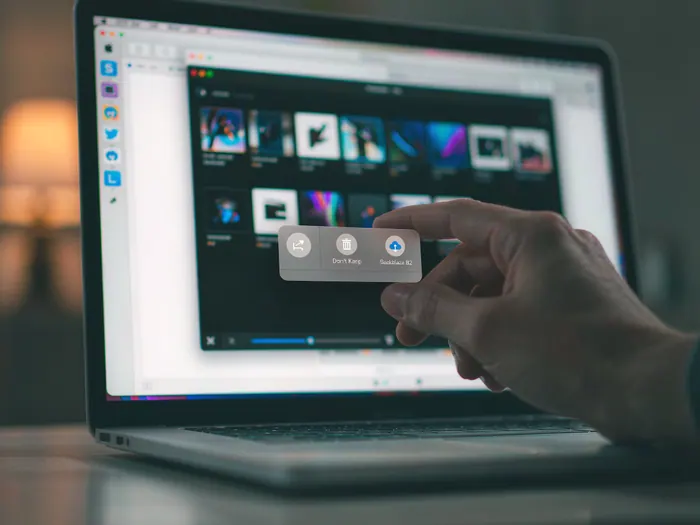
Share via Cloud Drive
Share screenshots directly via cloud drive for instant collaboration. Upload screenshots to iCloud, Google Drive, or Dropbox and share the link with colleagues or friends. This is more efficient than emailing attachments for large files. Use Lifewire for cloud sharing tips. Cloud sharing enables real-time collaboration on screenshots. It is the most efficient way to share screenshots with remote teams.
 Howcompass
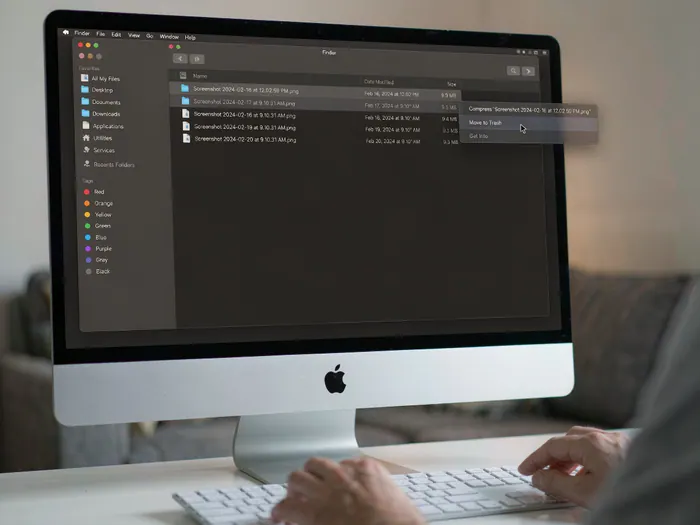
Clean Up Old Screenshots
Clean up old screenshots regularly to free up storage space. Screenshots accumulate quickly — review your Desktop and Downloads folder periodically and delete unnecessary screenshots. Use Spotlight to find all screenshot files, then review and delete. Use Macworld for cleanup tips. Regular cleanup prevents storage bloat from screenshot accumulation. A tidy screenshot collection is easier to manage and find files in.
 Howcompass
Use Keyboard Shortcuts Efficiently
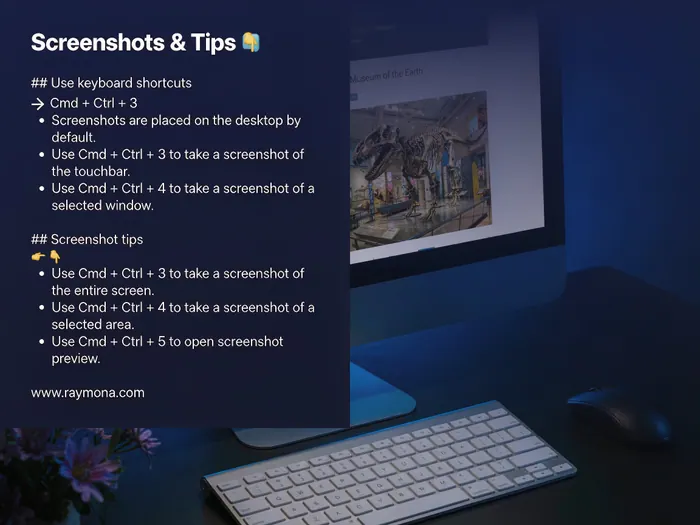
Use keyboard shortcuts efficiently for maximum screenshot speed. Memorize the core shortcuts: Cmd+Shift+3 for full screen, Cmd+Shift+4 for selection, and Cmd+Shift+5 for toolbar. Practice using them until they become muscle memory. Use TechRadar for shortcut practice tips. Fast shortcut usage saves time and makes screenshotting effortless. Practice regularly until shortcuts become automatic.
 Howcompass
Share via Social Media
Share screenshots on social media for broader reach. Screenshots are perfect for sharing on platforms like Twitter, Instagram, or Facebook — especially for tech tips, error reports, or interesting visuals. You can also use Start a YouTube Channel guide if you want to create video content about Mac tips. Use Macworld for social sharing tips. Social media sharing extends the reach of your screenshots beyond direct messages and emails. Screenshots are highly shareable visual content.
Frequently Asked Questions
Question: How do I take a screenshot on a Mac?
Press Cmd+Shift+3 to capture the full screen, Cmd+Shift+4 to capture a selection, or Cmd+Shift+5 to open the screenshot toolbar with all options. The screenshot will be saved to your Desktop by default. Use Apple Support for complete instructions.
Question: Where do screenshots save on Mac?
Screenshots save to your Desktop by default, but you can change the save location in System Settings > Screenshot. You can also set the save location to Documents, a custom folder, or enable capture extensions to save directly to cloud storage like iCloud.
Question: How do I take a screenshot of a specific window?
Press Cmd+Shift+4, then press the Space bar — the cursor will change to a camera icon. Move the camera icon over the window you want to capture and click. The entire window will be captured, including its shadow. Use Apple Support for window capture details.
Question: How do I take a screenshot of a selected area?
Press Cmd+Shift+4 and the cursor will change to a crosshair. Click and drag to select the area you want to capture, then release the mouse button. The selected area will be captured and saved to your Desktop. You can also use Cmd+Shift+5 and select the Selection option from the toolbar.
Question: How do I edit a screenshot on Mac?
Double-click the screenshot file to open it in Preview, which is pre-installed on all Macs. In Preview, you can crop, rotate, annotate, draw, highlight, and add text. When finished, go to File > Export to save in your desired format. Use Lifewire for editing tips.
Question: How do I record my screen on Mac?
Press Cmd+Shift+5 to open the screenshot toolbar, select Record Entire Screen or Record Selected Portion, and click Record. Stop recording with Cmd+Shift+Esc or by clicking the stop button in the menu bar. The video will be saved as a .mov file to your Desktop. Use Apple Support for screen recording details.
Question: How do I share a screenshot?
You can share a screenshot by attaching it to an email, dropping it into a Messages or Slack conversation, uploading it to cloud storage, or dragging it directly into a document. You can also use the share button (upward arrow icon) in Finder or Preview to share via AirDrop, Mail, Messages, or other apps.
Tips
- Memorize the three core shortcuts: Cmd+Shift+3 (full screen), Cmd+Shift+4 (selection), and Cmd+Shift+5 (toolbar).
- Use PNG format for screenshots with text — it preserves sharp edges better than JPEG.
- Always clean up your Desktop periodically — screenshots accumulate quickly and clutter your workspace.
- Use the screenshot toolbar (Cmd+Shift+5) when you need options beyond basic capture.
- Practice screenshot shortcuts until they become muscle memory for maximum efficiency.
- Use the Space bar technique (Cmd+Shift+4, then Space) to capture specific windows cleanly.
- Add annotations to screenshots before sharing — clear labels make them more useful.
- Use Spotlight (Cmd+Space) to quickly search for any screenshot file on your Mac.
- Set your screenshot save location in System Settings to avoid Desktop clutter.
- Use screen recording (Cmd+Shift+5, then Record) for dynamic content that screenshots cannot capture.
- Back up important screenshots to iCloud or external storage to prevent data loss.
- Use the Touch Bar screenshot shortcut (Cmd+Shift+6) if you have a MacBook Pro with Touch Bar.
- Enable capture extensions to save screenshots directly to cloud services like iCloud or Google Drive.
- Crop screenshots before sharing to remove unnecessary content and focus on what matters.
- Regularly review and delete unnecessary screenshots to free up storage space.
Warnings
- Never screenshot sensitive information like passwords, financial data, or private messages without blurring or redacting them first.
- Be careful when sharing screenshots publicly — they may contain personal information or sensitive data.
- Do not rely on screenshots as the sole record of important information — always save the original file as well.
- Screen recordings may capture audio — be aware of what is being said and recorded before sharing.
- Never screenshot copyrighted content without permission — this may violate copyright laws.
- Do not use screenshots to bypass security features or access restricted information.
- Be cautious when taking screenshots of confidential work documents — follow your organization's data security policies.
- Always verify the screenshot was captured correctly before relying on it as evidence or documentation.
- Do not store sensitive screenshots in unsecured locations like public cloud drives without encryption.
- Be aware that screenshots can be easily manipulated — do not use them as sole proof without verification.
Things You'll Need
- Mac computer (MacBook, iMac, or Mac mini)
- macOS (any recent version)
- Keyboard (built-in or external)
- Preview app (pre-installed on Mac)
- Finder or Spotlight search
- iCloud account (optional for cloud sync)
- Screenshot save location (Desktop or custom folder)
- Image editing software (Preview or third-party)
- Cloud storage account (optional for sharing)
- Email or messaging app (for sharing)
- Meat thermometer (for screen recording audio)
- External display (optional for full screen capture)
- Time Machine or backup drive (optional for backup)
- Screenshot file management plan
- Keyboard shortcut reference (optional)
Related Howcompass Guides



References (12)
- Apple Support — Screenshots on MacApple
- Apple Mac Manual — Take ScreenshotsApple
- TechRadar — How to Take Screenshots on MacTechRadar
- Lifewire — Take Screenshots on MacLifewire
- Macworld — Screenshot Tips for MacMacworld
- Apple Support — Capture Screen RecordingsApple
- Apple Support — Screenshot PreferencesApple
- Lifewire — Edit Screenshots on MacLifewire
- Macworld — Best Screenshot Apps for MacMacworld
- TechRadar — Screen Recording on MacTechRadar
- Apple Support — Share ScreenshotsApple
- Macworld — Organize Files on MacMacworld
Sources are listed so you can read the underlying guidance yourself. Our editorial policy explains how guides are reviewed.
Did this article help you?
0 readers found this helpful — add your vote.
No comments yet — be the first to share your results.