How to Build a Gaming PC
A guide to Planning Your Build, Preparing Components and Workspace, Installing Core Components, Connecting Peripherals and Power, Testing and Optimizing Your PC
A first build goes wrong in three predictable places: incompatible parts, static or clumsy handling, and a BIOS that does not recognise the memory or boot drive. This guide orders the work so each risk is handled before it costs you a return. If the goal is to fix an existing machine rather than replace it, start with Speed Up a Slow Laptop — a clean install and a drive upgrade are often cheaper than a new build.
Pick the CPU and GPU first, then a motherboard with the right socket and chipset, then memory, storage, power supply and case. Run a parts-compatibility check before ordering. Build on a hard, non-carpeted surface, touch grounded metal before handling components, and install the CPU, cooler and memory before the board goes into the case. Budget two to four hours for a first build, plus an evening for Windows, drivers and BIOS updates.
- Time
- 2–4 hours build; 1–2 hours setup
- Cost
- $600–$1,500 typical 1080p/1440p build
- Difficulty
- Moderate
- People
- 1
- Space
- A table, good light, no carpet
- Tools
- Phillips #2, anti-static strap, cable ties, USB install drive
How do you build a Gaming PC?
 Howcompass | How to Build a Gaming PC
Planning Your Build
HowcompassDefine Your Build Goals
Start by clarifying what you want your PC to do. Are you building for gaming, video editing, 3D rendering, or everyday productivity? Each use case demands different components — a gaming PC needs a strong GPU, while a video editing workstation benefits from a powerful CPU and lots of RAM. Use PCPartPicker to research compatible components and see real-world prices. Writing down your primary use case before you buy anything prevents expensive mismatches down the line.
 Howcompass
Choose Your CPU
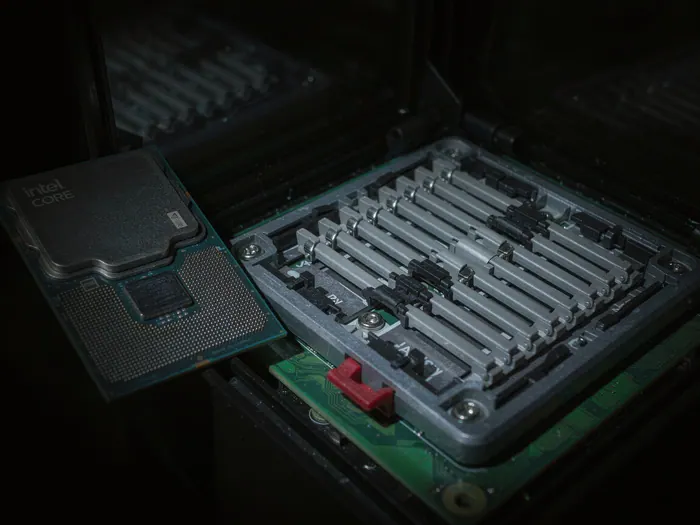
The CPU is the brain of your PC. For gaming, an Intel Core i5 or AMD Ryzen 5 offers excellent value; for content creation, step up to an i7 or Ryzen 7. Check CPU Benchmarks to compare performance across hundreds of processors. Make sure the CPU socket type matches your motherboard — Intel uses LGA sockets while AMD uses AM4 or AM5. Do not forget the CPU cooler — stock coolers are adequate for budget builds, but aftermarket coolers run quieter and cooler.
 Howcompass
Select Your Motherboard
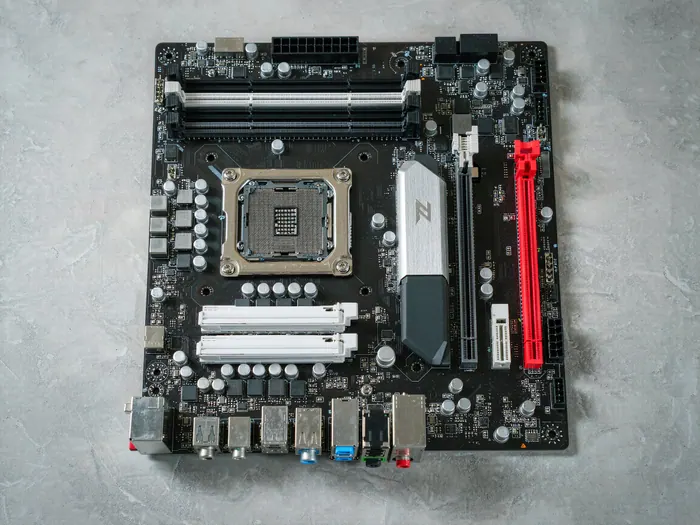
The motherboard ties every component together. Choose one with the right chipset for your CPU — Intel B760 for budget builds, Z790 for premium; AMD B650 for mainstream, X670 for enthusiast. Check form factor: ATX fits standard cases, Micro-ATX is more compact, and Mini-ITX is for small form factor builds. Ensure it has enough PCIe slots for your GPU and M.2 slots for storage. Use PCPartPicker to verify compatibility with your chosen CPU and RAM.
 Howcompass
Pick Your Graphics Card
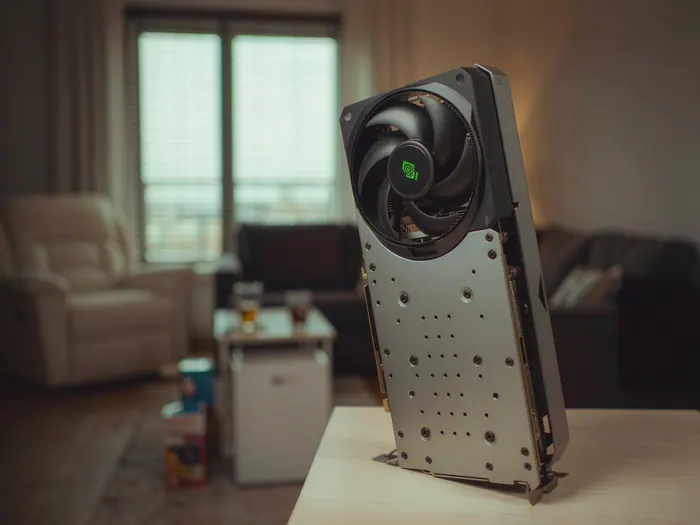
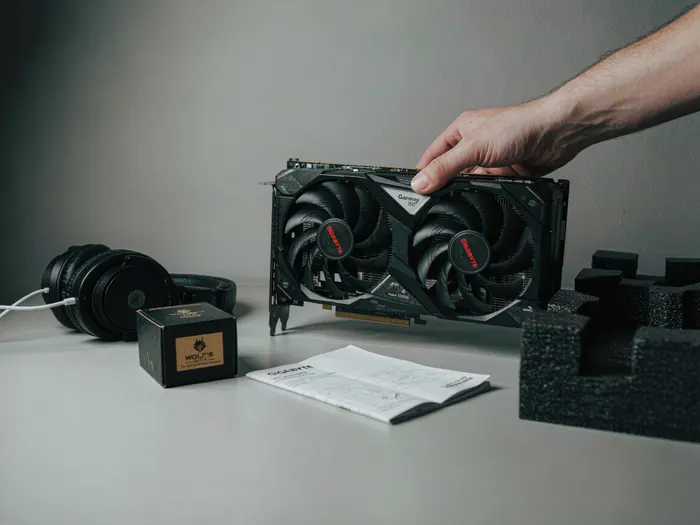
The GPU is the most important component for gaming. NVIDIA's RTX 4060 offers great 1080p performance, while the RTX 4070 handles 1440p beautifully. AMD's RX 7600 is a strong budget option. Read reviews at Tom's Hardware or TechPowerUp for performance and reliability data. Check the GPU length and thickness against your case dimensions — some high-end cards need three-slot cases. For non-gaming builds, the CPU's integrated graphics may be sufficient.
 Howcompass
Set Your Budget and Buy Components
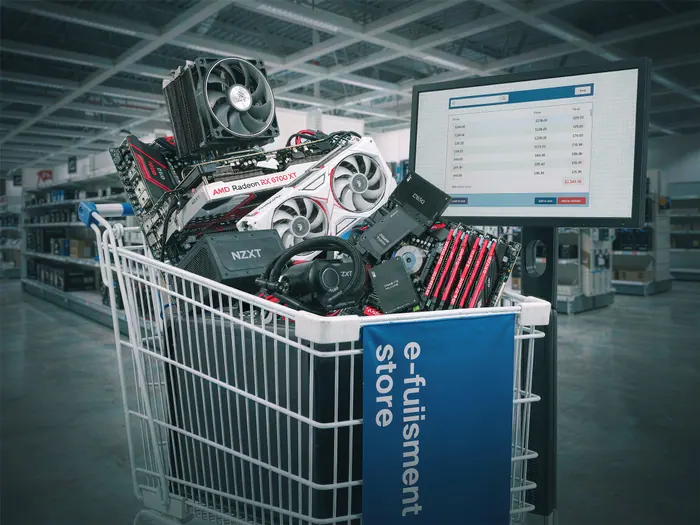
Set a realistic budget before shopping. A mid-range gaming PC costs 1,000-1,500 USD; a premium build runs 2,000-3,000 USD. Allocate roughly 25-30% to the GPU, 15-20% to the CPU, 10% to the motherboard, 10% to RAM, 10% to storage, and 10% to the case and power supply. Leave a 10-15% contingency for unexpected costs. For budgeting strategies, see our Save Money Every Month guide. Buy from reputable retailers like Newegg, Amazon, or Micro Center and keep all receipts for warranty claims.
Preparing Components and Workspace
 Howcompass
Prepare Your Workspace
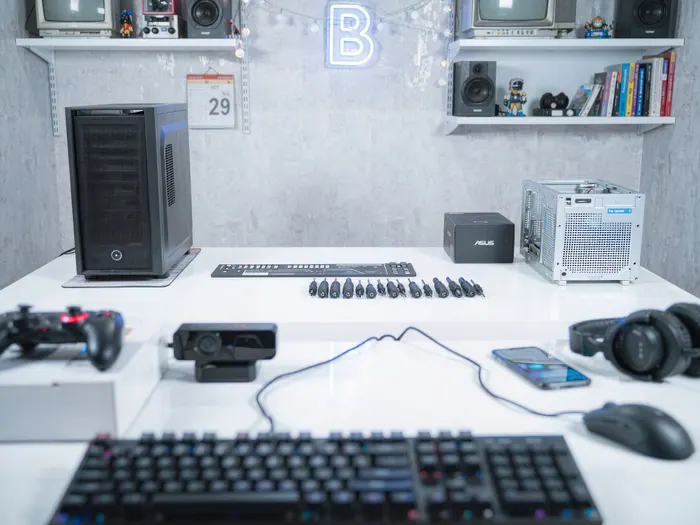
Set up a large, clean, well-lit table with enough space to lay out components. Remove jewelry and watches to prevent static discharge, and work on a non-conductive surface like wood or a desk mat. Keep all components in their anti-static bags until you are ready to install them. Ensure good ventilation — PC components generate heat during testing. A workspace near a power outlet and your monitor is ideal for initial testing before the final build.
 Howcompass
Gather Tools and Supplies
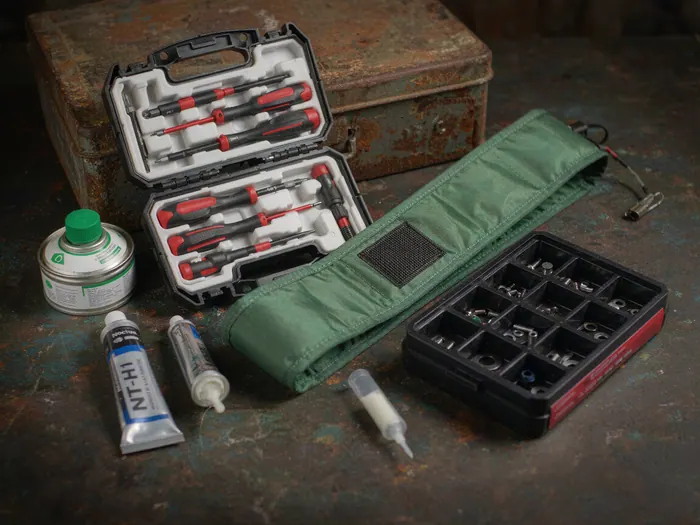
You will need a Phillips #2 screwdriver, an anti-static wristband, thermal paste, cable ties, and a small parts organizer. Most PC components include their own screws and cables, but having spares is wise. Use thermal paste like Arctic MX-4 for optimal CPU cooling. A magnetized screwdriver saves dropped screws, and a flashlight helps illuminate dark case corners. Do not use metal tools near exposed components to avoid short circuits.
 Howcompass
Unbox Components Carefully
Unbox each component on the workspace before installation. Inspect every part for damage or missing items — check cables, screws, and manuals. Keep all original packaging for warranty returns and insurance purposes. Note the orientation of each component's connectors before installing. Remove plastic films and protective covers only when ready to install — leaving them on can cause overheating.
 Howcompass
Install Memory (RAM)
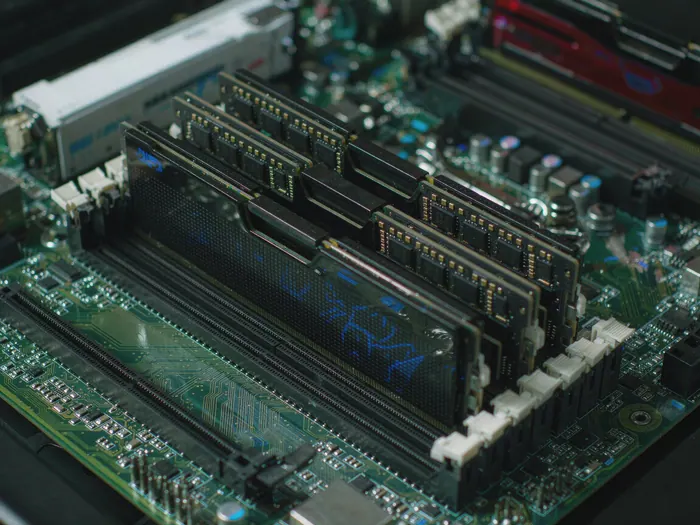
Install RAM before the motherboard goes into the case — it is easier and safer. Push the memory release tabs on the DIMM slots down, align the RAM stick with the notch, and press firmly until the tabs click back up. Use two sticks in the correct slots for dual-channel performance — typically slots A2 and B2 on ATX motherboards. 16GB is the sweet spot for gaming; 32GB for content creation. Do not force the RAM — if it does not click, realign and try again.
 Howcompass
Install the CPU
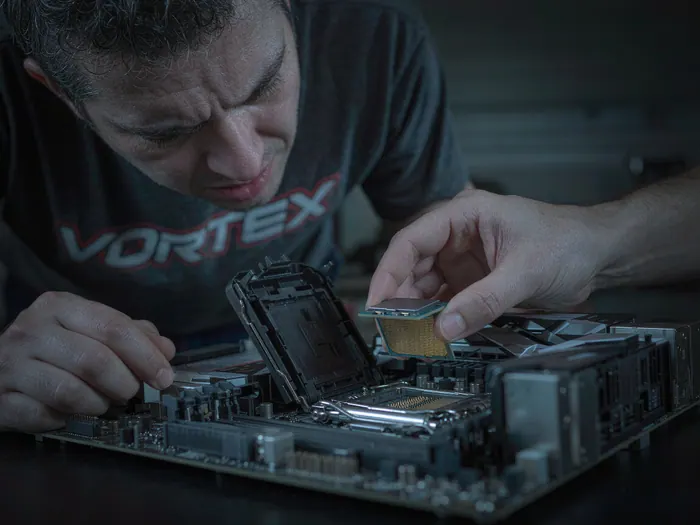
Handle the CPU only by its edges to avoid touching the delicate pins or contacts. Align the CPU triangle with the motherboard socket triangle, then gently place it in — it should drop in with zero force. Never force it; misalignment damages pins. For Intel LGA sockets, the pins are on the motherboard; for AMD AM4/AM5, the pins are on the CPU. Double-check alignment before pressing down and closing the retention arm.
 Howcompass
Apply CPU Cooler
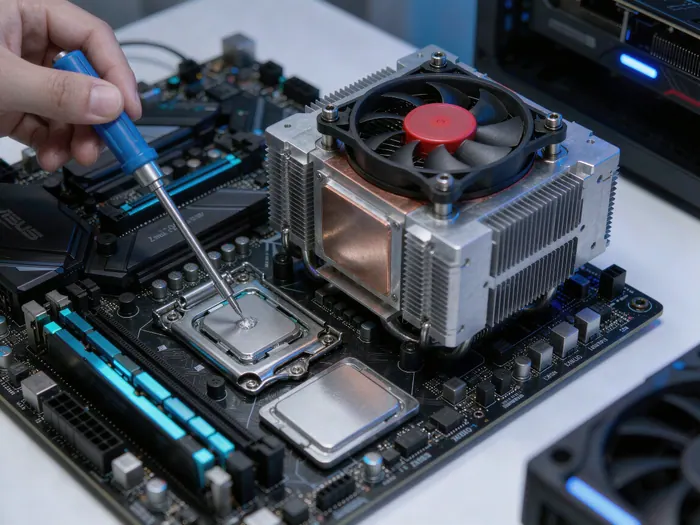
Apply a pea-sized drop of thermal paste directly onto the center of the CPU, then mount your cooler evenly and tighten screws in a diagonal pattern for even pressure. For air coolers, ensure the fan connects to the motherboard's CPU_FAN header. For AIO liquid coolers, route the tubing toward the front or top of the case to minimize kinks. ARCTIC Coolers offer excellent value. Tighten screws in small increments — do not overtighten.
Installing Core Components
 Howcompass
Install the Motherboard in the Case
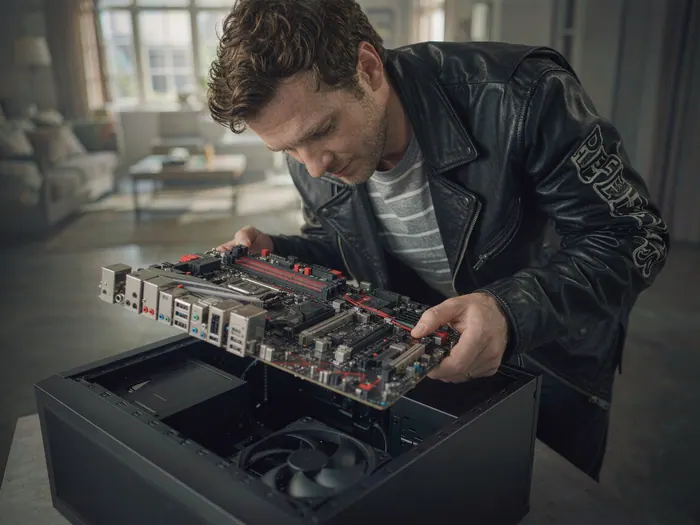
Place the motherboard standoffs in the case, then lower the motherboard onto them. Align the rear I/O shield with the case cutout and screw the motherboard into the standoffs using the included screws. Do not overtighten — snug is sufficient. Ensure no standoffs remain empty, which can cause short circuits. Test the motherboard fits before installing the GPU and storage — it should sit flush against the standoffs with no gaps.
 Howcompass
Install the Graphics Card
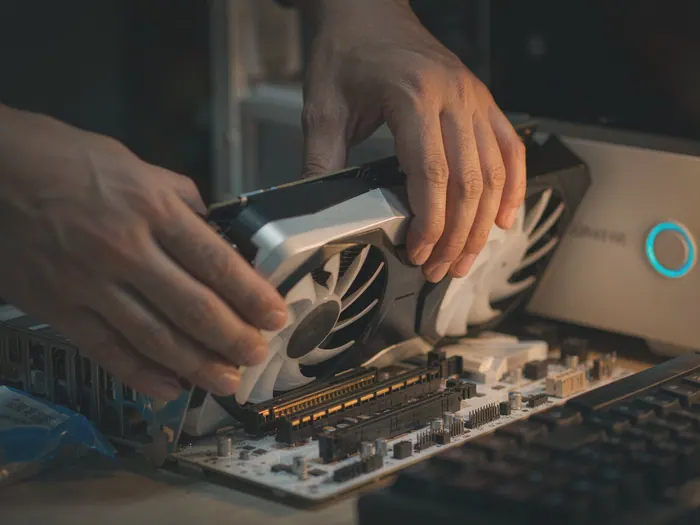
Remove the PCIe slot covers opposite your M.2 slot to make room for the GPU. Align the GPU's PCIe connector with the motherboard's top PCIe x16 slot and press firmly until it clicks. Screw the GPU into the case's rear bracket. Large GPUs may need support brackets or anti-sag supports. If your GPU requires additional power, connect the 8-pin or 12VHPWR cables from the power supply. Double-check the GPU is fully seated in the PCIe slot.
 Howcompass
Install Storage Drives
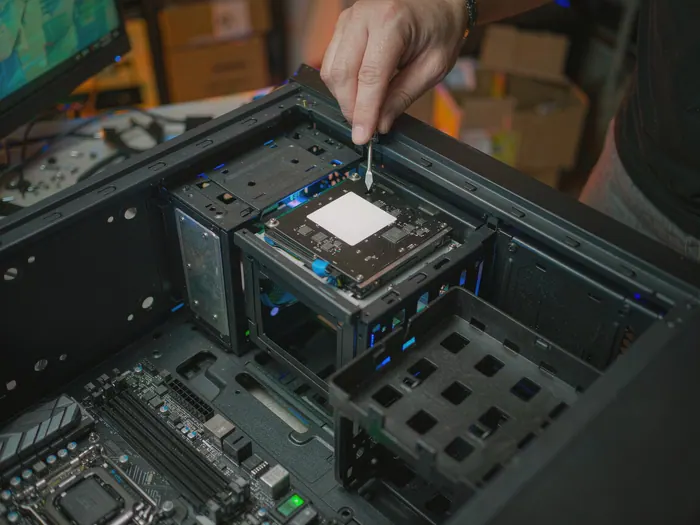
Install your SSD in an M.2 slot on the motherboard if available — slide it in at a 30-degree angle and press down until it clicks, then tighten the standoff screw. For 2.5-inch SATA drives, mount them in the case's drive bays and connect SATA data and power cables. Use your SSD for the operating system and frequently used programs, and a larger HDD or second SSD for bulk storage. Label drives before installing to keep track of which is which.
 Howcompass
Install Power Supply
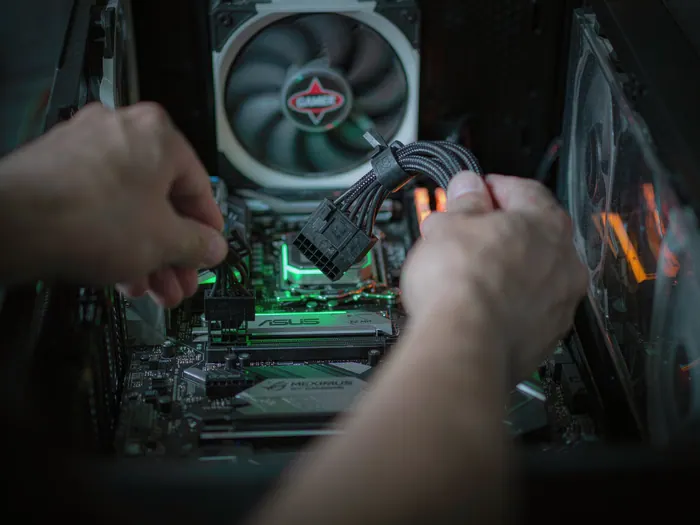
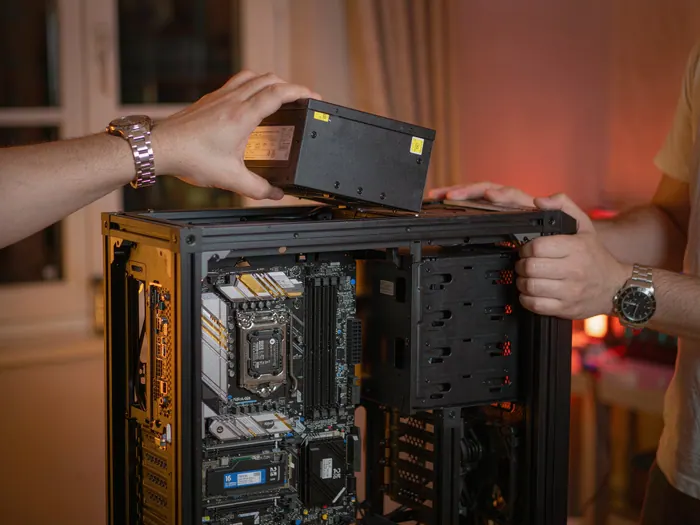
Slide the power supply into the case's PSU bay — most modern cases have bottom-mounted PSU locations. Secure it with screws at the rear. Route cables through the cable management holes before connecting components. A 650W PSU handles mid-range builds; 750W-850W for high-end GPUs. Use a 80+ Gold rated PSU for efficiency and reliability. Ensure the PSU fan faces the correct direction for airflow — intake from below, exhaust out the back. For keeping your setup clean, see our Clean a Mechanical Keyboard guide.
 Howcompass
Connect Motherboard Power
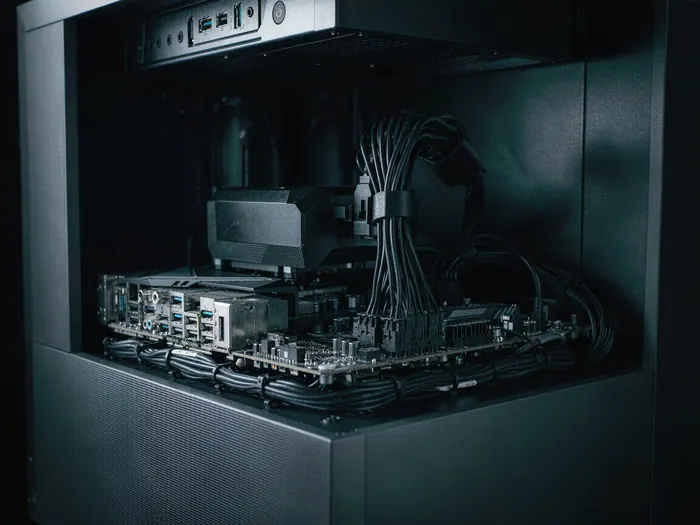
Connect the 24-pin ATX power cable to the motherboard's right-side connector, then the 8-pin CPU power cable to the left-top connector. These are the two most critical power connections — without them, the motherboard will not power on. Use the modular cables included with your PSU and route them behind the motherboard tray for clean cable management. Ensure each cable clicks fully into the connector — partially seated cables cause intermittent failures.
 Howcompass
Manage Cables
Route all cables behind the motherboard tray through the cable management holes. Use the included cable ties or Velcro straps to bundle cables neatly. Keep SATA data cables away from the GPU to prevent interference, and route front-panel connectors to their corresponding motherboard pins. Clean cable management improves airflow, reduces noise, and makes future maintenance easier. Take your time here — sloppy cable management leads to poor airflow and higher temperatures.
Connecting Peripherals and Power
 Howcompass
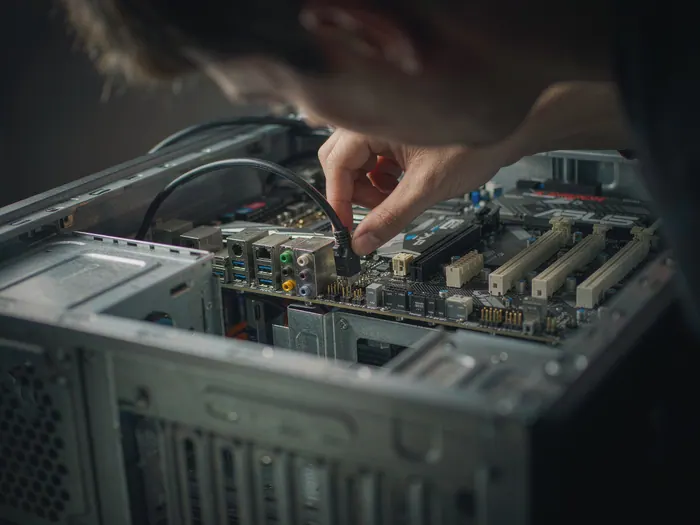
Connect Network and Audio
Plug in your Ethernet cable for a stable wired connection, or connect a Wi-Fi adapter if your motherboard lacks built-in Wi-Fi. Connect front-panel audio cables to the motherboard's HD_AUDIO header for sound from your case's audio ports. If using a DAC or dedicated audio device, connect it to the motherboard's USB or optical port. Test audio output through your monitor's speakers or headphones before finalizing the build.
 Howcompass
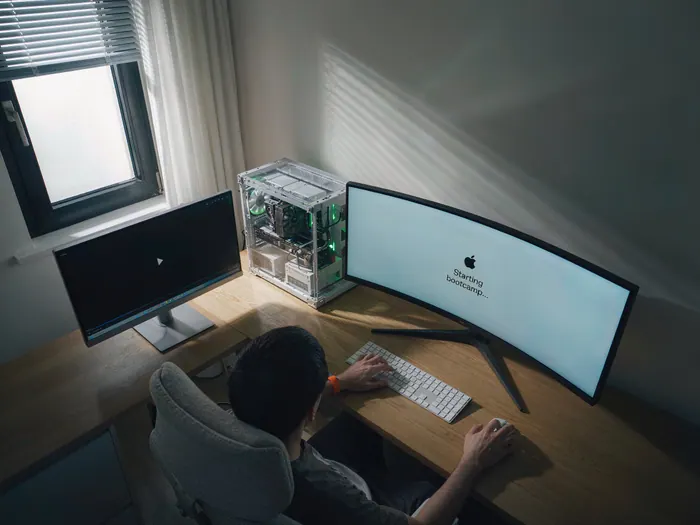
Connect the Monitor and Peripherals
Connect your monitor to the GPU's display port — never the motherboard's ports if you have a dedicated GPU. Plug in your keyboard, mouse, and any USB peripherals. If your monitor supports high refresh rates, use the cable included with your monitor — cheap HDMI cables limit performance. Connect the power cable to the PSU and the wall. Double-check all connections are secure before powering on. For display quality tips, see our Calibrate a Desktop Monitor guide. Your monitor should display the motherboard's POST screen.
 Howcompass
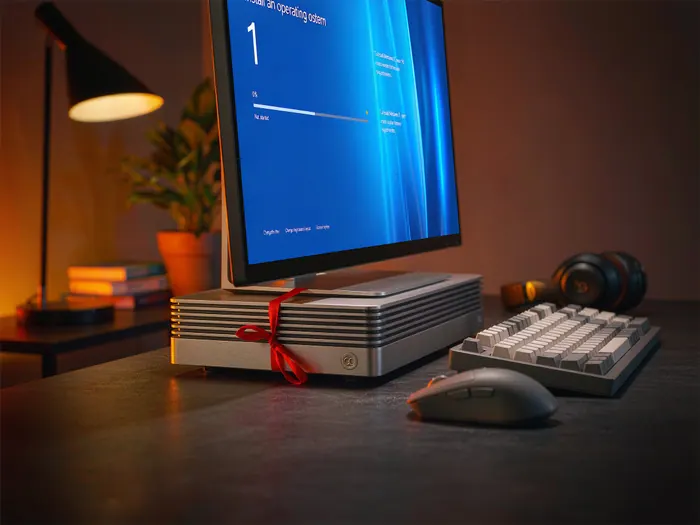
Install Operating System
Create a bootable USB drive with your operating system — Windows 11 or Ubuntu Linux. Insert the USB, enter the BIOS to set the USB as the first boot device, and follow the installation wizard. Partition your SSD with at least 100GB for the OS and programs. Install to the SSD, not a mechanical drive. After installation, connect to the internet and install Windows updates or Linux packages.
 Howcompass
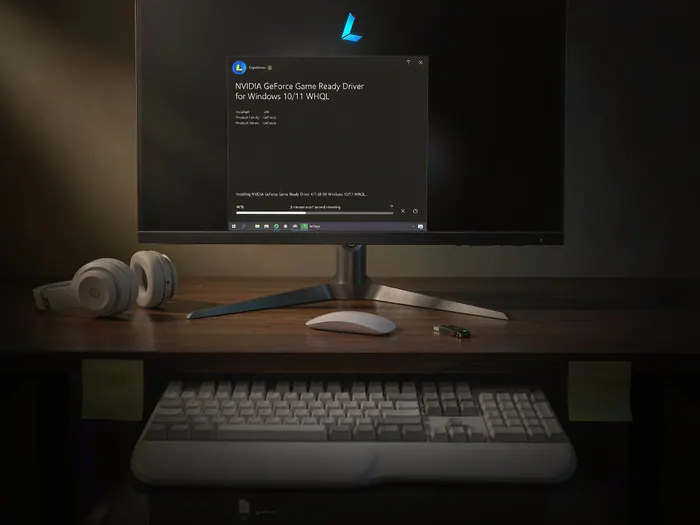
Install Drivers and Software
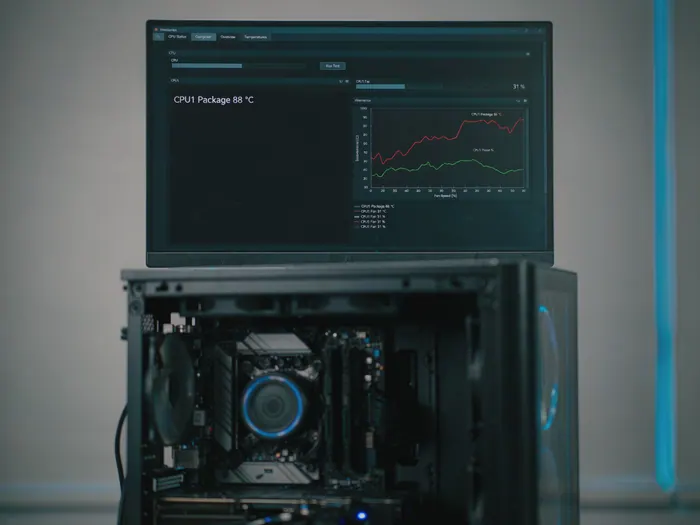
Install chipset drivers from your motherboard manufacturer's website first, then GPU drivers from NVIDIA or AMD. Install your GPU drivers before any other software — they unlock full performance. Install networking, audio, and storage drivers. Use HWMonitor to monitor temperatures and verify all sensors are working. For optimizing system performance, check out our Speed Up a Slow Laptop guide. Keep a driver backup on a USB drive for quick recovery.
 Howcompass
Configure BIOS Settings
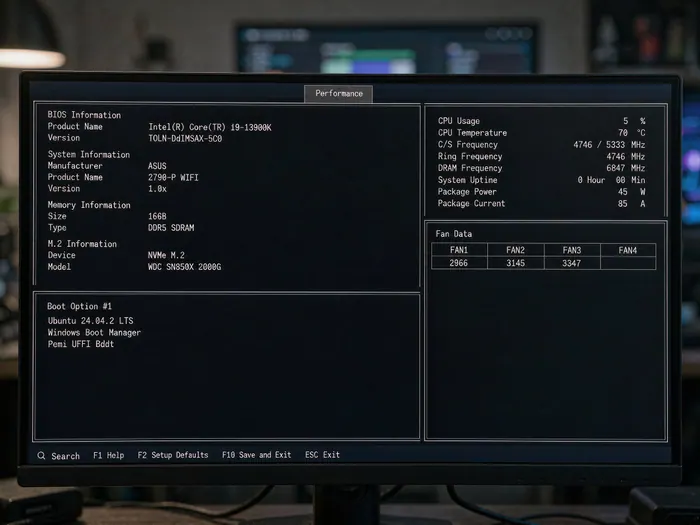
Enter the BIOS by pressing the Del or F2 key during POST. Enable XMP/EXPO profile to run RAM at its advertised speed — without this, RAM runs at a slower default. Set the boot order to your SSD. Enable fan curves based on temperature thresholds. Set up iGPU multi-monitor output if needed. Save and exit — your PC should restart and boot into your OS. Use AIDA64 to verify hardware stability after BIOS configuration. For setting up your workspace, see our Set Up an Ergonomic Home Office guide.
Testing and Optimizing Your PC
 Howcompass
Run Stress Tests
Stress test your components individually to verify stability. Use Prime95 for CPU stability, FurMark for GPU stability, and AIDA64 for combined CPU and memory testing. Run each test for at least 30 minutes and monitor temperatures. If the system crashes, reboots, or shows errors, reseat the component and retest. Stress testing before installing software prevents difficult-to-diagnose issues later.
 Howcompass
Monitor Temperatures
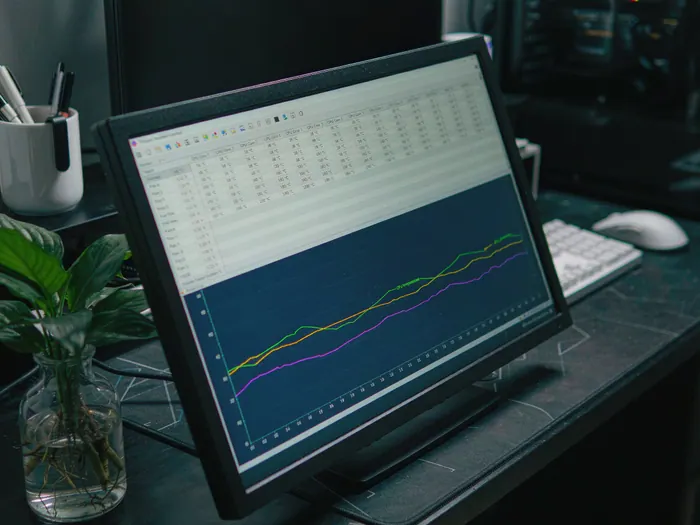
Use MSI Afterburner or HWMonitor to track CPU and GPU temperatures during gaming and stress tests. Ideal CPU temperatures under load are 75-85°C; GPU temperatures should stay under 85°C. If temperatures exceed 90°C, improve cable management for better airflow, reapply thermal paste, or upgrade your CPU cooler. For general performance tuning tips, see our Speed Up a Slow Laptop guide. Log temperatures over time to identify patterns and long-term degradation.
 Howcompass
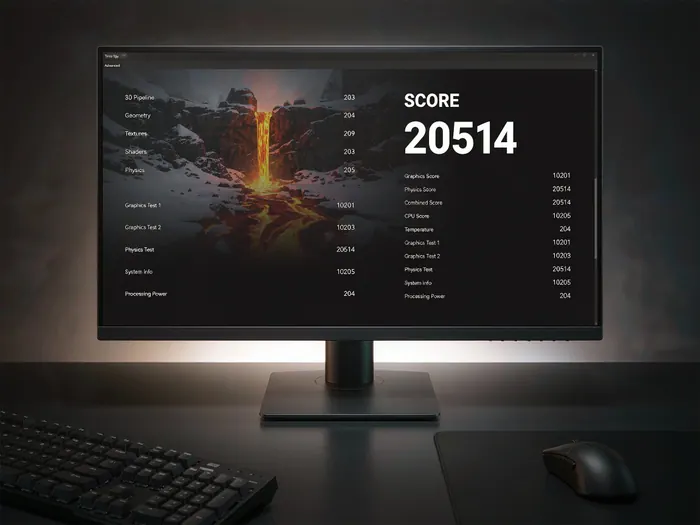
Benchmark Performance
Run 3DMark and Geekbench to measure graphics and overall system performance. Compare your scores with similar builds online to verify your components are performing as expected. Use Unigine Heaven for additional GPU testing. Benchmark results help you identify bottlenecks — if your FPS is low in gaming, your GPU may be underpowered; if rendering is slow, your CPU may need upgrading.
 Howcompass
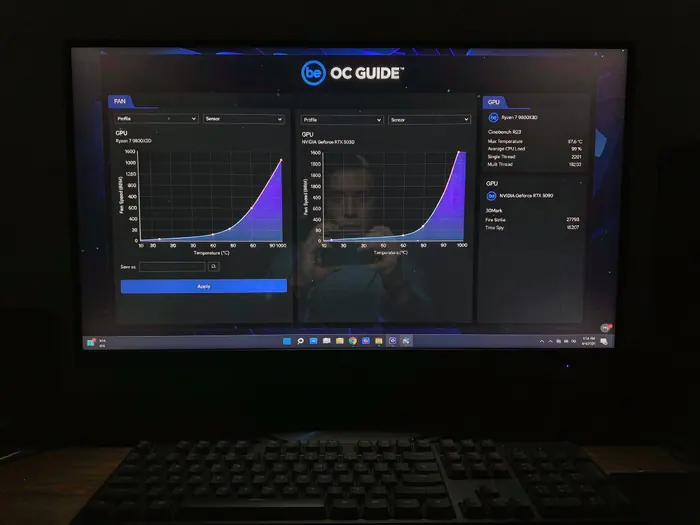
Optimize Fan Curves
Configure fan curves in your BIOS or motherboard software for quiet, efficient cooling. Set CPU fans to ramp up at 60-65°C and GPU fans at 55-60°C. Use software like Arctic Forum or motherboard utilities for fan control. A well-tuned fan curve keeps temperatures low while maintaining quiet operation. Test fan noise with a decibel meter app — most builds should remain under 35 dBA at idle and 45 dBA under load.
 Howcompass
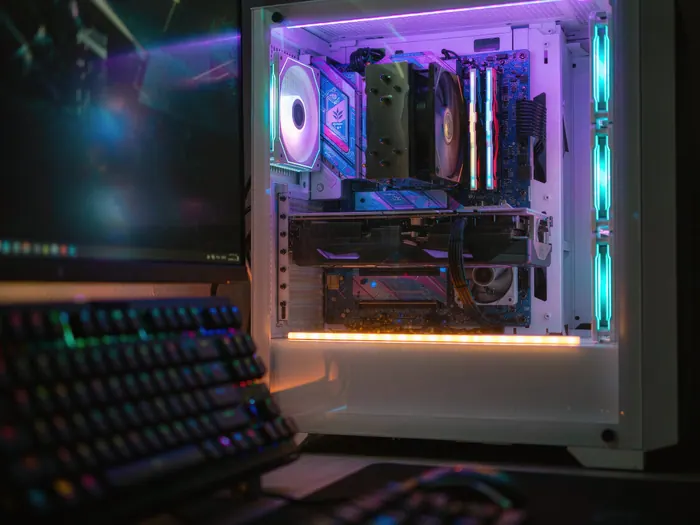
Add RGB Lighting
If your components have RGB lighting, connect the RGB headers to your motherboard and control them with software like MSI Mystic Light or ASUS Armoury Crate. Use Aura Sync for ASUS motherboards or iCUE for Corsair components. Set up lighting zones for RAM, fans, and the GPU. Sync lighting across all components for a cohesive look. Use a rainbow wave or static color for a clean aesthetic.
 Howcompass
Final Checks and Maintenance
Do a final check of all connections — reseat any cables that may have loosened during testing. Update all firmware and drivers to the latest versions. Clean dust filters and check for cable clutter. Create a system image backup using Macrium Reflect or Windows Backup — for backup strategies, read our Back Up Your Computer guide. Document your build with a parts list and warranty information. Schedule regular maintenance — clean dust every 3-6 months, update drivers quarterly, and monitor temperatures during gaming. Your PC is ready for years of reliable performance.
How to know it worked
- Every part appears on the motherboard's compatibility or QVL list.
- The machine posts to BIOS with memory running at its rated speed.
- Windows installs, drivers load and temperatures stay safe under load.
- A benchmark score is within a few percent of reviews for the same GPU.
Common mistakes to avoid
- Buying a CPU and motherboard from different sockets, or a chipset that needs a BIOS update before it recognises the CPU.
- Skipping the standoffs, or overtightening the cooler until the board flexes.
- Using a no-name power supply that cannot deliver its rated wattage.
- Forgetting the front-panel headers, then assuming the build is dead.
- Installing Windows with the old drive still attached and booting from the wrong disk.
- Judging performance before enabling XMP/EXPO and installing chipset and GPU drivers.
Frequently Asked Questions
Question: How much does a gaming PC cost to build?
A capable 1080p build starts around $600–$800; a comfortable 1440p build is roughly $1,000–$1,500. The graphics card is usually the largest line item. Sales and previous-generation parts can cut 15–25% without much performance loss.
Question: Do I need an anti-static wrist strap?
It is cheap insurance, but not mandatory. Work on a hard floor rather than carpet, touch grounded metal before handling parts, and avoid shuffling. Never place components on the outside of an anti-static bag.
Question: Can I build without a graphics card?
Yes if the CPU has integrated graphics, which is enough for desktop work and light games. For modern gaming you need a discrete card. Check that your CPU and motherboard support the display outputs you plan to use.
Question: How do I know the parts are compatible?
Use a parts list tool that checks socket, chipset, memory type, case clearance, cooler height and power connectors. Then confirm memory and cooler clearance on the motherboard vendor's QVL or support page before ordering.
Question: What power supply wattage do I need?
Add the GPU and CPU power draw, leave 30–40% headroom, and buy a unit with an 80 PLUS rating from a known brand. A quality 650W unit suits many mid-range builds; high-end cards may need 850W or more.
Question: Why does my new PC not display anything?
Check the monitor cable is in the GPU, not the motherboard, reseat the memory and GPU, confirm the 8-pin CPU and 24-pin board cables are fully seated, and clear CMOS. A missing standoff or front-panel header is another common cause.
Tips
- Build the PC on a large table with good lighting — you will be working with small parts and tight spaces.
- Take photos at every step of the build — these are invaluable if you need to reference connections later.
- Build the PC outside the case first — test the motherboard, CPU, RAM, and cooler on the table before installing in the case.
- Keep all screws organized in a small container — case screws, motherboard screws, and GPU screws look identical but differ in size.
- Install the GPU last — it is the largest component and may block access to other connections if installed too early.
- Always connect the 24-pin ATX and 8-pin CPU power cables first — these are the only cables needed to power on the motherboard for testing.
- Use the Quick Start Guide included with your motherboard for front-panel connector diagrams — each motherboard has a unique layout.
- Enable XMP/EXPO in BIOS to run RAM at full speed — without it, your RAM runs at a slower default frequency.
- Update GPU drivers immediately after installing Windows — older drivers limit performance and cause game crashes.
- Stress test each component individually — test the CPU without the GPU, then the GPU without the CPU, to isolate issues.
- Keep your build list with warranty information and receipts — you may need them for RMA returns on defective parts.
- Check your case's Clearance Requirements before buying a GPU — some high-end cards are too long for compact cases.
- Use a magnetic screwdriver to prevent dropping screws into the motherboard slots — short circuits destroy components.
- Label your storage drives before installing — it is much easier to identify drives when they are sitting on your desk.
- Do a cable management pass after everything is installed — routes cables behind the motherboard tray for better airflow and aesthetics.
Warnings
- Never force the CPU into the socket — if it does not fit, check alignment. Forced installation bends pins and destroys the processor.
- Do not install RAM while the power supply is connected — even with the motherboard powered off, live power can damage components.
- Always use the anti-static wristband or work on a grounded surface — static discharge can silently damage sensitive electronics.
- Never plug in the front-panel power switch while the motherboard is powered on — this can fry the motherboard.
- Do not overtighten screws — PC screws are small and strip easily. Snug is sufficient for motherboard, GPU, and drive mounting.
- Avoid touching the CPU's pins or contacts — even clean hands leave oils that cause corrosion over time.
- Never power on the PC without the CPU cooler installed — the CPU will overheat and shut down within seconds, potentially causing damage.
- Do not use metal tools inside the case while the power is on — they can short circuit motherboard traces and destroy components.
- Keep liquids away from your build workspace — a single drop of liquid on a motherboard causes a short circuit and permanent damage.
- Do not skip stress testing — seemingly working builds can have instability issues that only appear under heavy load during gaming or video editing.
Things You'll Need
- CPU (Intel Core or AMD Ryzen)
- Motherboard with matching socket
- Graphics card (GPU) — dedicated for gaming
- RAM (16GB minimum, 32GB recommended)
- Storage drive (512GB SSD minimum)
- Power supply unit (650W minimum, 80+ Gold rated)
- PC case with included fans
- CPU cooler (air or AIO liquid)
- Thermal paste (Arctic MX-4 or similar)
- Phillips #2 screwdriver
- Anti-static wristband
- Cable ties or Velcro straps
- Bootable OS USB drive (Windows 11 or Linux)
- Monitor, keyboard, and mouse
- Small parts organizer for screws
Related Howcompass Guides




References (8)
- PCPartPicker Compatibility DatabasePCPartPicker
- Intel Processor SpecificationsIntel
- AMD Ryzen ProcessorsAMD
- GeForce Driver DownloadsNVIDIA
- Download Windows 11Microsoft
- 80 PLUS Power Supply CertificationCLEAResult
- ESD Association: Static Control GuidanceESD Association
- PC Building GuideTom's Hardware
Sources are listed so you can read the underlying guidance yourself. Our editorial policy explains how guides are reviewed.
What changed in this update: Reviewed November 2026: added the ordering rule (CPU/GPU first), the post-build checklist and the compatibility mistakes that force returns.
Did this article help you?
0 readers found this helpful — add your vote.
No comments yet — be the first to share your results.