How to Start Birdwatching From a Window With a Field Notebook
A guide to Set Up One Comfortable Watching Spot, Learn a Handful of Regular Visitors, Keep a Field Notebook That Improves, Add Feed, Water and Shelter Responsibly, Turn Short Sessions Into a Habit
Birdwatching does not require a reserve, a long walk or expensive optics. A window, a chair and a notebook are enough to start, and a familiar view becomes noticeably more interesting once you write down what you see. The habit works because it is repeatable: the same place, roughly the same time, a few honest lines. Over a few weeks you begin to notice which visitors return, what they do and how the view changes with the weather. This guide does not give you species lists or identification rules - use a reputable field guide or a recognised bird organisation's resources for that, because the birds outside your window depend entirely on where you live. The 32 steps below cover the spot, the notebook, responsible feeding and a routine you can keep. If you only do one thing today, do step 1. Browse all illustrated guides or the Hobbies and Crafts category for more illustrated walkthroughs on Howcompass.
How do you start Birdwatching From a Window With a Field Notebook?
 Howcompass | How to Start Birdwatching From a Window With a Field Notebook
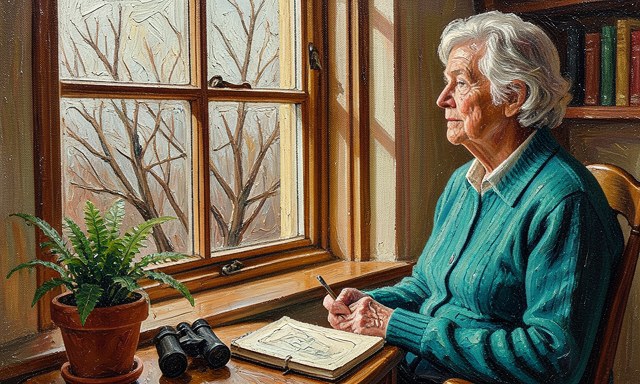
Set Up One Comfortable Watching Spot
HowcompassPick the window with a view you can observe seated
Pick the window with a view you can observe seated. Comfort matters more than the widest view. A chair you can sit in for ten quiet minutes gets used; a spot that requires standing does not. For the primary source behind this phase, see National Audubon Society — bird guides and conservation.
 Howcompass
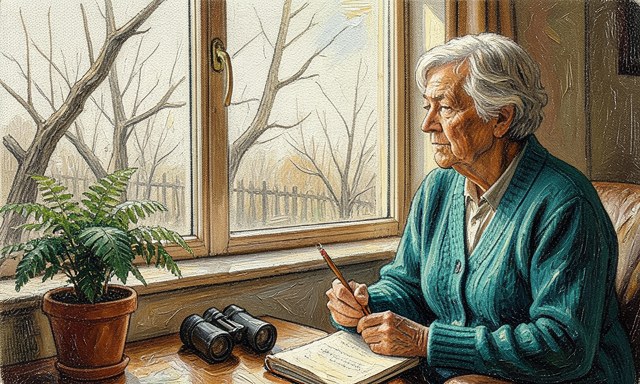
Note what is in the view: branches, roof, fence or sky
Note what is in the view: branches, roof, fence or sky. Sketch the fixed features once on the first page of the notebook. A map of perches makes later notes like 'the left branch' precise.
 Howcompass
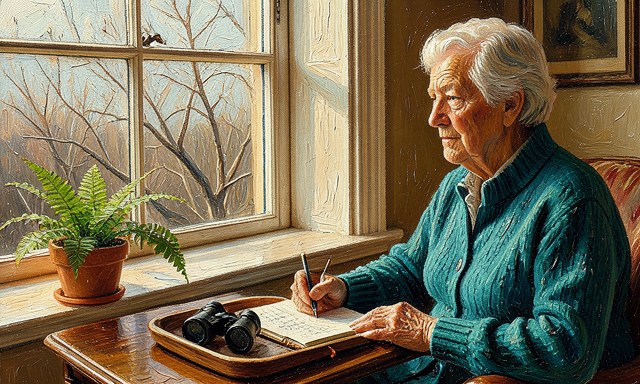
Put the notebook, pencil and binoculars in one place
Put the notebook, pencil and binoculars in one place. A small tray on the sill means the session starts the moment you sit down. Hunting for a pencil is enough to skip a day.
 Howcompass
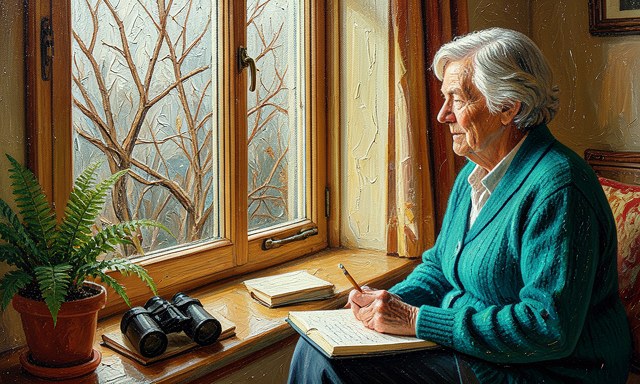
Clean the glass and check your reflection
Clean the glass and check your reflection. A smear or a bright indoor reflection makes every observation harder. Move a lamp if it is the main culprit rather than buying anything.
 Howcompass
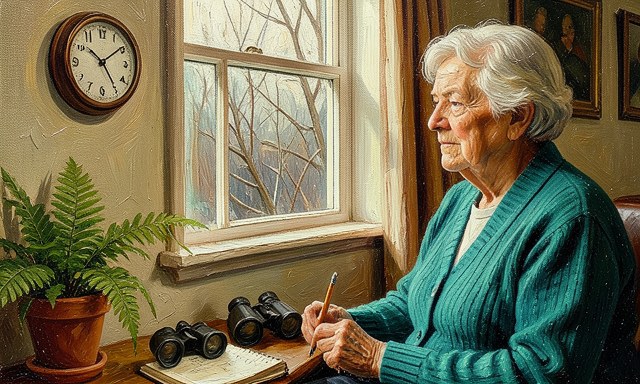
Sit still for two minutes before writing anything
Sit still for two minutes before writing anything. Movement at a window changes what happens outside. Two quiet minutes let the view settle and make the first entry an observation rather than a reaction.
 Howcompass
Choose a regular time, not necessarily an early one
Choose a regular time, not necessarily an early one. Pick a slot that fits your day and keep it for a couple of weeks. Consistency is what makes recurring visitors visible.
Learn a Handful of Regular Visitors
 Howcompass
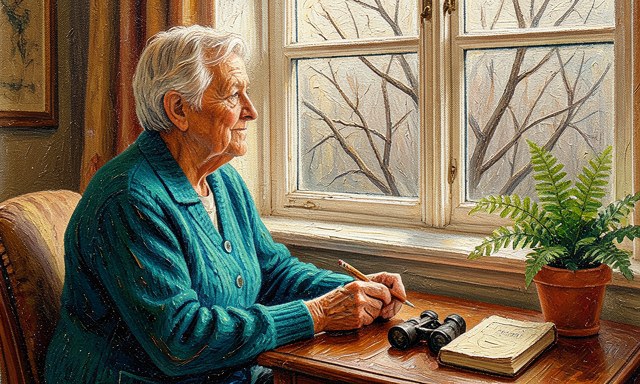
Describe before you try to name anything
Describe before you try to name anything. Write size relative to something familiar, shape, colour patches and how it moves. A good description is useful even when the name stays unknown. For the primary source behind this phase, see eBird — community bird observation records. Related on Howcompass: take better photos.
 Howcompass
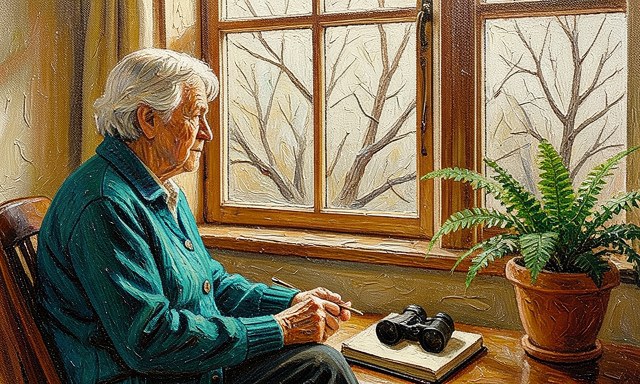
Notice behaviour as much as appearance
Notice behaviour as much as appearance. Does it perch, hop, cling, feed on the ground or arrive in a group? Behaviour often narrows an identification more reliably than a glimpse of colour.
 Howcompass
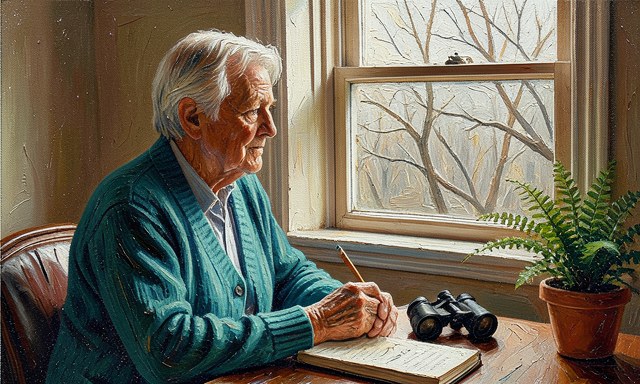
Keep an 'unidentified' list without embarrassment
Keep an 'unidentified' list without embarrassment. A short list of the ones you cannot name is a useful record, not a failure. Return to it when you have a better view or a good field guide.
 Howcompass
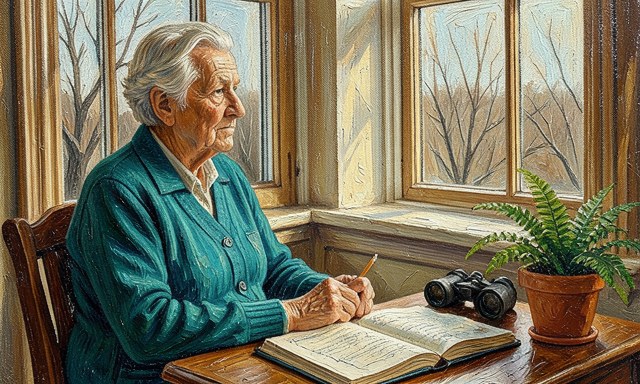
Get one field guide or one reputable bird site for your region
Get one field guide or one reputable bird site for your region. The birds at your window depend on where you live. Choose a resource written for your area rather than a global list.
 Howcompass
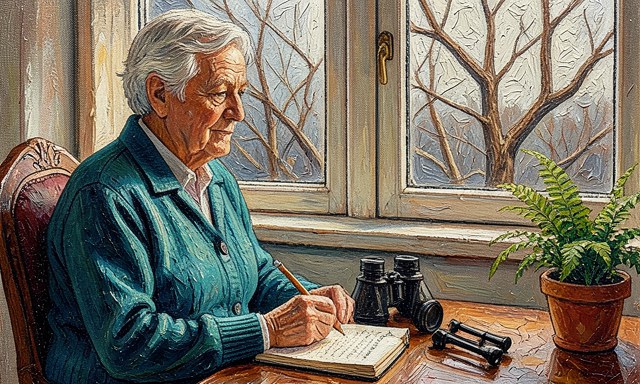
Compare your description against two or three likely matches
Compare your description against two or three likely matches. Check size, shape, markings, behaviour and habitat together. A single colour match is a weak basis for a confident name. Browse all illustrated guides or the Hobbies and Crafts category for more.
 Howcompass
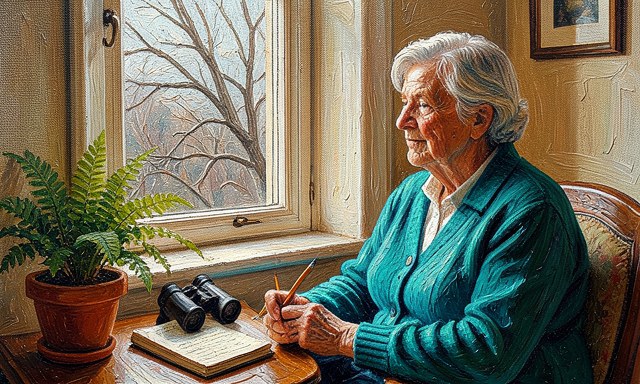
Write 'probably' when you are not sure
Write 'probably' when you are not sure. A hedged identification stays honest and can be corrected later. Certainty written too early tends to stick in every following entry.
Keep a Field Notebook That Improves
 Howcompass
Write date, start time and how long you watched
Write date, start time and how long you watched. Those three fields make entries comparable. Two ten-minute sessions are not the same as one long afternoon, and the record should show that. For the primary source behind this phase, see RSPB — UK bird and wildlife guidance.
 Howcompass
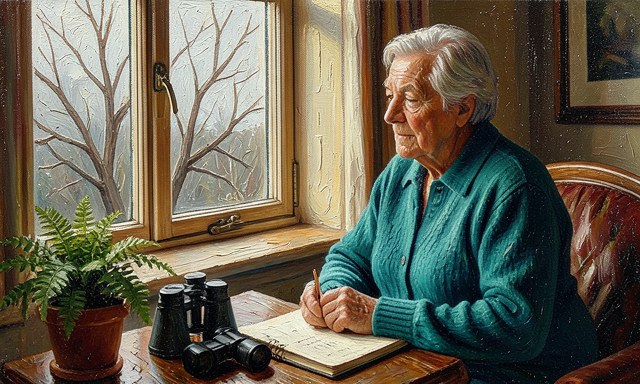
Note the weather in plain words
Note the weather in plain words. Bright, overcast, windy, rain, frost - a few ordinary words are enough. Conditions often explain an unexpectedly quiet morning. Related on Howcompass: keep a daily visual sketchbook diary.
 Howcompass
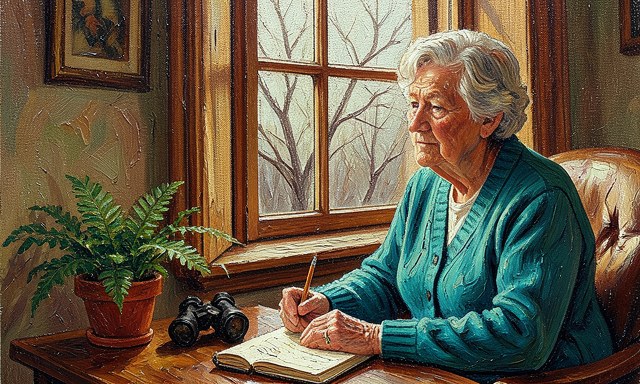
Record where in the view each visitor appeared
Record where in the view each visitor appeared. Use the sketch from step 2: left branch, fence post, ground below the shrub. Location turns a list of names into an account of how the space is used.
 Howcompass
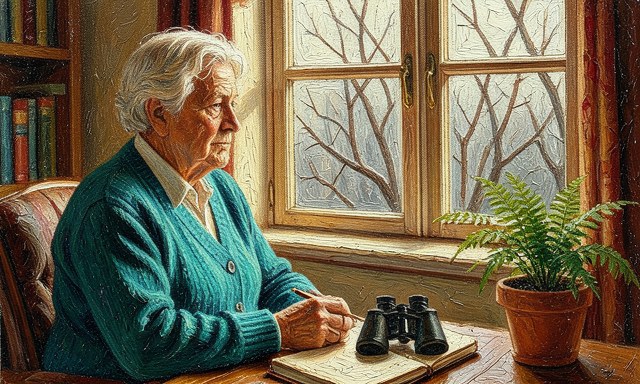
Write one line about what each bird was doing
Write one line about what each bird was doing. Feeding, calling, preening, passing through - one line is enough. Repeated behaviours are the most interesting thing a long-running notebook reveals.
 Howcompass
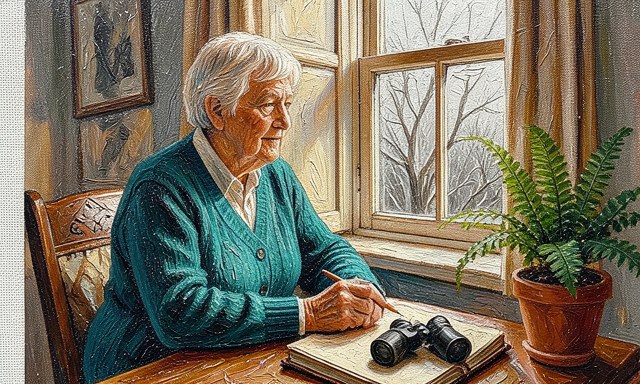
Make a quick sketch of one detail per session
Make a quick sketch of one detail per session. A beak shape, a tail outline or the way a bird holds itself. Drawing slowly teaches you to look; artistic quality is irrelevant.
 Howcompass
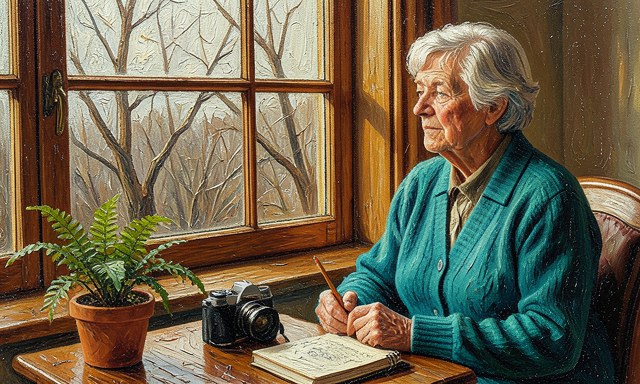
Add a photograph only when it helps
Add a photograph only when it helps. A photo through glass can preserve a detail for later checking. Do not let the attempt to get a shot replace the sitting-still part of the session.
 Howcompass
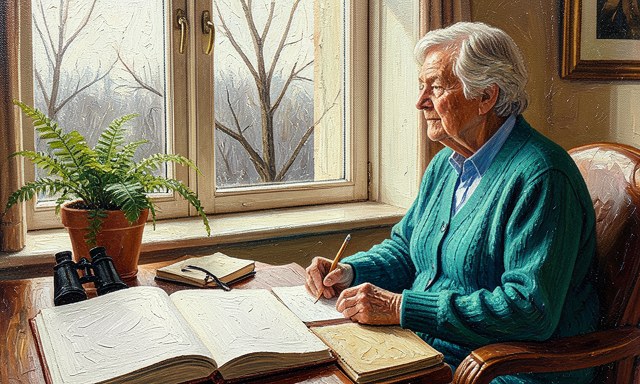
End with one sentence on what was different
End with one sentence on what was different. A new visitor, an unusual quiet, a change in the weather. This single line is what makes a month of entries worth rereading.
Add Feed, Water and Shelter Responsibly
 Howcompass
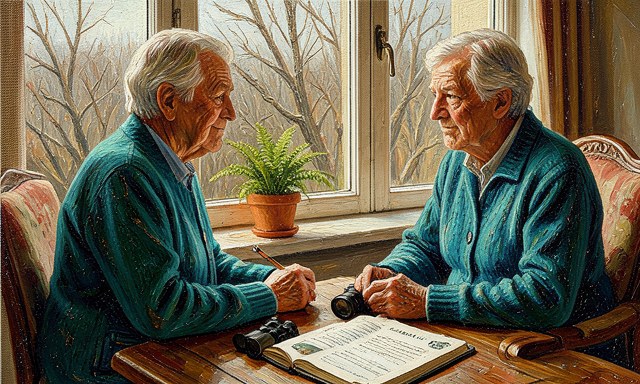
Check local guidance before putting out food
Check local guidance before putting out food. Advice on feeding varies by region, season and local wildlife. Follow the guidance of a recognised bird organisation or local authority where you live. For the primary source behind this phase, see British Trust for Ornithology — bird recording.
 Howcompass
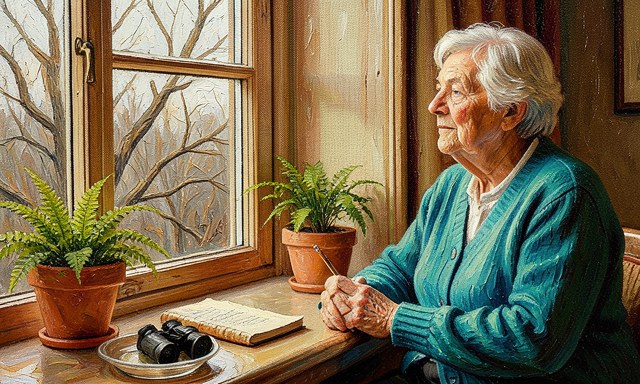
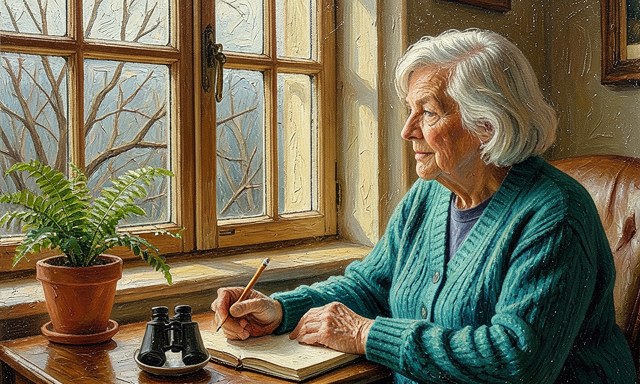
Start with one simple feeder or a plain water dish
Start with one simple feeder or a plain water dish. One station is easy to keep clean and easy to watch. A spread of different feeders creates more maintenance than a beginner needs. Related on Howcompass: start a daily journal.
 Howcompass
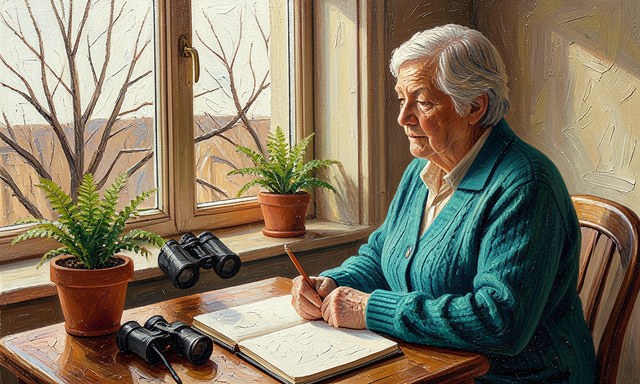
Place it where you can see it and reach it
Place it where you can see it and reach it. A feeder you cannot clean comfortably will not be cleaned. Visibility and access matter more than a perfect position in the garden. Browse all illustrated guides or the Hobbies and Crafts category for more.
 Howcompass
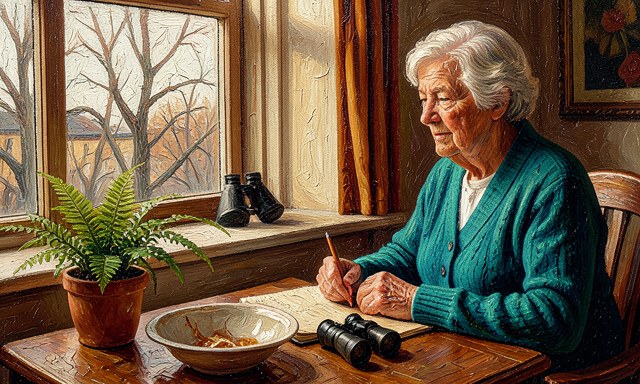
Clean feeders and dishes as the guidance recommends
Clean feeders and dishes as the guidance recommends. Follow the cleaning instructions from a reputable bird organisation rather than a homemade schedule. Note the cleaning day in your notebook.
 Howcompass
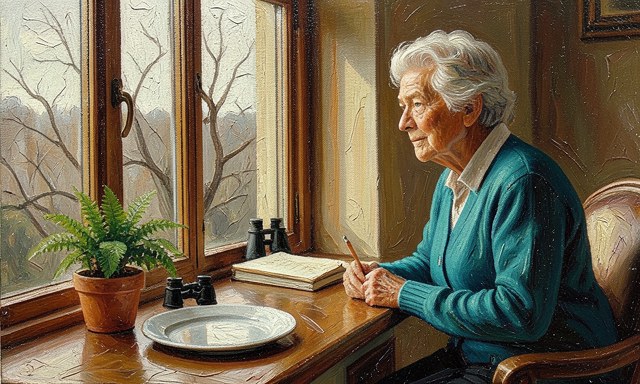
Remove uneaten food rather than adding on top
Remove uneaten food rather than adding on top. Old food left under fresh food is unpleasant for wildlife and makes the station harder to judge. Clear it before refilling.
 Howcompass
Watch for problems and stop if something seems wrong
Watch for problems and stop if something seems wrong. If birds appear unwell or other animals are being disturbed, remove the station and check local guidance. Observation includes noticing when an intervention is not helping.
 Howcompass
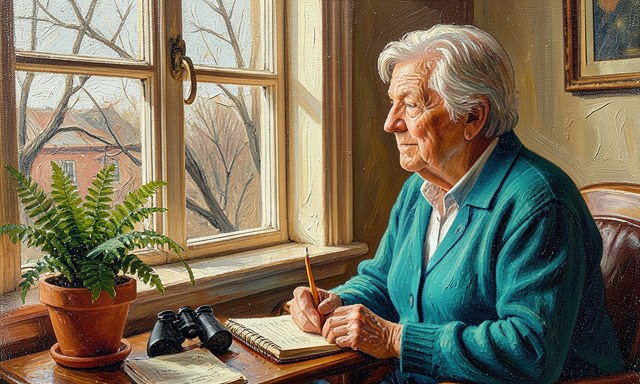
Record what you put out and when
Record what you put out and when. A dated line lets you compare visits before and after a change. Without it, a busy morning is just a nice memory rather than a useful observation.
Turn Short Sessions Into a Habit
 Howcompass
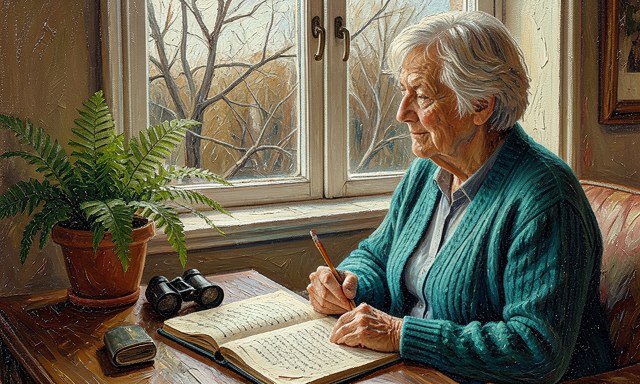
Once a week, read the last seven entries
Once a week, read the last seven entries. Look for repeating visitors, times and behaviours. A weekly read is where a pile of notes starts to turn into knowledge of your own small patch. For the primary source behind this phase, see Royal Horticultural Society — gardening advice.
 Howcompass
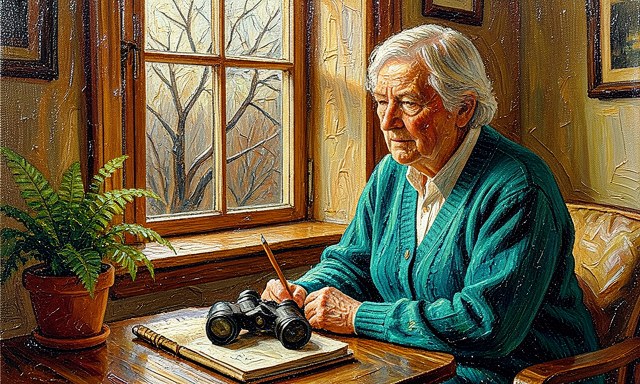
Make a short list of regulars you can recognise
Make a short list of regulars you can recognise. Two or three confidently recognised visitors are a better milestone than a long list of guesses. Add to it slowly. Related on Howcompass: plan a low-maintenance balcony herb garden.
 Howcompass
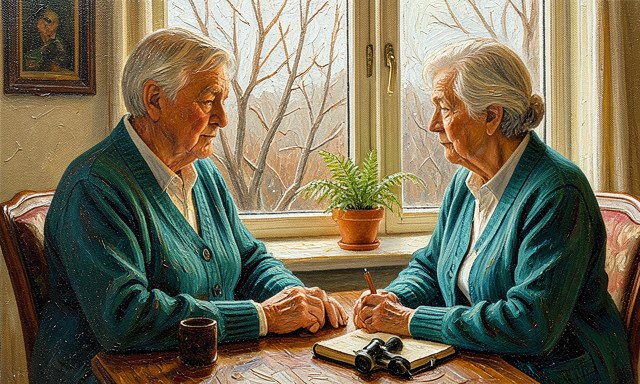
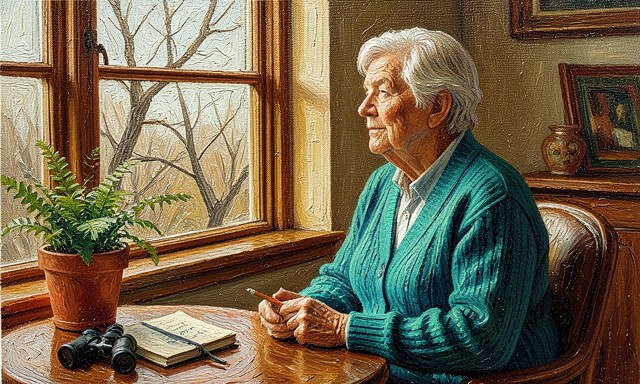
Note one question for the next week
Note one question for the next week. Does the same bird return at the same hour, or does the shrub matter more than the feeder? A question gives the next session a gentle purpose.
 Howcompass
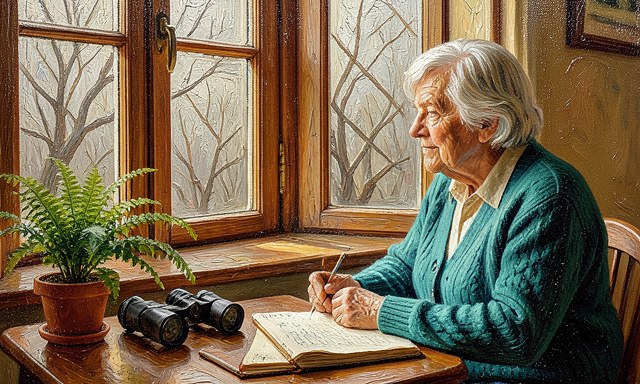
Let a quiet session count as a session
Let a quiet session count as a session. A page saying 'ten minutes, nothing new' is real data. Expecting a sighting every time is the quickest way to stop looking.
 Howcompass
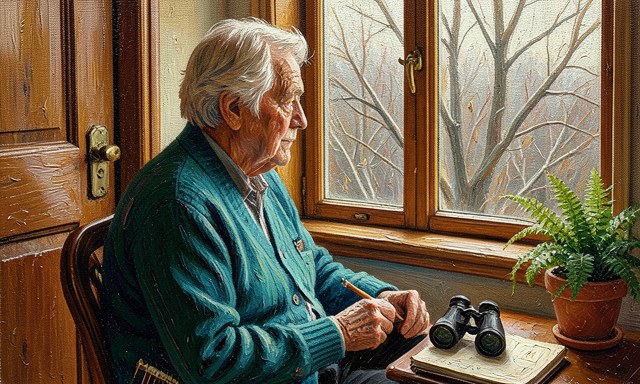
Share one observation with a local group or a friend
Share one observation with a local group or a friend. Community sighting projects and local clubs welcome plain dated observations. They also help you check an uncertain identification with people who know the area.
 Howcompass
Take the notebook outside when you are ready
Take the notebook outside when you are ready. The same skeleton - date, time, weather, place, behaviour - works on a walk or in a park. The window was the training ground, not the limit.
Frequently Asked Questions
Question: Do I need binoculars to start?
No. A comfortable chair, a window and a pencil are enough for the first few weeks. Add optics later if a particular detail keeps escaping you.
Question: Which field guide should I buy?
One written for your region, in a format you will actually open. A recognised bird organisation's site is a perfectly good alternative to a book.
Question: Is it safe to feed birds from a window?
Follow local guidance and the cleaning instructions of a reputable bird organisation, keep one station you can reach, and stop if something appears wrong.
Question: What if I cannot identify anything at all?
Keep an 'unidentified' list with descriptions. Careful notes about an unnamed visitor are still useful, and they are often the entries you can resolve later.
Tips
- Read: Skim the last seven entries and mark any returning visitor.
- List: Add at most one new name to your regulars card.
- Ask: Write one question to carry into the next session.
Warnings
- Naming a bird from a single glimpse of colour: Write a description first - size, shape, behaviour, where it perched. Check it against a regional field guide and be willing to write 'probably'.
- Feeding without checking local guidance: Advice differs by region and season, and a station you cannot clean is worse than none. Check a recognised bird organisation's guidance before putting food out.
- Making the notebook too elaborate to keep: Five fixed fields and one closing line survive a busy week. A page of columns and colour codes usually survives one enthusiastic afternoon.
- Treating a quiet ten minutes as a wasted session: An empty entry is part of the record. Noticing that a usual visitor did not appear is only possible because you sat there and wrote it down.
Related Howcompass Guides

References (7)
- National Audubon Society — bird guides and conservationaudubon.org
- eBird — community bird observation recordsebird.org
- RSPB — UK bird and wildlife guidancerspb.org.uk
- British Trust for Ornithology — bird recordingbto.org
- Royal Horticultural Society — gardening advicerhs.org.uk
- TED — talks and ideasted.com
- NASA — official sitenasa.gov
Sources are listed so you can read the underlying guidance yourself. Our editorial policy explains how guides are reviewed.
Did this article help you?
0 readers found this helpful — add your vote.
No comments yet — be the first to share your results.