How to Plan a Holiday Dinner (Step by Step)
A guide to Phase 1 — Fix the Scope and the Menu, Phase 2 — Write the Timeline and Shop, Phase 3 — Prep in the Days Before, Phase 4 — Cook, Serve and Wind Down
A calm holiday dinner is mostly won in the planning, not on the day itself. This guide takes you from a guest count to a cleared table in 28 concrete steps, built around one centrepiece and a timeline that runs backwards from the moment you want to serve. We choose dishes that can be made ahead, clear fridge space early, and cook the main by thermometer instead of by the clock. Follow the order and the main course, the sides and the table all land at roughly the same, hot moment. Browse all illustrated guides or the Holidays and Traditions category for more illustrated walkthroughs on Howcompass.
How do you plan a Holiday Dinner (Step by Step)?
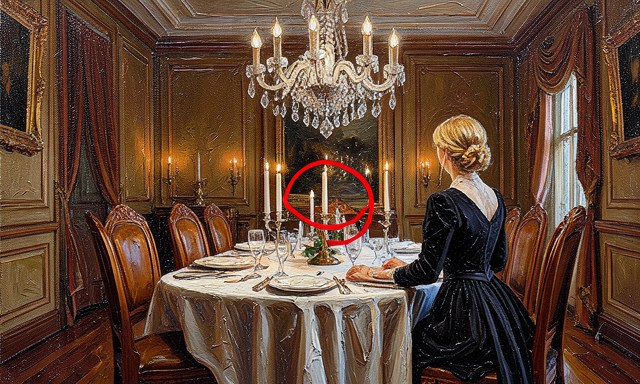 Howcompass | How to Plan a Holiday Dinner (Step by Step)
Phase 1 — Fix the Scope and the Menu
HowcompassFix the date and a firm headcount
Fix the date and a firm headcount. Choose the serving time and get a realistic number of guests, with a RSVP deadline a week ahead. The headcount drives the turkey or roast size, the shopping, the seating and how many dishes the kitchen can handle. For the primary source behind this phase, see Good Housekeeping — home and style.
 Howcompass
Ask about allergies and diets now
Ask about allergies and diets now. Contact each guest about allergies, intolerance and any vegetarian or religious dietary needs. Knowing this before you design the menu lets you plan one safe alternative instead of improvising at the table.
 Howcompass
Set a per-person budget
Set a per-person budget. Multiply a realistic per-head figure by the confirmed count and decide what it covers — food, drink, flowers or rentals. A number on paper stops the centrepiece and the sides from quietly doubling the spend.
 Howcompass
Choose a seated or buffet style
Choose a seated or buffet style. A seated dinner needs matching place settings and precise timing; a buffet frees oven space and copes with mixed ages. Pick one, because it changes the menu, the table plan and the serving sequence.
 Howcompass
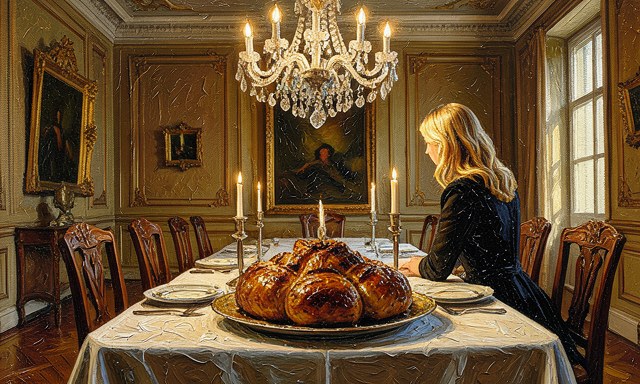
Anchor the meal with one centrepiece
Anchor the meal with one centrepiece. Choose a single roast, bird or elaborate dish and let everything else be simple. One showpiece focuses the effort and the oven space, rather than four complicated recipes competing for attention.
 Howcompass
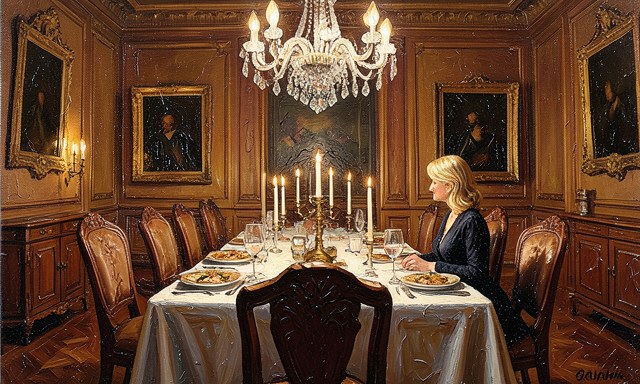
Balance the courses and side dishes
Balance the courses and side dishes. Aim for one starch, two vegetables, a bright salad and one sauce, avoiding three heavy creamy dishes in a row. Think about colour and contrast on the plate as well as flavour, so the meal looks generous without more cooking.
 Howcompass
Pick at least three dishes you can make ahead
Pick at least three dishes you can make ahead. Favour a soup, a braise, a dessert or a dressing that improves overnight. Dishes done the day before free the day itself for the centrepiece and for actually being with your guests. Related on Howcompass: start a meditation practice.
Phase 2 — Write the Timeline and Shop
 Howcompass
Count backwards from the moment you serve
Count backwards from the moment you serve. Put serving time at the right of a sheet and fill in when the main goes in, when it must rest and when sides start. A written countdown turns a pile of recipes into an ordered sequence you can actually follow. For the primary source behind this phase, see King Arthur Baking — baking guides.
 Howcompass
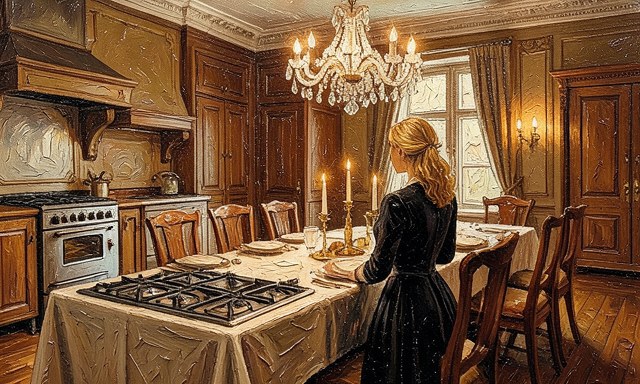
Check the oven and hob capacity
Check the oven and hob capacity. List which dishes need the oven, which need a burner and at what temperature. If three side dishes all demand the oven at 200 °C, move one to a slow cooker or a stovetop pan before the day arrives.
 Howcompass
Schedule the centrepiece first
Schedule the centrepiece first. Use the recipe's weight and cooking time to set when it goes in, then add resting time on the timeline. The main sets the rhythm of the whole meal, so everything else is planned around it.
 Howcompass
Decide the serving order
Decide the serving order. Write down what comes out first, what can sit covered and what must be eaten immediately. Knowing the sequence prevents the classic mistake of a beautiful main going cold while you finish the gravy. Browse all illustrated guides or the Holidays and Traditions category for more.
 Howcompass
Turn the final menu into one shopping list
Turn the final menu into one shopping list. Add up ingredients across every recipe, group them by shop section and take the single list with you. Cooking from a consolidated list is what prevents the third trip for a missing item an hour before guests arrive.
 Howcompass
Order specialty items several days early
Order specialty items several days early. Reserve the bird, a particular cut or a special dessert from the butcher or bakery with a pickup date. Holiday supply is unpredictable, and a pre-ordered item removes the biggest single point of failure.
 Howcompass
Check platters, serving spoons and equipment
Check platters, serving spoons and equipment. Lay out the dishes, cutlery, gravy boat, thermometer and extra pans you will need, and borrow or buy what is missing. Discovering you have no roasting tin on the morning itself is not a problem you can solve calmly. Related on Howcompass: build a capsule wardrobe.
Phase 3 — Prep in the Days Before
 Howcompass
Buy shelf-stable items first
Buy shelf-stable items first. Stock up on flour, sugar, stock, spices, wine and tinned goods several days ahead. These keep indefinitely and get them out of the way, leaving the short pre-dinner window for fresh food only. For the primary source behind this phase, see History.com.
 Howcompass
Prep vegetables a day ahead
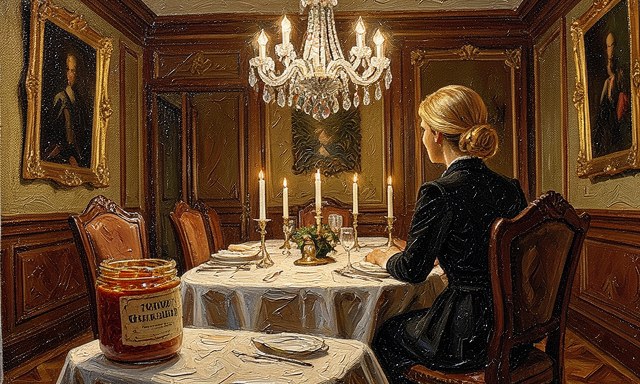
Prep vegetables a day ahead. Peel, chop and portion onions, root vegetables and herbs, then refrigerate them in covered containers. Many vegetables can even go into the roasting tin the night before, saving twenty minutes on the day.
 Howcompass
Make the sauces, dressings and dessert early
Make the sauces, dressings and dessert early. Prepare cranberry sauce, gravy base, stuffing and desserts a day or two before — most taste better after resting. Reheat gently and finish fresh elements at the last minute so they still taste bright.
 Howcompass
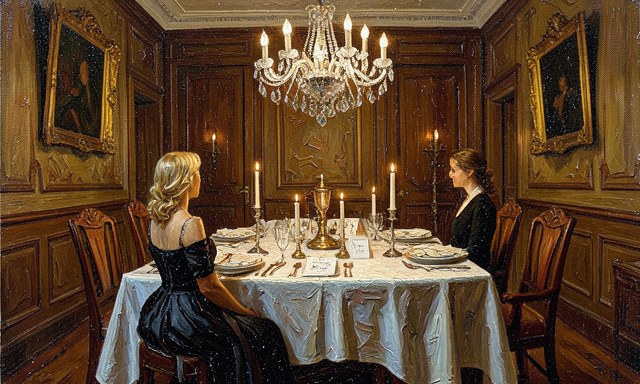
Set the table the night before
Set the table the night before. Lay the linen, cutlery, glasses, candles and place cards, then cover everything against dust. With the table done, the day is left entirely to the food and to welcoming people.
 Howcompass
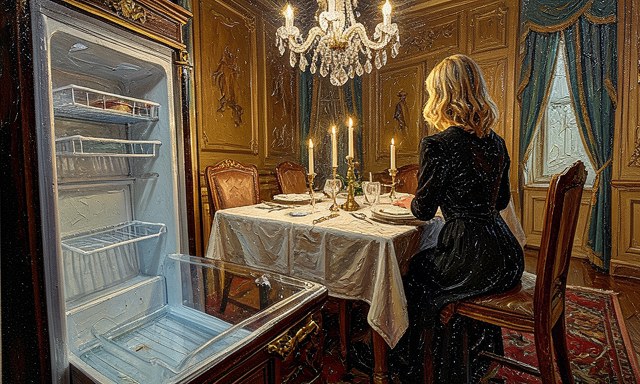
Clear a shelf for the centrepiece
Clear a shelf for the centrepiece. Remove unwanted items and wipe a shelf wide enough for the roasting tin or the bird. A large roast needs space and cold air around it; a crowded fridge warms unevenly and slows cooling.
 Howcompass
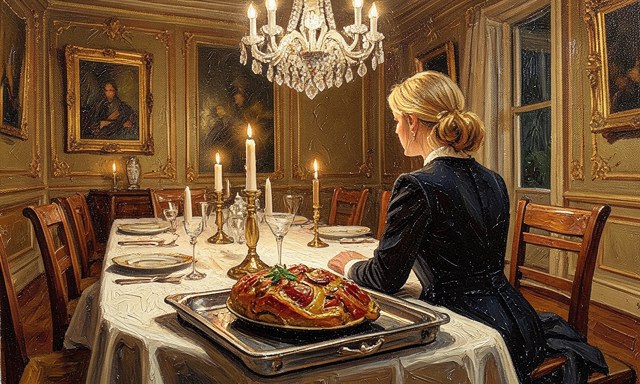
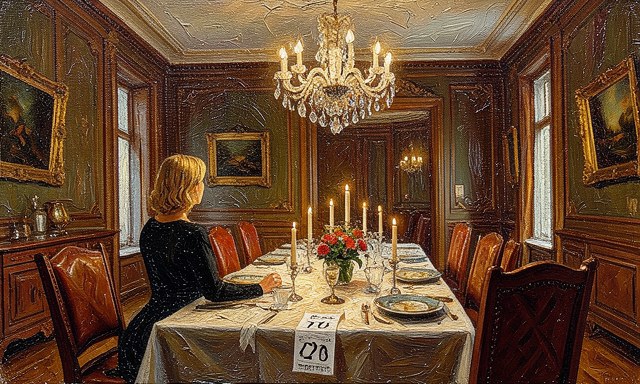
Brine or dry-age the main
Brine or dry-age the main. Following a trusted recipe, salt the bird or roast a day ahead — a wet brine for juiciness or a dry salt rub for crisp, seasoned skin. This early seasoning reaches deeper than anything added just before cooking.
 Howcompass
Label and date every prepared dish
Label and date every prepared dish. Mark each container with its contents and the date it was made, and note the reheating instructions. When several lookalike dishes are stacked in the fridge, labels are what keep the plan on schedule. Related on Howcompass: start a meditation practice.
Phase 4 — Cook, Serve and Wind Down
 Howcompass
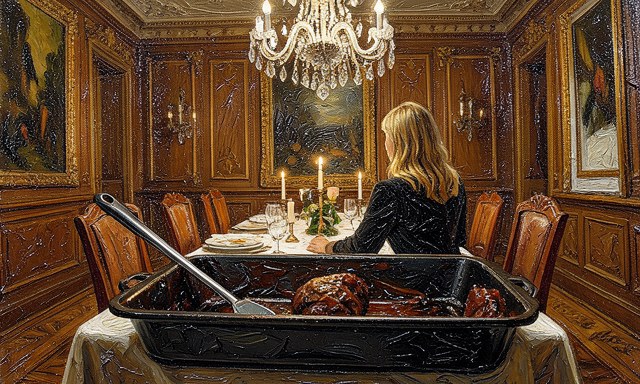
Start the main at its calculated time
Start the main at its calculated time. Put the centrepiece in the oven at the moment your countdown says, then write the actual time on a note. Cooking by a written plan is what lets the sides, the gravy and the table come together. For the primary source behind this phase, see NHS — Live Well.
 Howcompass
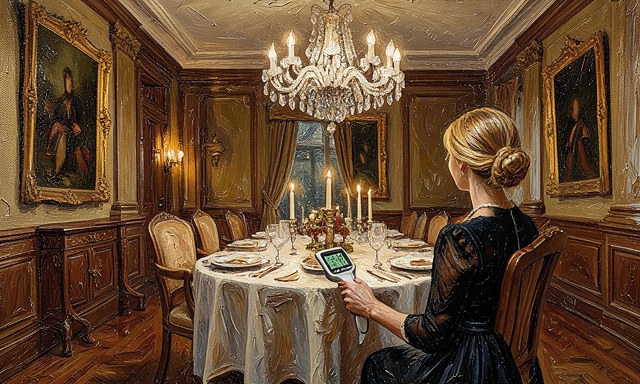
Use a thermometer, not the clock
Use a thermometer, not the clock. Roast to the safe internal temperature for that cut or bird — checked in the thickest part away from bone — rather than trusting minutes alone. A probe or instant-read thermometer is the surest way to avoid a dry main or an undercooked centre.
 Howcompass
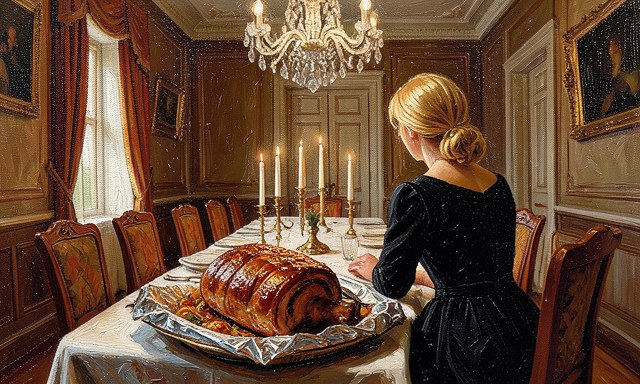
Rest the meat before carving
Rest the meat before carving. Take the roast out, tent it loosely with foil and leave it to rest for 20 to 30 minutes. Resting lets the juices redistribute, so the meat stays moist when sliced and carving does not flood the board.
 Howcompass
Finish the sides while the main rests
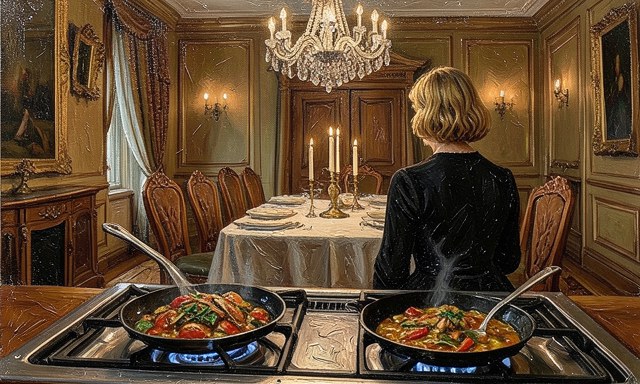
Finish the sides while the main rests. Use that resting window to reheat the prepared vegetables, boil the potatoes and finish the gravy with the pan juices. The oven is now free and everything can be hot at the same moment.
 Howcompass
Warm the platters and plate the main
Warm the platters and plate the main. Heat the serving dishes briefly so the food does not cool on contact, then carve and arrange the centrepiece. A warm platter keeps the main at temperature through the first round of serving.
 Howcompass
Keep hot food hot and cold food cold
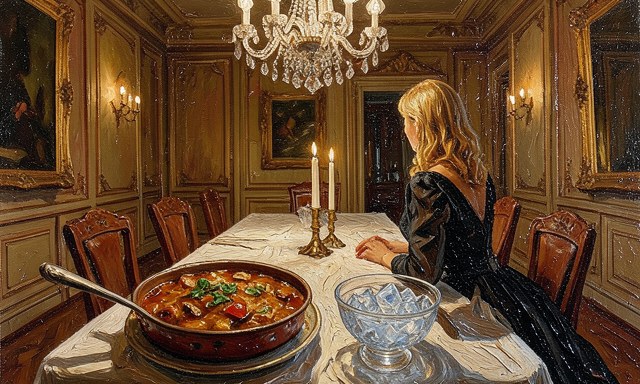
Keep hot food hot and cold food cold. Cover hot dishes and set cold salads over a bowl of ice if they will sit out for a while. Perishable food should not spend more than two hours at room temperature, so clear it promptly between courses.
 Howcompass
Clear and store leftovers promptly
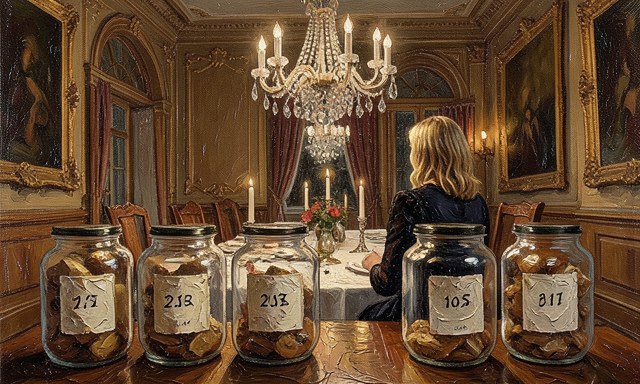
Clear and store leftovers promptly. Pack leftovers into shallow, labelled containers and refrigerate them within two hours, or freeze what you will not eat in three or four days. Shallow containers cool quickly, which is the key to keeping them safe. Related on Howcompass: build a capsule wardrobe.
Frequently Asked Questions
Question: How far ahead can I start preparing?
The shopping list and the timeline can be written a week ahead, specialty items ordered three to five days ahead, and sauces, desserts and vegetables made one to two days ahead. Keep only the centrepiece and last-minute reheating for the day itself.
Question: How much food should I allow per person?
For a seated dinner, plan roughly 150–200 g of main protein per adult plus a generous serving of each side, and a little extra if there are seconds. Ask about dietary needs first so the alternatives are counted, not an afterthought.
Question: What is the safest way to handle a large roast?
Thaw it in the fridge, never on the counter, keep it refrigerated below 4 °C until cooking, and verify the internal temperature with a thermometer. Refrigerate leftovers in shallow containers within two hours.
Warnings
- Cooking everything from scratch on the day: A menu with five dishes that all need last-minute attention guarantees a stressed cook and a cold main. Move at least three components to the days before and reserve the day for the centrepiece and reheating.
- Overloading the oven: Three trays competing for one oven force compromises on temperature and timing, and slow everything down. Check the capacity when you plan the menu and shift a dish to the stovetop, slow cooker or a make-ahead recipe.
- Cooking the main by the clock alone: Birds and roasts vary in size and ovens vary in accuracy, so minutes are only a guide. Use a thermometer to confirm the safe internal temperature and rest the meat before carving for a reliable result.
Related Howcompass Guides



References (4)
- Good Housekeeping — home and stylegoodhousekeeping.com
- King Arthur Baking — baking guideskingarthurbaking.com
- History.comhistory.com
- NHS — Live Wellnhs.uk
Sources are listed so you can read the underlying guidance yourself. Our editorial policy explains how guides are reviewed.
Did this article help you?
0 readers found this helpful — add your vote.
No comments yet — be the first to share your results.