How to Choose the Right AI Tool (Step by Step)
A guide to Phase 1 — Define the Job Before the Tool, Phase 2 — Build a Shortlist, Phase 3 — Test Tools on the Same Task, Phase 4 — Decide, Pilot and Revisit
Picking an AI tool is less about finding the smartest model and more about finding the one that fits your actual task. This guide walks through 28 concrete steps, from writing a precise job description to running a small real-world pilot. You will test every candidate on the same input and score results with a fixed rubric, so a polished demo cannot win on style alone. Follow the order and you will choose a tool you can justify, afford, and keep using past the free trial. Browse all illustrated guides or the AI Tools & Platforms category for more illustrated walkthroughs on Howcompass.
How do you choose the Right AI Tool (Step by Step)?
 Howcompass | How to Choose the Right AI Tool (Step by Step)
Phase 1 — Define the Job Before the Tool
HowcompassDescribe the job in one sentence
Describe the job in one sentence. Write the exact outcome you need, such as turning interview notes into a one-page summary. A precise task statement becomes the yardstick for every tool you later test. For the primary source behind this phase, see Anthropic — AI research and documentation.
 Howcompass
List the concrete deliverables
List the concrete deliverables. Name what finished work looks like, including format and length, such as a 500-word draft or a cleaned CSV. Deliverables make tool output comparable rather than merely impressive-looking.
 Howcompass
Identify your input types
Identify your input types. Note whether the tool must handle plain text, long documents, images, audio or spreadsheets. Input type eliminates most candidates immediately and saves hours of aimless trial.
 Howcompass
Estimate how often you will use it
Estimate how often you will use it. Decide if this is a daily need, a weekly task or a one-off, because frequency changes what you can justify spending. Daily use can support a paid plan; a one-off rarely can.
 Howcompass
Set a firm monthly budget
Set a firm monthly budget. Write the most you will pay per month and include likely overage costs for heavy use. A hard ceiling stops a free trial from quietly turning into an unplanned bill.
 Howcompass
List your data and privacy requirements
List your data and privacy requirements. Mark which material is confidential and whether it may leave your organisation or country. This decides whether a consumer tool is acceptable at all, before quality is even considered.
 Howcompass
Name the tools it must connect to
Name the tools it must connect to. List any apps the tool has to work with, such as your editor, drive or ticketing system. A great model that cannot reach your files will not fit the workflow. Related on Howcompass: prompt AI image generators.
Phase 2 — Build a Shortlist
 Howcompass
Find candidates by task category
Find candidates by task category. Search for tools built for your specific task, such as summarisation or code review, rather than general best-AI lists. Category-focused shortlisting surfaces tools that genuinely fit the job. For the primary source behind this phase, see NIST — AI Risk Management Framework.
 Howcompass
Read the official capability limits
Read the official capability limits. Check the provider's own documentation for context-window size, supported file types and known weak spots. Marketing pages show strengths; the docs tell you where a tool stops.
 Howcompass
Check the release notes
Check the release notes. Skim recent changelogs to see whether the tool is actively improved or quietly neglected. A fast-moving tool may fix your main complaint within a single month.
 Howcompass
Drop anything that fails a hard constraint
Drop anything that fails a hard constraint. Remove candidates that break your budget, privacy or integration requirements before testing any of them. Testing tools you could never adopt wastes the most valuable part of your time. Browse all illustrated guides or the AI Tools & Platforms category for more.
 Howcompass
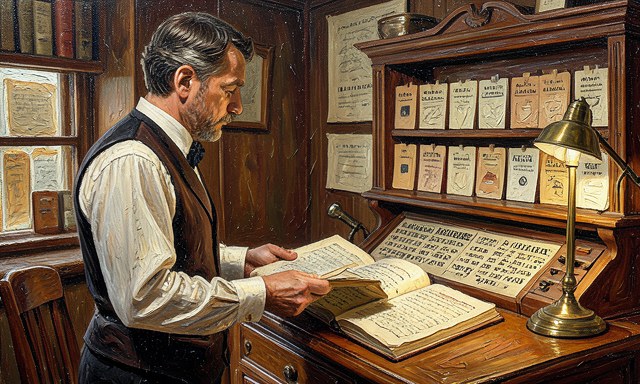
Read the data retention policy
Read the data retention policy. Find out whether your prompts are stored, used for training, or deletable, and how long they are kept. If the answer is unclear, treat that as a risk rather than a minor detail.
 Howcompass
Check rate and usage limits
Check rate and usage limits. Look for message caps, token limits or queueing at busy hours that could interrupt daily work. Generous limits on paper matter less than predictable access at peak times.
 Howcompass
Confirm you can export your work
Confirm you can export your work. Make sure outputs and history can be exported in a usable format before you commit. An easy exit is what keeps a subscription a choice rather than a trap. Related on Howcompass: write with AI without sounding robotic.
Phase 3 — Test Tools on the Same Task
 Howcompass
Write one realistic prompt
Write one realistic prompt. Draft a prompt taken from real work, with the same context and instructions you would actually give. A toy prompt produces toy results that cannot predict daily performance. For the primary source behind this phase, see Mozilla — web and browser resources.
 Howcompass
Freeze one set of input material
Freeze one set of input material. Use the identical document, dataset or image for every candidate so comparisons stay fair. Changing the input between tools makes every score meaningless.
 Howcompass
Define a simple scoring rubric
Define a simple scoring rubric. Decide in advance how you will judge accuracy, usefulness and clarity, such as a 1-to-5 score for each. A fixed rubric stops a polished but wrong answer from winning on style.
 Howcompass
Record how long each run takes
Record how long each run takes. Time every test from prompt to usable output, including fixes you had to make. A slightly better answer that takes four times longer may not be worth the wait.
 Howcompass
Run each test three times
Run each test three times. Repeat the same prompt three times per tool to see how stable the output is. A tool that is brilliant once and mediocre twice is unreliable for daily work.
 Howcompass
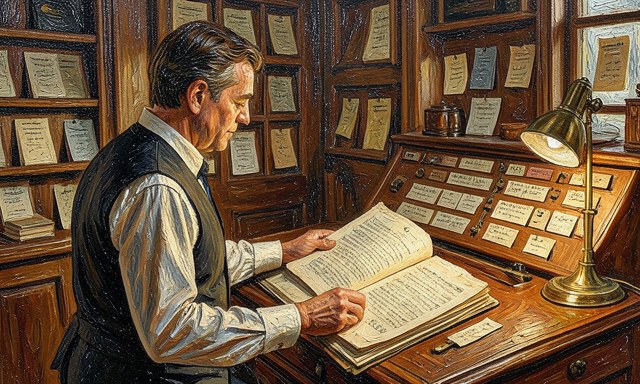
Log where each tool fails
Log where each tool fails. Write down every error, refusal or invented detail in a shared notes sheet. Failure patterns are more revealing than average scores once you know your real task.
 Howcompass
Try one long or awkward input
Try one long or awkward input. Push a candidate with a longer document or an unusual edge case from your actual work. Tools often look excellent on short prompts and break on real material. Related on Howcompass: prompt AI image generators.
Phase 4 — Decide, Pilot and Revisit
 Howcompass
Use the leading tool on real work
Use the leading tool on real work. Put the top candidate into one genuine workflow for a week, not just more tests. Real work reveals friction, such as extra reformatting, that a benchmark cannot. For the primary source behind this phase, see Microsoft Learn.
 Howcompass
Measure time saved honestly
Measure time saved honestly. Compare the pilot week with how long the same task took before, counting your correction time. Savings that vanish once editing is included are not real savings.
 Howcompass
Ask a colleague to try it
Ask a colleague to try it. Have someone unfamiliar with the tool attempt the same task and note where they get stuck. Their confusion predicts onboarding costs for the rest of your team.
 Howcompass
Check the output needs only light editing
Check the output needs only light editing. Confirm that a human pass makes the result publishable, rather than a full rewrite. A tool that drafts and one that merely generates rough text are very different.
 Howcompass
Calculate the true monthly cost
Calculate the true monthly cost. Add subscription, overages and the value of your own time spent fixing output. The cheapest sticker price is often the most expensive option in practice.
 Howcompass
Keep a fallback for critical work
Keep a fallback for critical work. Decide which tool or manual process you will use if the chosen one is down or changes. Depending on a single provider for a daily task is an avoidable risk.
 Howcompass
Set a thirty-to-sixty-day review
Set a thirty-to-sixty-day review. Put a date in your calendar to reassess whether the tool still earns its place. Needs change and models improve, so a decision made today deserves a scheduled second look. Related on Howcompass: write with AI without sounding robotic.
Frequently Asked Questions
Question: Should I pay for a tool or stay on free plans?
Start free to learn what you need, then pay only when a paid tier removes a limit genuinely blocking regular work; judge by time saved, not features listed.
Question: How many tools should I use?
One solid tool per recurring task is enough for most people; adding more often fragments the workflow and raises cost faster than quality.
Question: How do I know an AI output is trustworthy?
Verify factual claims against a primary source, check that quoted references exist, and keep a human review step for anything you publish or send externally.
Warnings
- Choosing by brand rather than task: A famous general model is not automatically the best fit; match the tool to the specific job and input type you actually have.
- Trusting a single impressive demo: One great output proves little about reliability; repeat the same realistic task several times and watch for inconsistency.
- Ignoring data and exit terms: A tool that stores confidential prompts or will not export your work can create problems no quality advantage offsets; read the policy before the trial.
Related Howcompass Guides




References (4)
- Anthropic — AI research and documentationanthropic.com
- NIST — AI Risk Management Frameworknist.gov
- Mozilla — web and browser resourcesmozilla.org
- Microsoft Learnlearn.microsoft.com
Sources are listed so you can read the underlying guidance yourself. Our editorial policy explains how guides are reviewed.
Did this article help you?
0 readers found this helpful — add your vote.
No comments yet — be the first to share your results.