How to Prompt AI Image Generators (Step by Step)
A guide to Phase 1 — Define the Image Before the Prompt, Phase 2 — Build a Layered Prompt, Phase 3 — Generate and Iterate Deliberately, Phase 4 — Refine, Export and Use Responsibly
Getting a usable image from a generator is rarely about one clever sentence — it is about specifying a shot and narrowing it in controlled passes. This guide covers 30 concrete steps, from writing a one-line shot list to upscaling and checking usage rights. You will learn to order a prompt by priority, hold one variable steady per variation, and fix artifacts with inpaint instead of starting over. Work through it once and you will have a repeatable method that turns vague descriptions into images you would actually ship. Browse all illustrated guides or the AI Image & Design category for more illustrated walkthroughs on Howcompass.
How do you prompt AI Image Generators (Step by Step)?
 Howcompass | How to Prompt AI Image Generators (Step by Step)
Phase 1 — Define the Image Before the Prompt
HowcompassState the image's job in one line
State the image's job in one line. Write what the picture must do, such as illustrate a blog header about quiet mornings. A clear purpose decides the composition and detail level before you choose any style words. For the primary source behind this phase, see Anthropic — AI research and documentation.
 Howcompass
Name the one main subject
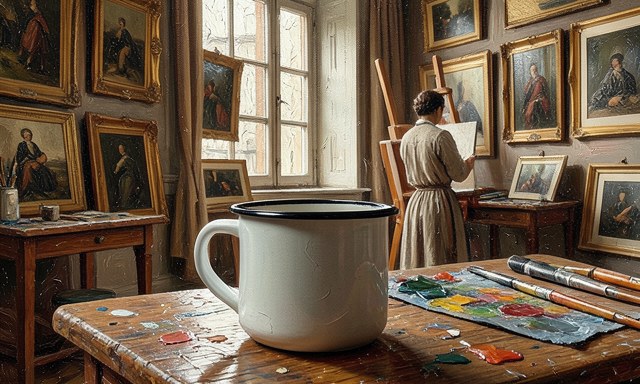
Name the one main subject. Pick a single focal subject and describe it concretely, such as a chipped enamel mug rather than a drink. One dominant subject gives the generator a clear centre instead of competing elements.
 Howcompass
List what must appear
List what must appear. Note every required object and its distinguishing detail, such as a folded linen cloth beside the mug. Required items belong in the prompt explicitly, because the model will not infer them from mood.
 Howcompass
List what must stay out
List what must stay out. Name anything that should be absent, such as text, logos, extra fingers or a second cup. Turning these into a negative prompt removes the most common and most distracting failures.
 Howcompass
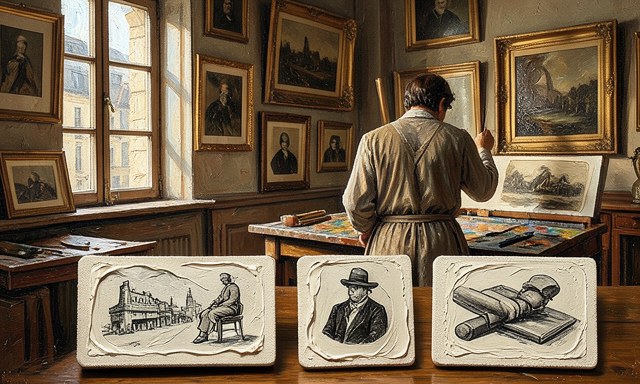
Pick one medium and commit
Pick one medium and commit. Choose between photographic, illustrated, painterly or 3D render and say it plainly. Mixing mediums like cinematic oil-pencil render confuses the model and produces an inconsistent finish.
 Howcompass
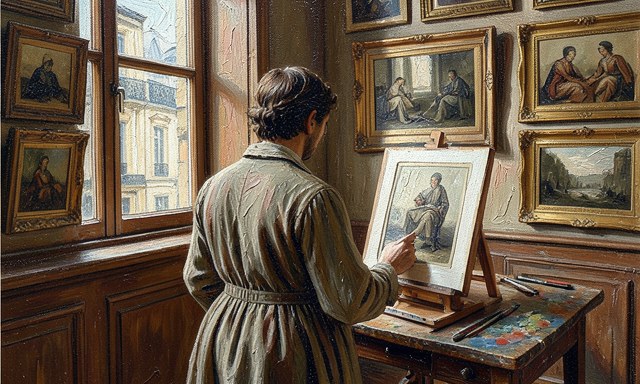
Describe the light source
Describe the light source. Specify the light, such as soft north-window light from the left at golden hour, because it drives mood and form. Lighting is a higher-leverage style word than most adjectives you could add.
 Howcompass
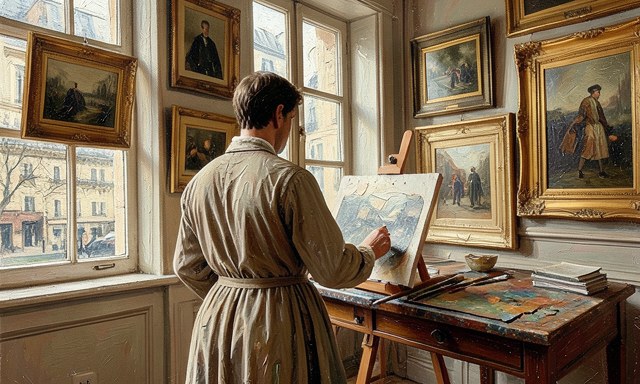
Set a limited colour palette
Set a limited colour palette. Name two or three colours and one accent, such as warm greys with a single red detail. A constrained palette reads as intentional, while an unspecified one drifts toward generic saturation. Related on Howcompass: automate your inbox with AI.
 Howcompass
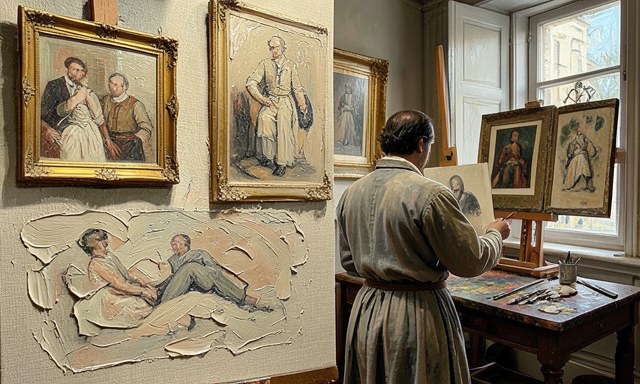
Find one to two reference images
Find one to two reference images. Choose real references for composition or texture and use them as a style guide rather than copying them outright. A reference communicates a look far faster than stacking adjectives.
Phase 2 — Build a Layered Prompt
 Howcompass
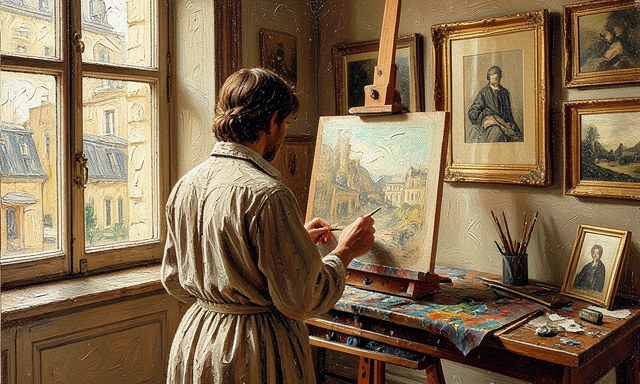
Lead with the subject and action
Lead with the subject and action. Open with the main subject and what it is doing, in a short concrete clause. Most generators weight the earliest tokens most, so the focal idea should never be buried at the end. For the primary source behind this phase, see NIST — AI Risk Management Framework.
 Howcompass
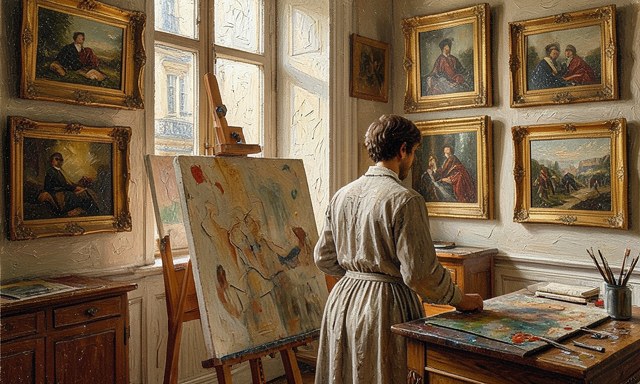
Add the setting and props next
Add the setting and props next. Follow with the immediate surroundings and the few supporting objects you listed as required. Keep this layer tight, since every extra prop competes with the subject for attention.
 Howcompass
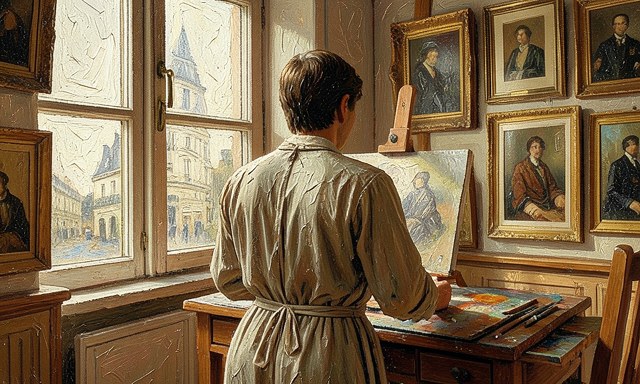
Finish with style and lighting
Finish with style and lighting. Close with the medium, palette and light direction as a final clause. These are modifiers on the scene, not the scene itself, so they belong after the description is complete. Browse all illustrated guides or the AI Image & Design category for more.
 Howcompass
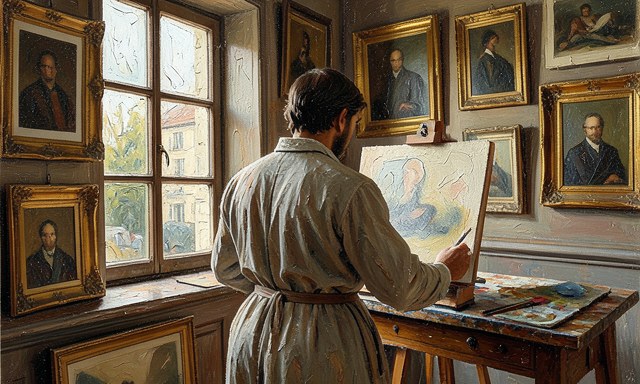
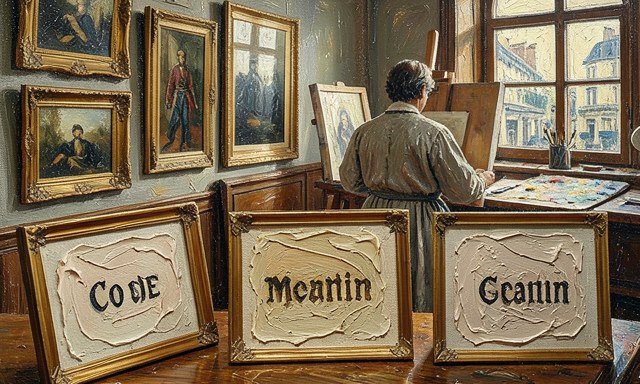
Write one clean, comma-separated line
Write one clean, comma-separated line. Join the layers into one readable line without repeated adjectives or contradictory terms. Redundant descriptors like sharp and soft cancel each other out and weaken the result.
 Howcompass
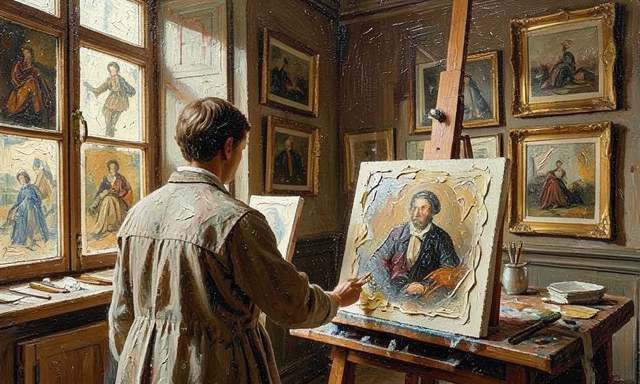
Specify the shot size
Specify the shot size. Name the framing, such as close-up, medium shot or wide establishing view. Shot size tells the model how much of the subject to show and how much detail to spend on it.
 Howcompass
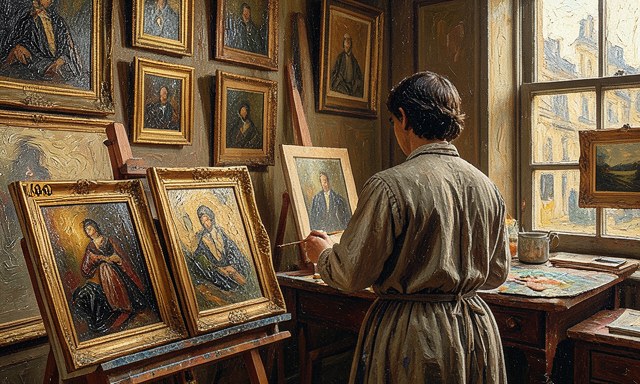
State the camera angle and lens
State the camera angle and lens. Add a viewpoint like eye-level, slightly above, or a 50 mm lens look. Angle and lens change perspective and distortion, which matter more than another style adjective. Related on Howcompass: make an AI-generated video.
 Howcompass
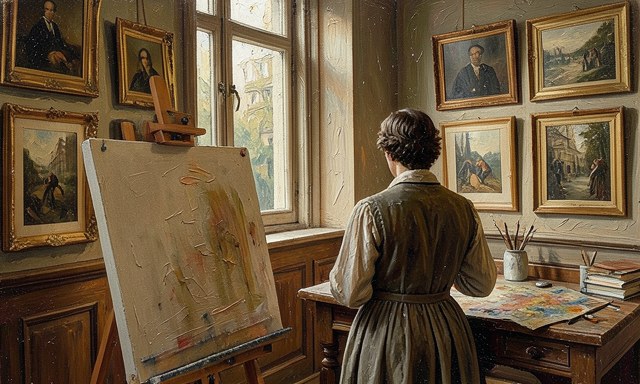
Set the aspect ratio
Set the aspect ratio. Choose the output ratio up front, such as 16:9 for a header or 4:5 for a portrait post. Locking the ratio avoids cropping away the subject after a good generation.
 Howcompass
Reserve space where text will go
Reserve space where text will go. Ask for negative space on one side if the image needs a title or caption later. Allocating empty area in the prompt beats trying to squeeze text into a busy frame afterwards.
Phase 3 — Generate and Iterate Deliberately
 Howcompass
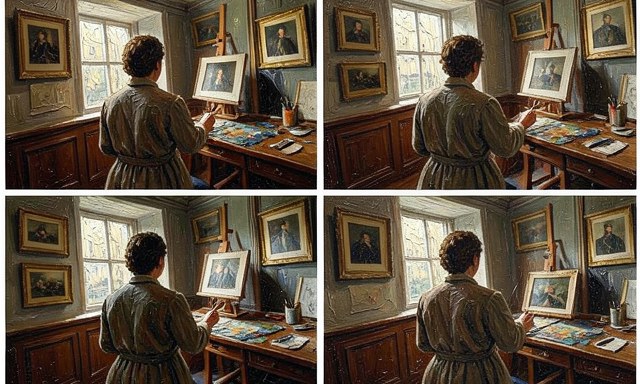
Generate four options from one prompt
Generate four options from one prompt. Produce a small batch first rather than refining a single result. Four options show the model's range and tell you which direction is worth pursuing. For the primary source behind this phase, see Mozilla — web and browser resources.
 Howcompass
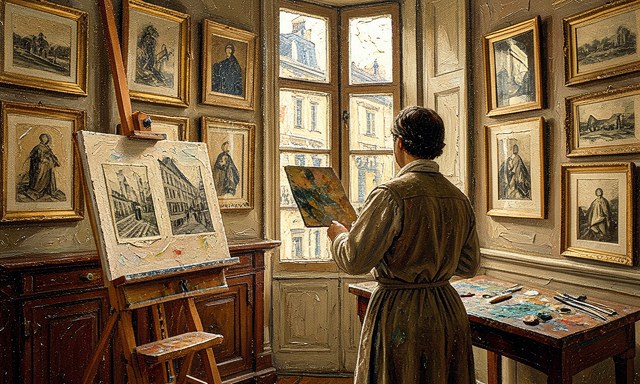
Hold the seed steady
Hold the seed steady. Keep the same seed when you change a detail so the rest of the image stays comparable. A fixed seed isolates the effect of your edit instead of reshuffling everything.
 Howcompass
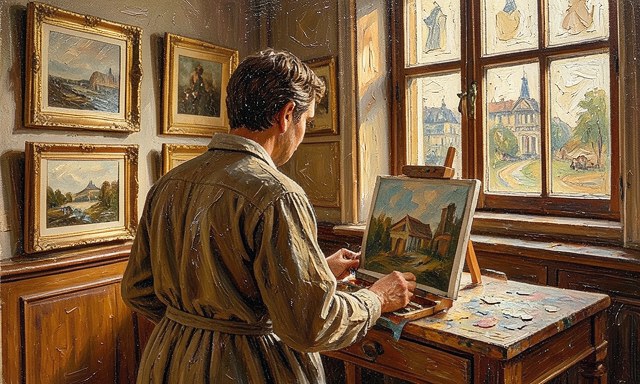
Change one variable per pass
Change one variable per pass. Alter only one element, such as the light direction or the accent colour, then compare. Single-variable changes teach you what each word actually does in this generator.
 Howcompass
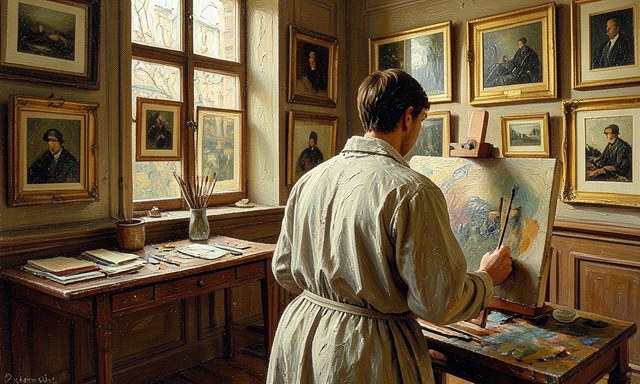
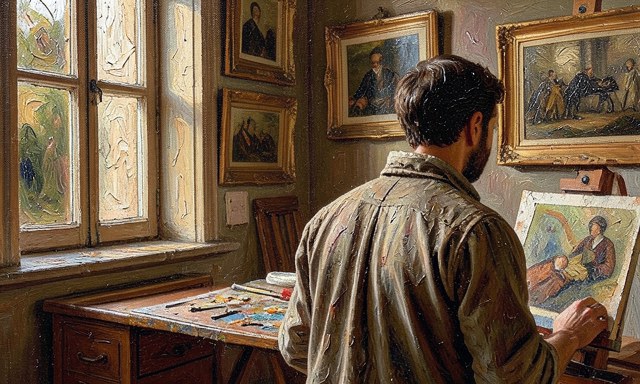
Use negative prompts for recurring flaws
Use negative prompts for recurring flaws. Add the specific flaw to the negative field when it keeps appearing, such as extra limbs or blurry text. Targeted negatives fix the problem without draining detail from the whole image.
 Howcompass
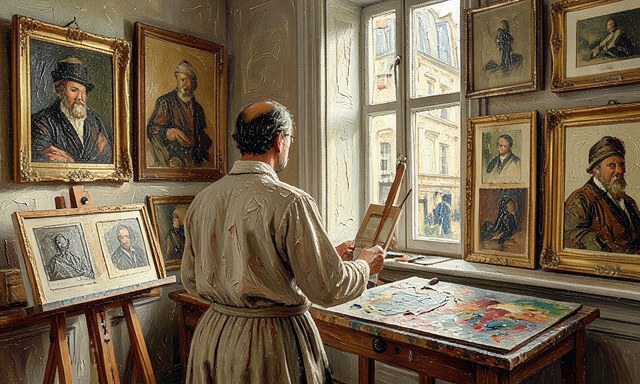
Inpaint hands and small details
Inpaint hands and small details. Mask the affected area and regenerate just that region instead of rerunning the whole scene. Inpainting preserves the composition you already like while fixing the part that fails. Related on Howcompass: automate your inbox with AI.
 Howcompass
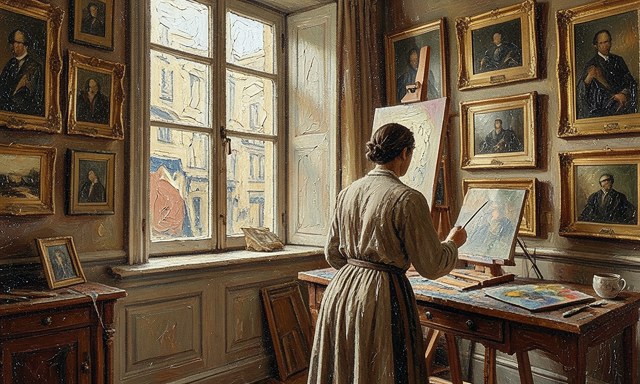
Replace garbled text entirely
Replace garbled text entirely. Remove generated lettering in the prompt and add clean type in an editor afterwards. Generators still struggle with exact spelling, so a real font will always beat a plausible-looking scramble. Browse all illustrated guides or the AI Image & Design category for more.
 Howcompass
Correct perspective on architecture
Correct perspective on architecture. Reframe vertical lines or choose a straight-on camera angle when buildings lean unnaturally. Perspective errors read as mistakes even when the rest of the image looks polished.
Phase 4 — Refine, Export and Use Responsibly
 Howcompass
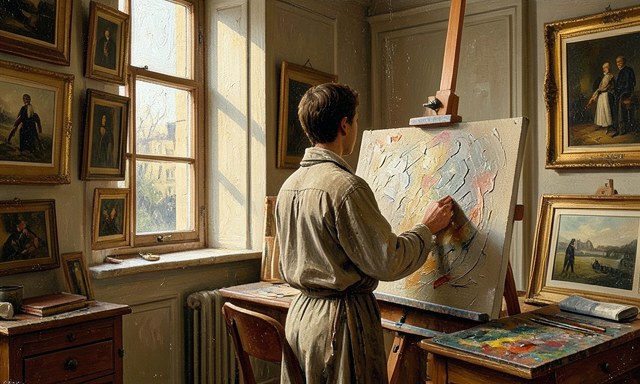
Upscale to your delivery size
Upscale to your delivery size. Run an upscaler at the resolution you actually need, such as 2560 pixels wide for a header. Upscaling late preserves the composition while giving you clean detail for print or large screens. For the primary source behind this phase, see TED — talks and ideas.
 Howcompass
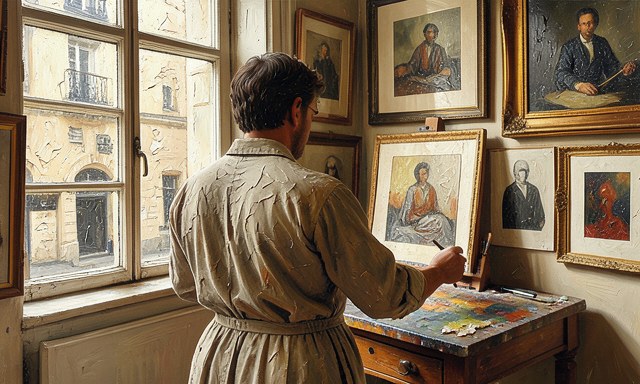
Match colour to the surrounding design
Match colour to the surrounding design. Adjust white balance and contrast so the image sits naturally beside your existing brand colours. A technically good image can still clash with the page it is placed on.
 Howcompass
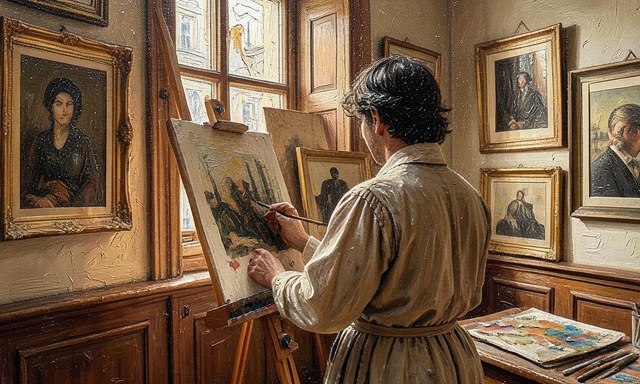
Crop for the final placement
Crop for the final placement. Trim to the exact frame where it will appear and recheck that the subject is not cut awkwardly. Cropping last means you keep the fullest possible composition while editing.
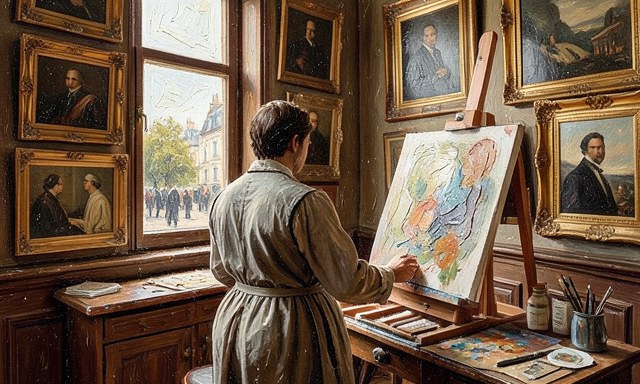 Howcompass
Read the platform's commercial terms
Read the platform's commercial terms. Confirm you may use the output for your intended purpose, especially for client or paid work. Terms differ between personal and commercial use and can change, so check the current version.
 Howcompass
Avoid protected logos and living artists' names
Avoid protected logos and living artists' names. Do not prompt for brand marks or request the exact style of a named living artist. These requests create rights problems and can be refused by the platform. Related on Howcompass: make an AI-generated video.
 Howcompass
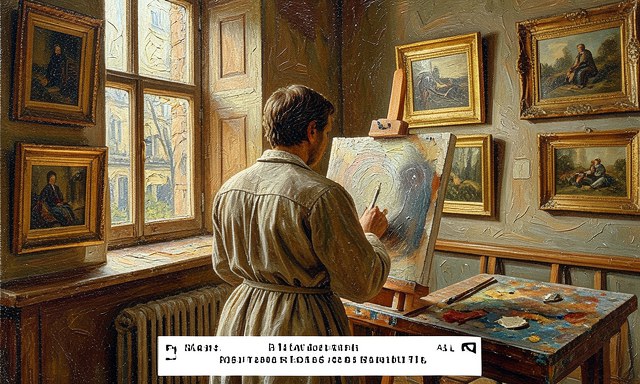
Disclose AI-generated imagery when relevant
Disclose AI-generated imagery when relevant. Label the image or state your process where transparency matters, such as news, education or client work. Clear disclosure protects trust and keeps you aligned with platform rules.
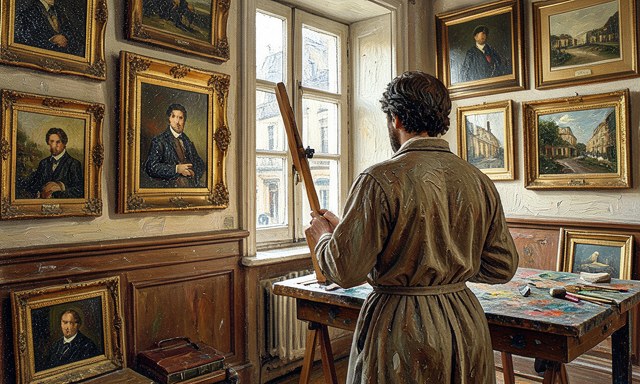 Howcompass
Archive the prompt chain with the file
Archive the prompt chain with the file. Store the final prompt, seed, references and edit notes with the exported image. A documented chain lets you revise the asset months later without reverse-engineering your own luck.
Frequently Asked Questions
Question: Why does my image ignore part of the prompt?
The subject is usually weighted most heavily, so later or buried details get lost; move a required element to the opening clause and remove competing props.
Question: Should I use a negative prompt every time?
Only when a specific flaw keeps recurring; a long generic negative list can flatten detail, so target the exact artifact you see.
Question: Can I use AI images commercially?
Usually yes under the platform's current terms, but check the licence for paid use, avoid protected logos and named living artists, and disclose AI involvement where required.
Warnings
- Stacking too many style adjectives: A long list of conflicting modifiers dilutes the subject; name one medium, one light source and a short palette, then iterate from a clean base.
- Changing everything between generations: Editing five words at once makes it impossible to know what helped; hold the seed and alter a single variable so each pass teaches you something.
- Asking the generator for exact text: Models still misspell words inside images; leave clean space in the composition and add crisp lettering later in an editor.
Related Howcompass Guides

References (4)
- Anthropic — AI research and documentationanthropic.com
- NIST — AI Risk Management Frameworknist.gov
- Mozilla — web and browser resourcesmozilla.org
- TED — talks and ideasted.com
Sources are listed so you can read the underlying guidance yourself. Our editorial policy explains how guides are reviewed.
Did this article help you?
0 readers found this helpful — add your vote.
No comments yet — be the first to share your results.