How to Start Hand-Tool Crafting and Bookbinding at Home
A guide to Setting Up a Compact Apartment Craft Bench, Measuring, Scoring, and Cutting With Precision, Stitching and Binding a Hardcover Sketchbook, Finishing, Sealing, and Caring for Handmade Objects
Making physical objects with your hands is one of the most satisfying antidotes to a screen-heavy week. With a self-healing cutting mat, a bone folder, a sharp craft knife, and a small hand saw, you can build archival notebooks, framed prints, and wooden desk organizers at a kitchen table. Explore more projects in [Hobbies and Crafts](/category/Hobbies-and-Crafts). Whether you are starting with Setting Up a Compact Apartment Craft Bench or moving on to Measuring, Scoring, and Cutting With Precision, Stitching and Binding a Hardcover Sketchbook, or Finishing, Sealing, and Caring for Handmade Objects, following each step in order makes the difference between guesswork and reliable results, with practical guidance from Sofie Lindner, Textile & Paper Artist.
How do you start Hand-Tool Crafting and Bookbinding at Home?
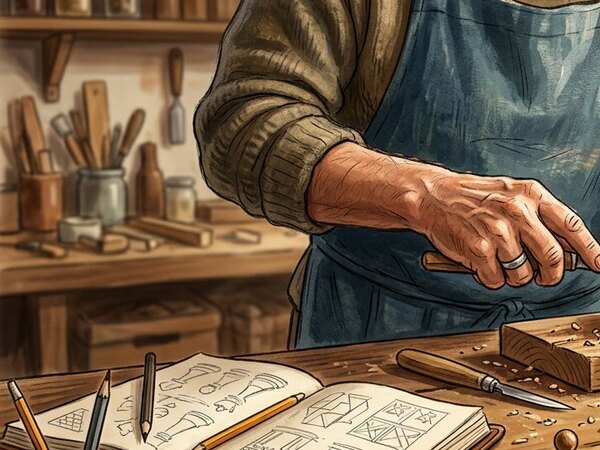 Howcompass | How to Start Hand-Tool Crafting and Bookbinding at Home
According to Sofie Lindner, Textile & Paper Artist, there are 4 key stages to master: Setting Up a Compact Apartment Craft Bench, Measuring, Scoring, and Cutting With Precision, Stitching and Binding a Hardcover Sketchbook, Finishing, Sealing, and Caring for Handmade Objects. You do not need a garage workshop to make lasting handmade objects. This 22-step guide shows how to set up a quiet apartment craft table, master precision measuring and cutting, stitch a hardcover sketchbook, and finish wooden and paper projects cleanly.
Setting Up a Compact Apartment Craft Bench
HowcompassCover your work table with an A2 self-healing cutting mat to protect the wood surface and keep blade edges sharp. Take your time with this stage of setting up a compact apartment craft bench so your setup stays consistent from start to finish.[1]
- Always brush glue from the center of a sheet outward over a waste paper sheet so glue never creeps under the edges.
- Sofie Lindner, Textile & Paper Artist notes that checking your progress before moving on to Step 2 prevents the most common beginner mistakes.[2]✓
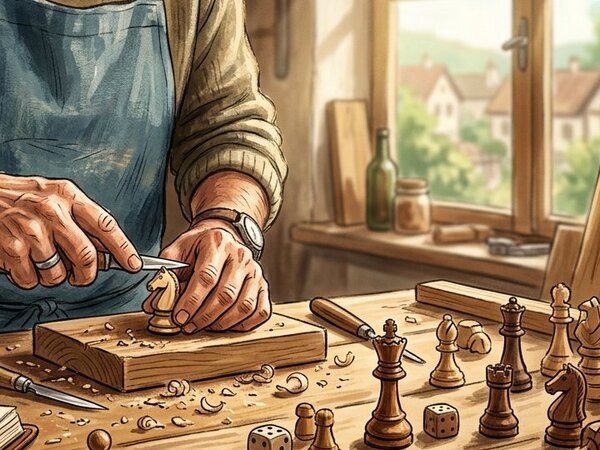 Howcompass
Position an adjustable daylight-balanced (5000K) task lamp from the side opposite your dominant hand so your fingers never cast a shadow across your cut line. Take your time with this stage of setting up a compact apartment craft bench so your setup stays consistent from start to finish.[2]
- Keep clean scrap bricks wrapped in kraft paper on your shelf — they make ideal pressing weights for bookbinding and botanical pressing.
- Have your bone folder, awl, and bookbinding needles within reach before starting this step so you do not have to pause mid-process.[3]✓
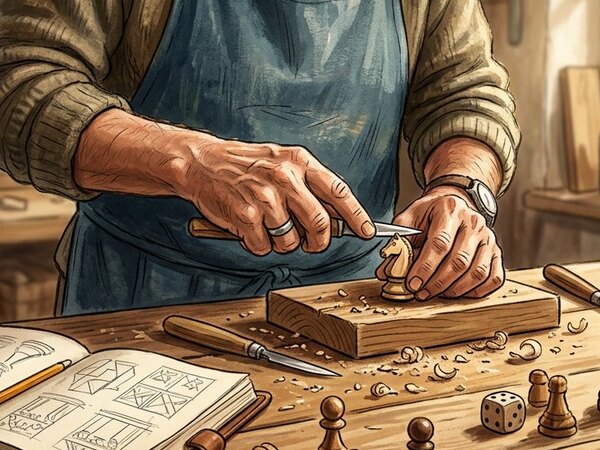 Howcompass
Assemble a core hand-tool kit in a canvas roll: steel cork-backed ruler, precision craft knife with #11 blades, bone folder, awl, linen thread, PVA glue, and a fine Japanese pull saw. Take your time with this stage of setting up a compact apartment craft bench so your setup stays consistent from start to finish.[3]
- Always brush glue from the center of a sheet outward over a waste paper sheet so glue never creeps under the edges.
- Never use a plastic ruler as a cutting guide for a metal craft knife; the blade can ride up the plastic edge toward your fingers.[1]✓
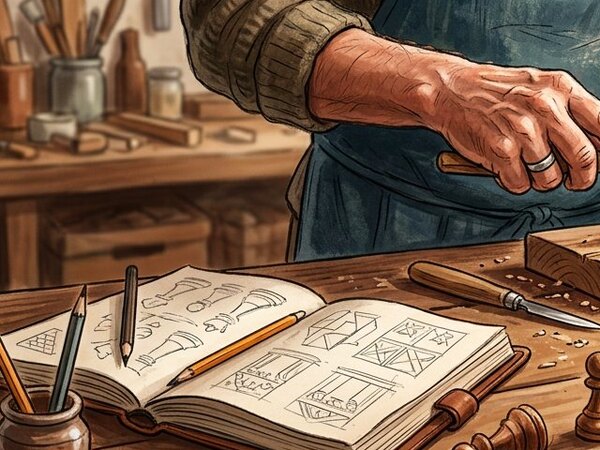 Howcompass
Test paper grain direction before folding or gluing by gently flexing a sheet along both axes — paper folds smoothly and lies flat only when folded parallel to the grain. Take your time with this stage of setting up a compact apartment craft bench so your setup stays consistent from start to finish.[1]
- Keep clean scrap bricks wrapped in kraft paper on your shelf — they make ideal pressing weights for bookbinding and botanical pressing.
- Have your acid-free drawing paper, greyboard, and bookcloth within reach before starting this step so you do not have to pause mid-process.[2]✓
 Howcompass
Keep a damp microfiber cloth and a dry scrap-paper pad beside your glue brush so excess adhesive never transfers to the outside of your work. Take your time with this stage of setting up a compact apartment craft bench so your setup stays consistent from start to finish.[2]
- Always brush glue from the center of a sheet outward over a waste paper sheet so glue never creeps under the edges.
- Sofie Lindner, Textile & Paper Artist notes that checking your progress before moving on to Step 6 prevents the most common beginner mistakes.[3]✓
Measuring, Scoring, and Cutting With Precision
 Howcompass
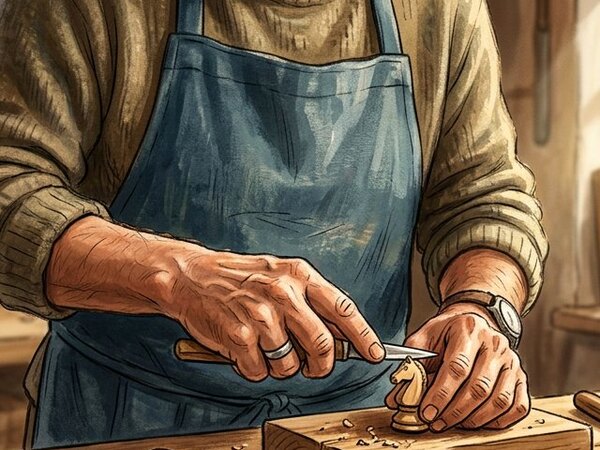
Measure twice with a steel ruler starting from the 1 cm mark rather than the worn metal end of the rule, and mark points with a sharp 2H pencil. Take your time with this stage of measuring, scoring, and cutting with precision so your setup stays consistent from start to finish.[3]
- Keep clean scrap bricks wrapped in kraft paper on your shelf — they make ideal pressing weights for bookbinding and botanical pressing.
- Never use a plastic ruler as a cutting guide for a metal craft knife; the blade can ride up the plastic edge toward your fingers.[1]✓
 Howcompass
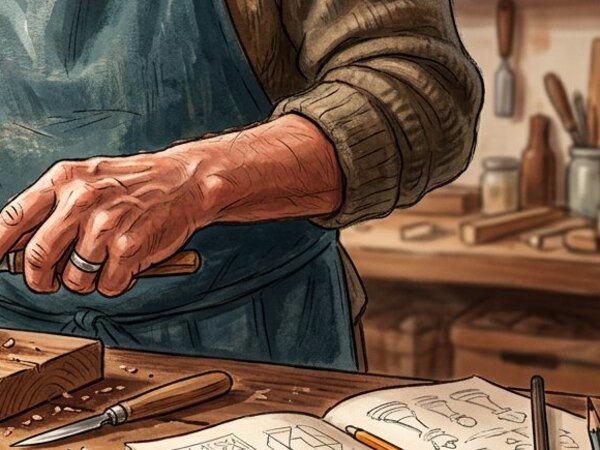
Stand up when cutting heavy board so your shoulders are directly above the steel straightedge, pressing firmly with splayed fingertips well clear of the blade path. Take your time with this stage of measuring, scoring, and cutting with precision so your setup stays consistent from start to finish.[1]
- Always brush glue from the center of a sheet outward over a waste paper sheet so glue never creeps under the edges.
- Sofie Lindner, Textile & Paper Artist notes that checking your progress before moving on to Step 8 prevents the most common beginner mistakes.[2]✓
 Howcompass
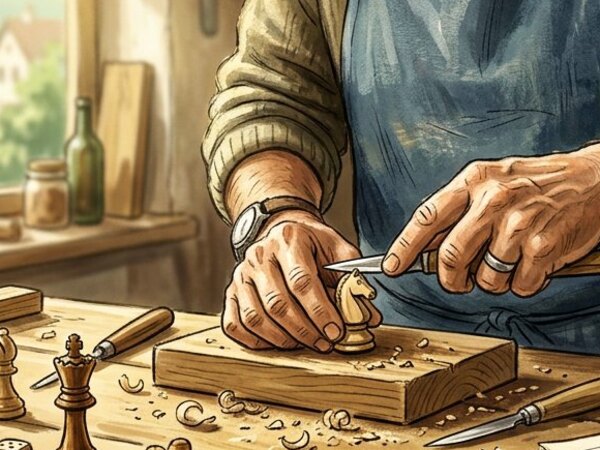
Make three light passes with a fresh craft blade rather than forcing one heavy cut through 2mm greyboard. Light passes track straight and leave a perpendicular edge.[2]
- Keep clean scrap bricks wrapped in kraft paper on your shelf — they make ideal pressing weights for bookbinding and botanical pressing.
- Have your acid-free drawing paper, greyboard, and bookcloth within reach before starting this step so you do not have to pause mid-process.[3]✓
 Howcompass
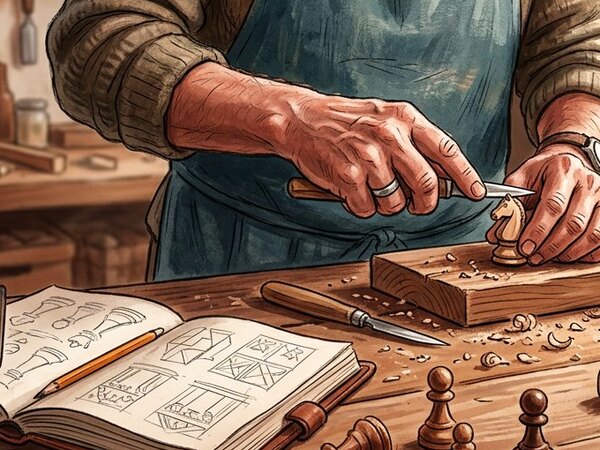
Score cardstock along the fold line using the rounded tip of a bone folder against a ruler before folding, then crease sharply from the center outward. Take your time with this stage of measuring, scoring, and cutting with precision so your setup stays consistent from start to finish.[3]
- Always brush glue from the center of a sheet outward over a waste paper sheet so glue never creeps under the edges.
- Never use a plastic ruler as a cutting guide for a metal craft knife; the blade can ride up the plastic edge toward your fingers.[1]✓
 Howcompass
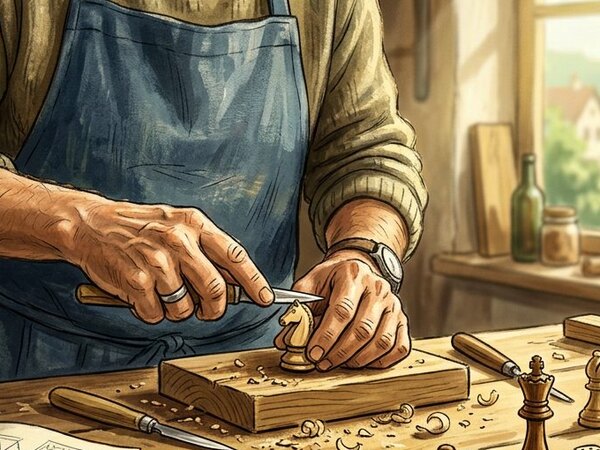
Snap off or replace your craft blade tip as soon as it starts tugging paper fibers; a dull blade is far more likely to slip than a sharp one. Take your time with this stage of measuring, scoring, and cutting with precision so your setup stays consistent from start to finish.[1]
- Keep clean scrap bricks wrapped in kraft paper on your shelf — they make ideal pressing weights for bookbinding and botanical pressing.
- Have your bone folder, awl, and bookbinding needles within reach before starting this step so you do not have to pause mid-process.[2]✓
 Howcompass
Sand small wooden project edges through 120-, 180-, and 240-grit sandpaper wrapped around a flat cork block so corners stay crisp rather than rounded over. Take your time with this stage of measuring, scoring, and cutting with precision so your setup stays consistent from start to finish.[2]
- Always brush glue from the center of a sheet outward over a waste paper sheet so glue never creeps under the edges.
- Sofie Lindner, Textile & Paper Artist notes that checking your progress before moving on to Step 12 prevents the most common beginner mistakes.[3]✓
Stitching and Binding a Hardcover Sketchbook
 Howcompass
Fold twenty sheets of acid-free drawing paper into five four-sheet signatures and press them under a heavy book for thirty minutes. Take your time with this stage of stitching and binding a hardcover sketchbook so your setup stays consistent from start to finish.[3]
- Keep clean scrap bricks wrapped in kraft paper on your shelf — they make ideal pressing weights for bookbinding and botanical pressing.
- Never use a plastic ruler as a cutting guide for a metal craft knife; the blade can ride up the plastic edge toward your fingers.[1]✓
 Howcompass
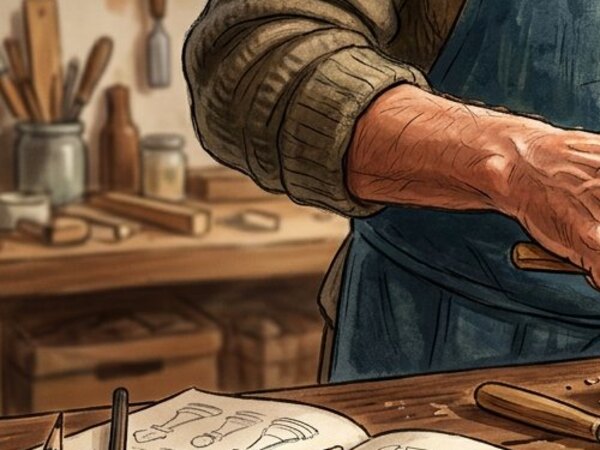
Mark six evenly spaced sewing stations along the spine fold of a template strip and pierce each signature from the inside out at a 45° cradle angle with a sharp awl. Take your time with this stage of stitching and binding a hardcover sketchbook so your setup stays consistent from start to finish.[1]
- Always brush glue from the center of a sheet outward over a waste paper sheet so glue never creeps under the edges.
- Sofie Lindner, Textile & Paper Artist notes that checking your progress before moving on to Step 14 prevents the most common beginner mistakes.[2]✓
 Howcompass
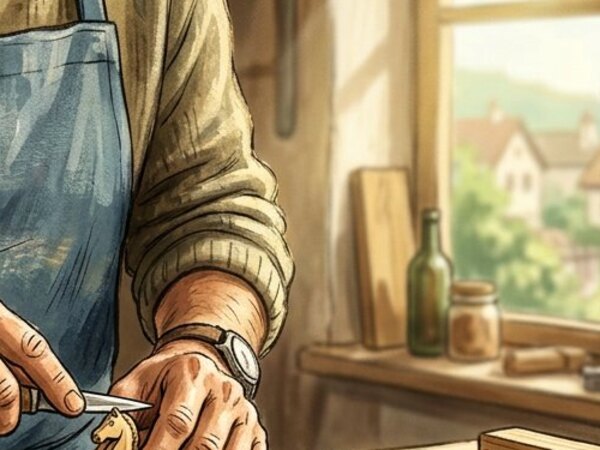
Thread a blunt bookbinding needle with waxed linen thread and sew the signatures together using the classic French link stitch, kettle-stitching securely at each end. Take your time with this stage of stitching and binding a hardcover sketchbook so your setup stays consistent from start to finish.[2]
- Keep clean scrap bricks wrapped in kraft paper on your shelf — they make ideal pressing weights for bookbinding and botanical pressing.
- Have your bone folder, awl, and bookbinding needles within reach before starting this step so you do not have to pause mid-process.[3]✓
 Howcompass
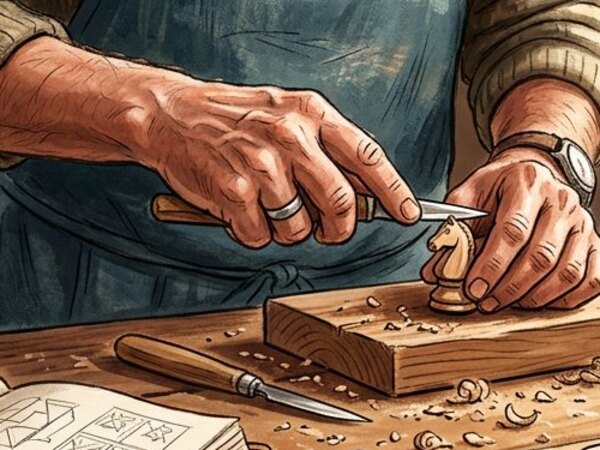
Brush a thin coat of archival neutral-pH PVA adhesive along the clamped spine of your sewn text block and let it dry under weight for one hour. Take your time with this stage of stitching and binding a hardcover sketchbook so your setup stays consistent from start to finish.[3]
- Always brush glue from the center of a sheet outward over a waste paper sheet so glue never creeps under the edges.
- Never use a plastic ruler as a cutting guide for a metal craft knife; the blade can ride up the plastic edge toward your fingers.[1]✓
 Howcompass
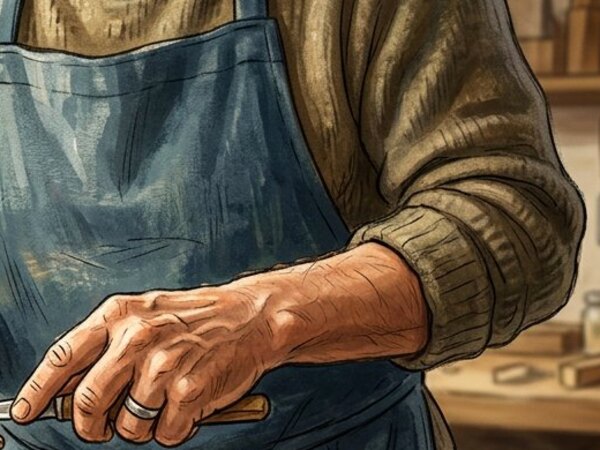
Cut two greyboard covers 3mm taller than your pages and a spine strip equal to the text-block thickness, spacing them 7mm apart on bookcloth. Take your time with this stage of stitching and binding a hardcover sketchbook so your setup stays consistent from start to finish.[1]
- Keep clean scrap bricks wrapped in kraft paper on your shelf — they make ideal pressing weights for bookbinding and botanical pressing.
- Have your acid-free drawing paper, greyboard, and bookcloth within reach before starting this step so you do not have to pause mid-process.[2]✓
 Howcompass
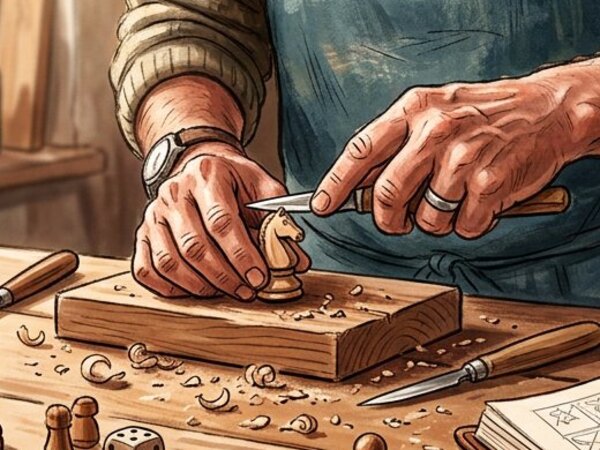
Miter the four corners of the bookcloth leaving a gap equal to one and a half board thicknesses, then fold and burnish the turn-ins smoothly with your bone folder. Take your time with this stage of stitching and binding a hardcover sketchbook so your setup stays consistent from start to finish.[2]
- Always brush glue from the center of a sheet outward over a waste paper sheet so glue never creeps under the edges.
- Sofie Lindner, Textile & Paper Artist notes that checking your progress before moving on to Step 18 prevents the most common beginner mistakes.[3]✓
 Howcompass
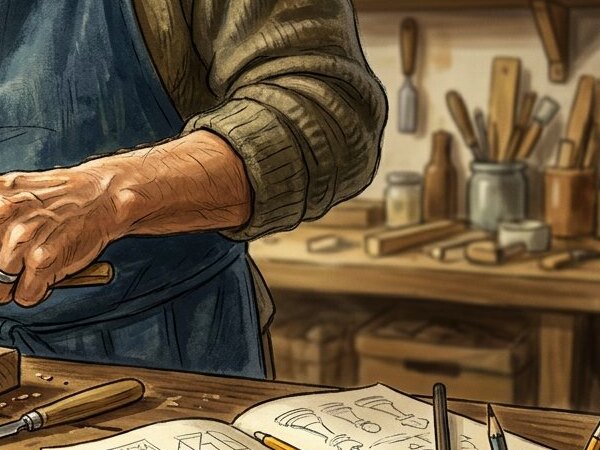
Brush PVA glue onto the outer endpapers in a starburst pattern from the center outward, close the case squarely over the text block, and press overnight between waxed sheets. Take your time with this stage of stitching and binding a hardcover sketchbook so your setup stays consistent from start to finish.[3]
- Keep clean scrap bricks wrapped in kraft paper on your shelf — they make ideal pressing weights for bookbinding and botanical pressing.
- Never use a plastic ruler as a cutting guide for a metal craft knife; the blade can ride up the plastic edge toward your fingers.[1]✓
Finishing, Sealing, and Caring for Handmade Objects
 Howcompass
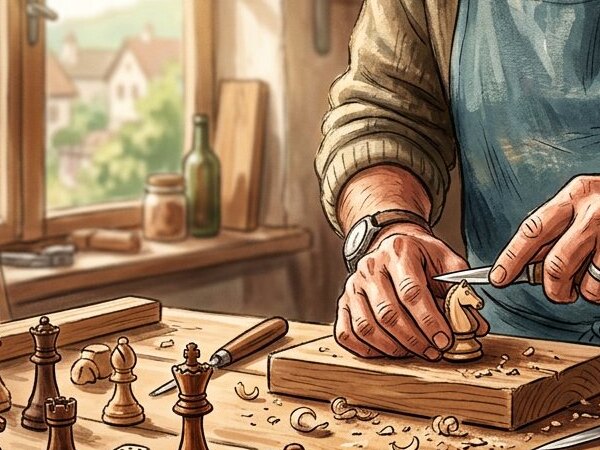
Wipe raw wooden craft projects with a tack cloth, then rub in two thin coats of food-safe beeswax and linseed oil polish with a lint-free cotton rag. Take your time with this stage of finishing, sealing, and caring for handmade objects so your setup stays consistent from start to finish.[1]
- Always brush glue from the center of a sheet outward over a waste paper sheet so glue never creeps under the edges.
- Sofie Lindner, Textile & Paper Artist notes that checking your progress before moving on to Step 20 prevents the most common beginner mistakes.[2]✓
 Howcompass
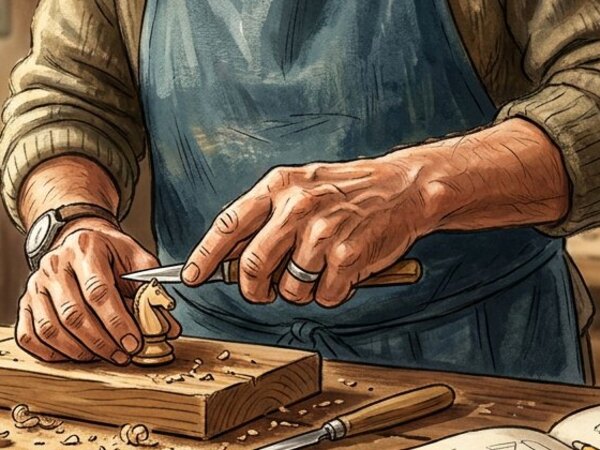
Buff waxed wood or marbled paper covers after twenty minutes with a clean shoe brush or soft cloth to bring up a warm satin sheen. Take your time with this stage of finishing, sealing, and caring for handmade objects so your setup stays consistent from start to finish.[2]
- Keep clean scrap bricks wrapped in kraft paper on your shelf — they make ideal pressing weights for bookbinding and botanical pressing.
- Have your acid-free drawing paper, greyboard, and bookcloth within reach before starting this step so you do not have to pause mid-process.[3]✓
 Howcompass
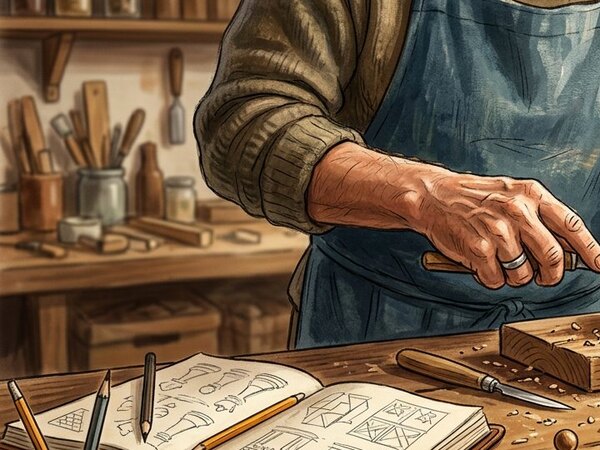
Stamp or sign and date the inside back cover of every finished handmade piece and note the materials used in your studio logbook. Take your time with this stage of finishing, sealing, and caring for handmade objects so your setup stays consistent from start to finish.[3]
- Always brush glue from the center of a sheet outward over a waste paper sheet so glue never creeps under the edges.
- Never use a plastic ruler as a cutting guide for a metal craft knife; the blade can ride up the plastic edge toward your fingers.[1]✓
 Howcompass
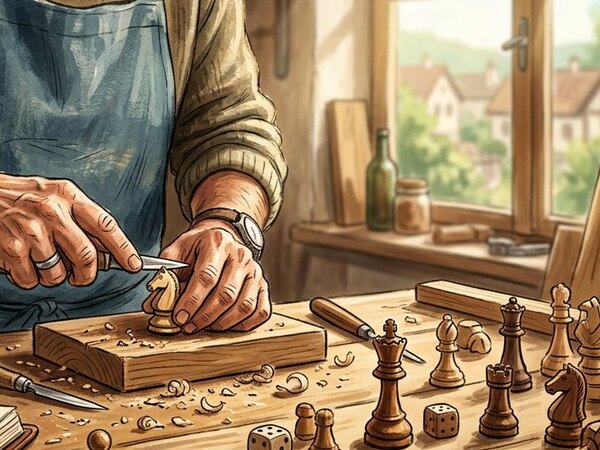
Clean glue brushes in warm soapy water immediately after use and store blades in a closed metal tin before putting your craft roll away. Take your time with this stage of finishing, sealing, and caring for handmade objects so your setup stays consistent from start to finish.[1]
- Keep clean scrap bricks wrapped in kraft paper on your shelf — they make ideal pressing weights for bookbinding and botanical pressing.
- Have your bone folder, awl, and bookbinding needles within reach before starting this step so you do not have to pause mid-process.[2]✓
Community & Expert Q&A
Question: Why did my book covers warp after gluing?
Paper expands when wet with PVA glue and shrinks as it dries, pulling the board inward. Always line both sides of the board with paper of matching grain direction and press flat under heavy weight overnight.
Question: What kind of glue should I use for paper crafts?
Use acid-free, archival PVA glue (or wheat-starch paste) rather than school glue sticks, which dry brittle and yellow within a year.
Tips
- Always brush glue from the center of a sheet outward over a waste paper sheet so glue never creeps under the edges.
- Keep clean scrap bricks wrapped in kraft paper on your shelf — they make ideal pressing weights for bookbinding and botanical pressing.
Warnings
- Never use a plastic ruler as a cutting guide for a metal craft knife; the blade can ride up the plastic edge toward your fingers.
Things You'll Need
- Self-healing cutting mat and cork-backed steel ruler
- Bone folder, awl, and bookbinding needles
- Waxed linen thread and neutral-pH PVA adhesive
- Acid-free drawing paper, greyboard, and bookcloth
Related Howcompass Guides

References (3)
- Victoria and Albert Museum — Bookbinding & Paper ConservationV&A London
- Center for Book Arts — Bound & Stitched Structure ReferenceCenter for Book Arts
- Crafts Council UK — Material & Studio Practice GuidesCrafts Council
Howcompass editors verify each step. Sources are listed so you can read the underlying guidance yourself.
Did this article help you?
0 readers found this helpful — add your vote.
No comments yet — be the first to share your results.