How to Change Your Car's Oil (Step by Step)
A guide to Phase 1 — Confirm the Spec and Set Up Safely, Phase 2 — Drain the Old Oil and Change the Filter, Phase 3 — Refill to Spec and Check for Leaks, Phase 4 — Close Up, Dispose and Record
Changing your own oil is one of the most approachable maintenance jobs, provided you get the parts right and work safely. This guide covers 28 concrete steps, from reading the specification in the owner's manual to pouring the used oil into a sealed recycling jug. We raise the car on jack stands — never on a jack alone — and refill to the dipstick instead of trusting the bottle. Take it slowly the first time and you will save money while knowing the job was done properly. Browse all illustrated guides or the Cars & Other Vehicles category for more illustrated walkthroughs on Howcompass.
How do you change Your Car's Oil (Step by Step)?
 Howcompass | How to Change Your Car's Oil (Step by Step)
Phase 1 — Confirm the Spec and Set Up Safely
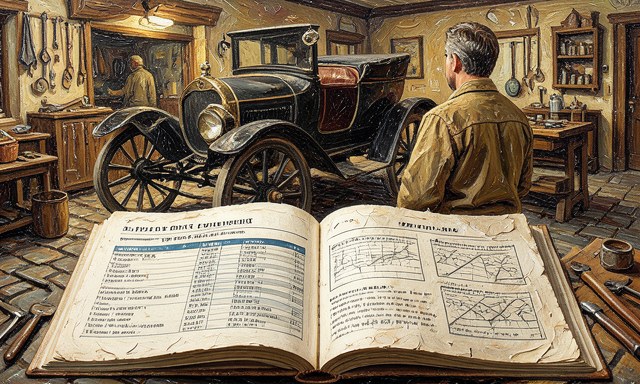
HowcompassRead the oil grade and capacity in the manual
Read the oil grade and capacity in the manual. Find the exact viscosity and specification, such as 5W-30 meeting a particular standard, and the engine's oil capacity in litres or quarts. Modern engines are fussy, and the wrong grade or a wrong-spec oil can affect wear and emissions systems. For the primary source behind this phase, see AAA — driving and vehicle safety.
 Howcompass
Buy the right amount of the specified oil
Buy the right amount of the specified oil. Purchase the full capacity plus a little extra for top-ups, checking the bottle states it meets your manual's specification. Buying a larger single jug is usually cheaper per litre than several small ones.
 Howcompass
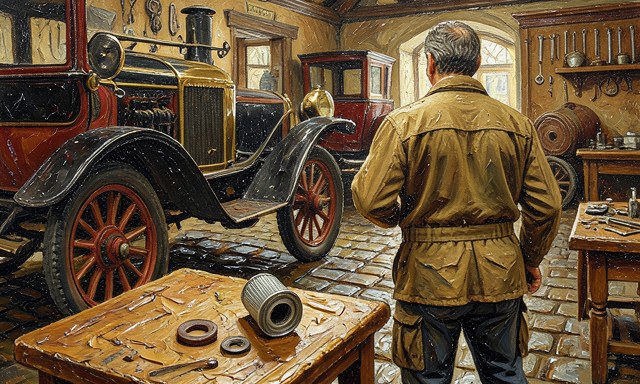
Get the correct filter and a new drain washer
Get the correct filter and a new drain washer. Match the filter to your exact engine, not just your car model, and pick up a replacement crush washer for the drain plug. Reusing a crushed washer is a common cause of a slow, maddening leak.
 Howcompass
Check the warranty and service records
Check the warranty and service records. If the car is under warranty, confirm that DIY servicing is allowed in your region and keep every receipt and mileage note. A tidy record protects resale value and proves the work was done on schedule.
 Howcompass
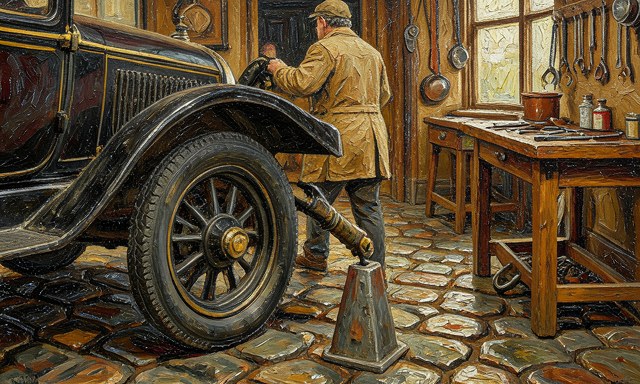
Park on level ground and set the handbrake
Park on level ground and set the handbrake. Choose a flat, firm surface, put the car in gear or Park, apply the handbrake and chock the wheels. A level car gives an accurate dipstick reading later and will not roll while you are underneath it.
 Howcompass
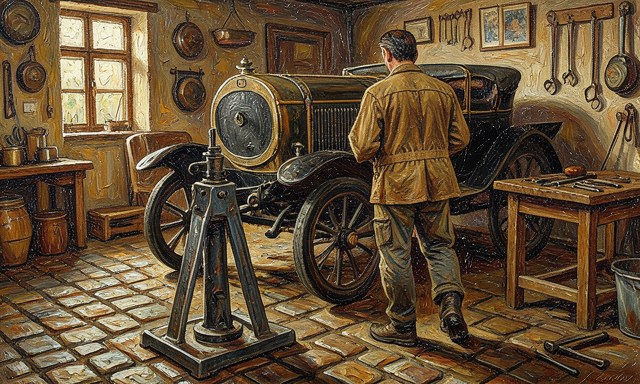
Raise the car and secure it on jack stands
Raise the car and secure it on jack stands. Lift at the manufacturer's jacking point, then place rated jack stands under the supported sills before you get under the car. A hydraulic jack can fail without warning; stands are what actually keep you safe.
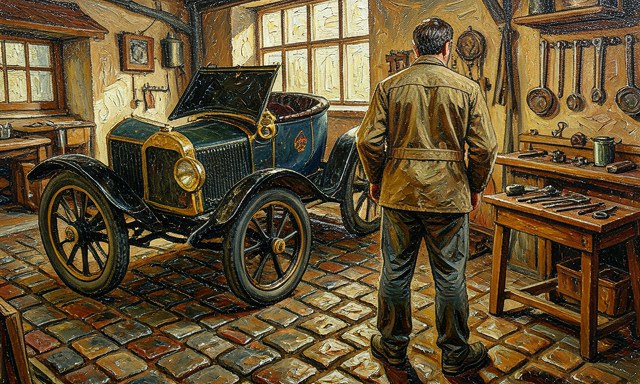 Howcompass
Warm the engine for a couple of minutes
Warm the engine for a couple of minutes. Run the engine briefly until it is just warm to the touch, then switch it off. Warm oil flows out faster and carries more suspended contamination with it, but do not let the engine get hot enough to burn you. Related on Howcompass: build a capsule wardrobe.
Phase 2 — Drain the Old Oil and Change the Filter
 Howcompass
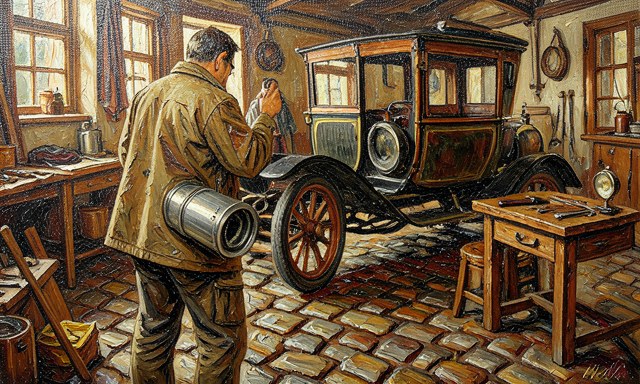
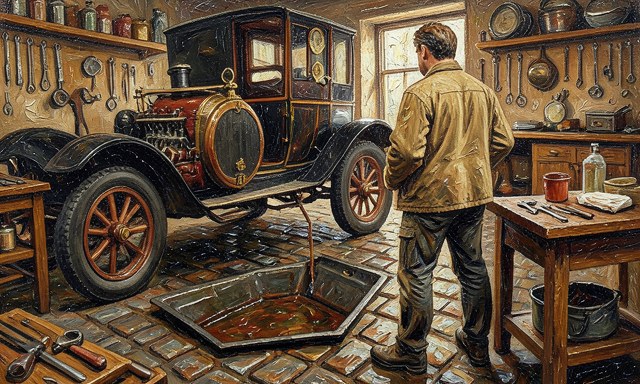
Locate the drain plug and the filter
Locate the drain plug and the filter. Look under the engine for the sump plug and identify the filter's position before you start loosening anything. On some cars an undertray must come off first, so check that now rather than mid-drain. For the primary source behind this phase, see USA.gov — official U.S. government services.
 Howcompass
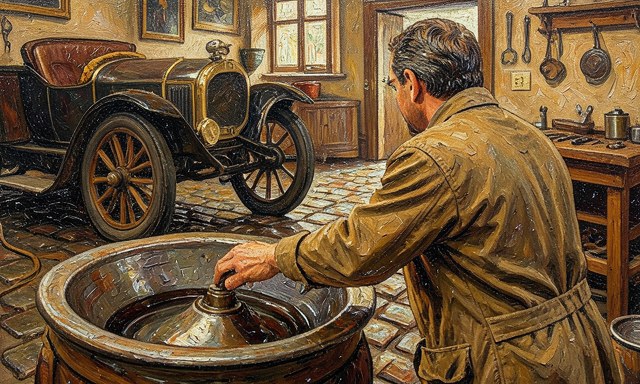
Slide the drain pan underneath
Slide the drain pan underneath. Position a wide, shallow pan directly under the plug, leaving room for the oil's arc as it comes out. A pan that is too narrow or too low will splash used oil across the floor and your arms.
 Howcompass
Loosen the plug and let the oil run out
Loosen the plug and let the oil run out. Use the correct-size socket to break the plug free, then undo it by hand and pull it away sharply so it does not drop into the pan. Let it drain until the stream becomes a thin, uneven trickle.
 Howcompass
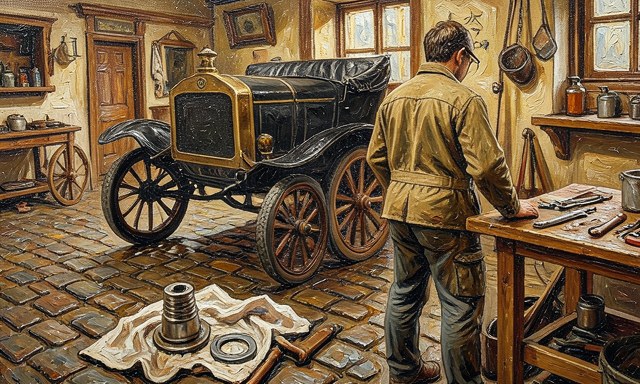
Inspect the plug and its old washer
Inspect the plug and its old washer. Wipe the plug, check the threads for damage and note which side the crushed washer sits on. A stripped or cross-threaded plug is a serious problem, so stop and seek advice if it looks wrong. Browse all illustrated guides or the Cars & Other Vehicles category for more.
 Howcompass
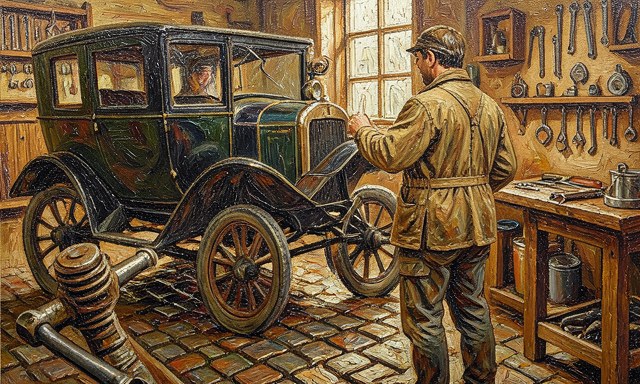
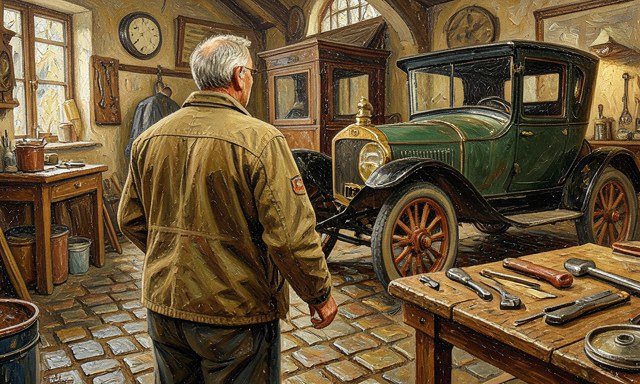
Loosen the old filter by hand
Loosen the old filter by hand. Grip the filter and turn it anticlockwise; if it is tight, use a filter wrench and wrap a rag around the housing to catch spills. Expect a cupful of oil to spill, so keep the pan beneath it.
 Howcompass
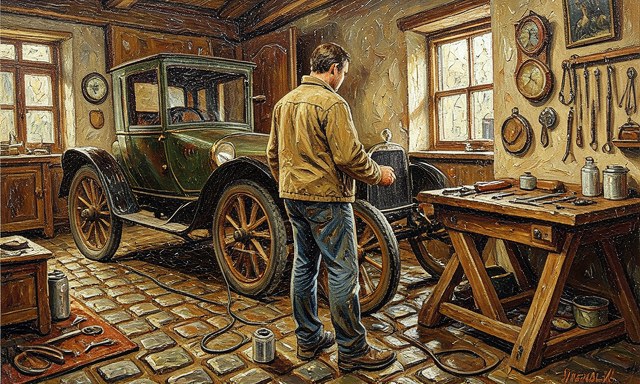
Coat the new filter's rubber seal with oil
Coat the new filter's rubber seal with oil. Dip a clean finger in fresh oil and smear a thin film around the new seal. A dry seal can tear or stick on installation, which is the usual reason a new filter leaks.
 Howcompass
Screw the new filter on by hand
Screw the new filter on by hand. Turn it until the seal contacts the base, then tighten by the amount printed on the filter — usually about three-quarters of a turn. Do not use a wrench to tighten it; hand-tight is enough and avoids crushing the seal. Related on Howcompass: plan a holiday dinner.
Phase 3 — Refill to Spec and Check for Leaks
 Howcompass
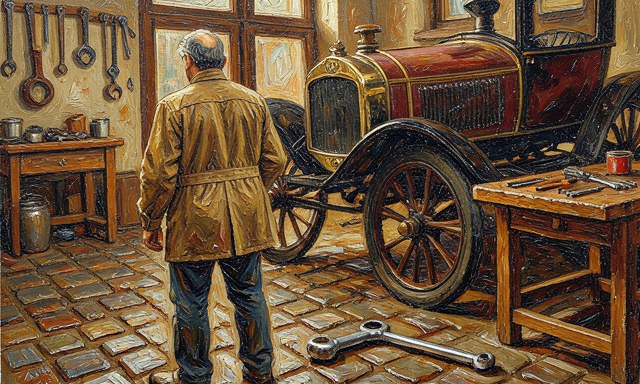
Refit the plug with the new washer
Refit the plug with the new washer. Seat the plug squarely by hand, then tighten it to the torque figure in the manual using a torque wrench. Overtightening strips sump threads; under-tightening lets oil drip onto your driveway. For the primary source behind this phase, see Mozilla — web and browser resources.
 Howcompass
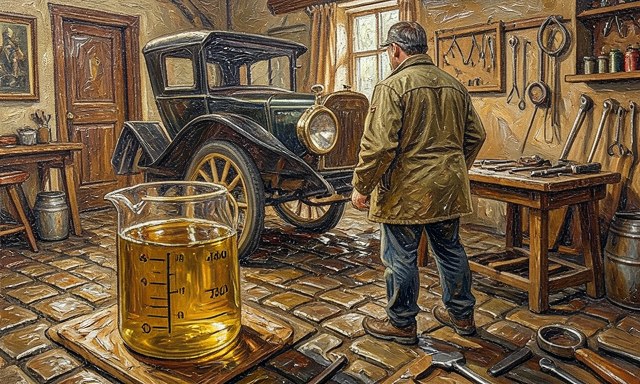
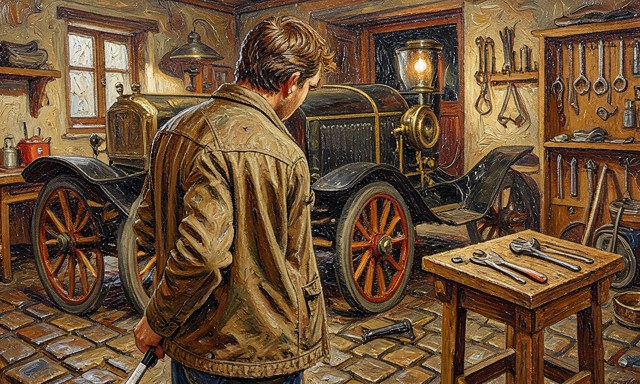
Pour in slightly less than the full capacity
Pour in slightly less than the full capacity. Add about three-quarters of the listed amount first, then wait a minute for it to reach the sump. The old oil does not drain out completely, so the full capacity often overfills the engine.
 Howcompass
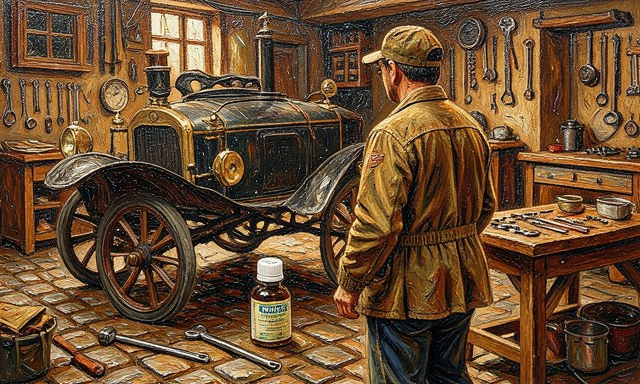
Wait, then read the dipstick
Wait, then read the dipstick. With the car still level, pull the dipstick, wipe it clean, reinsert it fully and withdraw it again. Read the oil film between the min and max marks, not the wet smear left at the top of the tube.
 Howcompass
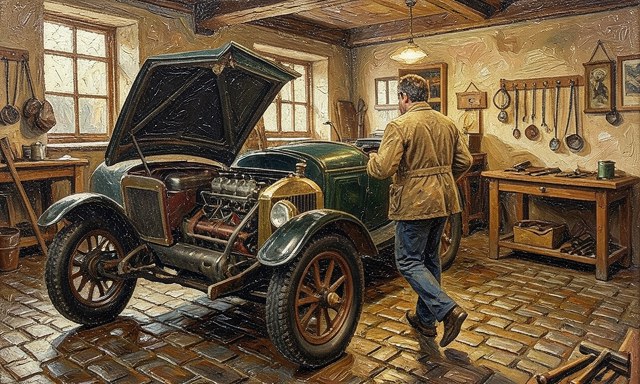
Top up a little at a time
Top up a little at a time. Add oil in 100 ml increments, rechecking the dipstick after each one, until the level sits near the maximum mark. It is far easier to add a little more than to remove oil you have put in.
 Howcompass
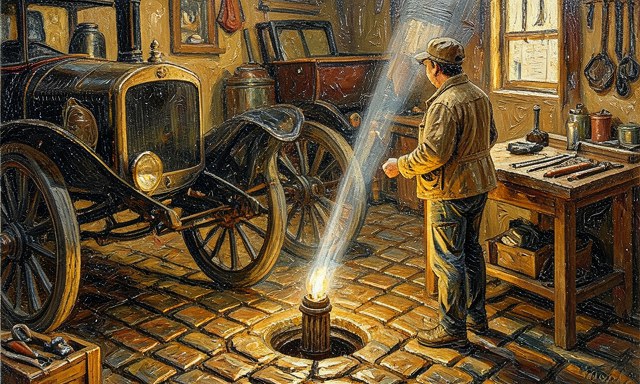
Run the engine for about a minute
Run the engine for about a minute. Start the car and let it idle while you watch the oil-pressure warning light go out within a few seconds. The filter and galleries fill during this minute, so the dipstick reading will drop slightly afterwards.
 Howcompass
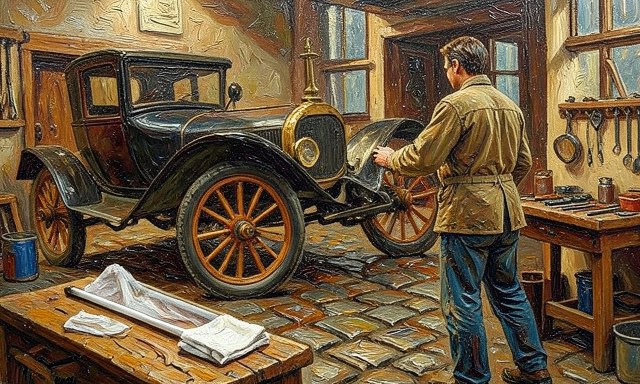
Look underneath for fresh drips
Look underneath for fresh drips. Shine a torch on the drain plug and filter while the engine runs, then again after switching it off. Any wet patch that grows is a leak; switch off and recheck the seal or plug immediately.
 Howcompass
Recheck the level once it settles
Recheck the level once it settles. Wait two or three minutes, then read the dipstick again on a clean rag. Top up if the level has fallen below the mark now that the filter is full. Related on Howcompass: build a capsule wardrobe.
Phase 4 — Close Up, Dispose and Record
 Howcompass
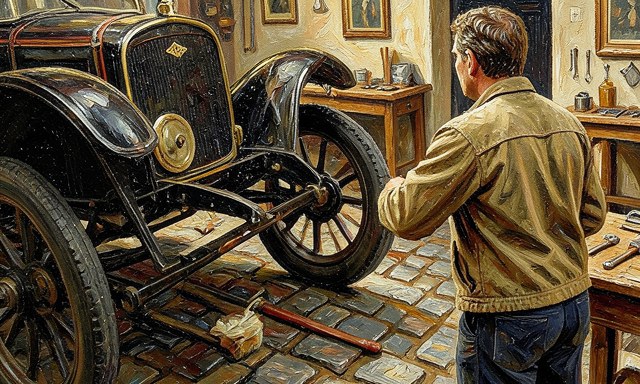
Wipe the plug, filter and surrounding housing
Wipe the plug, filter and surrounding housing. Clean the area with a rag so a new leak is obvious against a dry surface. A film of old oil makes a fresh drip almost impossible to spot on the next check. For the primary source behind this phase, see Microsoft Learn.
 Howcompass
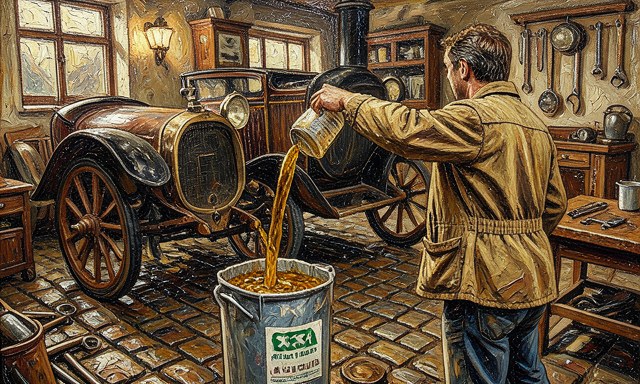
Pour the used oil into a sealed container
Pour the used oil into a sealed container. Transfer the oil from the pan into a labelled, leak-proof jug or the empty bottle you bought. Keep it closed and upright in the boot or garage until you can take it away.
 Howcompass
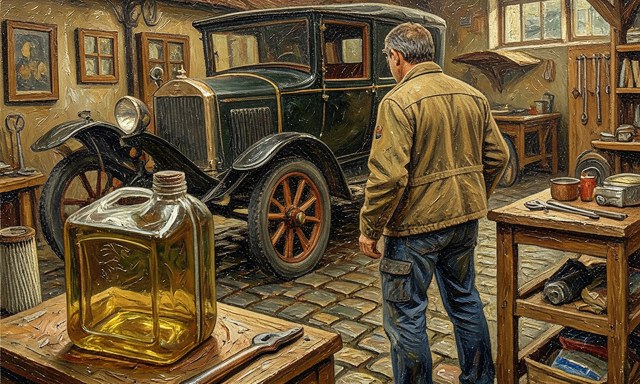
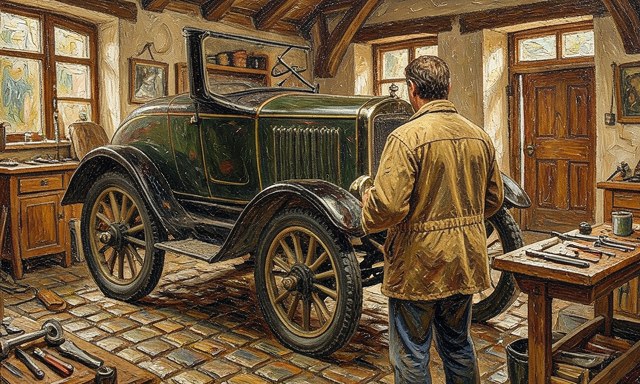
Take the oil and filter to a recycling point
Take the oil and filter to a recycling point. Drop both off at an authorised collection centre, garage or household waste site that accepts used motor oil. One litre of used oil can contaminate a large amount of water, so it must never go down a drain or into the bin.
 Howcompass
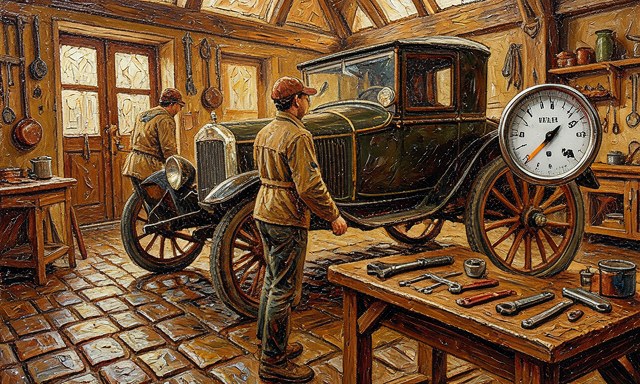
Lower the car carefully
Lower the car carefully. Lift the car slightly, remove the jack stands and lower it evenly onto all four wheels. Re-read the dipstick on level ground once the weight is back on the suspension.
 Howcompass
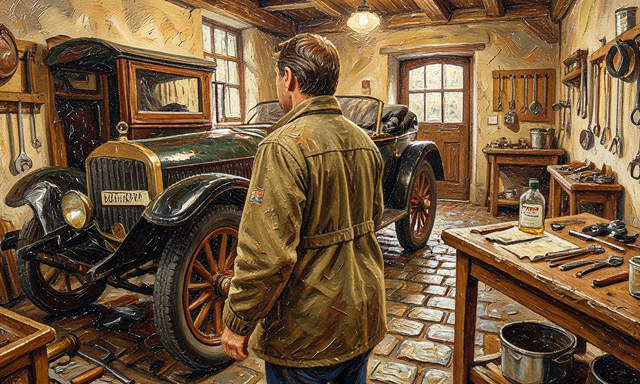
Reset the oil-life indicator
Reset the oil-life indicator. Follow the manual's button sequence to reset the dashboard service or oil-life message. If you skip it, the reminder will keep nagging and you will lose track of the real interval.
 Howcompass
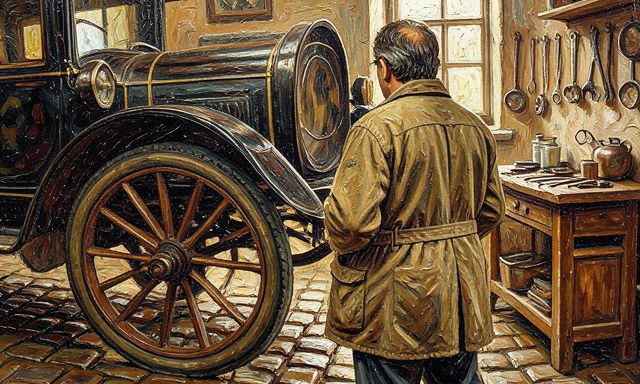
Log the date, mileage and product used
Log the date, mileage and product used. Write the date, odometer reading, oil grade and filter brand in the service book or a phone note. Recording the mileage is what lets you work out the true interval between changes.
 Howcompass
Check the level again the next morning
Check the level again the next morning. On a level surface before the first drive, read the dipstick once more. Oil that has had all night to settle gives the truest reading and catches a slow leak early. Related on Howcompass: plan a holiday dinner.
Frequently Asked Questions
Question: How often should I change the oil?
Follow the interval in your owner's manual, which now often runs 8,000–16,000 km or 12 months for modern engines using synthetic oil. Frequent short, cold trips are severe service, so shorten the interval in those conditions.
Question: Do I really need to replace the filter every time?
Yes. The filter holds the dirt and worn-out additives the oil has collected, and a clogged element can bypass unfiltered oil. It is a small extra cost compared with the protection it gives a new fill.
Question: Can I change oil without lifting the car?
On a few vehicles with enough ground clearance you can reach the plug from below, but a level lift makes the job far safer and cleaner. If you do work underneath, the car must still be supported by stands on solid ground.
Warnings
- Relying on a jack alone: A hydraulic jack is for lifting, not for holding a car while you work under it. Always transfer the weight onto correctly positioned, rated jack stands before putting any part of your body underneath.
- Overfilling the engine: The engine retains some old oil, so the full listed capacity is often too much. Add roughly three-quarters first, wait, and top up to the dipstick mark in small increments to avoid aeration and seal damage.
- Using the wrong oil specification: Viscosity alone is not enough; the oil must also meet the specification printed in the manual. The wrong formulation can affect variable valve timing, turbochargers and emissions systems even though the engine runs normally at first.
Related Howcompass Guides




References (4)
- AAA — driving and vehicle safetyaaa.com
- USA.gov — official U.S. government servicesusa.gov
- Mozilla — web and browser resourcesmozilla.org
- Microsoft Learnlearn.microsoft.com
Sources are listed so you can read the underlying guidance yourself. Our editorial policy explains how guides are reviewed.
Did this article help you?
0 readers found this helpful — add your vote.
No comments yet — be the first to share your results.