How to Speed Up a Slow Laptop
A guide to The Two-Minute Fixes, Cleaning Up the Software, Making It Fast Again, Hardware That Actually Helps
Work through these steps from the top. Each one is ordered by effort versus payoff, so you can stop as soon as the laptop feels fast enough for what you do. Do not skip step 1: half of all 'my laptop is slow' complaints end there. Whether you are starting with The Two-Minute Fixes or moving on to Cleaning Up the Software, Making It Fast Again, or Hardware That Actually Helps, following each step in order makes the difference between guesswork and reliable results, with practical guidance from Howcompass Tech Team.
How do you speed Up a Slow Laptop?
 Howcompass | How to Speed Up a Slow Laptop
According to Howcompass Tech Team, there are 4 key stages to master: The Two-Minute Fixes, Cleaning Up the Software, Making It Fast Again, Hardware That Actually Helps. A slow laptop is usually not broken — it is tired. This guide works through the whole checklist in order, from the two-minute fixes to the ones that need a screwdriver, and tells you when upgrading the hardware is cheaper than replacing the machine.
The Two-Minute Fixes
HowcompassRestart the laptop instead of closing the lid. Sleep mode keeps every stalled background task alive; a full restart clears them and takes about a minute.[1]
- Keep at least 15% of the drive empty. Both Windows and macOS use free space as scratch space, and neither behaves well when it runs out.
- Howcompass Tech Team notes that checking your progress before moving on to Step 2 prevents the most common beginner mistakes.[2]✓
 Howcompass
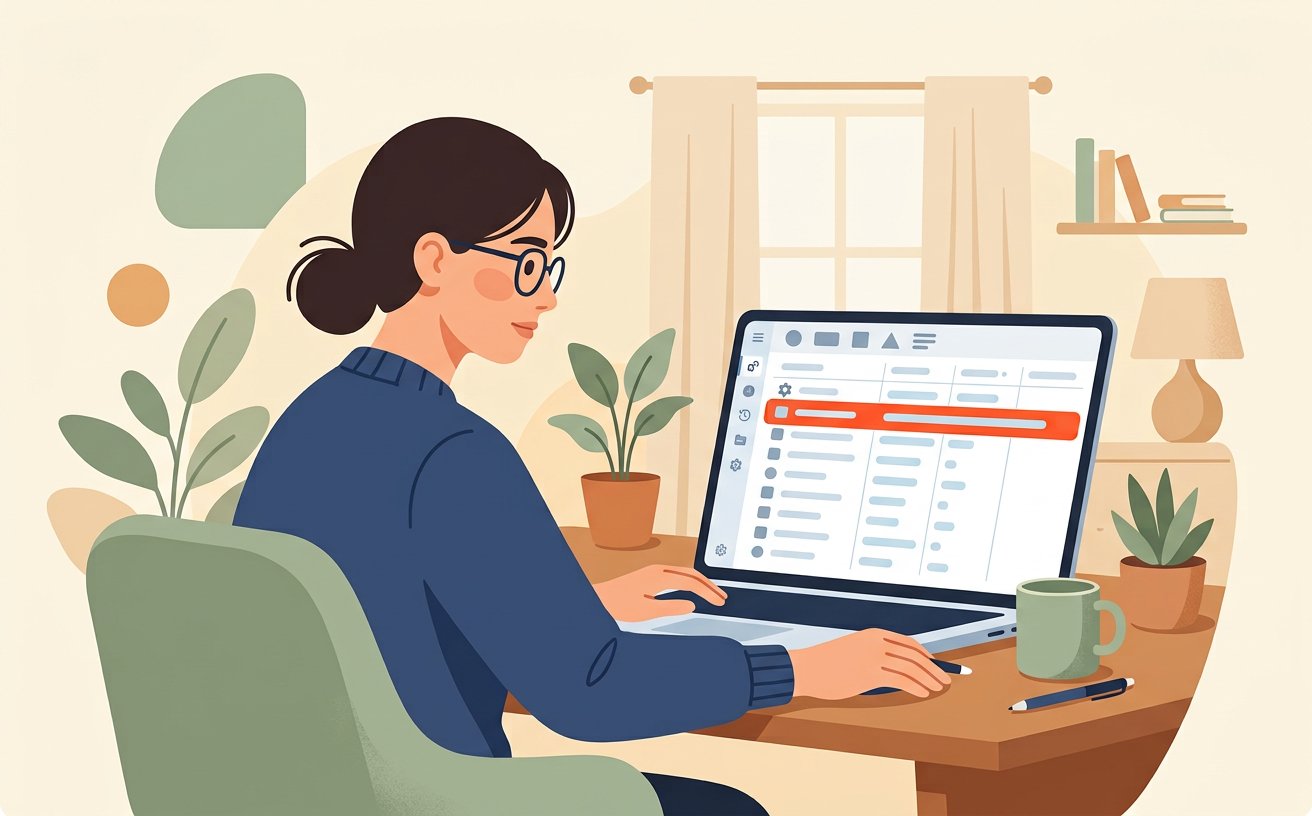
Open the task manager and sort by CPU, then by memory, then by disk. The process at the top of any of those lists is your actual problem — not the one you assumed.[2]
- Note what you were doing each time the laptop felt slow. A pattern — video calls, large spreadsheets, twenty browser tabs — tells you exactly which upgrade to buy.
- Have your a backup drive or cloud account with enough space within reach before starting this step so you do not have to pause mid-process.[3]✓
 Howcompass
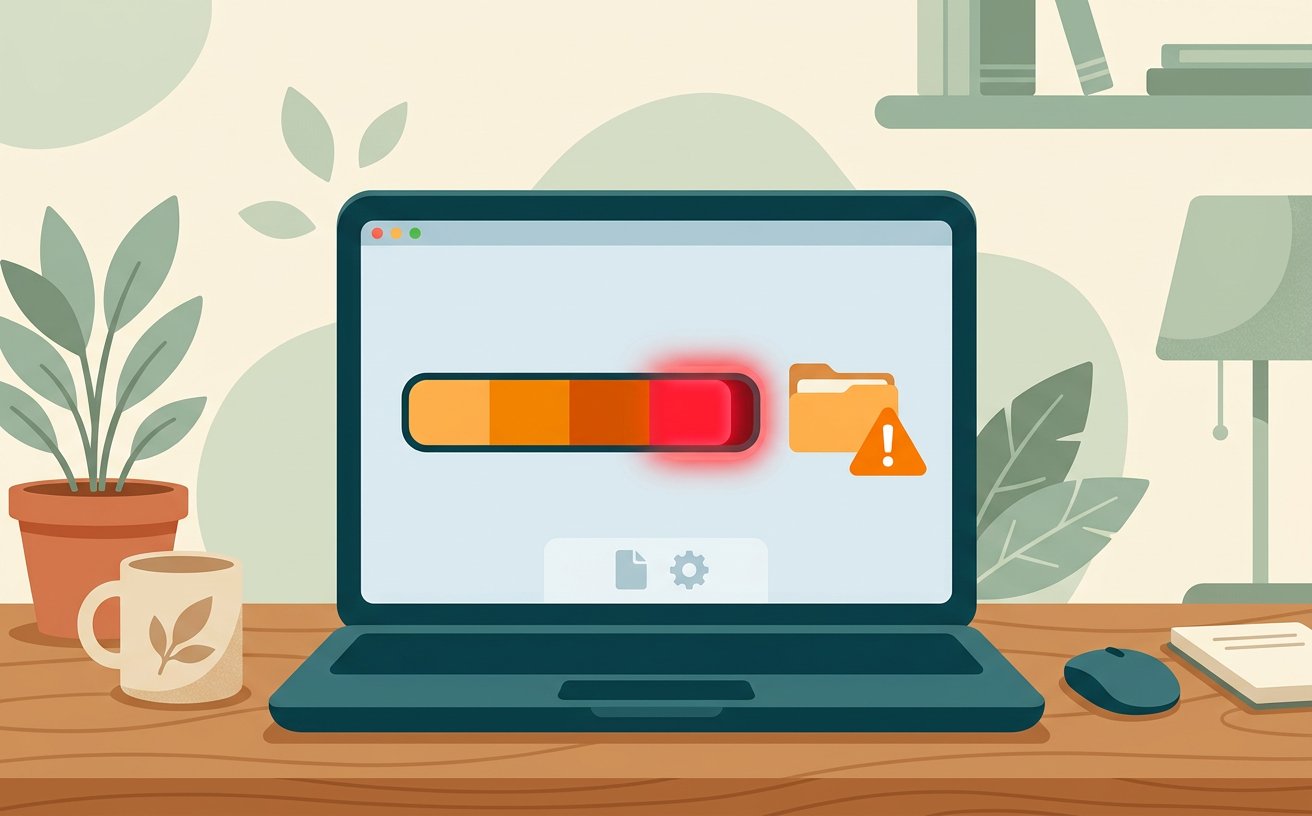
Check how full the drive is. Below 10% free space, Windows and macOS both slow down badly because they cannot manage temporary files or updates.[3]
- Do one change at a time and reboot in between. Changing five settings at once means you will never know which one worked.
- Do not use registry cleaners or 'one-click optimiser' suites. They are unnecessary on modern systems and are a common source of instability.[4]✓
 Howcompass
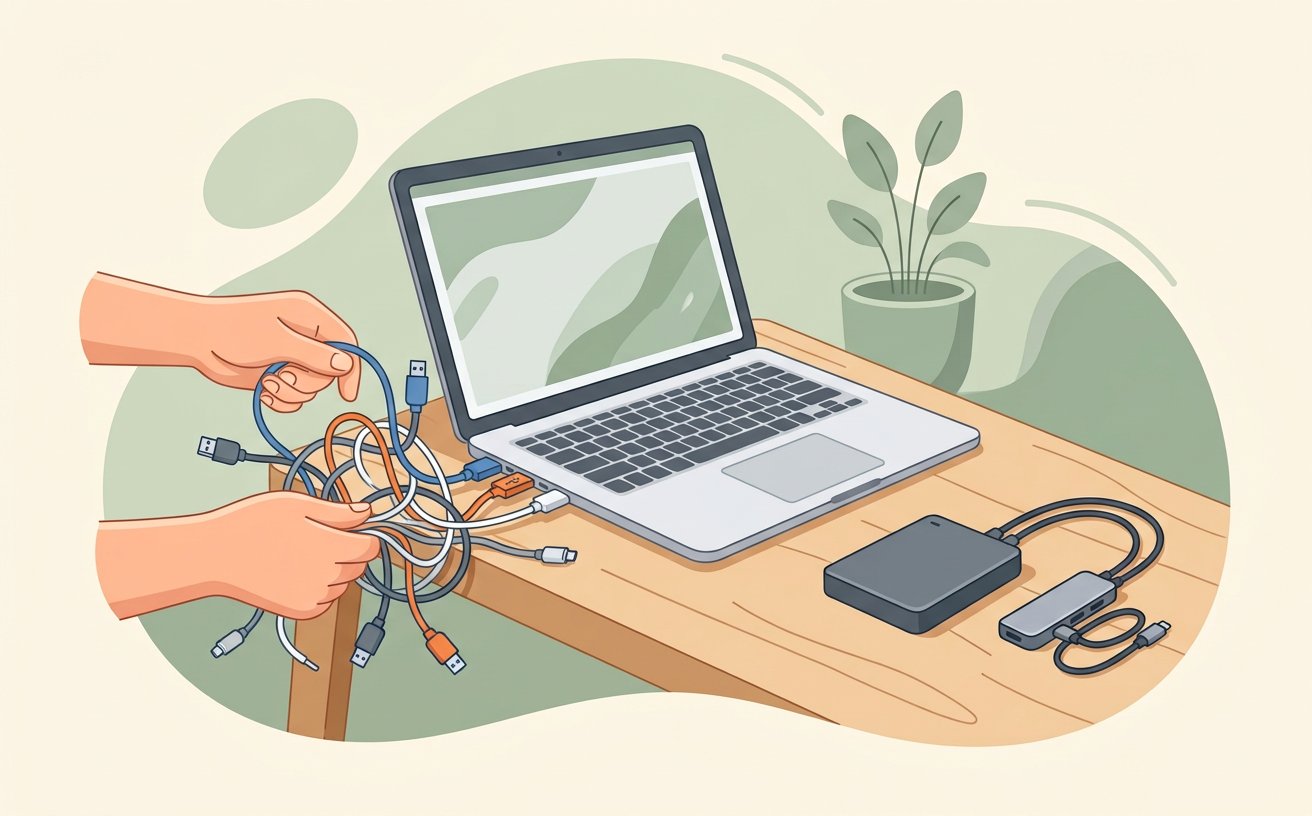
Unplug every accessory and see whether the machine speeds up. A failing USB hub or a faulty external drive can stall the whole system while it retries.[4]
- Keep at least 15% of the drive empty. Both Windows and macOS use free space as scratch space, and neither behaves well when it runs out.
- Have your the laptop's model number written down within reach before starting this step so you do not have to pause mid-process.[5]✓
 Howcompass
Look at the battery or power setting. Many laptops deliberately throttle the processor on battery; plugging in can restore full speed instantly.[5]
- Note what you were doing each time the laptop felt slow. A pattern — video calls, large spreadsheets, twenty browser tabs — tells you exactly which upgrade to buy.
- Howcompass Tech Team notes that checking your progress before moving on to Step 6 prevents the most common beginner mistakes.[1]✓
Cleaning Up the Software
 Howcompass
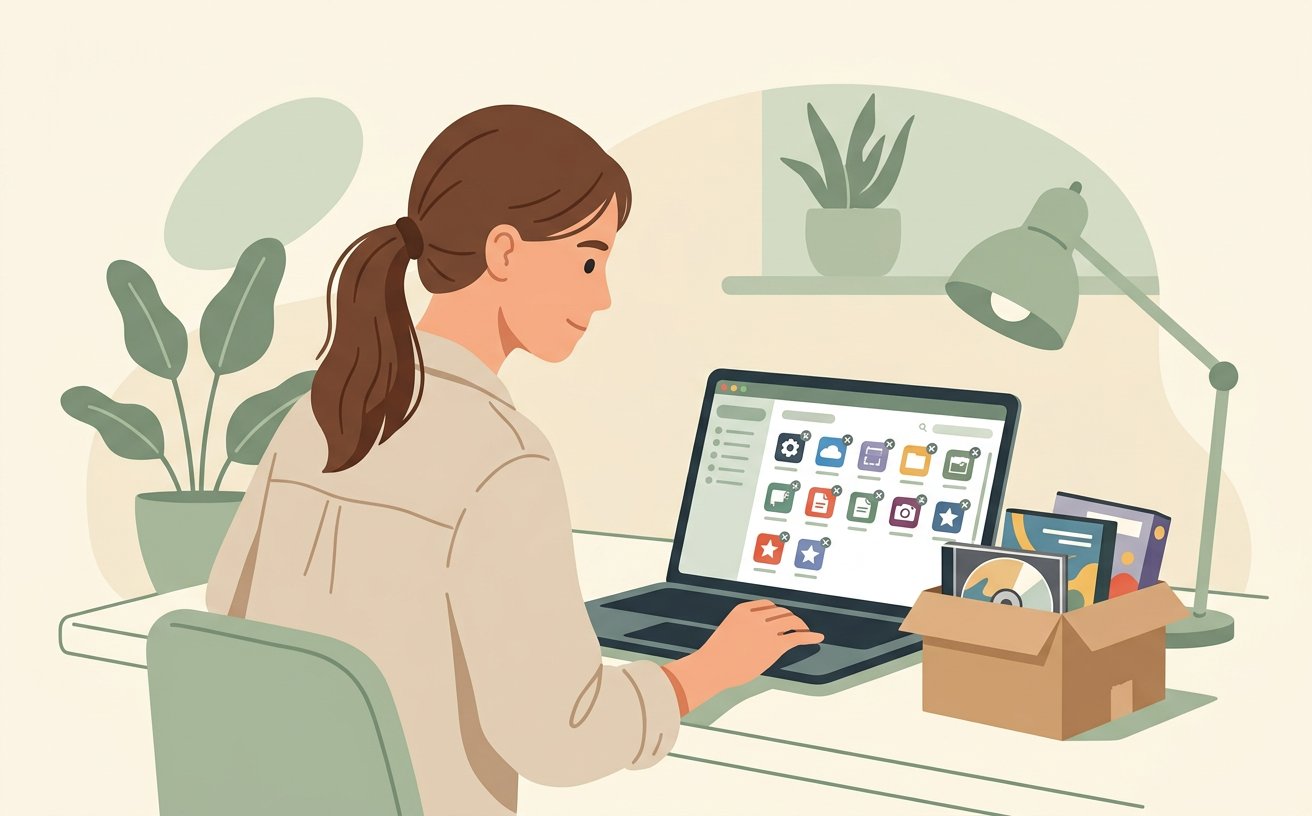
Remove programs you have not opened in six months. Fewer installed applications means fewer background updaters, tray icons and startup hooks.[1]
- Do one change at a time and reboot in between. Changing five settings at once means you will never know which one worked.
- Do not use registry cleaners or 'one-click optimiser' suites. They are unnecessary on modern systems and are a common source of instability.[2]✓
 Howcompass
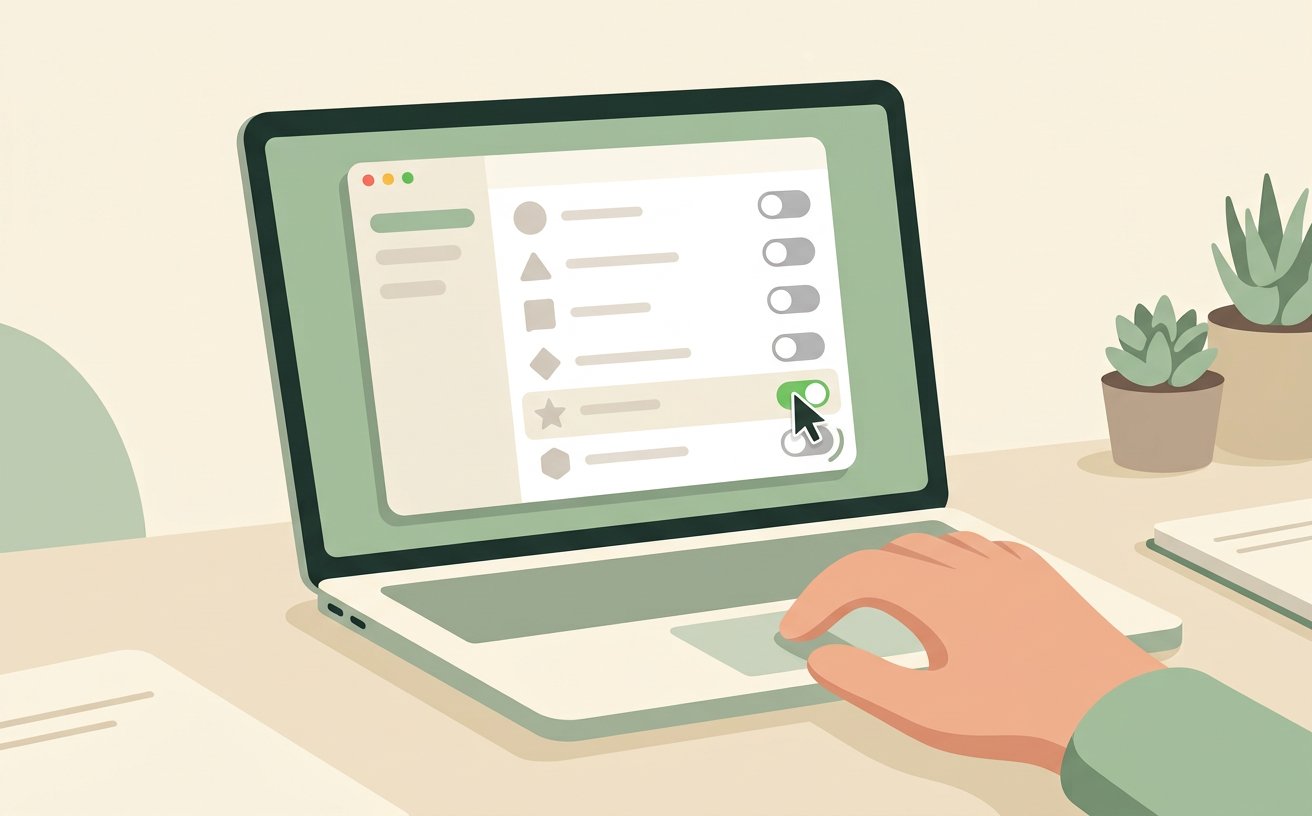
Turn off startup apps one at a time, rebooting between changes. Disable everything you do not need in the first five minutes of use.[2]
- Keep at least 15% of the drive empty. Both Windows and macOS use free space as scratch space, and neither behaves well when it runs out.
- Howcompass Tech Team notes that checking your progress before moving on to Step 8 prevents the most common beginner mistakes.[3]✓
 Howcompass
Uninstall browser toolbars and 'cleaner' utilities. Optimiser apps are one of the most common causes of the slowdown they claim to fix.[3]
- Note what you were doing each time the laptop felt slow. A pattern — video calls, large spreadsheets, twenty browser tabs — tells you exactly which upgrade to buy.
- Have your compressed air and a small screwdriver set within reach before starting this step so you do not have to pause mid-process.[4]✓
 Howcompass
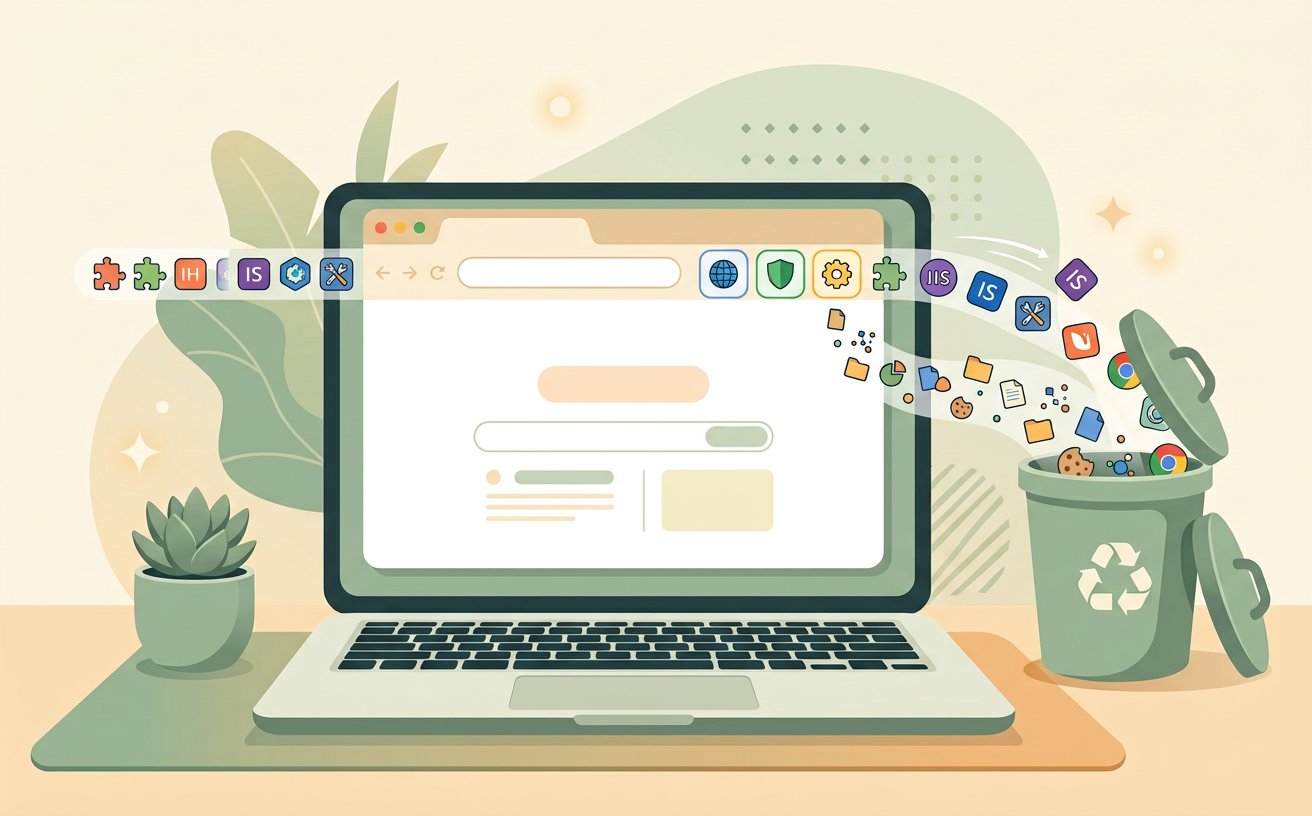
Clear each browser profile: cache, cookies and unused extensions. A browser with 40 extensions will make a healthy laptop feel five years old.[4]
- Do one change at a time and reboot in between. Changing five settings at once means you will never know which one worked.
- Do not use registry cleaners or 'one-click optimiser' suites. They are unnecessary on modern systems and are a common source of instability.[5]✓
 Howcompass
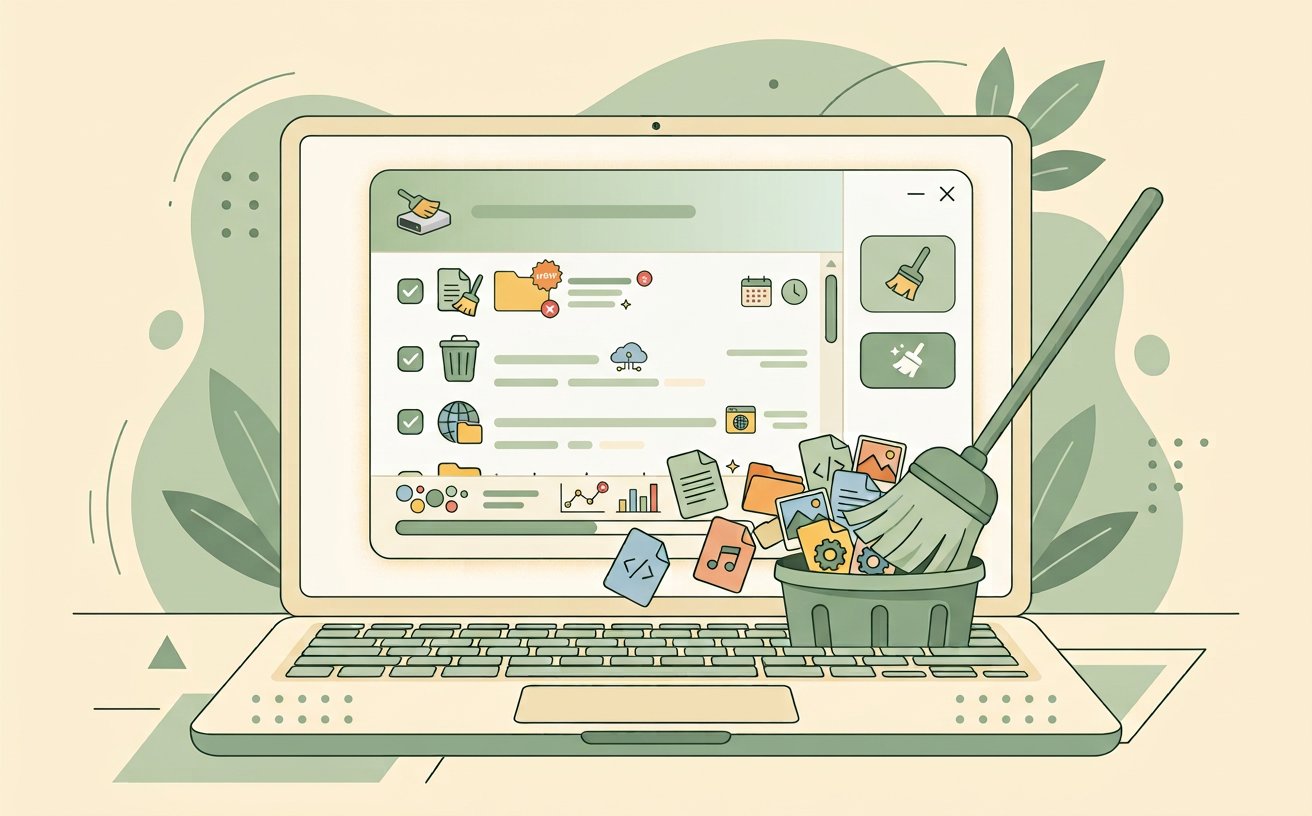
Run the built-in disk cleanup or storage manager, and delete old system update files. This alone can free several gigabytes.[5]
- Keep at least 15% of the drive empty. Both Windows and macOS use free space as scratch space, and neither behaves well when it runs out.
- Have your a spare usb stick (8 gb or larger) for recovery media within reach before starting this step so you do not have to pause mid-process.[1]✓
 Howcompass
Run a full malware scan with the built-in defender. Cryptocurrency miners and ad injectors hide quietly and use every spare cycle.[1]
- Note what you were doing each time the laptop felt slow. A pattern — video calls, large spreadsheets, twenty browser tabs — tells you exactly which upgrade to buy.
- Howcompass Tech Team notes that checking your progress before moving on to Step 12 prevents the most common beginner mistakes.[2]✓
Making It Fast Again
 Howcompass
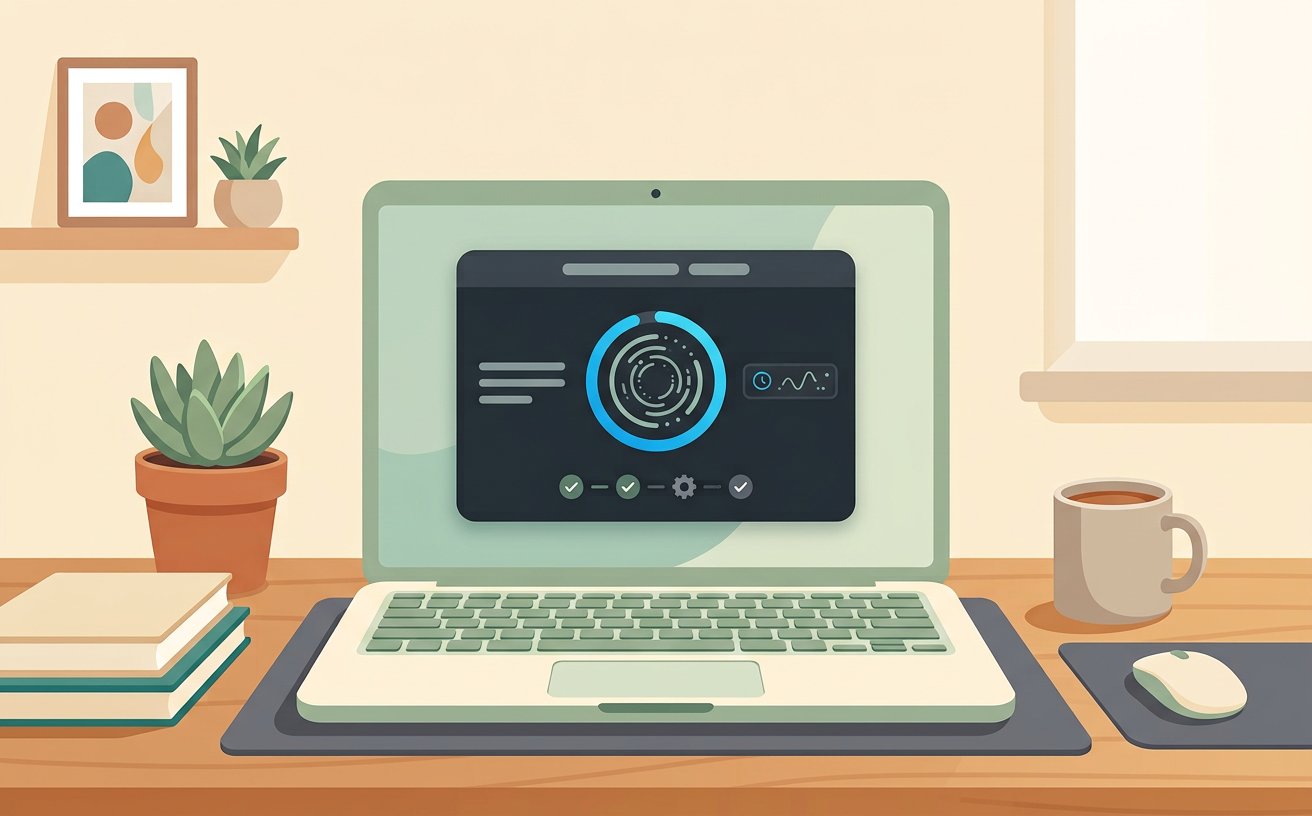
Install all pending operating-system updates, then reboot twice. Feature updates and driver updates fix performance bugs that no amount of cleaning will.[2]
- Do one change at a time and reboot in between. Changing five settings at once means you will never know which one worked.
- Do not use registry cleaners or 'one-click optimiser' suites. They are unnecessary on modern systems and are a common source of instability.[3]✓
 Howcompass
Update your graphics driver from the chip maker, not from a download site. Old GPU drivers cause stuttering in video calls and scrolling.[3]
- Keep at least 15% of the drive empty. Both Windows and macOS use free space as scratch space, and neither behaves well when it runs out.
- Howcompass Tech Team notes that checking your progress before moving on to Step 14 prevents the most common beginner mistakes.[4]✓
 Howcompass
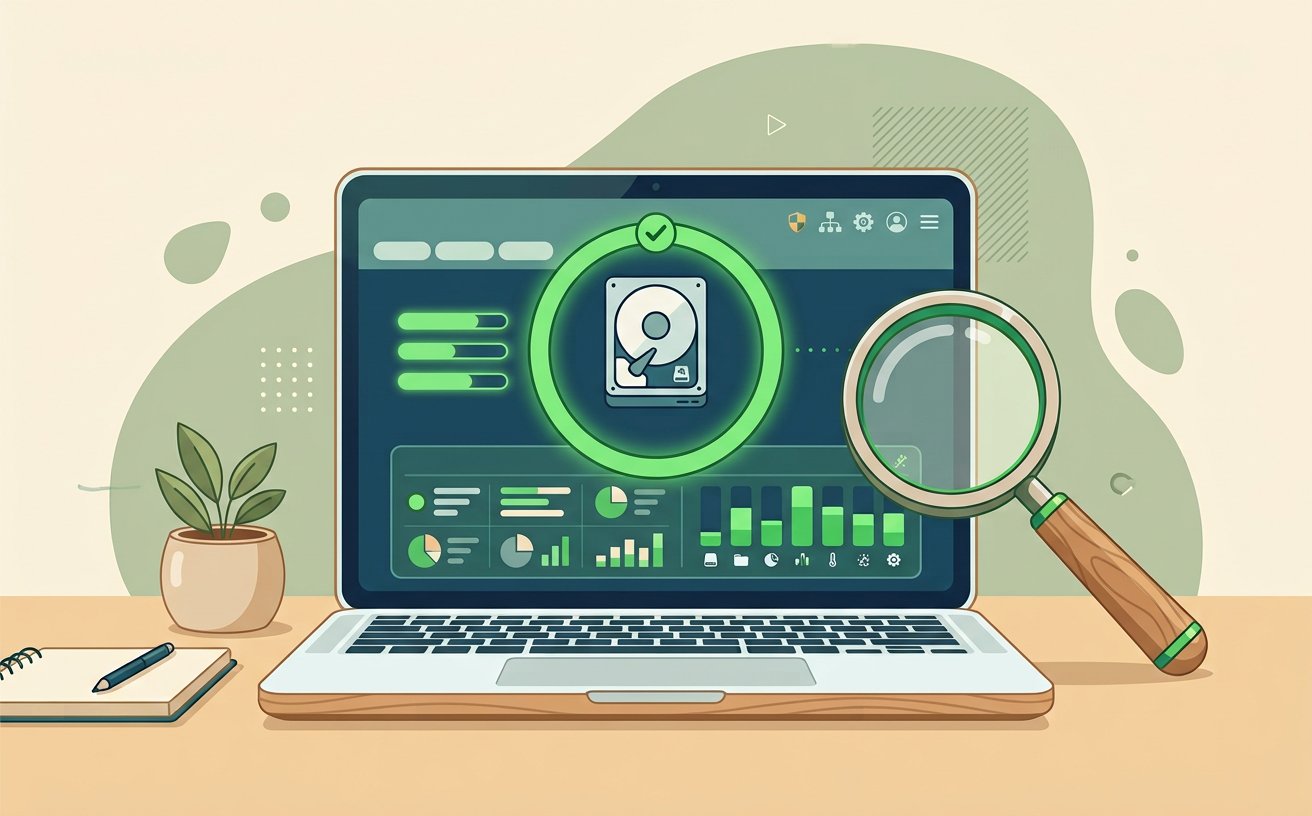
Check the drive health with the manufacturer's tool. A failing SSD silently retries bad blocks and makes everything feel slow before it fails outright.[4]
- Note what you were doing each time the laptop felt slow. A pattern — video calls, large spreadsheets, twenty browser tabs — tells you exactly which upgrade to buy.
- Have your the laptop's model number written down within reach before starting this step so you do not have to pause mid-process.[5]✓
 Howcompass
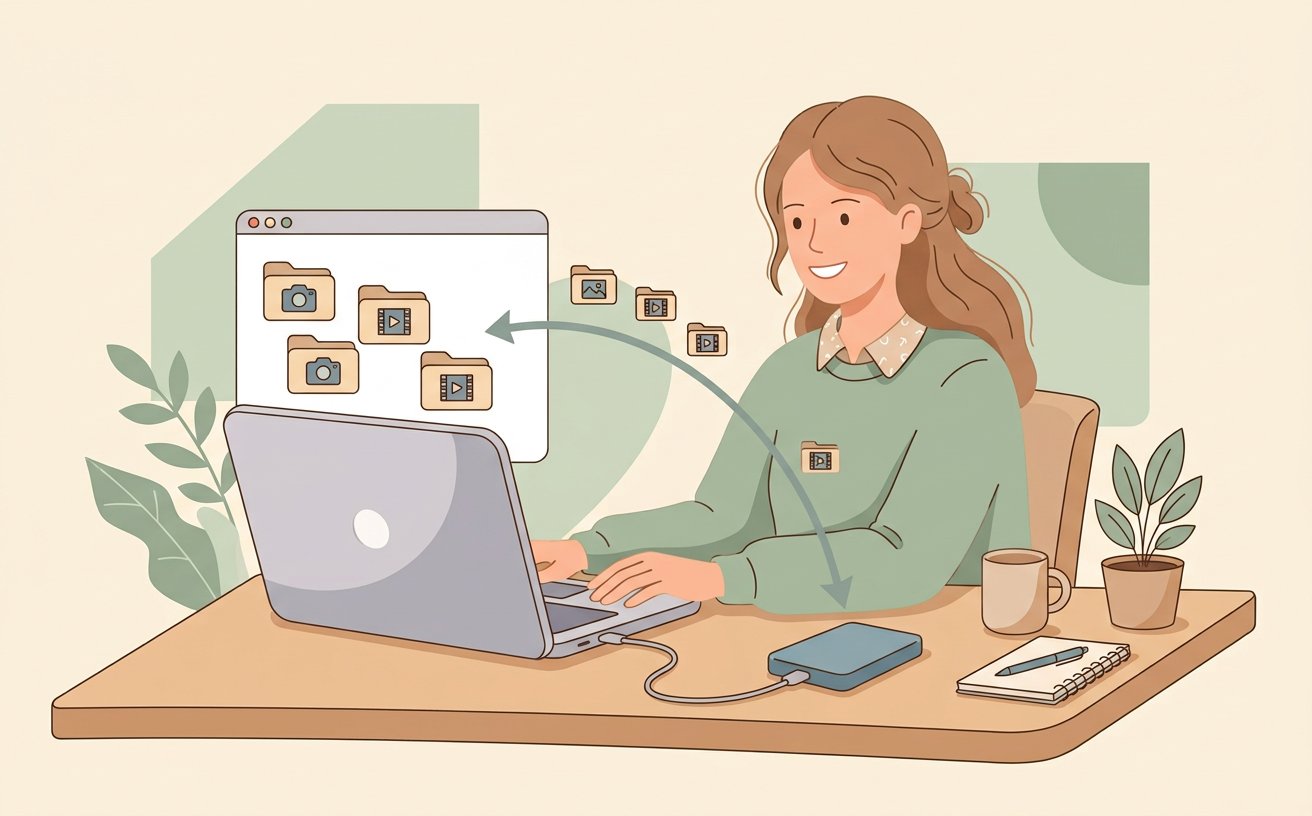
Move large media libraries to an external drive or the cloud. Keeping 200 GB of video on the system drive leaves no room for the system to work.[5]
- Do one change at a time and reboot in between. Changing five settings at once means you will never know which one worked.
- Do not use registry cleaners or 'one-click optimiser' suites. They are unnecessary on modern systems and are a common source of instability.[1]✓
 Howcompass
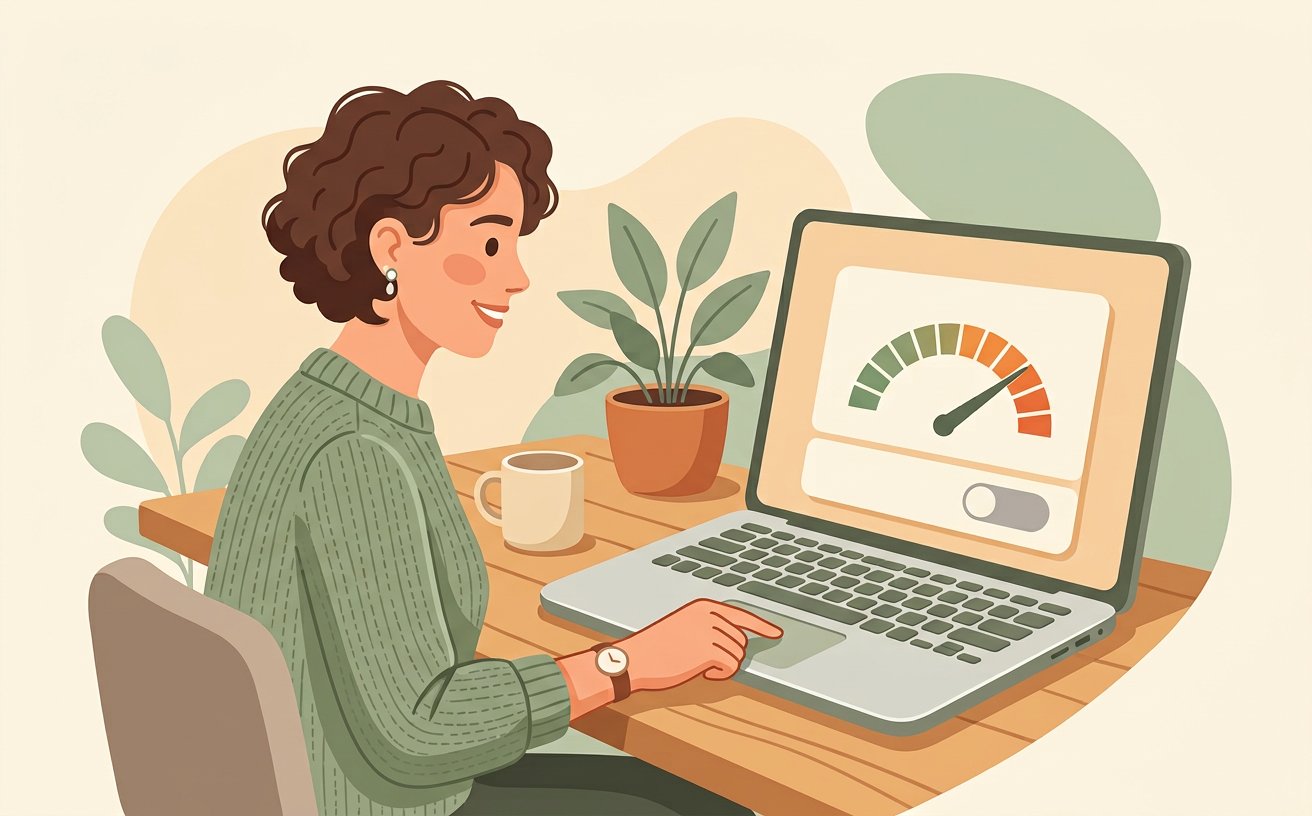
Set the power plan to balanced or high performance and turn off battery saver while plugged in. Take your time with this stage of making it fast again so your setup stays consistent from start to finish.[1]
- Keep at least 15% of the drive empty. Both Windows and macOS use free space as scratch space, and neither behaves well when it runs out.
- Have your the laptop and its charger within reach before starting this step so you do not have to pause mid-process.[2]✓
 Howcompass
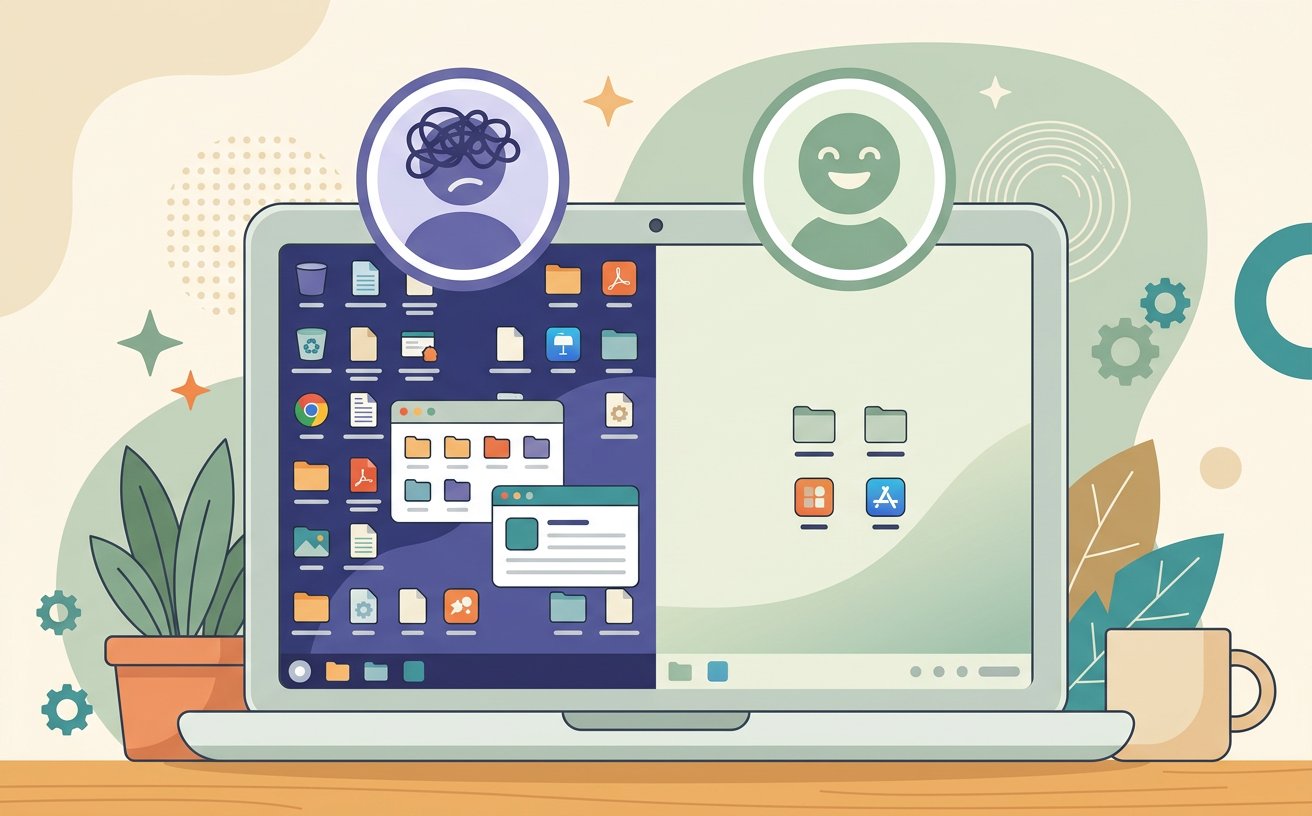
Create a second user account and log in to it. If that account is fast, the problem is a corrupted profile, not the hardware.[2]
- Note what you were doing each time the laptop felt slow. A pattern — video calls, large spreadsheets, twenty browser tabs — tells you exactly which upgrade to buy.
- Howcompass Tech Team notes that checking your progress before moving on to Step 18 prevents the most common beginner mistakes.[3]✓
 Howcompass
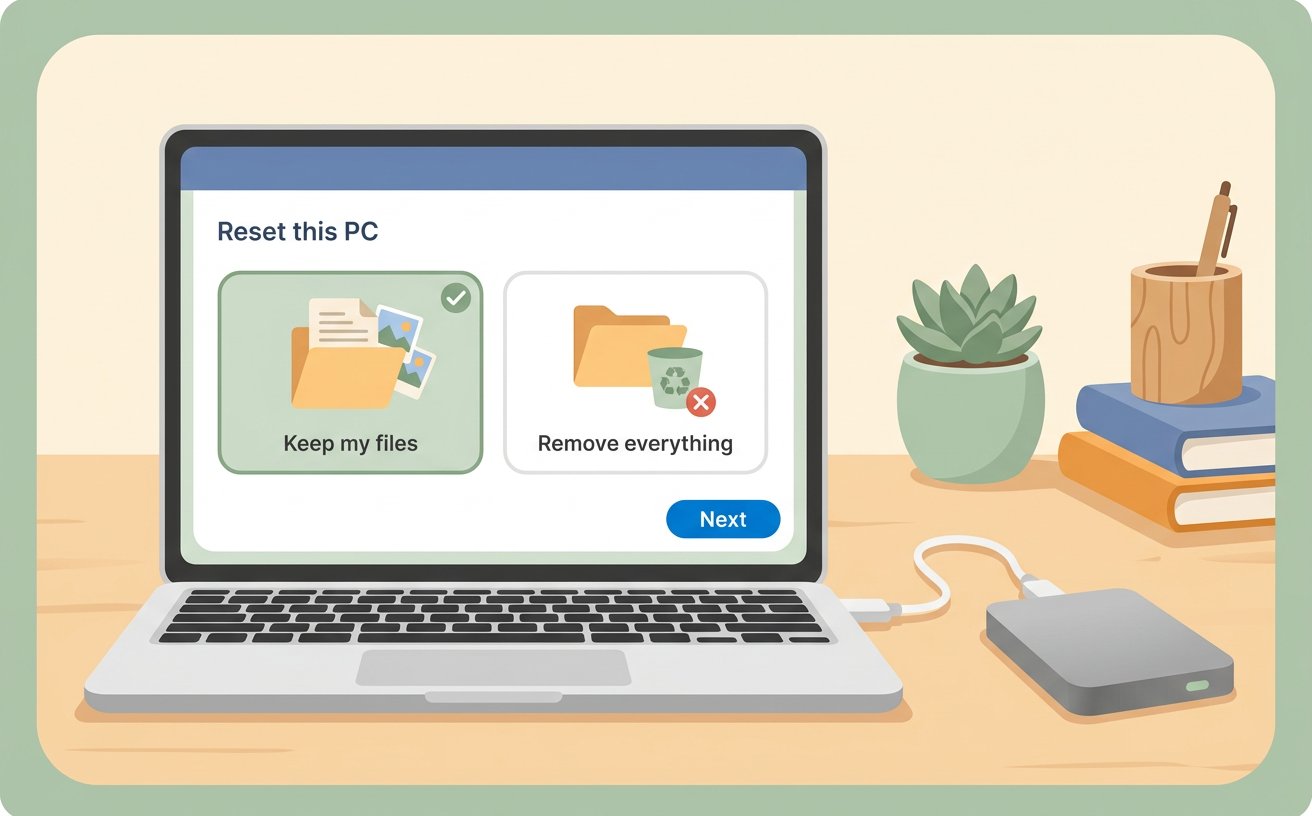
Reset the operating system while keeping your files, as a last software step. This clears the accumulated damage of years of installs.[3]
- Do one change at a time and reboot in between. Changing five settings at once means you will never know which one worked.
- Do not use registry cleaners or 'one-click optimiser' suites. They are unnecessary on modern systems and are a common source of instability.[4]✓
Hardware That Actually Helps
 Howcompass
Check the RAM usage graph before buying anything. If it sits pinned at 90% during your normal work, more memory is the single best upgrade.[4]
- Keep at least 15% of the drive empty. Both Windows and macOS use free space as scratch space, and neither behaves well when it runs out.
- Howcompass Tech Team notes that checking your progress before moving on to Step 20 prevents the most common beginner mistakes.[5]✓
 Howcompass
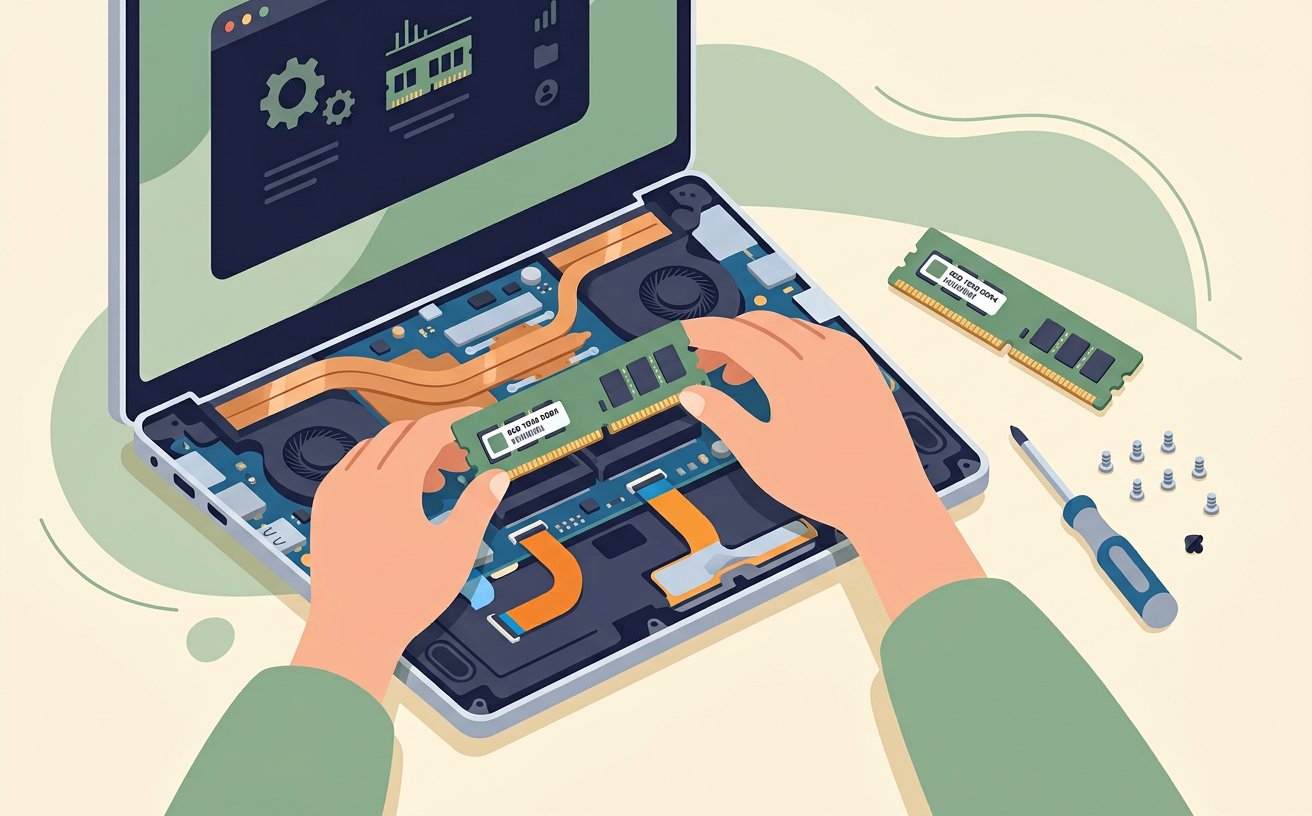
Install more RAM if the laptop has a free slot. Going from 8 GB to 16 GB is the cheapest noticeable speed-up on any machine.[5]
- Note what you were doing each time the laptop felt slow. A pattern — video calls, large spreadsheets, twenty browser tabs — tells you exactly which upgrade to buy.
- Have your a spare usb stick (8 gb or larger) for recovery media within reach before starting this step so you do not have to pause mid-process.[1]✓
 Howcompass
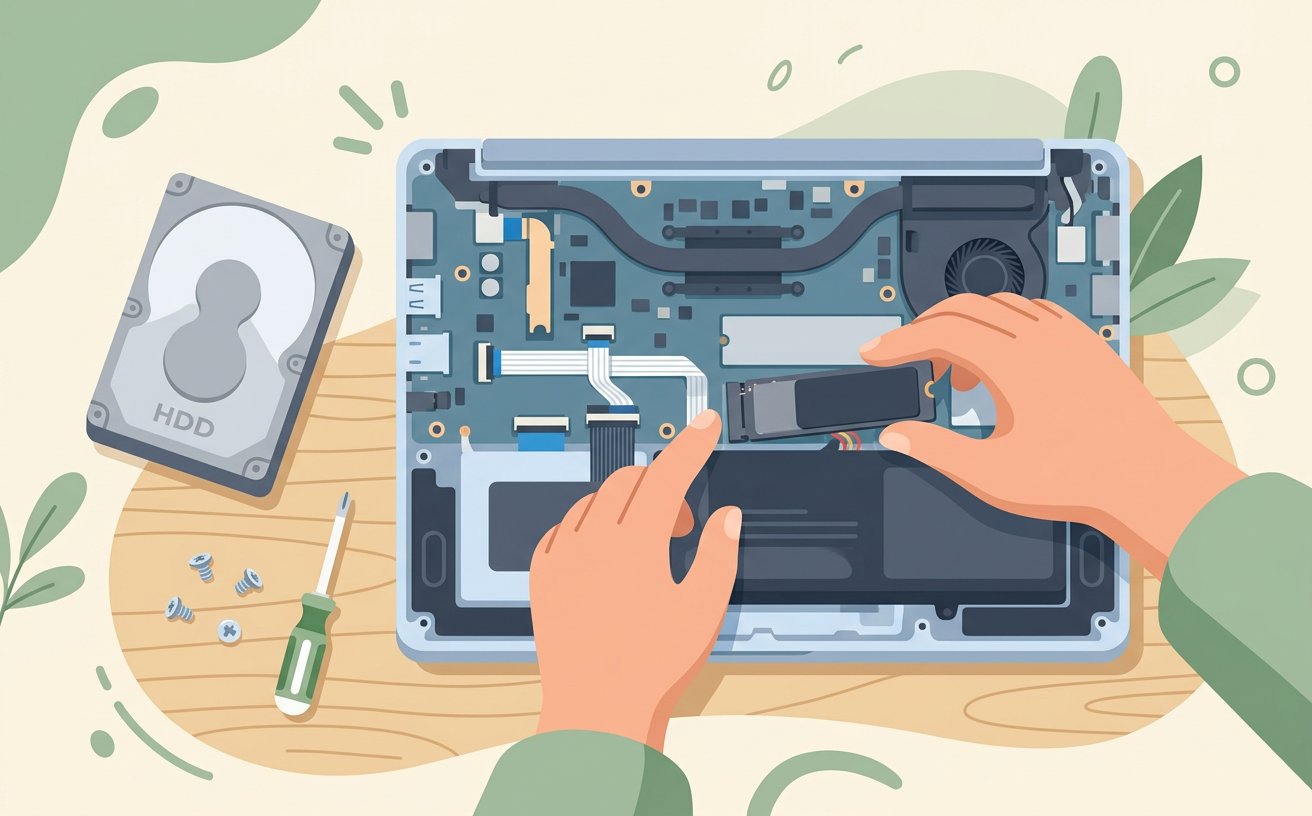
Replace a mechanical hard drive with an SSD, or add a second SSD for your working files. This is the largest single improvement available to an older laptop.[1]
- Do one change at a time and reboot in between. Changing five settings at once means you will never know which one worked.
- Do not use registry cleaners or 'one-click optimiser' suites. They are unnecessary on modern systems and are a common source of instability.[2]✓
 Howcompass
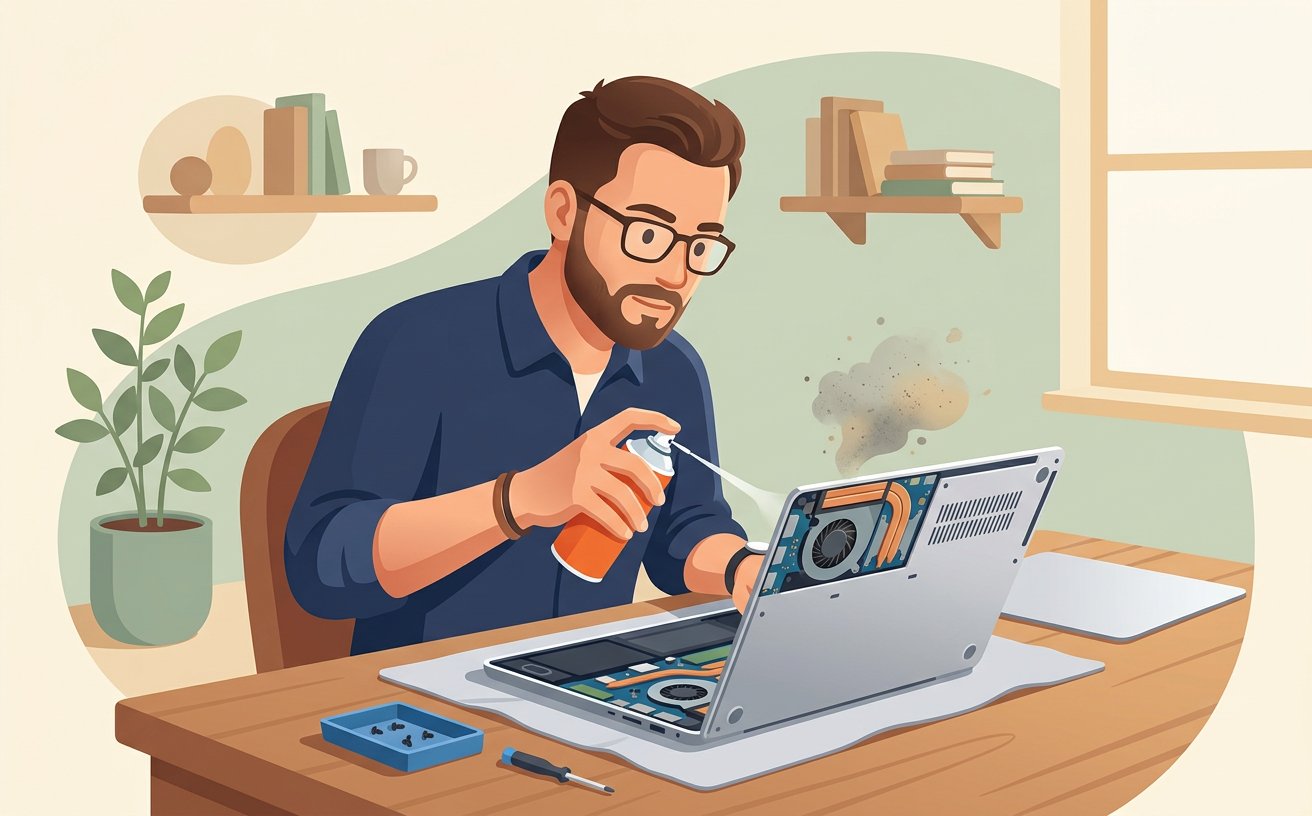
Open the case, remove dust from the fan and heatsink with compressed air. A clogged fan makes the CPU throttle itself to stay cool.[2]
- Keep at least 15% of the drive empty. Both Windows and macOS use free space as scratch space, and neither behaves well when it runs out.
- Have your a backup drive or cloud account with enough space within reach before starting this step so you do not have to pause mid-process.[3]✓
 Howcompass
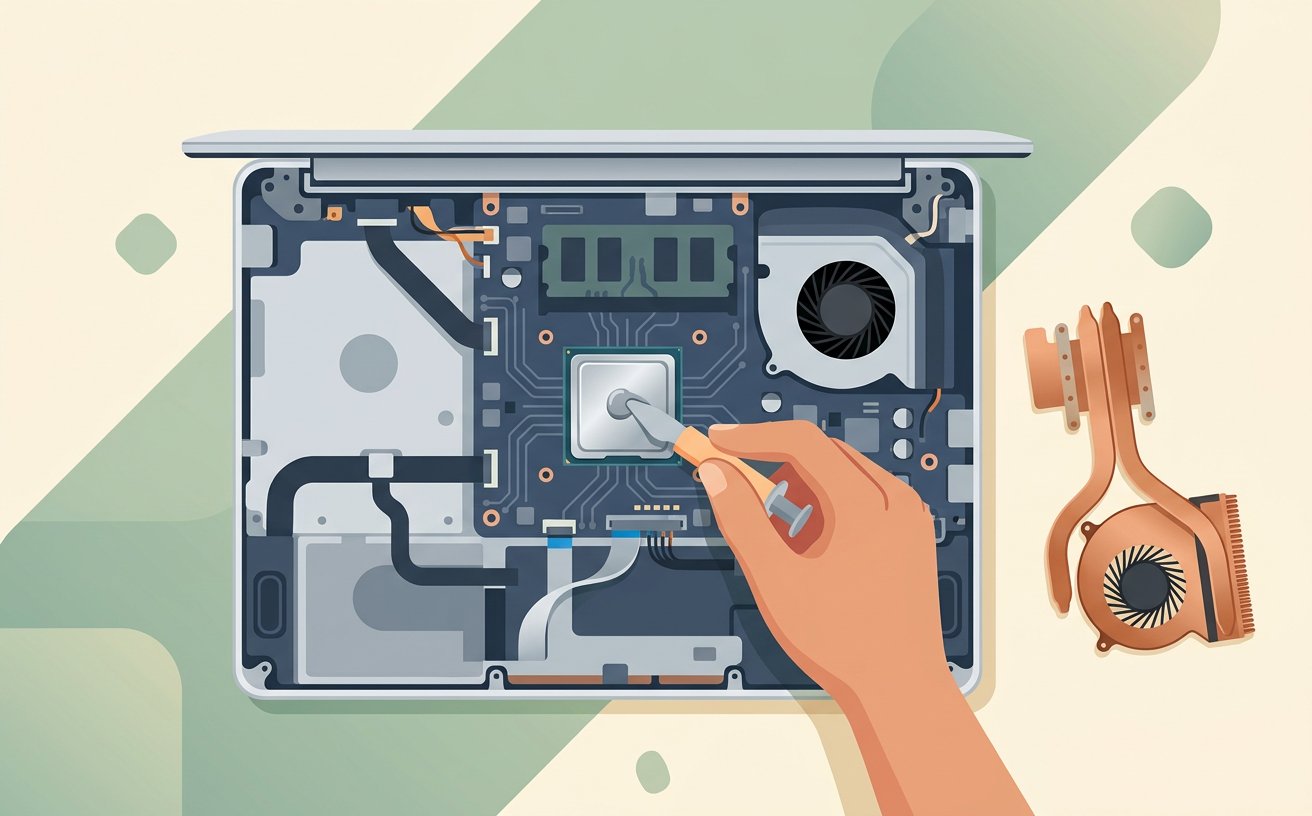
Replace the thermal paste if the laptop is more than four years old and gets hot under light load. Take your time with this stage of hardware that actually helps so your setup stays consistent from start to finish.[3]
- Note what you were doing each time the laptop felt slow. A pattern — video calls, large spreadsheets, twenty browser tabs — tells you exactly which upgrade to buy.
- Howcompass Tech Team notes that checking your progress before moving on to Step 24 prevents the most common beginner mistakes.[4]✓
 Howcompass
Reinstall the operating system from scratch on a clean drive if all else fails. Back up first, and check that you have the licence key or account login.[4]
- Do one change at a time and reboot in between. Changing five settings at once means you will never know which one worked.
- Do not use registry cleaners or 'one-click optimiser' suites. They are unnecessary on modern systems and are a common source of instability.[5]✓
 Howcompass
Compare the cost of upgrades with a replacement. If the machine is over six years old and needs both RAM and an SSD, put the money toward a new laptop.[5]
- Keep at least 15% of the drive empty. Both Windows and macOS use free space as scratch space, and neither behaves well when it runs out.
- Howcompass Tech Team notes that checking your progress before moving on to Step 26 prevents the most common beginner mistakes.[1]✓
Community & Expert Q&A
Question: Why is my laptop suddenly slow when it used to be fast?
Usually one of three things: the drive is nearly full, a background process or malware is eating resources, or the machine is overheating and throttling. Steps 1 to 6 will identify which one.
Question: Does more RAM fix a slow laptop?
Only if memory is the bottleneck. Watch the memory graph during your normal work — if it stays above 85%, more RAM helps. If it hovers around 50%, the money is better spent on an SSD.
Question: Is it worth upgrading a five-year-old laptop?
An SSD and a RAM stick typically cost a fraction of a new machine and can make an older laptop perfectly usable for browsing, office work and video calls. Do not spend that money if the screen, battery or hinges are also failing.
Question: How often should I reinstall the operating system?
Most people never need to. Reinstalling is worth it only after the software steps above have failed, and always after a verified backup.
Tips
- Keep at least 15% of the drive empty. Both Windows and macOS use free space as scratch space, and neither behaves well when it runs out.
- Note what you were doing each time the laptop felt slow. A pattern — video calls, large spreadsheets, twenty browser tabs — tells you exactly which upgrade to buy.
- Do one change at a time and reboot in between. Changing five settings at once means you will never know which one worked.
Warnings
- Back up your files before opening the case, changing a drive, or reinstalling the system. None of those steps is reversible without a copy.
- Unplug the power and remove the battery where possible before touching internal components. Static discharge can destroy a motherboard.
- Do not use registry cleaners or 'one-click optimiser' suites. They are unnecessary on modern systems and are a common source of instability.
Things You'll Need
- The laptop and its charger
- A backup drive or cloud account with enough space
- Compressed air and a small screwdriver set
- The laptop's model number written down
- A spare USB stick (8 GB or larger) for recovery media
Related Howcompass Guides



References (5)
- Tips to improve PC performance in WindowsMicrosoft Support
- Change your Mac's energy settings to save powerApple Support
- How to check the health of an SSDCrucial technical library
- Thermal throttling explained: why laptops slow down when hotIntel Support
- Protect your PC from malwareMicrosoft Security
Howcompass editors verify each step. Sources are listed so you can read the underlying guidance yourself.
Did this article help you?
0 readers found this helpful — add your vote.
No comments yet — be the first to share your results.