How to Start Candle Making With Soy Wax and a Double Boiler
A guide to Set Up the Wax Station Once, Match Wax, Wick Size and Fragrance Load, Melt, Scent, Pour and Cure the First Batch, Burn-Test, Troubleshoot and Light Safely
A first batch of soy container candles usually fails in one of three ways: the wick is wrong for the jar, the fragrance went in at the wrong temperature, or the jar was cold when the wax hit it. None of those mistakes come from a lack of craft skill. They come from skipping the two tools that make candle making a measurement rather than a guess — a scale that reads grams and a thermometer that reads to 100 Celsius. This guide keeps everything on gear you can assemble in one afternoon: a digital scale, a clip-on thermometer, a stainless pouring pitcher, and a double boiler or dedicated pot so no wax ever touches a food pan again. From there it is a repeatable sequence — weigh, melt, scent, pre-warm, center, pour, cure, burn-test — with the numbers printed on your wax supplier's technical data sheet taking precedence over any rule of thumb, including the ones here. Plan on a small test phase before a gift phase. Three burn-test candles cost a few dollars and a weekend, and they tell you the wick size for every jar you will ever pour in that diameter. Once the test burns cleanly, a batch of six to eight jars takes under ninety minutes of attention, cures for one to two days before the first light, and costs roughly $4 to $7 per jar in materials.
Weigh container soy wax on a gram scale and melt it gently in a double boiler to about 70 to 80 degrees Celsius, then stir in fragrance oil at 6 to 8 percent of wax weight around 50 to 55 degrees for two full minutes. Size the wick to the jar's measured diameter from the supplier chart, and burn-test three sizes before a full batch. Pre-warm the jars, anchor the wick dead center, pour at the data-sheet temperature, and cure twenty-four to forty-eight hours before the first light. Trim the wick to six millimeters before every burn and test two to three hours for a full melt pool.
- Time
- 60-75 minutes hands-on per batch; 24-48 hours cure before the first test burn
- Cost
- $60-$110 in one-time gear, then $4-$7 in materials per 8-ounce jar
- Difficulty
- Beginner — a few repeatable temperature steps, no prior craft experience needed
- Works on
- Straight-sided 6-9 cm glass jars with a measurable internal diameter
- Not for
- Wax with no technical data sheet, or fragrance oils with no safety data sheet
- Results
- A tested recipe: full melt pool, 2-4 cm flame, no tunneling, no soot on the glass
How do you start Candle Making With Soy Wax and a Double Boiler?
 Howcompass | How to Start Candle Making With Soy Wax and a Double Boiler
Set Up the Wax Station Once
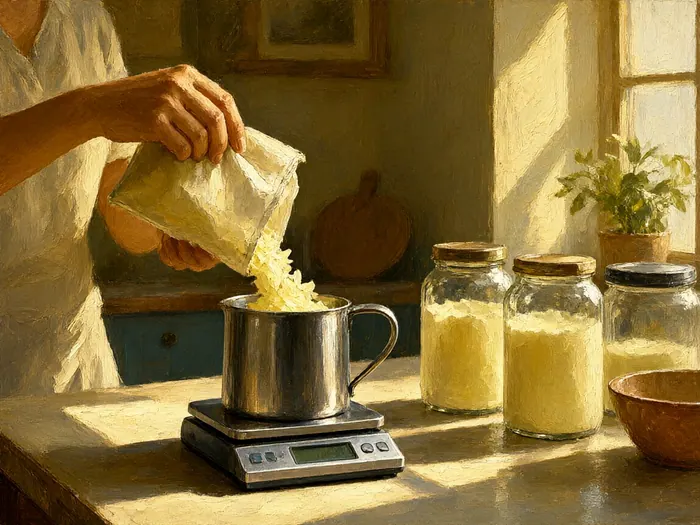
HowcompassWeigh Wax on a Digital Scale That Reads Grams
Weigh every ingredient by grams rather than cups or pour lines. A kitchen scale accurate to 1 gram costs $10 to $20 and matters because fragrance load, wax volume, and cure behavior all depend on weight ratios, not on eyeballing a fill line. Tare the pitcher before adding wax, write the net weight in a notebook beside the recipe, and recheck the calibration every few months against a known calibration weight. Consistent weights are what turn one lucky candle into a batch you can repeat on purpose.
 Howcompass
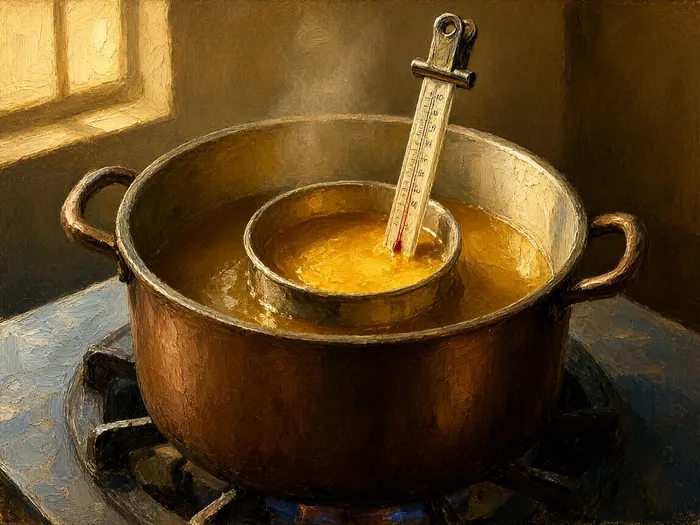
Use a Thermometer That Reads to One Hundred Celsius
Pick a clip-on or instant-read thermometer that reaches at least 100 degrees Celsius, or 200 Fahrenheit, with a one-degree display. That headroom matters because soy container waxes melt around 70 to 80 Celsius and you need a clean read on both the melt range and the lower fragrance-add window near 50 to 55 Celsius. Verify it once a season by checking it in boiling water at about 100 Celsius and replace the unit if it drifts more than two degrees, because a lying thermometer quietly ruins every other temperature step in this guide.
 Howcompass
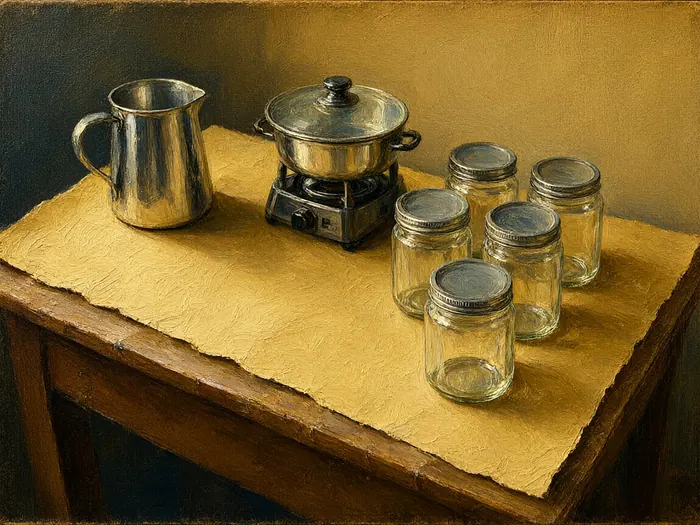
Dedicate a Pitcher and Double Boiler to Wax
Use a stainless steel pouring pitcher with a real spout, and melt in a double boiler or a dedicated pot set in a pan of water. Wax residue on a pitcher does not wash out the way butter does, so designate these two pieces for candles only; the pitcher runs $8 to $15. The water jacket buffers the wax from direct flame, preventing scorching and hot spots that spoil scent, and Wikipedia's overview of the double boiler explains why that keeps the wax near a safe working range. If you melt on a hot plate instead, use the lowest setting that still liquefies wax fully.
 Howcompass
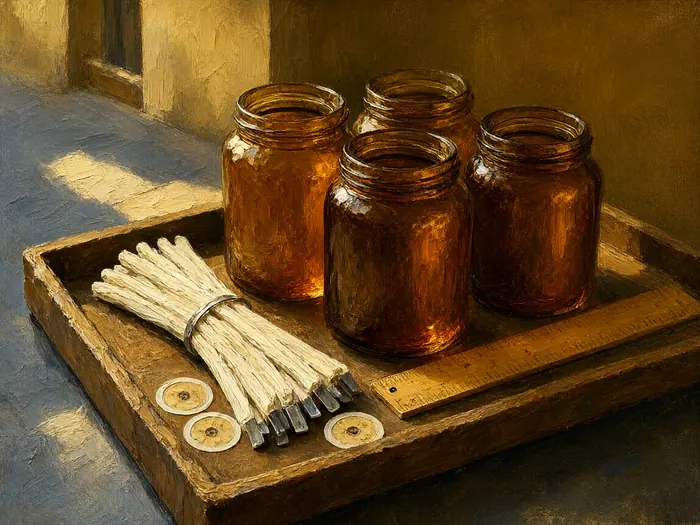
Assemble Jars, Wicks, Sustainers and Wick Stickers
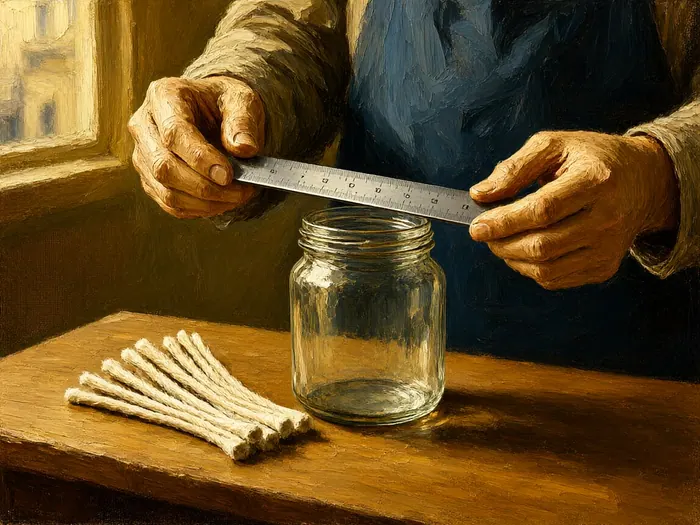
Buy eight-ounce glass jars with lids, cotton wicks rated for container soy wax, metal sustainers or wick bars, and adhesive wick stickers; this supply set costs $15 to $25 for a starter quantity. Measure each jar's internal diameter across the rim with a ruler, not the printed label volume, because wick charts are keyed to that diameter. Straight-sided jars make the melt-pool check far easier than tapered or heavily shouldered glass, where the pool line and the wall shape fool the eye during your first burn tests.
 Howcompass
Keep Wick Clips or Chopsticks Within Reach
Have wick-centering tools ready before the first pour: spring metal wick holders, disposable wooden chopsticks, or popsicle sticks laid across the jar mouth. The wick must stay exactly centered while the wax cools and contracts, because a wick that drifts burns a lopsided pool that never fully melts across. A wipeable craft table beats a food-prep counter for all of this, and our guide to starting hand-tool crafts and bookbinding at home covers setting up a dedicated work surface with a protective top. Line the area with kraft paper or a silicone mat to catch drips.
Match Wax, Wick Size and Fragrance Load
 Howcompass
Choose Soy Wax With a Published Technical Datasheet
Choose a container soy blend that ships with a technical data sheet, such as a 464-style soy wax, and read the melt point, recommended fragrance-add and pour temperatures, and maximum fragrance load before you buy anything else. A one-kilogram bag costs about $12 to $18 retail, and supplier catalogs such as the Candle Science wax range publish those sheets per blend. Soy burns slower and generally soots less than many paraffin blends. Skip unlabeled grocery-aisle craft wax: without a datasheet every temperature step later in this guide becomes guesswork you cannot debug.
 Howcompass
Size the Wick to the Jar Diameter First
Match the wick to your measured internal diameter using the wick supplier's chart, then treat the chart's answer as a starting point, not a verdict. For a jar about 7 to 8 centimeters across, with soy wax and a 6 to 8 percent fragrance load, charts commonly point to a small-to-medium cotton wick, while a 9 to 10 centimeter jar needs a clearly larger wick or two smaller ones. Diameter drives everything because the flame must put enough heat across the full surface to melt the pool to the wall.
 Howcompass
Burn-Test Three Wick Sizes in Identical Jars
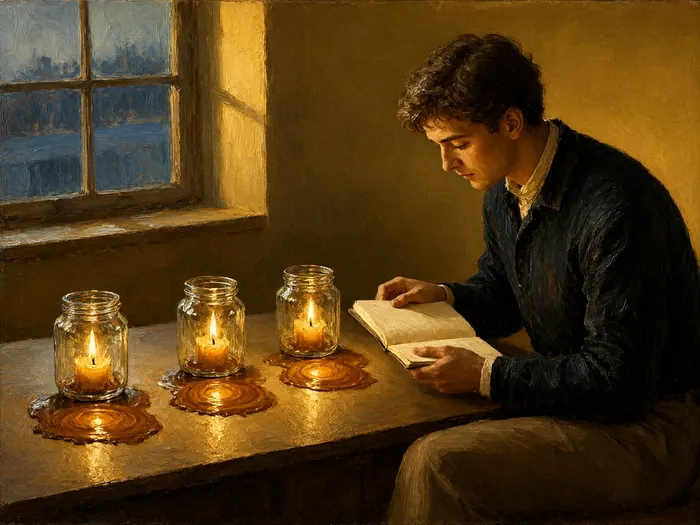
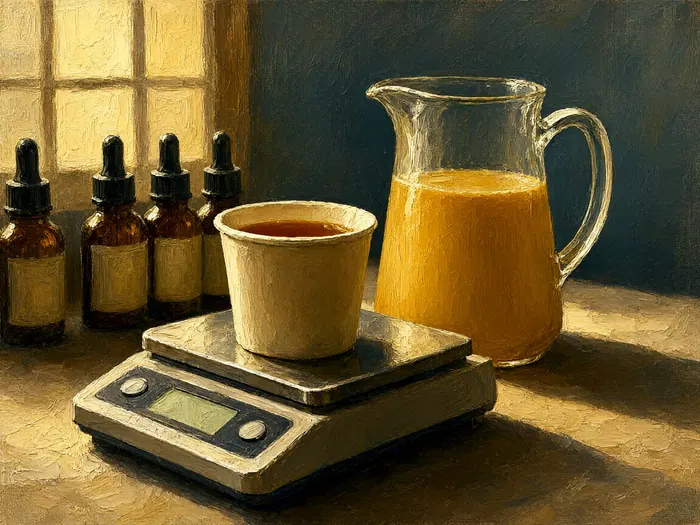
Before committing a full batch, pour three identical test candles in the same jars, with the same wax, fragrance weight, and pour temperature, each with one wick size from the chart plus one size up and one down. Burn each for two to three hours in a draft-free room. A wick that is too small leaves a hard wax ring taller than a centimeter at the wall; too large lifts the flame, adds crackle, or blacks the glass. Write the result in the log, then buy the winning size in quantity.
 Howcompass
Dose Fragrance at Six to Eight Percent by Weight
Dose candle-grade fragrance oil at 6 to 8 percent of the wax weight, measured on the same scale, and never above the maximum usage rate printed for that specific oil. For 225 grams of wax that is roughly 14 to 18 grams of fragrance, adding about $1.20 to $2.20 per jar at typical 4-ounce bottle prices of $8 to $14. Supplier technical pages and the standards summarized in Candle Science's label-requirements guide explain why limits are set per oil and per producer. Higher load is not better scent; over-dosed wax can weep oil and burn unpredictably.
 Howcompass
Keep Fragrance Away From Heat Sources
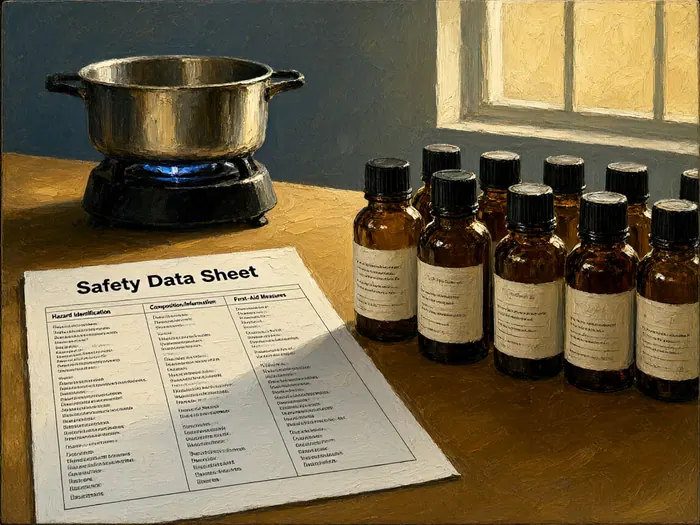
Before using any oil, find the flash point on its safety data sheet. Many candle fragrance oils list flash points below 93 degrees Celsius, and some lower, so never heat fragrance directly, never add it to wax hotter than the sheet allows, and keep open bottles away from the melting pot and any flame. The flash point marks the temperature at which vapors can ignite, as Wikipedia's explanation sets out, which is precisely why the fragrance-add step happens at the cooler end of the working range.
Melt, Scent, Pour and Cure the First Batch
 Howcompass
Melt Wax Gently Between Seventy and Eighty Celsius
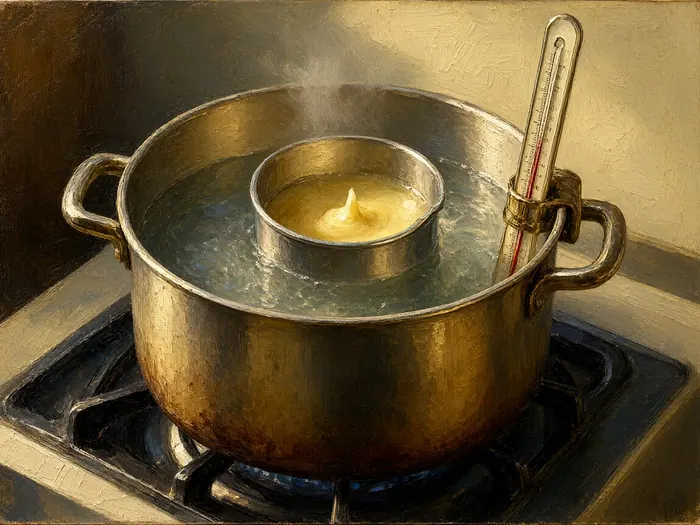
Melt in the double boiler to the range on your datasheet, commonly about 70 to 82 degrees Celsius, 160 to 180 Fahrenheit, for soy container blends, stirring once or twice. Resist cranking the burner to save minutes: high heat scorches soy, smells like a ruined batch, and a one-kilogram load only takes ten to fifteen minutes anyway. Dry the outside of the melting pot before it goes near the jars, since a drop of water falling into hot wax spits and leaves craters in your first pours.
 Howcompass
Stir Fragrance in Slowly for Two Full Minutes
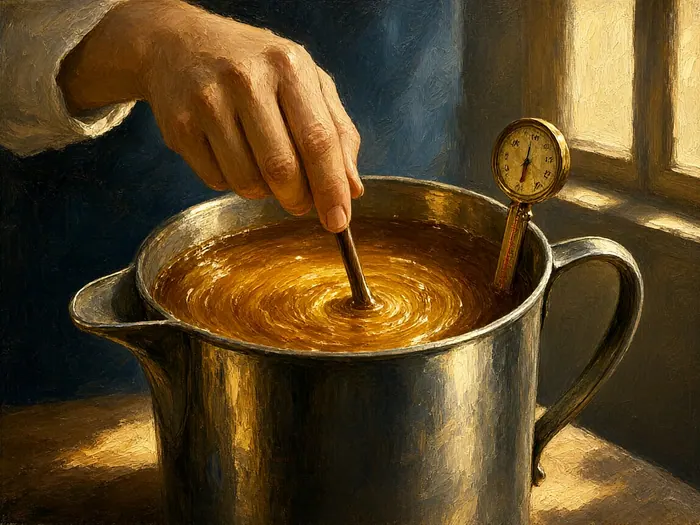
Let the melted wax cool to the datasheet's fragrance-add temperature, often around 50 to 55 Celsius for soy, then add the weighed fragrance and stir slowly but constantly for a full two minutes in one direction with the thermometer still clipped in. Slow stirring avoids whipping air bubbles into the wax; constant stirring matters because fragrance and soy do not bind on their own, and an under-stirred batch gives patchy scent and can weep oil from the surface days later.
 Howcompass
Warm the Jars Before the Pour
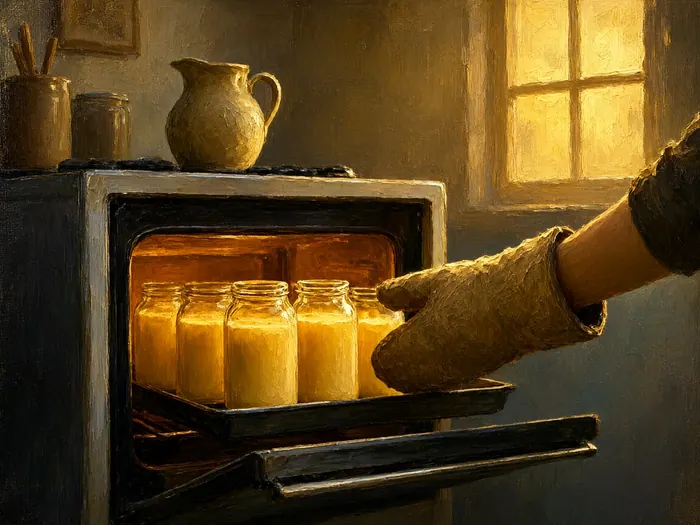
Pre-warm clean, dry jars to roughly 40 to 50 Celsius, 105 to 120 Fahrenheit, either on a baking tray in the coolest oven setting or near a warm surface for ten minutes. Cold glass chills the wax at the wall first, so the center keeps shrinking after the edges set and pulls a sinkhole or a crater at the top. Heat gently and never send glass straight from cold to hot, because thermal shock can crack a jar; a hair dryer passed over a filled jar for thirty seconds also helps a skin settle evenly.
 Howcompass
Anchor the Wick Dead Center Before Pouring
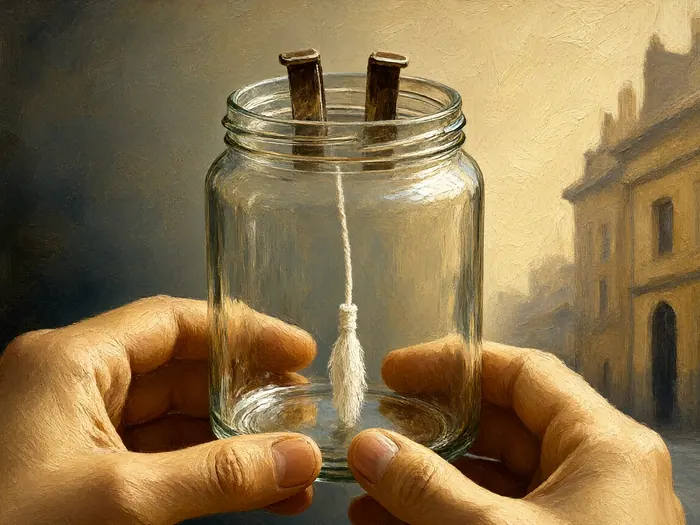
Press a wick sticker or a dab of hot glue under the sustainer, stick the wick bar to the exact center of the jar bottom, and hold it vertical with a spring wick holder or two chopsticks across the mouth. Center by eye against the ruler measurement, not by guessing, because even a wick one or two millimeters off-center burns a lopsided pool that tunnels toward the near wall. Our walkthrough of pouring soy candles with centered cotton wicks covers the taping and restraint technique in more detail.
 Howcompass
Pour Slowly and Plan a Second Top-Up
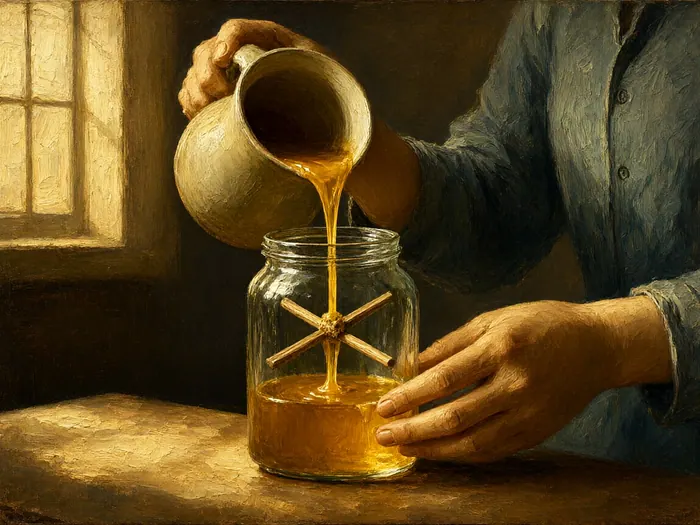
Pour at the datasheet's pour temperature, commonly 50 to 58 Celsius, 125 to 135 Fahrenheit for soy, down one side of the tilted jar rather than straight onto the wick, and leave a little wax in the pitcher. A skin forms on top within minutes while the body keeps shrinking underneath, which is when the center dips; top up the pool with the reserved wax after about twenty minutes. Our guide to making smooth soy container candles shows the second-pour and heat-gun fixes for a sunk top.
Burn-Test, Troubleshoot and Light Safely
 Howcompass
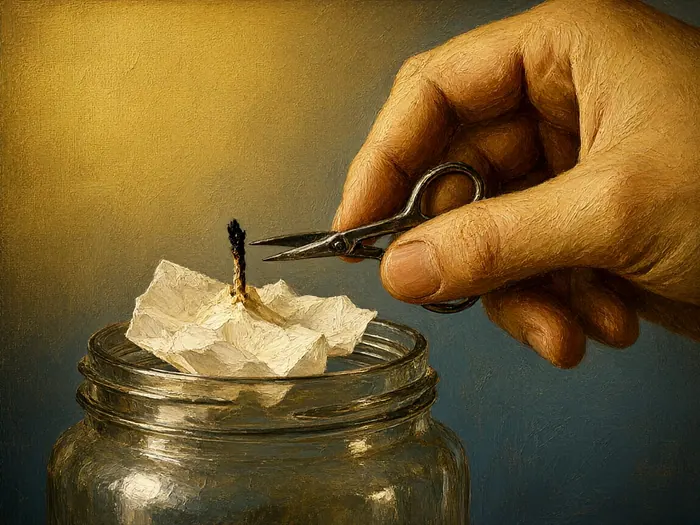
Cure Twenty-Four to Forty-Eight Hours First
Let poured candles sit undisturbed at room temperature for twenty-four to forty-eight hours before the first burn test, and wait seven to fourteen days before judging scent strength. Freshly set soy is still crystallizing, so burning early digs a soft pool that can never heal and under-develops the scent throw. Keep the jars off windowsills and away from drafts and direct sun while they cure, because uneven cooling frosts the surface and warps the top. Cap them between burns so no dust settles on the wick.
 Howcompass
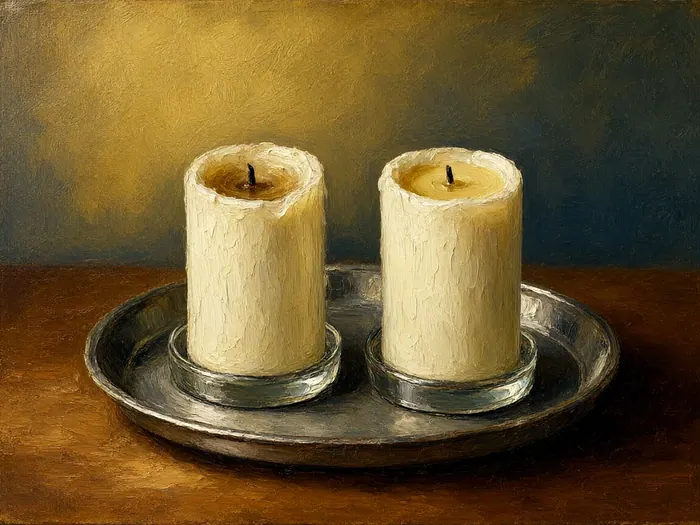
Trim to Six Millimeters Then Burn-Test Twice
Trim the wick to six millimeters, a quarter inch, before every single light including the first test, because an untrimmed factory tip flames high and soots immediately. Burn two to three hours in a draft-free room and check the results: the melt pool should reach to within about five millimeters of the glass by roughly hour two, the flame should sit steady around two to four centimeters without crackling, and no black soot should mark the jar. Log burn hours, flame behavior, and scent, then light again to confirm.
 Howcompass
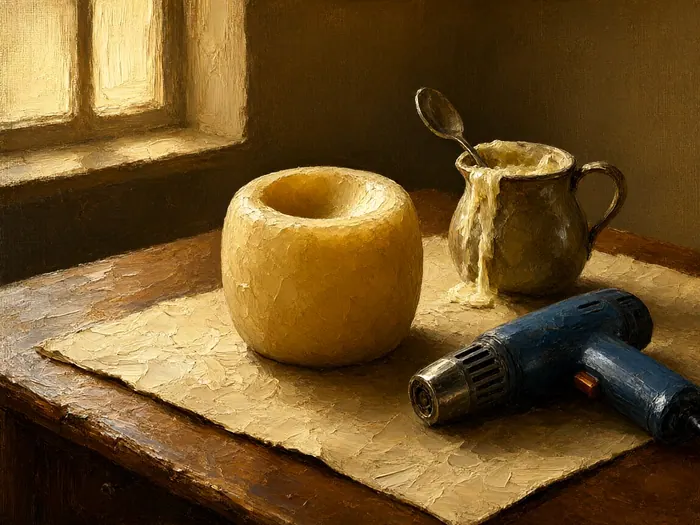
Fix Tunneling and Wet Spots by Cause
Tunneling means the wick is one size too small for the diameter or the first burn was cut short before the pool reached the wall; salvage the candle by scooping soft wax from around the wick until the flame stands level, or re-wick it with the next size up, and always burn the first lighting to a full pool. Wet spots, the pale dry patches between wax and glass, come from cold jars or fast cooling and are cosmetic only, so leave them and pre-warm next batch.
 Howcompass
Correct Mushrooming, Frosting and Sinkholes
A wick caking into a black mushroom means it is one size too large or trimming has slipped; extinguish, snip the char back to six millimeters, and move down a size in the next batch. Frosting, the white crystalline pattern on a soy top, is a normal trait that changes neither burn nor scent. A sinkhole that outlasts the second top-up is fixed by reheating saved wax, refilling the crater slightly overfull, and smoothing the rim as it sets.
 Howcompass
Cost Each Jar and Light It Safely
Tally the true cost: $1.50 to $2.50 of soy, $1.20 to $2.20 of fragrance, $1 to $2 for the jar, and $0.15 to $0.30 for wick and sticker, so $4 to $7 per jar plus your one-time $60 to $110 of gear. Burn on a heat-safe surface at least 30 centimeters from curtains, paper, and pets, never unattended, and only under a working smoke detector, in line with fire-safety guidance tracked by agencies such as the Consumer Product Safety Commission. Our winter candlelight display guide covers arranging finished candles, and every home with open flames should rehearse a two-way fire escape plan.
How to know it worked
- The melt pool reaches within about 5 millimeters of the jar glass by hour two of the first proper burn, with no tunnel or wax wall left behind.
- The flame burns steady and quiet at roughly 2 to 4 centimeters for the full test burn, with no soot marking the glass.
- The wick stays centered, mushroom-free, and reliably down to a 6 millimeter trim between every light.
- The tops are smooth after the second pour, and the cured candle gives a clear scent at the recommended 1 to 2 week age.
- You can name the full recipe — wax weight, fragrance percentage, wick size, pour temperature — and repeat a second batch that burns the same way.
Common mistakes to avoid
- Sizing the wick from the jar's label volume instead of the measured internal diameter, and skipping the three-wick burn test before buying in bulk.
- Adding fragrance at full melt temperature, or above the flash point on the data sheet, which burns off scent and wastes the oil.
- Pouring into cold jars, which sets the edges first and pulls sinkholes and wet spots through the whole batch.
- Lighting the first burn for an hour instead of the full two to three, permanently tunneling an otherwise correct candle.
- Forgetting the 6 millimeter trim before each light, then blaming the wax for a flame that smokes and mushrooms.
Frequently Asked Questions
Question: Can I melt wax in the same pot I cook in?
You can technically wash it out, but most makers dedicate one pitcher and one melting pot to wax because fragrance oils and dye cling to surfaces and never fully come clean. The dedicated set costs about $20 to $35 total. A double boiler or a pot-in-water setup is worth using since direct flame scorches soy and ruins the batch before it even reaches the jar.
Question: How do I know my wick is the wrong size?
Run a two-to-three-hour burn in a draft-free room. If the melt pool stops short of the glass and leaves a wax wall taller than a centimeter, the wick is too small. If the flame climbs past roughly four centimeters, crackles, or blacks the jar with soot, it is too large. Adjust one chart size at a time and re-test in the same jar and wax.
Question: Can I use essential oils instead of fragrance oils?
Not recommended for a first batch. Many essential oils have lower flash points than candle fragrance oils, degrade at pour temperatures, and smell different or faint when burned. Candle-grade fragrance oils ship with safety data sheets giving flash points and maximum usage rates made for wax. If you experiment with oils, check the supplier's candle guidance and keep the same 6 to 8 percent ceiling.
Question: Why does my soy candle have a bumpy or frosted top?
Frosting is a natural crystallization pattern in soy, harmless to burn quality and scent, and it is often more visible on slower-cooled batches. Bumpy tops and sinkholes come from pouring into cold jars or cooling too fast, so the center shrinks after the skin sets. Pre-warm jars to about 40 to 50 Celsius and top up the dip with saved wax after twenty minutes.
Question: Do I really need to cure for 24 to 48 hours?
Yes, minimum, before the first burn test. Fresh soy is still crystallizing; lighting it early digs a soft pool that can never fully heal and gives a weak scent read. For judging fragrance strength, wait seven to fourteen days. Curing costs nothing but time if the batch is poured correctly, and burning early is one of the fastest ways to misdiagnose a wick that is actually fine.
Question: Is a candle with a sinkhole still safe to burn?
A cosmetic dip in the top is safe once it is fully cured and the wick is centered and trimmed. What is not safe is a deep crater that traps the flame under a wax rim, a loose or off-center wick, or a jar with a crack or wet-separation all the way around the wall. Refill the crater with reheated wax, or retire the candle if the glass is damaged.
Question: How much does the hobby cost to start?
Realistically $60 to $110 up front for the scale, thermometer, pitcher, double boiler, and initial jars and wicks, then about $4 to $7 per eight-ounce jar in materials at 6 to 8 percent fragrance. A single kilogram bag of soy wax plus a 4-ounce fragrance bottle covers six to eight candles, so the second batch costs only consumables once the gear exists.
Tips
- Log every batch: wax and fragrance grams, add and pour temperatures, wick size, and the hours to a full pool. The notebook is the recipe, not the memory.
- Buy three wick sizes around the chart's starting point for your jar diameter. The first tested size is rarely the final one.
- Dry jars completely before pouring. Any water clinging to the glass spits in hot wax and leaves craters or wet spots.
- Stop a third of the batch wax back in the pitcher. That reserve is your top-up for the sinkhole that will form as the center cools.
- Snuff the flame rather than blowing it out. Blowing scatters hot wax and sends smoke and loose char across the clean top you just cured.
Warnings
- Never burn a candle unattended, keep it at least 30 centimeters from curtains, paper and pets, place it on a heat-safe surface, and only light under a working smoke alarm. Extinguish before leaving the room or going to sleep.
- Molten wax causes burns and hot glass can crack from thermal shock. Dry the pot's outside before pouring, never send jars straight from cold oven to hot wax and back, and use mitts for pre-heated glass.
- Do not heat fragrance oil directly, do not add it above the temperature on its safety data sheet, and keep bottles away from the melting pot and open flame; many candle fragrance oils have flash points below 93 Celsius.
- Stop and investigate rather than re-light if a jar cracks, the wax pulls fully away and pools at the base, the flame flickers and smokes heavily, or the wick mushrooming comes back after two correct trims. A tested recipe should behave; a failing one is telling you something.
Things You'll Need
- Digital kitchen scale reading to 1 gram
- Clip-on thermometer with a 100 Celsius range
- Stainless steel pouring pitcher with a spout
- Double boiler or dedicated melting pot
- Eight-ounce straight-sided glass jars with lids
- Ruler for measuring jar internal diameter
- Cotton wicks rated for container soy wax
- Metal wick sustainers or wick bars
- Adhesive wick stickers
- Spring wick holders or wooden chopsticks
- Container soy wax with a technical data sheet
- Candle-grade fragrance oil with a safety data sheet
- Kraft paper or silicone mat for the work surface
- Heat gun or hair dryer for surface fixes
Related Howcompass Guides

References (4)
- The Essential Guide to Candle Label RequirementsCandle Science
- Candle Making Supplies, Soy Wax and Fragrance OilsCandle Science
- CPSC Home Page — Recalls, Safety Education and NewsU.S. Consumer Product Safety Commission
- Research at NFPANational Fire Protection Association
Further reading
- Flash pointWikipedia
- Double boilerWikipedia
- Soy waxWikipedia
Encyclopaedia entries are background, not evidence: no step below rests on one of these.
Sources are listed so you can read the underlying guidance yourself. Our editorial policy explains how guides are reviewed.
Did this article help you?
0 readers found this helpful — add your vote.
No comments yet — be the first to share your results.