How to Roast a Whole Chicken
A guide to Preparing the Chicken, Seasoning and Preparing, Roasting the Chicken, Carving and Serving, Tips and Variations
Roasting a whole chicken is a classic cooking skill that rewards patience and attention to detail. This guide walks you through the entire process — from choosing and preparing the chicken to seasoning, roasting, carving, and serving a perfectly golden, juicy roast chicken. Whether you are cooking for a family dinner or hosting a dinner party, following these steps in order ensures a delicious, impressive result. See also our Start a Garden guide if you want to grow herbs for your roast chicken.
How do you roast a Whole Chicken?
 Howcompass | How to Roast a Whole Chicken
Preparing the Chicken
HowcompassThaw the Chicken Safely
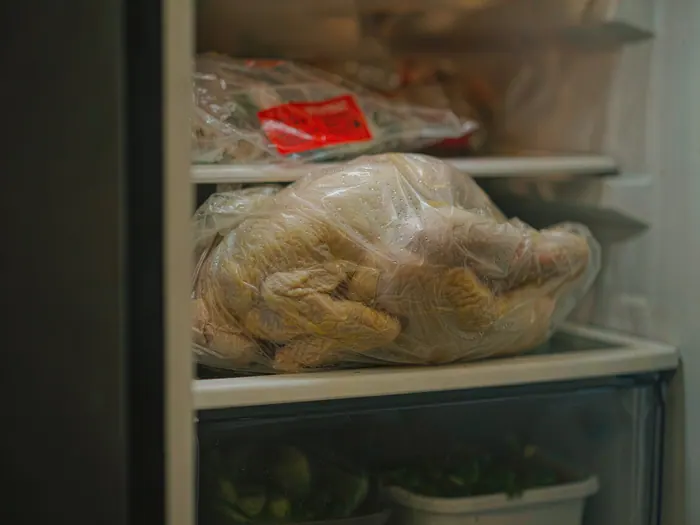
Thaw your frozen chicken safely in the refrigerator — never at room temperature or in hot water. Place the chicken in a tray on the bottom shelf of your fridge and allow 24 hours per 4-5 pounds of chicken. A 5-pound chicken takes about 24-30 hours to thaw completely. Use USDA Food Safety for food safety guidelines. Never thaw chicken on the kitchen counter or in hot water — this promotes bacterial growth and can make you sick. Planning ahead for thawing is essential for a stress-free cooking experience.
 Howcompass
Prepare Your Workspace
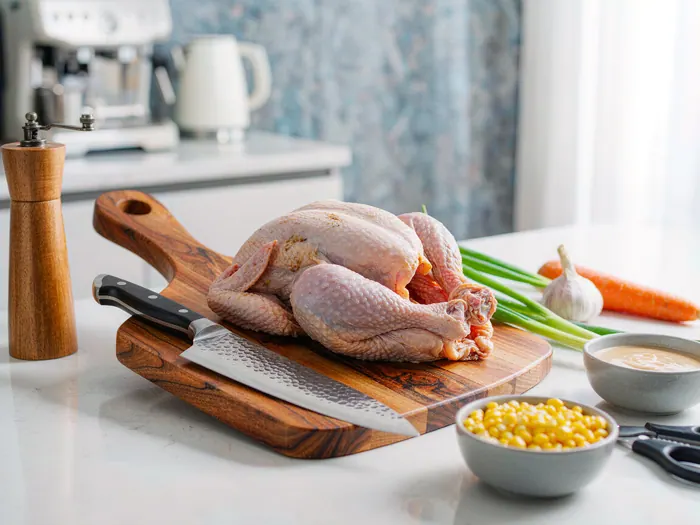
Prepare a clean, organized workspace before handling the chicken. Clear your countertop and place a cutting board, knife, and all your ingredients within reach. Use a non-porous cutting board that can be sanitized — plastic or silicone boards are easier to clean than wood. Have paper towels, salt, pepper, and cooking oil ready. Use CDC Food Safety for cleaning and sanitizing guidelines. A well-organized workspace makes cooking safer and more efficient.
 Howcompass
Gather Your Tools and Ingredients
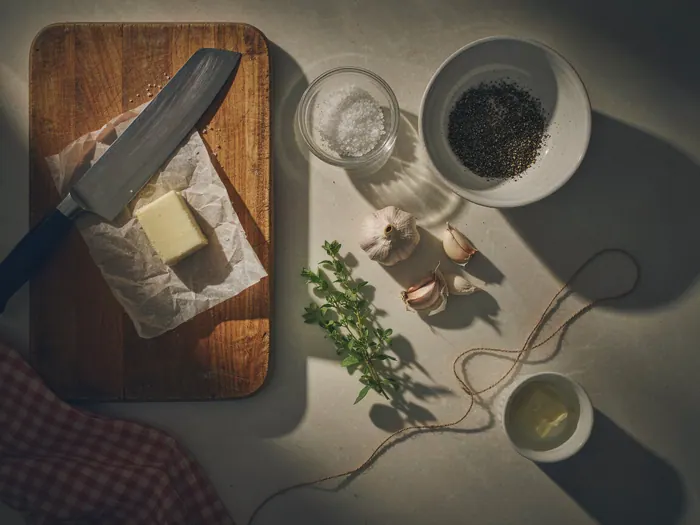
Gather all the tools and ingredients you need before starting. You will need a sharp knife, cutting board, kitchen twine, meat thermometer, roasting pan, tongs, and baster. Ingredients include a whole chicken (4-6 pounds), salt, pepper, butter, herbs like rosemary and thyme, garlic, olive oil, and optionally lemon. For budgeting your ingredient purchases, see our Save Money Every Month guide. Use America's Test Kitchen for recommended cooking tools. Having everything ready before you start prevents mid-cooking scrambling and ensures a smooth process.
 Howcompass
Choose the Right Chicken
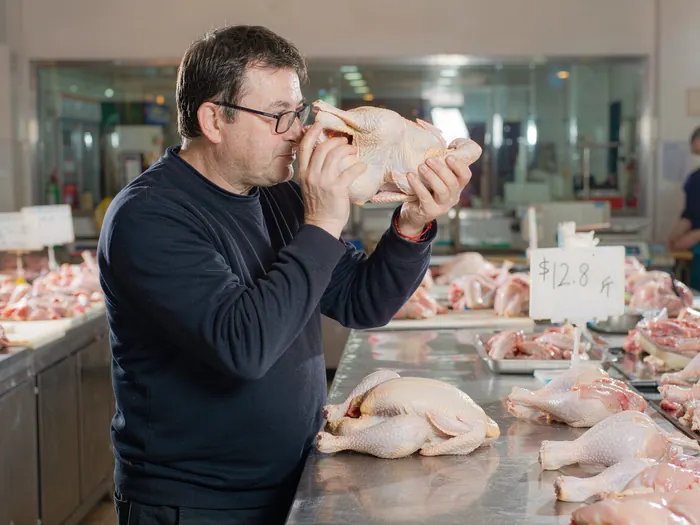
Choose a quality whole chicken for best results. Look for a chicken that is plump, with firm flesh and a pinkish color — avoid grayish or slimy chicken. A 4-6 pound chicken is ideal for roasting — it cooks evenly and yields good portions for 4-6 people. Consider organic, free-range, or pasture-raised chicken for better flavor and texture. Use USDA for food quality guidelines. The quality of your chicken directly affects the final result — invest in the best chicken you can afford.
 Howcompass
Season the Outside
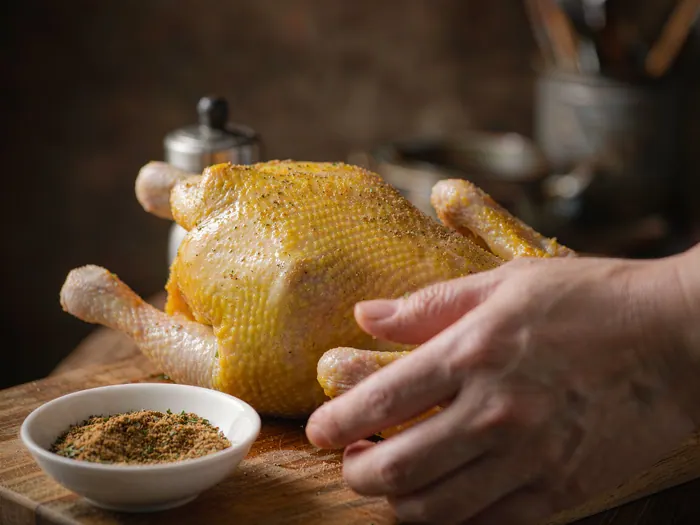
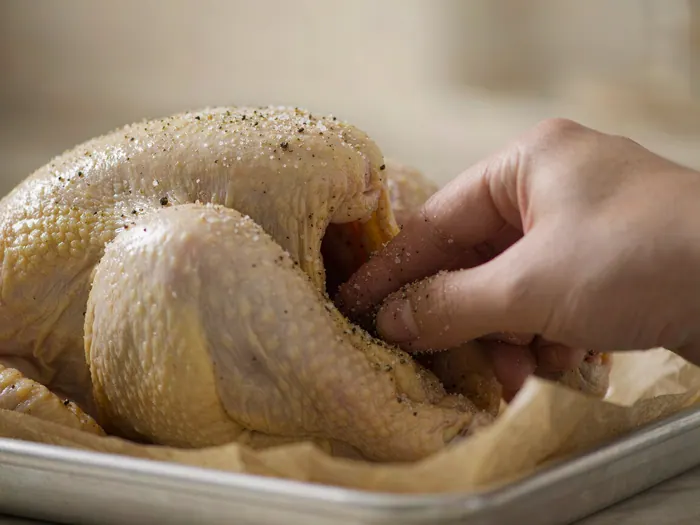
Season the outside of the chicken generously with salt and pepper before cooking. Pat the skin dry with paper towels first — dry skin roasts to a crispier, golden result. Rub salt and pepper all over the exterior, including under the skin where possible. Use about 1-2 teaspoons of salt and 1/2 teaspoon of pepper for a 5-pound chicken. Allow the chicken to sit at room temperature for 30 minutes before roasting — this helps the seasonings penetrate and the chicken cook more evenly. Use America's Test Kitchen for seasoning tips.
Seasoning and Preparing
 Howcompass
Add Butter Under the Skin
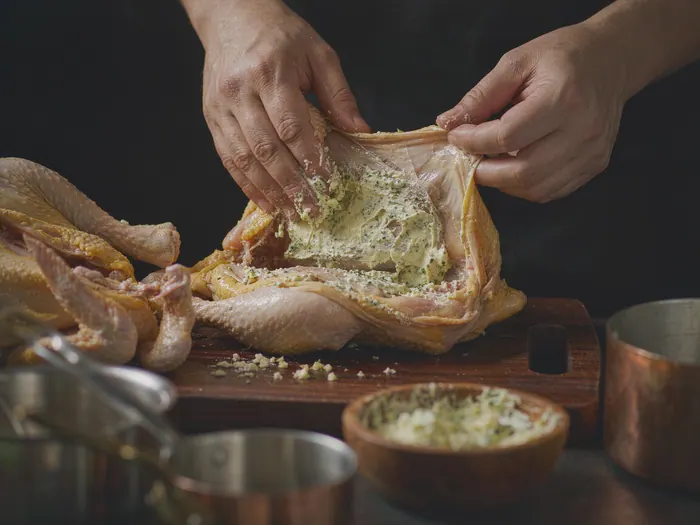
Add herb butter under the chicken skin for extra flavor and moisture. Soften 4 tablespoons of butter and mix with chopped herbs like rosemary, thyme, and parsley. Carefully lift the skin away from the meat and spread the butter underneath, covering as much of the breast and thigh area as possible. Use Serious Eats for butter under skin techniques. The butter bastes the meat from underneath, keeping it juicy and infusing it with herb flavor. This technique produces restaurant-quality results.
 Howcompass
Pat the Chicken Dry
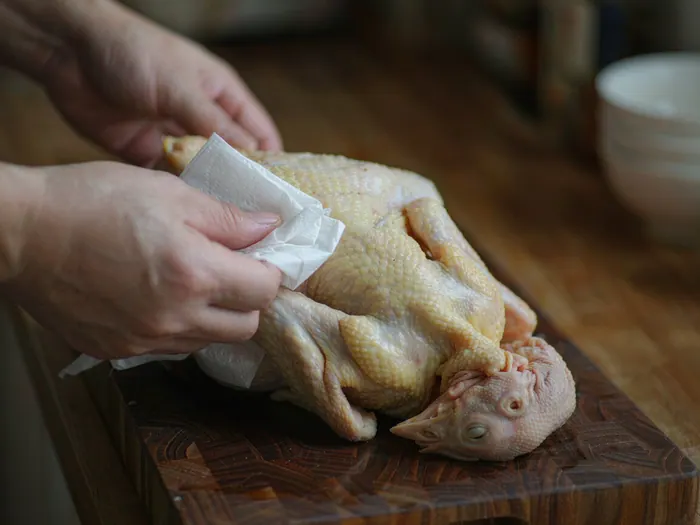
Pat the chicken completely dry with paper towels before seasoning — this is critical for crispy skin. Wet skin steams instead of roasting, resulting in pale, soggy skin. Dry every surface: the outside, under the skin, the cavity, and between the legs and body. Use multiple paper towels to ensure the chicken is bone-dry. Use Serious Eats for the science of dry-brining and crispy skin. Dry chicken skin is the key to golden, crispy results.
 Howcompass
Season Inside the Chicken
Season the inside of the chicken cavity with salt, pepper, and your favorite seasonings. Rub the inside of the cavity with salt and pepper, then add aromatics like lemon halves, garlic cloves, and fresh herbs. The cavity seasons the meat from the inside as the chicken roasts, infusing it with flavor. Use about 1 teaspoon of salt and 1/2 teaspoon of pepper for the cavity. Use Food Network for cavity seasoning ideas. Seasoning inside and out ensures flavor throughout the entire chicken.
 Howcompass
Truss the Chicken
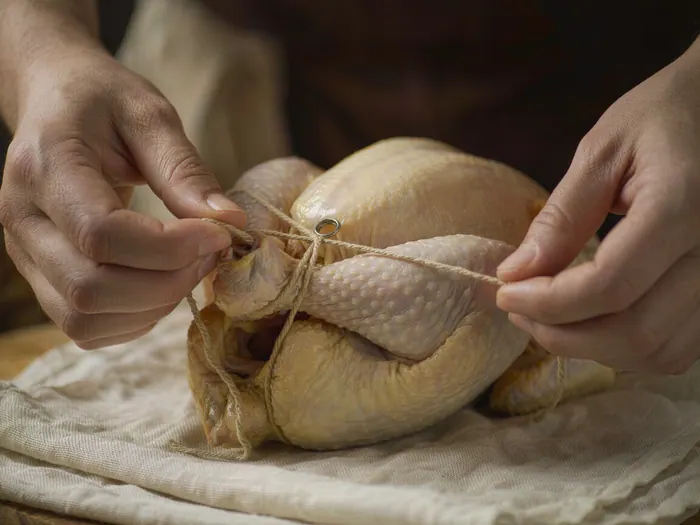
Truss the chicken with kitchen twine to ensure even cooking. Tie the legs together at the ankles and tuck the wings against the body. Trussing prevents the legs and wings from drying out during roasting and helps the chicken cook evenly. Use America's Test Kitchen for trussing techniques. If you do not have twine, you can tuck the wings under the body and tie the legs with a piece of unflavored dental floss or cotton kitchen string. Trussing is a professional technique that improves the final result.
 Howcompass
Add Herbs and Garlic
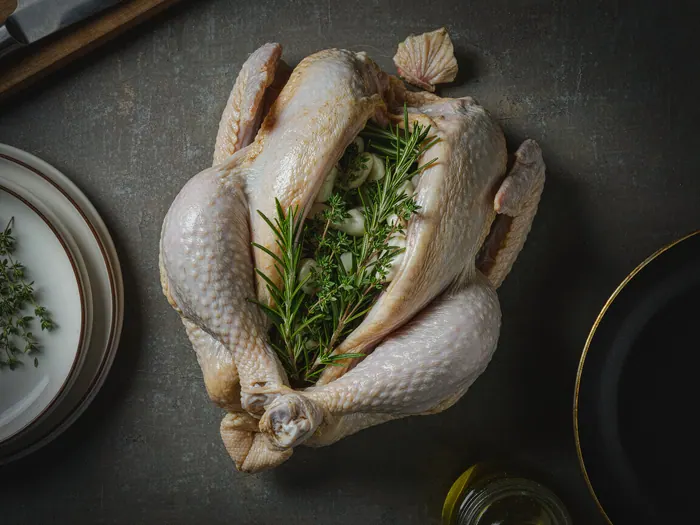
Add fresh herbs and garlic inside the chicken cavity for aromatic flavor. Place 2-3 garlic cloves, a sprig of rosemary, and a sprig of thyme inside the cavity. As the chicken roasts, these ingredients release their flavors and aromas, infusing the meat from the inside. Use Food Network for herb and garlic combinations. You can also add lemon halves or orange halves for a citrusy twist. Herbs and garlic inside the chicken are the secret to deeply flavored roast chicken.
 Howcompass
Place Chicken in the Roasting Pan
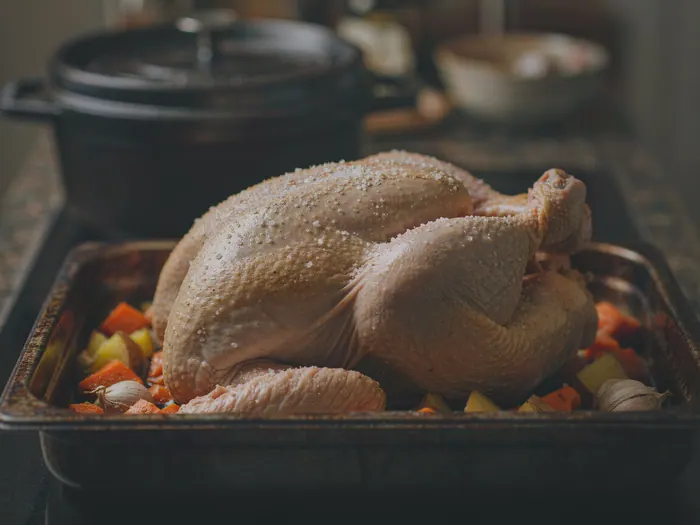
Place the seasoned chicken in the roasting pan, breast-side up. Position the chicken in the center of the pan with the legs pointing toward the back. If using vegetables, place them around the chicken for flavorful drippings. Use America's Test Kitchen for roasting pan recommendations. Do not cover the chicken with foil — uncovered roasting produces crispy, golden skin. Ensure the chicken is not touching the sides of the pan for even heat circulation.
Roasting the Chicken
 Howcompass
Preheat the Oven and Pan
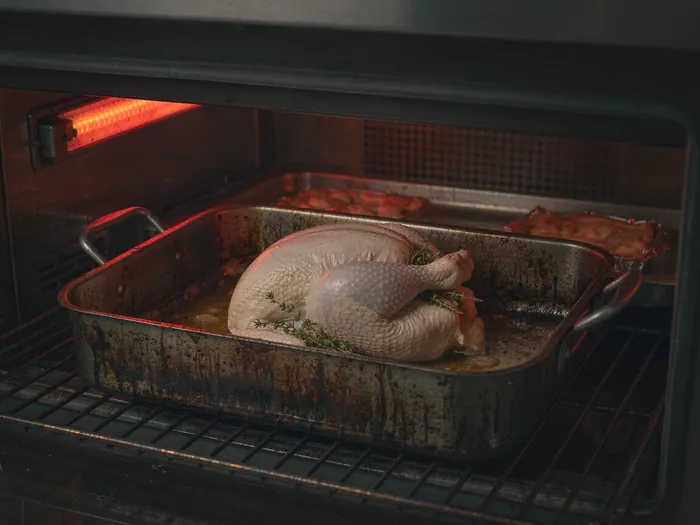
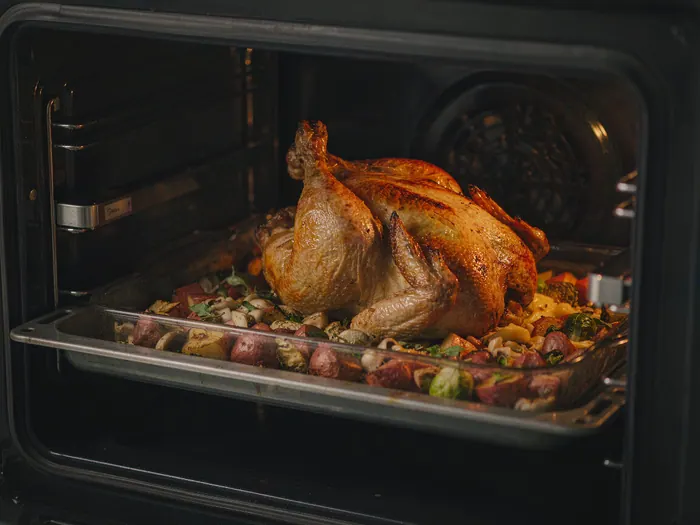
Preheat your oven to 425°F (220°C) and preheat the roasting pan. A hot oven and hot pan are essential for crispy skin and even cooking. Place the empty roasting pan in the oven while it preheats — this creates a non-stick surface and ensures the chicken starts cooking immediately when placed in the pan. Use America's Test Kitchen for oven temperature recommendations. For extra crispy skin, you can start at 450°F for 15 minutes, then reduce to 400°F for the remaining time. A hot start produces the best results.
 Howcompass
Roast the Chicken
Roast the chicken in the preheated oven for about 1 hour to 1 hour 15 minutes for a 5-pound chicken. Do not open the oven door frequently — each opening releases heat and can slow cooking. The chicken should develop a golden-brown color on the outside. Use USDA for cooking time guidelines. As a general rule, roast at 425°F for 15-20 minutes per pound. A 5-pound chicken needs about 75-90 minutes total. Trust the process — frequent checking can lead to undercooking.
 Howcompass
Baste the Chicken
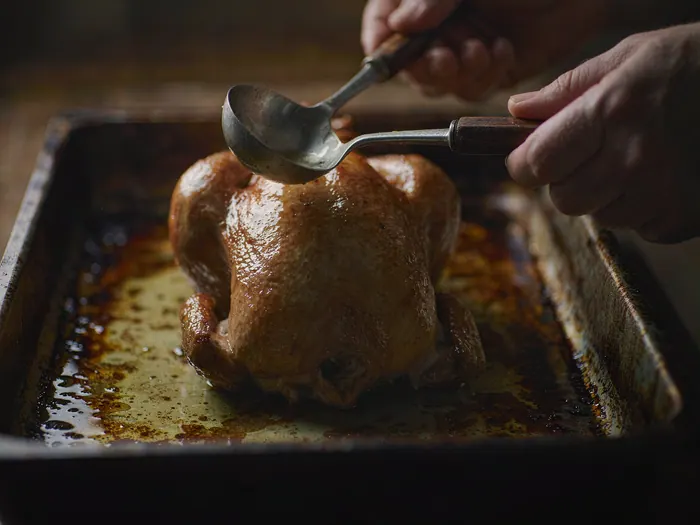
Baste the chicken once or twice during roasting to keep it moist and flavorful. After about 45 minutes, open the oven and use a baster or spoon to spoon pan juices over the chicken. Focus on the breast area which dries out fastest. Use America's Test Kitchen for basting techniques. Do not baste too frequently — opening the oven door releases heat and slows cooking. Basting once at the midpoint is sufficient for a juicy, well-seasoned chicken.
 Howcompass
Check for Doneness
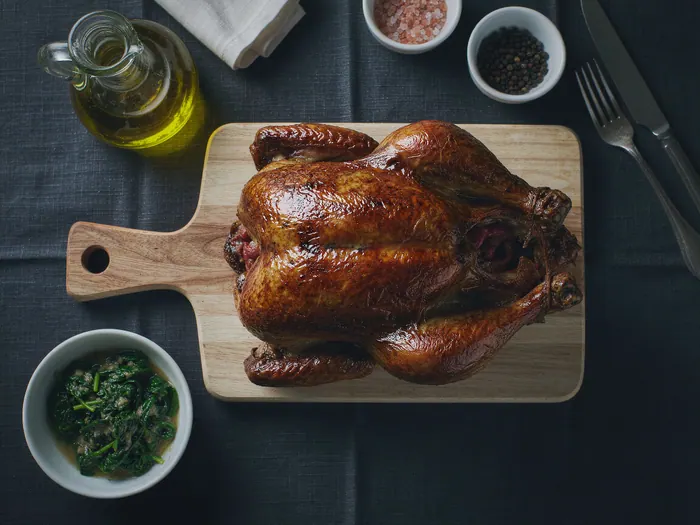
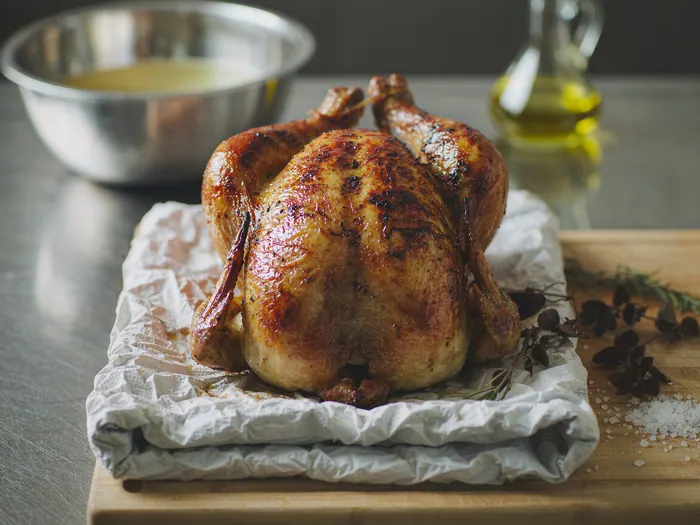
Check for doneness by examining the chicken's appearance. The skin should be golden-brown and crisp, and the juices should run clear when pierced near the thigh. The meat should pull away from the bone easily. If the skin is not browning, you can increase the oven temperature to 450°F for the last 10-15 minutes. Use USDA Food Safety for visual doneness indicators. Visual cues are useful, but always confirm with a thermometer for safety.
 Howcompass
Check the Temperature
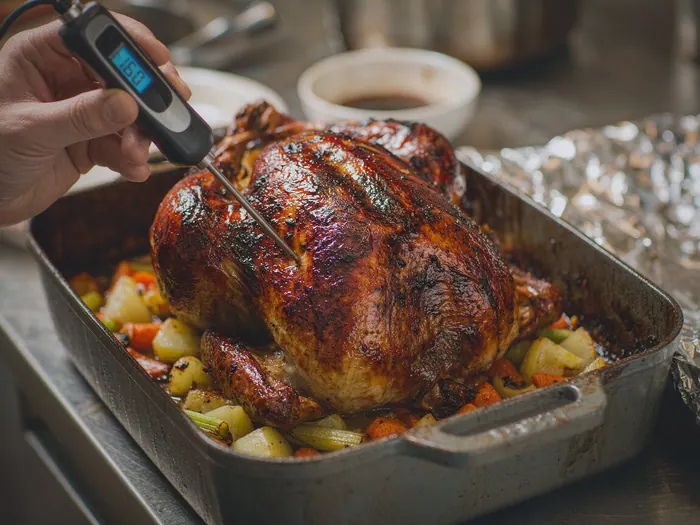
Check the internal temperature with a meat thermometer for precise doneness. Insert the thermometer into the thickest part of the thigh — not touching the bone — and check that it reads 165°F (74°C). The breast should also read 165°F. Use USDA for safe cooking temperatures. If the temperature is below 165°F, return the chicken to the oven and check every 5 minutes. A meat thermometer is the only reliable way to ensure your chicken is safe to eat and perfectly cooked.
 Howcompass
Rest the Chicken
Rest the chicken for 15-20 minutes before carving — this is essential for juicy meat. Remove the chicken from the oven and tent it loosely with foil or place it on a cutting board. The resting time allows the juices to redistribute throughout the meat, preventing them from running out when you carve. Use America's Test Kitchen for resting techniques. Do not skip resting — cutting into hot chicken immediately results in dry, disappointing meat. Resting is the secret to juicy roast chicken.
Carving and Serving
 Howcompass
Carve the Chicken
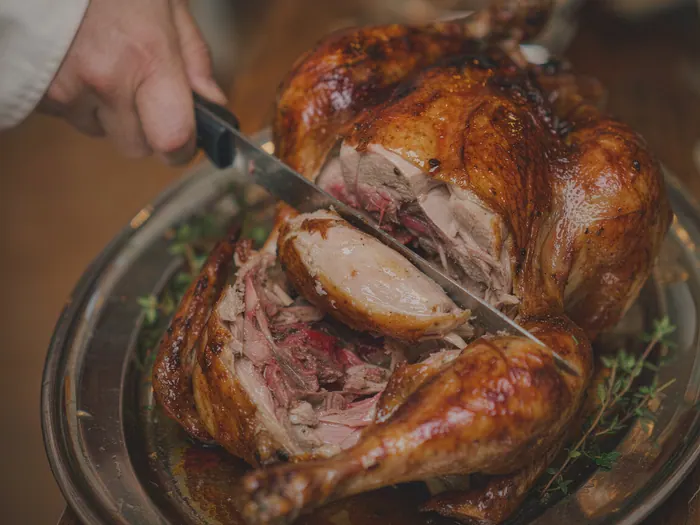
Carve the chicken using a sharp knife and proper technique. Place the chicken on a cutting board and cut along the breastbone to separate the two halves. Then cut the breast meat into slices and separate the thigh and drumstick from the spine. Use America's Test Kitchen for carving techniques. Serve the chicken on a platter with the crispy skin intact. A sharp knife and proper technique produce clean, attractive cuts. Take your time carving for the best presentation.
 Howcompass
Make Pan Sauce
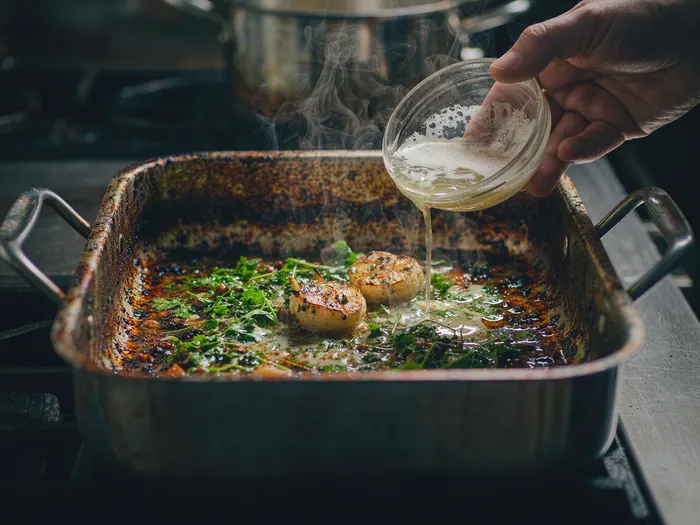
Make a simple pan sauce from the chicken drippings for extra flavor. Place the roasting pan on the stovetop over medium heat. Pour off excess fat, leaving about 2 tablespoons. Add a splash of wine or broth and scrape up the browned bits from the bottom of the pan. Simmer for 2-3 minutes and season with salt and pepper. Use Food Network for pan sauce recipes. A simple pan sauce transforms a good roast chicken into an exceptional one. Serve the sauce alongside the carved chicken.
 Howcompass
Serve the Chicken
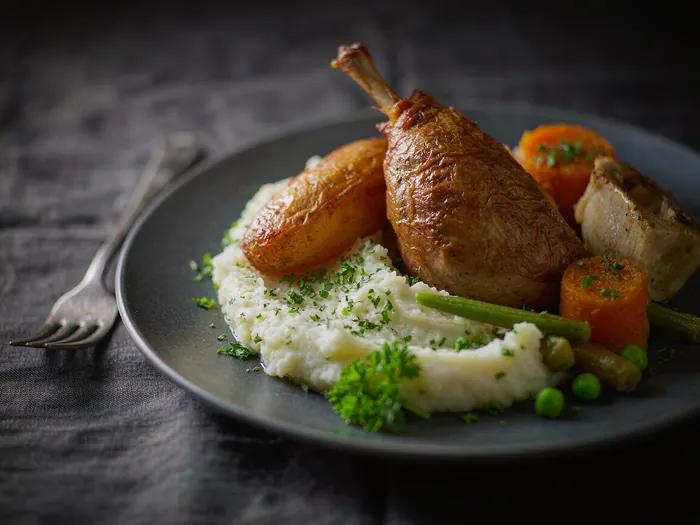
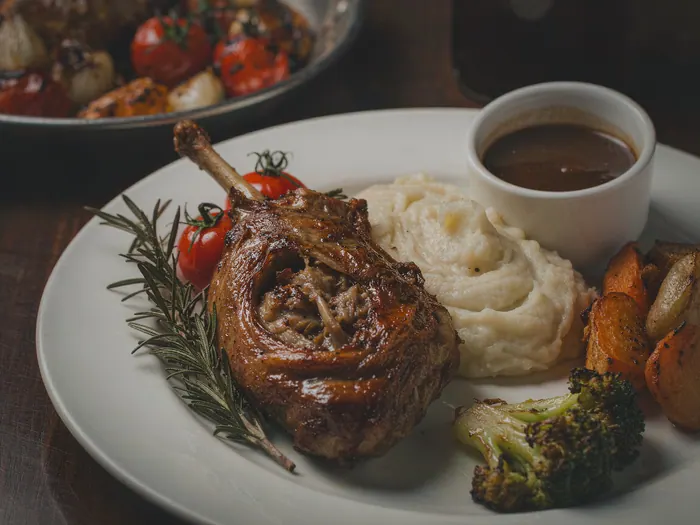
Serve the carved roast chicken on a platter or individual plates. Arrange the slices with crispy skin facing up for presentation. Pour the pan sauce over the chicken or serve it in a sauce boat. Garnish with fresh herbs like parsley or thyme. Use Food Network for serving ideas. A beautiful presentation makes the meal more enjoyable. Serve immediately — roast chicken is best enjoyed fresh, though it will still be good if kept warm for 30 minutes.
 Howcompass
Store Leftovers
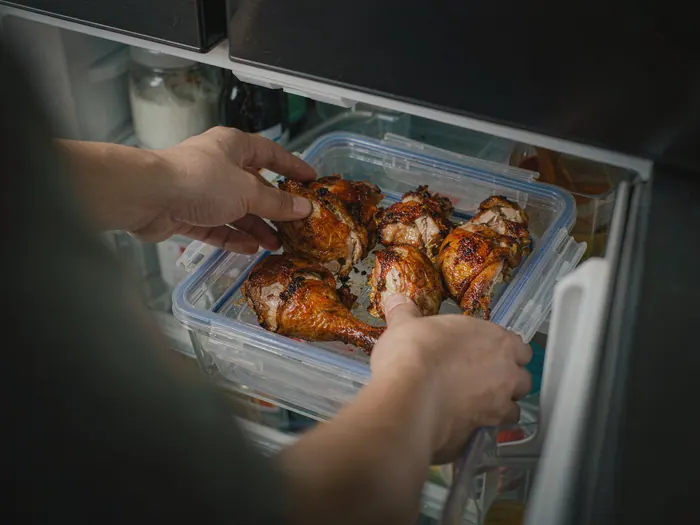
Store leftover roast chicken safely to maintain quality and prevent foodborne illness. Allow the chicken to cool to room temperature (no more than 2 hours) before refrigerating. Place the chicken in an airtight container and store in the refrigerator for 3-4 days, or freeze for up to 4 months. Use USDA Food Safety for storage guidelines. Reheat leftovers to 165°F before eating. Proper storage keeps your leftover chicken safe and delicious for days.
 Howcompass
Pair with Side Dishes
Pair your roast chicken with complementary side dishes for a complete meal. Classic sides include mashed potatoes, roasted vegetables, green beans, stuffing, and a simple salad. Consider the flavor profile — creamy sides balance the crispy chicken, while roasted vegetables add earthy sweetness. If you want to grow fresh herbs for your roast chicken, see our Start a Garden guide. Use Food Network for side dish ideas. A balanced plate with protein, carbohydrates, and vegetables makes for a satisfying, nutritious meal. Experiment with different combinations to find your favorite pairing.
Tips and Variations
 Howcompass
Try Brining
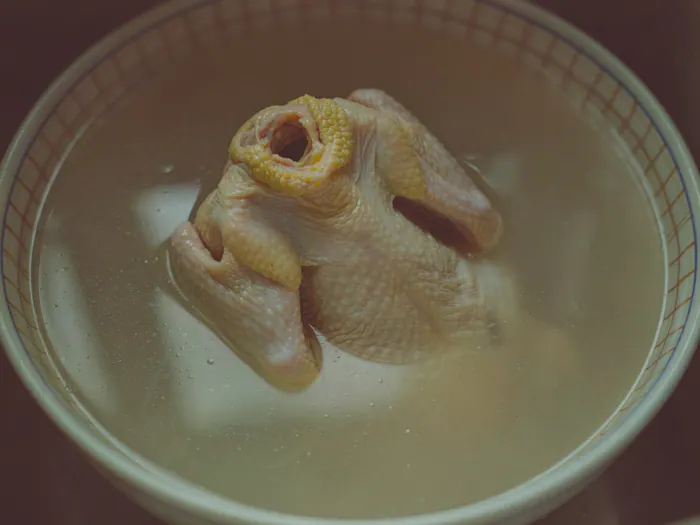
Try brining your chicken before roasting for extra juiciness and flavor. Dissolve 1/2 cup of salt in 1 gallon of cold water and submerge the chicken for 1-2 hours in the refrigerator. Brining penetrates the meat with moisture and seasoning, resulting in a more flavorful and tender chicken. Use America's Test Kitchen for brining techniques. You can also add sugar, herbs, or spices to the brine for additional flavor. Brining is the professional secret to extra juicy roast chicken.
 Howcompass
Try Different Seasonings
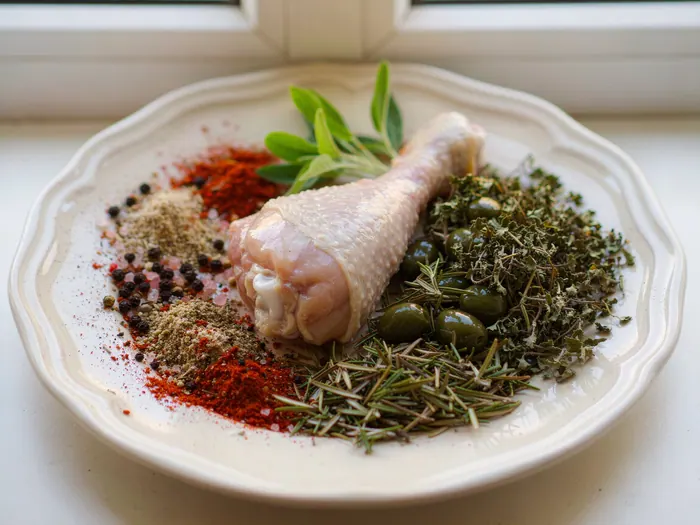
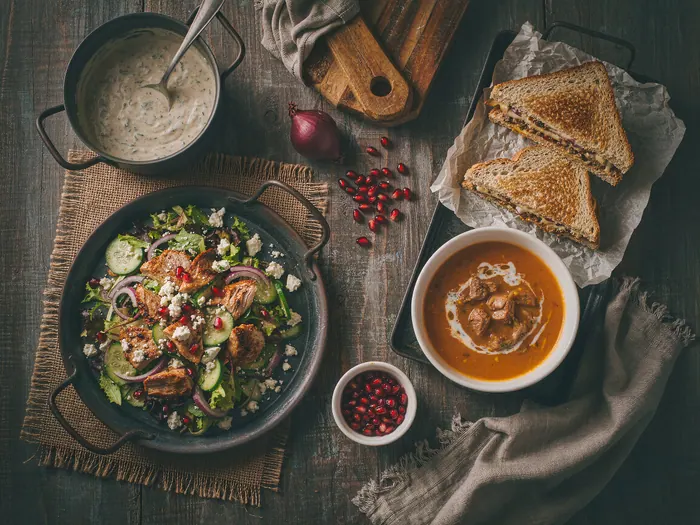
Try different seasoning combinations to vary the flavor of your roast chicken. Classic combinations include lemon and herbs, garlic and rosemary, or paprika and smoked salt. You can also try Mediterranean flavors with oregano, lemon, and olive oil, or Asian-inspired flavors with ginger, soy, and garlic. Use Serious Eats for seasoning ideas. The same roast chicken recipe can taste completely different with different seasonings — experiment and find what you love.
 Howcompass
Use Leftover Chicken
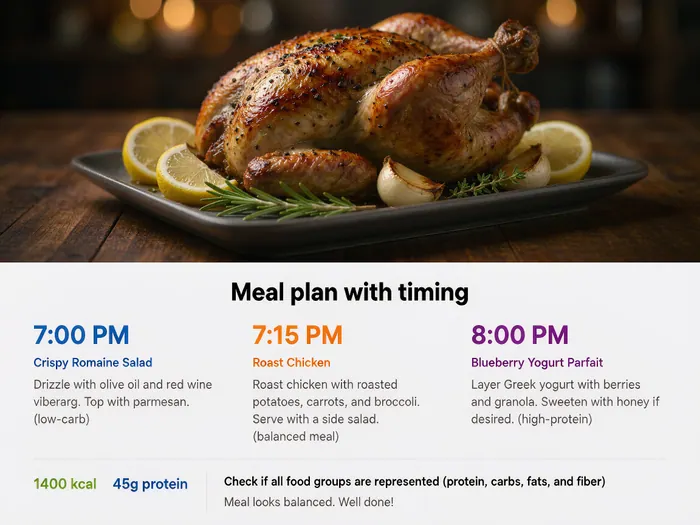
Use leftover roast chicken in creative ways to reduce waste and create new meals. Shred the chicken and use it in sandwiches, salads, soups, tacos, pizza, or pasta dishes. You can also make chicken stock from the carcass by simmering it with vegetables and herbs for several hours. Use America's Test Kitchen for leftover chicken recipes. A whole roasted chicken can feed you for multiple meals — make the most of it. Leftover chicken is a versatile ingredient that stretches your investment.
 Howcompass
Plan Your Meal
Plan your meal around the roast chicken to ensure everything is ready at the same time. Estimate the roasting time (about 1 hour 15 minutes for a 5-pound chicken) and add resting time (15-20 minutes). Prepare side dishes in advance — many can be made ahead or cooked during the last 30 minutes of roasting. Use America's Test Kitchen for meal planning. A well-planned meal means everything arrives at the table at the right temperature and time. Planning ahead reduces stress and produces a better dining experience.
 Howcompass
Host a Dinner Party
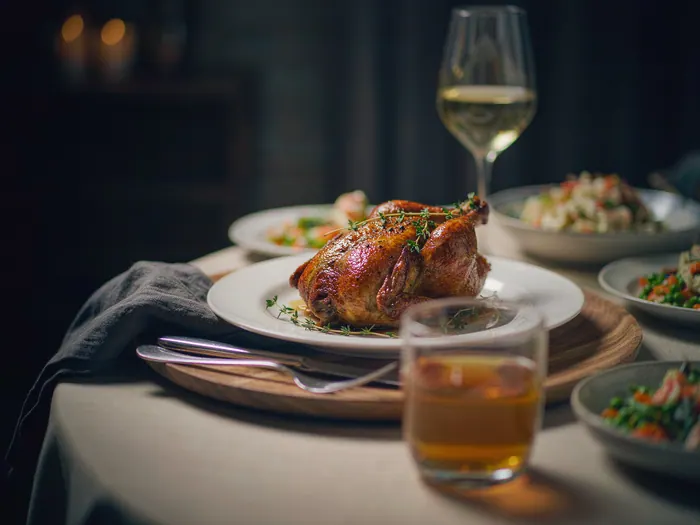
Host a dinner party with roast chicken as the centerpiece — it is an impressive yet approachable dish that feeds a crowd. Plan for 1/2 to 3/4 pound of chicken per person. Prepare side dishes ahead of time and set the table before guests arrive. Use America's Test Kitchen for dinner party planning. Roast chicken is a classic dinner party dish that signals effort and care without being overly complicated. Your guests will be impressed by the golden, juicy result. See also our Write a Book guide if you want to document your dinner party experiences.
 Howcompass
Enjoy Your Roast Chicken Meal
Enjoy your roast chicken meal with friends and family — cooking is ultimately about sharing good food with good people. Take time to savor the crispy skin, juicy meat, and aromatic flavors. Ask your guests for feedback and note what worked and what to adjust next time. Use America's Test Kitchen for continued learning. Every roast chicken attempt teaches you something new — each one gets better. The reward of seeing happy faces enjoying your cooking is what makes the effort worthwhile. Cooking is a journey, and roast chicken is a delicious milestone.
Frequently Asked Questions
Question: How long does it take to roast a whole chicken?
A 4-6 pound whole chicken takes about 1 hour to 1 hour 15 minutes to roast at 425°F (220°C). The exact time depends on the size of the chicken and your oven. Always verify doneness with a meat thermometer — the internal temperature should reach 165°F (74°C) in the thickest part of the thigh. Add 15-20 minutes of resting time before carving.
Question: Should I cover the chicken with foil while roasting?
No — uncovered roasting produces crispy, golden skin. Covering the chicken with foil traps steam and results in pale, soggy skin. If the chicken is browning too quickly, you can tent it loosely with foil for the last 15-20 minutes of cooking to prevent burning. But for best results, roast uncovered the entire time.
Question: How do I know when the chicken is done?
The most reliable method is to use a meat thermometer — insert it into the thickest part of the thigh (not touching the bone) and check that it reads 165°F (74°C). Visual cues include golden-brown skin, clear juices when pierced, and meat that pulls away from the bone easily. Always use a thermometer for food safety — visual cues alone are not reliable.
Question: Should I brine the chicken before roasting?
Brining is optional but recommended for extra juiciness and flavor. Submerge the chicken in a salt water solution (1/2 cup salt per 1 gallon water) for 1-2 hours in the refrigerator. Brining penetrates the meat with moisture and seasoning. You can also try dry-brining — rub the chicken with salt and let it sit uncovered in the refrigerator for 24 hours before roasting. Both methods produce more flavorful, tender chicken.
Question: How should I store leftover roast chicken?
Allow the chicken to cool to room temperature (no more than 2 hours) before refrigerating. Place in an airtight container and store in the refrigerator for 3-4 days. You can also freeze leftovers for up to 4 months. Reheat to 165°F before eating. Use leftover chicken in salads, soups, sandwiches, tacos, and pizza for additional meals.
Question: What temperature should I roast the chicken at?
Roast at 425°F (220°C) for crispy skin and even cooking. Some recipes start at 450°F (230°C) for the first 15-20 minutes, then reduce to 400°F (200°C) for the remainder. A high-temperature start produces the best crispy skin. Do not roast below 400°F — lower temperatures produce steamed, pale skin rather than roasted, golden skin.
Question: Can I cook vegetables with the chicken?
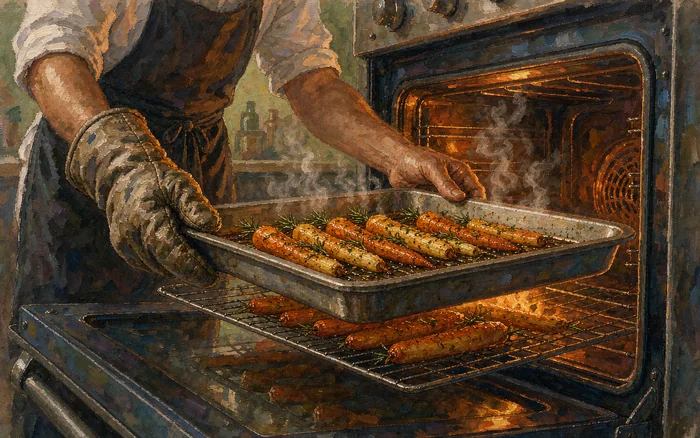
Yes — you can place vegetables like carrots, potatoes, onions, and celery around the chicken in the roasting pan. They will cook in the chicken juices, absorbing flavor and becoming delicious. Make sure the vegetables are cut to similar sizes for even cooking. Vegetables that work well include carrots, baby potatoes, onions, celery, and Brussels sprouts. Add them about 45 minutes into the roasting time.
Tips
- Always thaw chicken in the refrigerator, never at room temperature or in hot water.
- Pat the chicken completely dry before seasoning — dry skin roasts to a crispier result.
- Use a meat thermometer to check the internal temperature — 165°F (74°C) is the safe minimum.
- Let the chicken rest for at least 15 minutes before carving — this keeps the meat juicy.
- Brine your chicken for 1-2 hours before roasting for extra flavor and moisture.
- Add butter under the skin for restaurant-quality juiciness and flavor.
- Roast at a high temperature (425°F) for crispy skin — do not start at a low temperature.
- Use fresh herbs like rosemary and thyme inside the cavity for aromatic flavor.
- Make pan sauce from the drippings — it adds incredible flavor to the finished dish.
- Use leftover chicken in salads, soups, sandwiches, and pizza for multiple meals.
- Truss the chicken with kitchen twine for even cooking and better presentation.
- Choose a 4-6 pound chicken for best results — it cooks evenly and serves 4-6 people.
- Prepare side dishes in advance to ensure everything arrives at the table simultaneously.
- Never cover the chicken with foil while roasting — uncovered roasting produces crispy skin.
- Make chicken stock from the carcass after carving — it is free and flavorful.
Warnings
- Never thaw chicken at room temperature or in hot water — this promotes bacterial growth and food poisoning.
- Always use a meat thermometer to verify doneness — visual cues alone are not reliable for food safety.
- Do not eat chicken that has been left out at room temperature for more than 2 hours.
- Never refreeze raw chicken that has been thawed — cook it within 1-2 days of thawing.
- Do not pierce the chicken with a fork during roasting — this releases juices and dries out the meat.
- Avoid opening the oven door frequently during roasting — each opening releases heat and slows cooking.
- Never carve the chicken immediately after removing it from the oven — the juices will run out.
- Do not use the same cutting board for raw chicken and ready-to-eat foods without washing.
- Avoid overcrowding the roasting pan — crowded pans produce steam instead of roasting.
- Never use a thermometer that has been used on raw meat without washing it before checking doneness.
Things You'll Need
- Whole chicken (4-6 pounds)
- Roasting pan or baking sheet
- Sharp knife and cutting board
- Kitchen twine for trussing
- Meat thermometer
- Kitchen tongs
- Baster or spoon for basting
- Salt and pepper
- Butter (4 tablespoons)
- Fresh herbs (rosemary, thyme, parsley)
- Garlic cloves
- Olive oil
- Lemon (optional)
- Paper towels
- Airtight container for leftovers
Related Howcompass Guides



References (12)
- America's Test Kitchen — Recipes and Cooking TechniquesAmerica's Test Kitchen
- Serious Eats — Food Science and Cooking GuidesSerious Eats
- Food Network — Recipes and Cooking ShowsFood Network
- USDA Food Safety — Chicken Safety GuidelinesUSDA
- CDC Food Safety — Cleaning and SanitizingCDC
- America's Test Kitchen — Roast Chicken RecipeAmerica's Test Kitchen
- Serious Eats — Perfect Roast ChickenSerious Eats
- Food Network — Whole Roast ChickenFood Network
- USDA — Safe Minimum Internal TemperaturesUSDA
- America's Test Kitchen — Brining GuideAmerica's Test Kitchen
- Serious Eats — Brining TechniquesSerious Eats
- Food Network — Pan Sauce RecipesFood Network
Sources are listed so you can read the underlying guidance yourself. Our editorial policy explains how guides are reviewed.
Did this article help you?
0 readers found this helpful — add your vote.
No comments yet — be the first to share your results.