How to Start Strength Training at Home (Step by Step)
A guide to Phase 1 — Plan a Safe Strength Routine, Phase 2 — Learn the Core Lifts, Phase 3 — Progress Without Breaking Down, Phase 4 — Fuel, Recover and Keep It Going
Building strength at home is mostly about doing a few compound movements well and making them slightly harder over time. This guide covers 29 steps, from planning two safe full-body sessions a week to logging reps and knowing when to add resistance. You do not need a gym or a rack of weights — one pair of dumbbells and a resistance band are enough to begin. Follow the progression and the recovery advice together, because muscle is built while you rest, not while you train. Browse all illustrated guides or the Sports and Fitness category for more illustrated walkthroughs on Howcompass.
How do you start Strength Training at Home (Step by Step)?
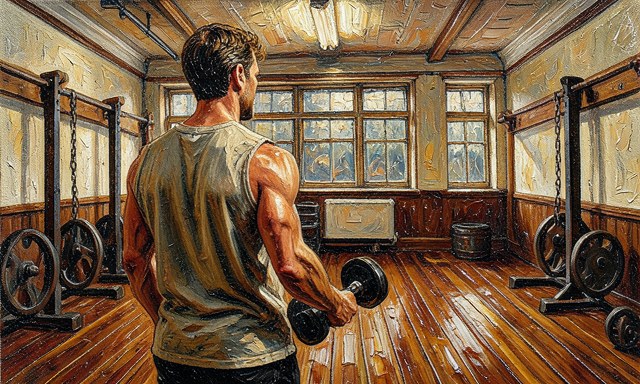 Howcompass | How to Start Strength Training at Home (Step by Step)
Phase 1 — Plan a Safe Strength Routine
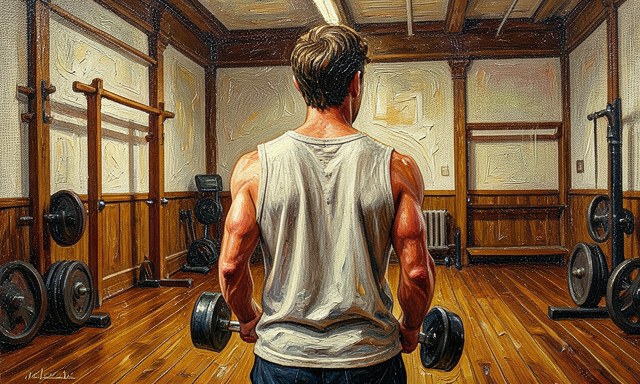
HowcompassAim for two full-body sessions a week
Aim for two full-body sessions a week. NHS guidance asks adults to do muscle-strengthening work on at least two days a week, training every major group. Two full-body days with rest between suit a beginner far better than daily sessions. For the primary source behind this phase, see NHS — Live Well.
 Howcompass
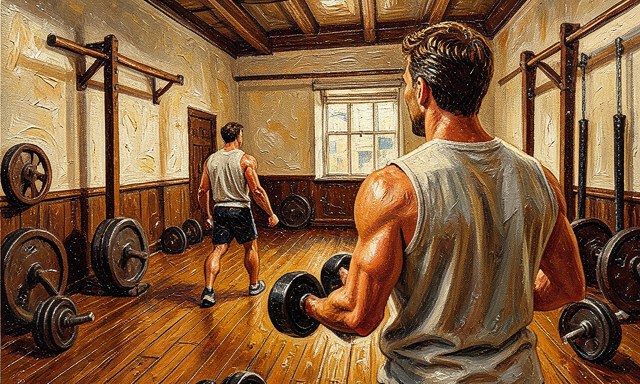
Cover all the major muscle groups
Cover all the major muscle groups. Build each session around a squat, a hinge, a push, a pull and a core move. Working the whole body together prevents the imbalances that come from training only chest and arms.
 Howcompass
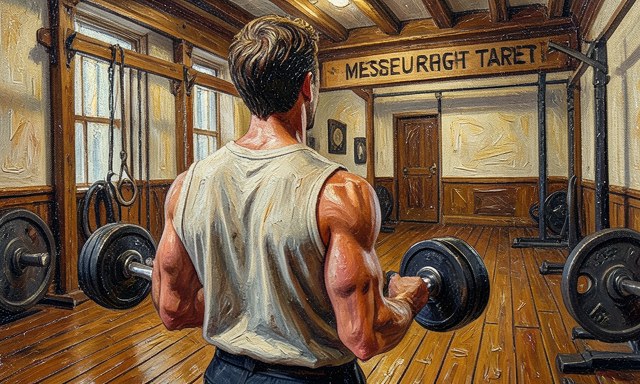
Write a simple four-move session
Write a simple four-move session. Choose one exercise for each pattern: a goblet squat, a push-up, a band row and a plank. Four well-chosen moves give a complete workout you can repeat without a complicated schedule.
 Howcompass
Set a measurable eight-week goal
Set a measurable eight-week goal. Write something you can check, such as two sets of twelve solid squats or ten full push-ups by week eight. A clear target turns each session into a step toward something real.
 Howcompass
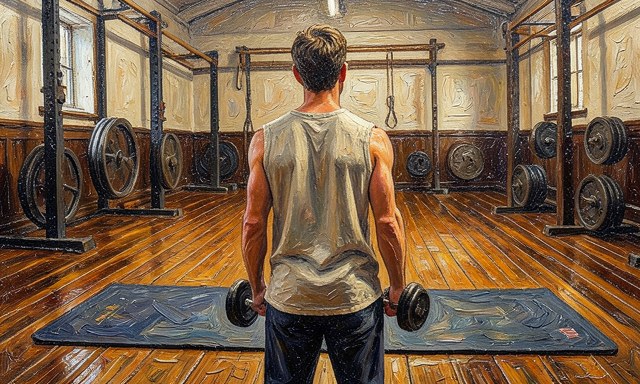
Clear enough floor for full movement
Clear enough floor for full movement. Leave room to squat and lie flat without hitting furniture, then lay a non-slip mat on a hard floor. Full range of motion is impossible in a cramped space and that limits results.
 Howcompass
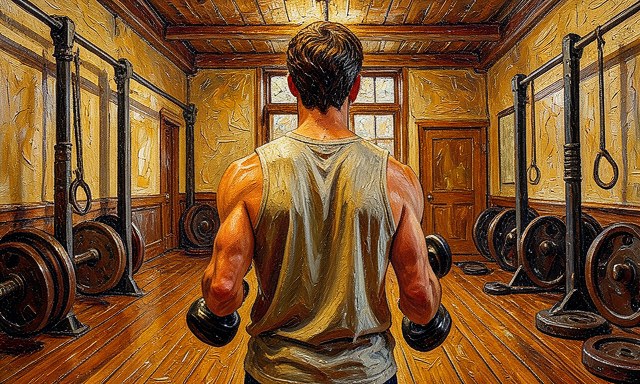
Warm up dynamically for five minutes
Warm up dynamically for five minutes. Do arm circles, hip circles, gentle lunges and a few easy bodyweight squats before you load anything. Dynamic movement warms the muscles and joints, which static stretching alone does not do before training.
 Howcompass
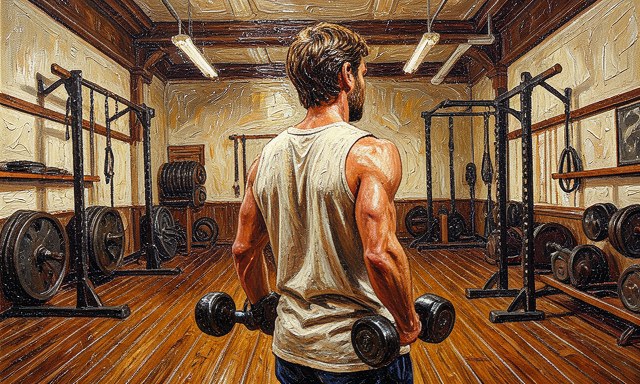
Pick a resistance you can control
Pick a resistance you can control. Choose a weight or band that lets you complete eight to twelve clean reps while the last two are a real effort. Starting slightly too light is far safer than starting too heavy and losing your form. Related on Howcompass: write effective AI prompts.
Phase 2 — Learn the Core Lifts
 Howcompass
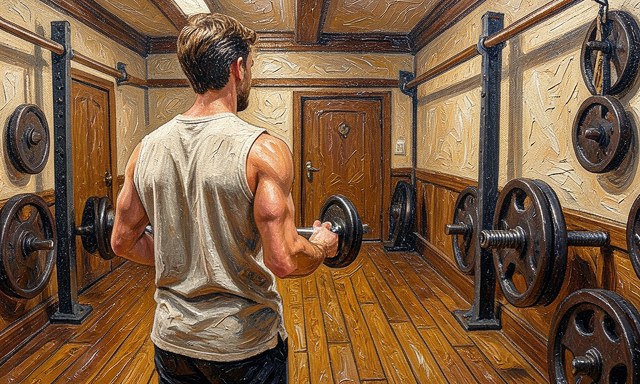
Practise each pattern bodyweight first
Practise each pattern bodyweight first. Run through the squat, hinge and push-up with no load until the movement feels smooth. Adding weight to a shaky pattern only makes bad habits stronger and raises the injury risk. For the primary source behind this phase, see NHLBI — High Blood Pressure.
 Howcompass
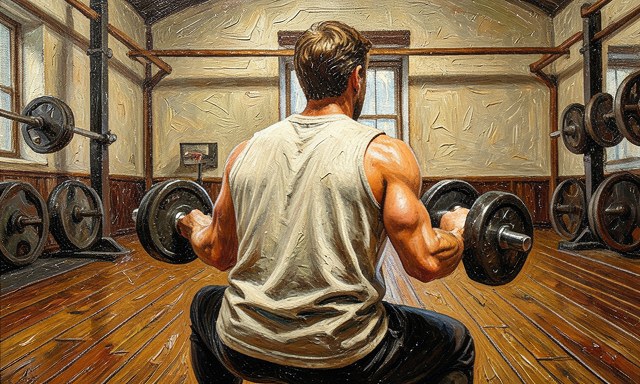
Load a goblet squat
Load a goblet squat. Hold one dumbbell upright against your chest, stand hip-width apart and sit your hips back while keeping the chest tall. Drive back up through the heels, letting the knees track over the toes.
 Howcompass
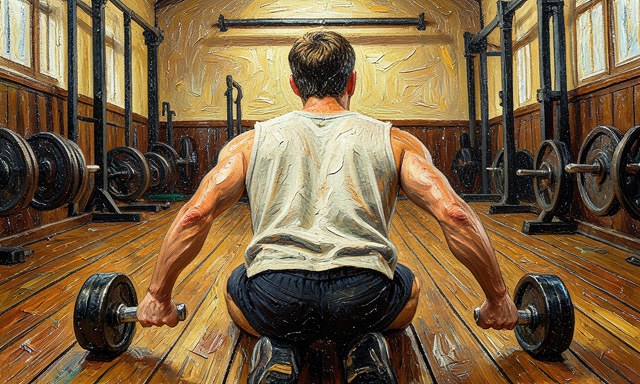
Press up keeping one straight line
Press up keeping one straight line. Place hands under the shoulders, brace the core and glutes, and lower until the chest is near the floor. Start on your knees or against a wall if a full rep makes your hips sag.
 Howcompass
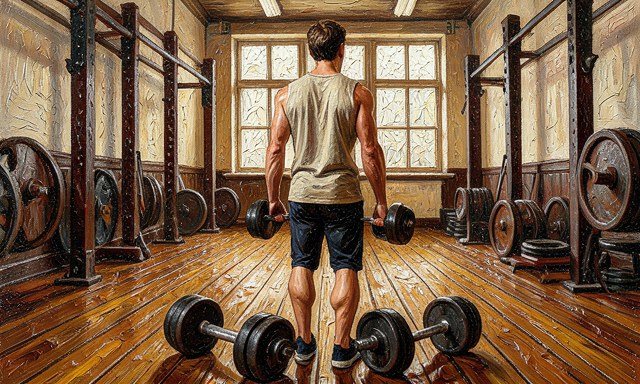
Hinge into a dumbbell deadlift
Hinge into a dumbbell deadlift. Hold a dumbbell in each hand at the thighs, push the hips back with a flat back and lower the weights to mid-shin. Stand by driving the hips forward, never by rounding the lower back. Browse all illustrated guides or the Sports and Fitness category for more.
 Howcompass
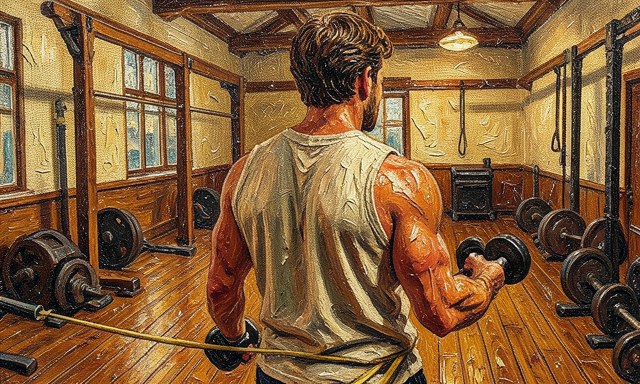
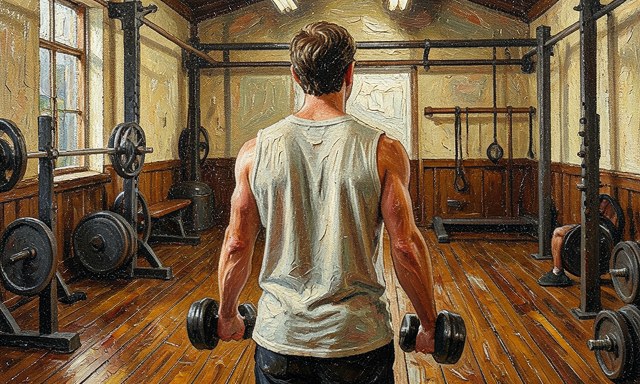
Row a band toward your ribs
Row a band toward your ribs. Loop a resistance band around a fixed low anchor, lean back slightly and pull your elbows toward your lower ribs. Squeeze the shoulder blades together at the end rather than just bending the arms.
 Howcompass
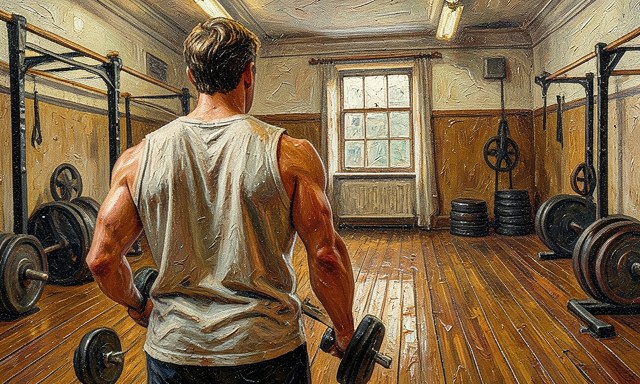
Bridge to work the glutes
Bridge to work the glutes. Lie on your back with knees bent and feet flat, then push through the heels until shoulders, hips and knees form one line. Hold the top for a second and lower slowly instead of dropping.
 Howcompass
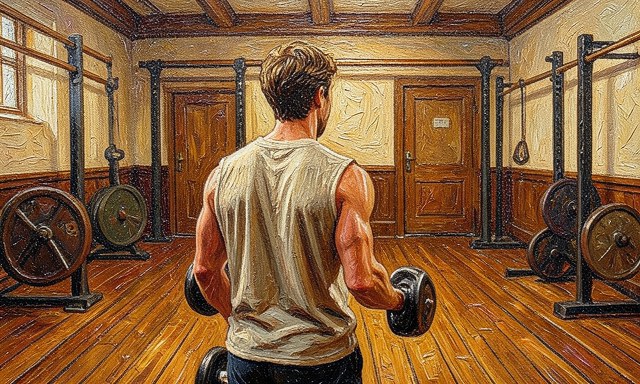
Control a dead bug for the core
Control a dead bug for the core. Lie face-up with arms and knees pointing at the ceiling, then extend the opposite arm and leg slowly toward the floor. Move only as far as you can without the lower back lifting off the mat. Related on Howcompass: write a resume that gets read.
 Howcompass
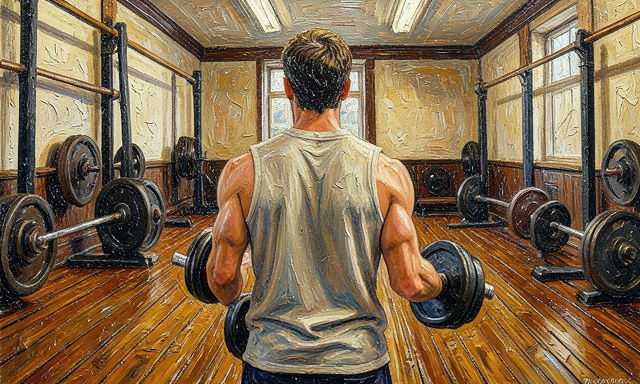
Brace with a plank
Brace with a plank. Rest on your forearms or hands, tighten the abdomen and glutes and hold a straight line from head to heels. Start at 20 seconds and build time before you try harder variations.
Phase 3 — Progress Without Breaking Down
 Howcompass
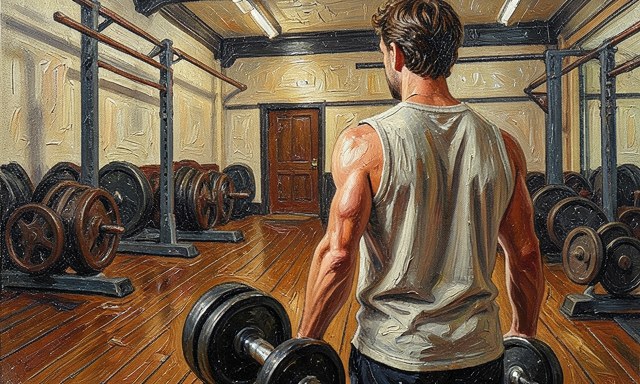
Add reps until you reach twelve
Add reps until you reach twelve. Stay with the same resistance until you can complete two clean sets of twelve. More good reps is the first and safest way to get stronger before you change the weight. For the primary source behind this phase, see WebMD — health information.
 Howcompass
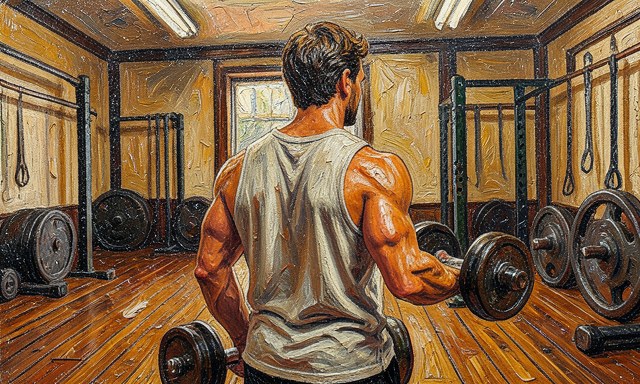
Then increase the resistance
Then increase the resistance. When twelve feels comfortable, move to a heavier dumbbell or a stronger band and rebuild toward eight reps. Only one lift needs to change at a time.
 Howcompass
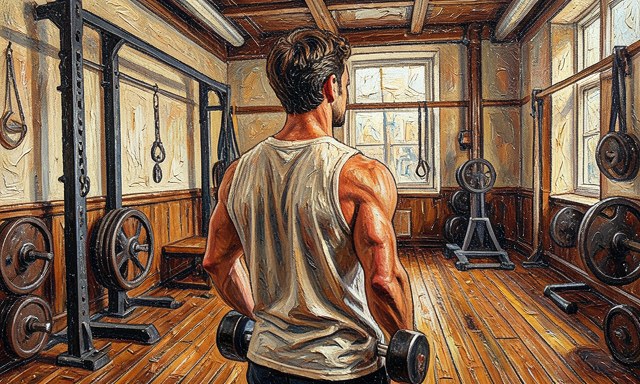
Add a set or shorten the rest
Add a set or shorten the rest. Alternatively, add a third set or cut the rest from 90 to 60 seconds. Choose one of these changes, not both, so you can tell which one is helping.
 Howcompass
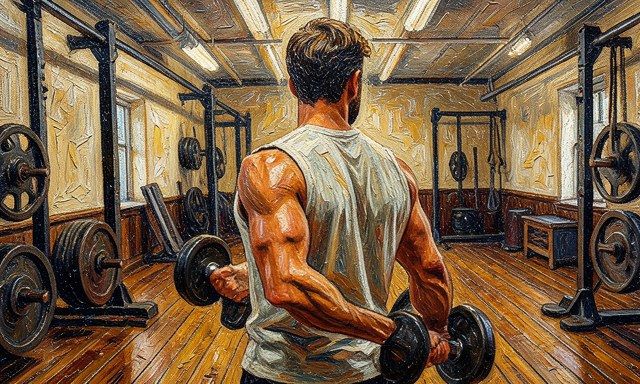
Log every single session
Log every single session. Record the exercise, sets, reps and resistance for each workout, plus a note on how it felt. A log makes progress visible and shows you exactly where a plateau has started.
 Howcompass
Leave two reps in reserve
Leave two reps in reserve. Finish each set while you could still manage about two more good reps. Training short of failure protects your form and is enough to drive strength gains as a beginner.
 Howcompass
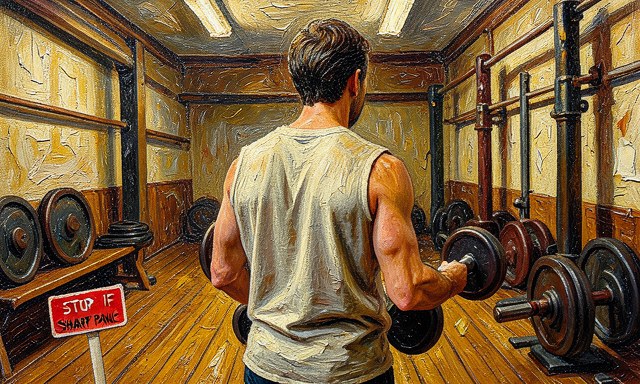
Stop on sharp pain, not soreness
Stop on sharp pain, not soreness. Delayed muscle soreness a day later is normal, but a stabbing joint pain, dizziness or chest discomfort is not. Stop that session and get medical advice rather than pushing through it. Related on Howcompass: write effective AI prompts.
 Howcompass
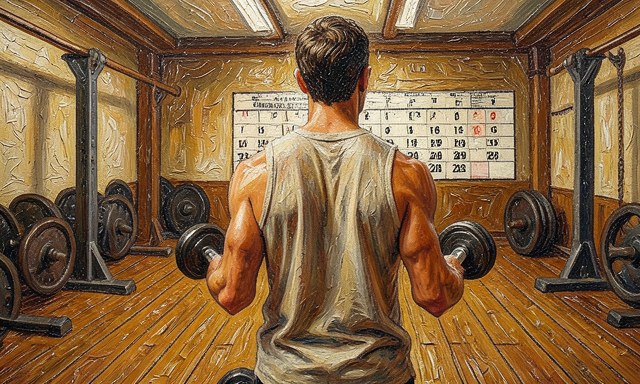
Rest a day between sessions
Rest a day between sessions. Give the worked muscles at least 48 hours and keep the other days gentle. Strength is built during recovery, so more is not automatically better. Browse all illustrated guides or the Sports and Fitness category for more.
Phase 4 — Fuel, Recover and Keep It Going
 Howcompass
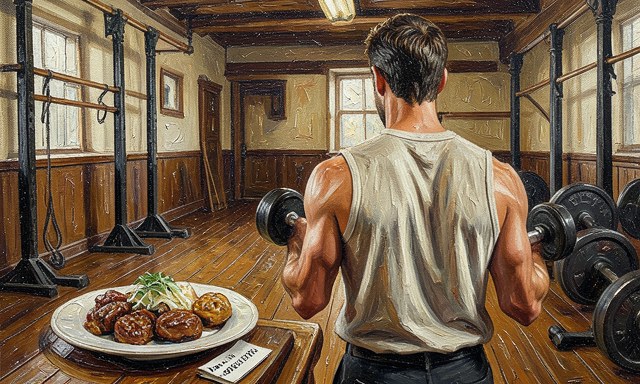
Eat enough protein to build muscle
Eat enough protein to build muscle. Aim for roughly 1.4 to 2.0 grams of protein per kilogram of body weight a day, spread across three or four meals. Regular intake gives the body the material to repair and strengthen muscle after training. For the primary source behind this phase, see National Cancer Institute.
 Howcompass
Sleep seven to nine hours
Sleep seven to nine hours. Keep a consistent bedtime and protect a full night, since much of the repair happens during deep sleep. Short sleep gradually erodes both recovery and the will to train.
 Howcompass
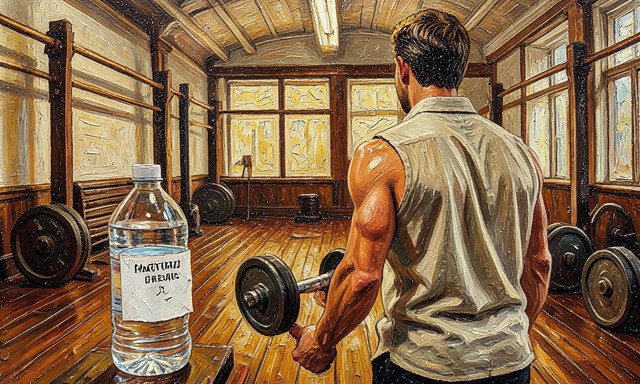
Stay hydrated through the day
Stay hydrated through the day. Sip water regularly rather than only around training, using pale-yellow urine as a rough guide. Even mild dehydration reduces the amount of force your muscles can produce.
 Howcompass
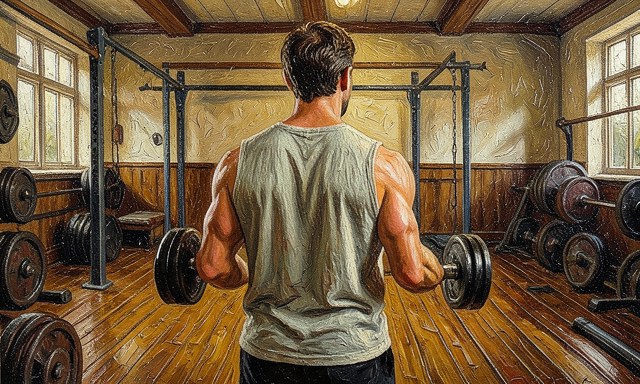
Use a minimum session on busy days
Use a minimum session on busy days. On a day when the full workout will not fit, do one round of the three main moves instead of skipping. Keeping the pattern alive matters more than any single perfect session.
 Howcompass
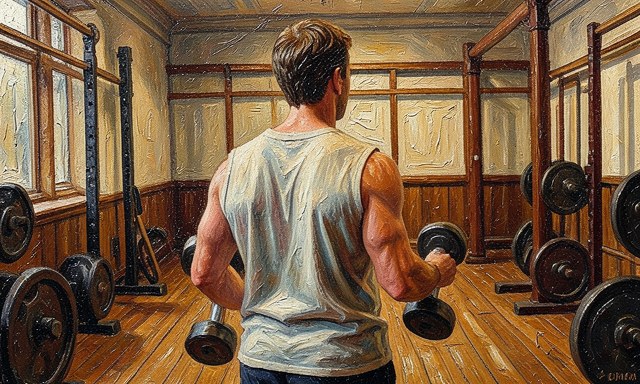
Deload every sixth to eighth week
Deload every sixth to eighth week. Every six to eight weeks, take a lighter week with fewer sets or reduced resistance. Backing off briefly lets joints and the nervous system recover before the next block of progress.
 Howcompass
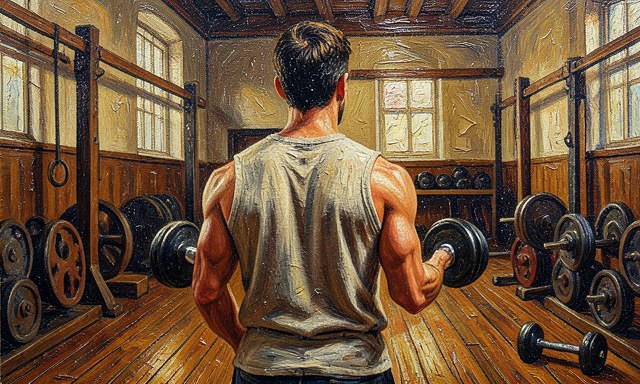
Retest a benchmark every eight weeks
Retest a benchmark every eight weeks. Pick one measure such as push-ups in a set or a timed plank, then repeat it under the same conditions. A recorded retest shows real progress that the day-to-day log can hide. Related on Howcompass: write a resume that gets read.
 Howcompass
Add variety only after a solid base
Add variety only after a solid base. Keep the same four movements for the first eight weeks so you can actually progress on them. Once the base is there, swap in variations to renew interest without losing track of gains.
Frequently Asked Questions
Question: Do I need weights to build strength?
No — bodyweight progressions can build real strength for beginners. Add a pair of dumbbells or a resistance band when plain bodyweight reps become easy, so you have somewhere to progress.
Question: How many sets and reps should I do?
A simple start is two sets of eight to twelve reps for each exercise, with 60 to 90 seconds of rest. Keep about two reps in reserve and build up before adding resistance.
Question: How long before I see results?
Strength often shows in the log within two to four weeks as you lift more or do more reps, while visible muscle change takes longer. Retest a benchmark every eight weeks to see objective progress.
Warnings
- Adding weight before form is solid: Loading a shaky squat or deadlift builds a bad movement pattern and invites injury, so master each lift bodyweight and add resistance only when you can hit the top rep range cleanly.
- Training the same muscles every day: Muscle is built during rest, so daily sessions on the same group stall progress and raise injury risk, so leave 48 hours before working those muscles again.
- Only training mirror muscles: Working just chest and arms creates imbalances and does little for everyday strength, so build every session around squats, hinges, rows and pushes to develop the whole body.
Related Howcompass Guides




References (4)
- NHS — Live Wellnhs.uk
- NHLBI — High Blood Pressurenhlbi.nih.gov
- WebMD — health informationwebmd.com
- National Cancer Institutecancer.gov
Sources are listed so you can read the underlying guidance yourself. Our editorial policy explains how guides are reviewed.
Did this article help you?
0 readers found this helpful — add your vote.
No comments yet — be the first to share your results.