How to Make an AI-Generated Video (Step by Step)
A guide to Phase 1 — Write a Tight Script and Storyboard, Phase 2 — Generate the Visuals, Phase 3 — Add Voice, Music and Captions, Phase 4 — Assemble, Check and Export
An AI-generated video is built in layers, not prompted into existence in one click. This guide walks through 30 concrete steps, from a 45-second script and a shot-by-shot storyboard to the final export and disclosure. You will generate short, consistent clips, add a clean voiceover and licensed music, then cut it all to the script's rhythm in an editor. Keep each clip short and reuse one style, and the result reads as a deliberate piece rather than a string of unrelated generations. Follow the order once and you will have a repeatable pipeline for the next one. Browse all illustrated guides or the AI Video & Audio category for more illustrated walkthroughs on Howcompass.
How do you make an AI-Generated Video (Step by Step)?
 Howcompass | How to Make an AI-Generated Video (Step by Step)
Phase 1 — Write a Tight Script and Storyboard
HowcompassSet the platform, length and format
Set the platform, length and format. Decide before writing where the video will run and how long it can be, such as a 45-second vertical clip for a social feed. Platform and length determine the pacing and the aspect ratio you will generate for. For the primary source behind this phase, see Anthropic — AI research and documentation.
 Howcompass
Write one sentence for the core message
Write one sentence for the core message. State the single thing a viewer should remember in one plain line. If you cannot reduce it to one sentence, the video is trying to say too much for its runtime.
 Howcompass
Draft the script at speaking pace
Draft the script at speaking pace. Write only what will be spoken, allowing roughly 130 to 150 words per minute of narration. A timed word count keeps the script honest about what actually fits in the slot.
 Howcompass
Cut any sentence that is not moving
Cut any sentence that is not moving. Remove setup and repetition so the first two seconds already carry a hook or a clear question. Early drop-off is steep, so the opening has to earn the remaining runtime.
 Howcompass
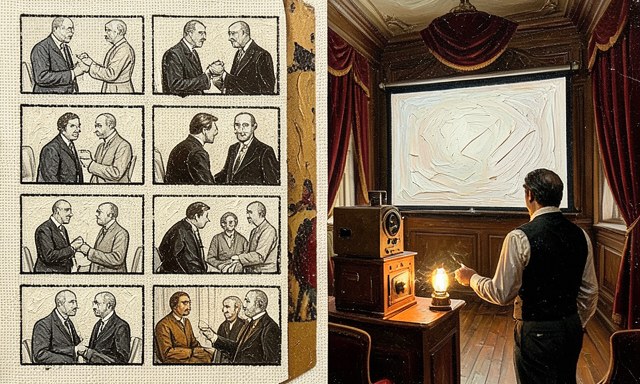
Assign one shot per idea
Assign one shot per idea. Split the script into short beats and give each a single visual, aiming for three to six seconds per shot. Short shots are cheaper to generate and easier to replace when one comes out wrong.
 Howcompass
Write the visual prompt for each shot
Write the visual prompt for each shot. For every beat, note the subject, action, setting and style in a few words. This shot list becomes your generation queue and prevents on-the-fly decisions mid-edit.
 Howcompass
Lock one visual style up front
Lock one visual style up front. Choose a single look, such as soft 3D illustrated or grainy documentary, and repeat those style words in every shot. Style drift between clips is what makes AI videos feel stitched together. Related on Howcompass: research a topic with AI.
 Howcompass
Mark what needs sound or text
Mark what needs sound or text. Flag which beats need a voiceover line, an on-screen caption or a specific sound effect. Planning audio against the storyboard avoids discovering a silent gap after the visuals are done.
Phase 2 — Generate the Visuals
 Howcompass
Choose text-to-video or image-to-video
Choose text-to-video or image-to-video. Use text-to-video for abstract motion and image-to-video when you need a specific character or product to stay recognisable. Starting from a still frame is the most reliable way to hold a look steady. For the primary source behind this phase, see NIST — AI Risk Management Framework.
 Howcompass
Reuse one seed and style clause
Reuse one seed and style clause. Keep the seed and the exact style phrase constant across related shots so colour and texture stay matched. Small repeated anchors beat a fresh description for every clip.
 Howcompass
Generate clips a little longer than needed
Generate clips a little longer than needed. Ask for six to eight seconds when you plan to use four, giving yourself clean handles at each end. Extra frames make transitions and trims far easier in the edit. Browse all illustrated guides or the AI Video & Audio category for more.
 Howcompass
Keep motion simple per shot
Keep motion simple per shot. Request one clear movement, such as a slow push-in or a drifting cloud, rather than several actions at once. Complex motion is where AI clips most often warp or fall apart.
 Howcompass
Watch each clip at full frame
Watch each clip at full frame. Review every generation full-screen and note anything that bends, duplicates or flickers. Small artifacts are easy to miss as thumbnails and obvious on a large display.
 Howcompass
Reject clips with morphing subjects
Reject clips with morphing subjects. Discard any shot where an object changes shape or a face shifts between frames, because no edit can hide it. Regenerate that beat rather than hoping the viewer will not notice. Related on Howcompass: automate your inbox with AI.
 Howcompass
Regenerate only the failed beats
Regenerate only the failed beats. Keep the clips that work and rerun just the weak shots with one adjusted word. Rebuilding the whole set wastes credits and breaks the consistency you already achieved.
Phase 3 — Add Voice, Music and Captions
 Howcompass
Pick a voice that fits the tone
Pick a voice that fits the tone. Audition two or three text-to-speech voices against the first line and choose one whose pace and warmth suit the piece. A mismatched voice undercuts an otherwise clean video. For the primary source behind this phase, see Mozilla — web and browser resources.
 Howcompass
Punctuate the script for breath and pause
Punctuate the script for breath and pause. Add commas and short breaks where the narration should slow, then listen to a full read before locking it. Punctuation is how you control delivery in most voice generators.
 Howcompass
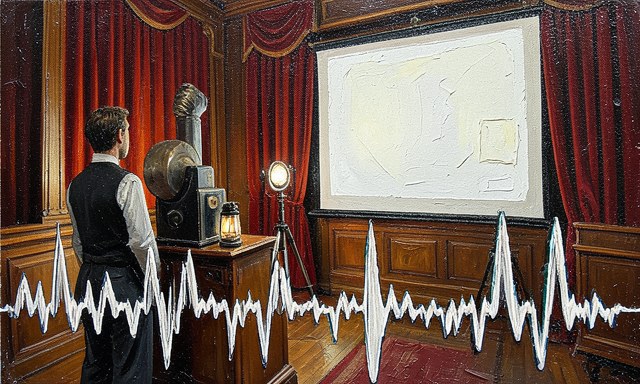
Set consistent loudness for speech
Set consistent loudness for speech. Aim for voice peaks around -6 to -3 dB so it sits clearly above the mix without clipping. Consistent levels matter more than absolute volume across platforms.
 Howcompass
Add licensed or original music
Add licensed or original music. Choose a track you have rights to and duck it under the voice by roughly 12 to 18 dB. Music should support the narration, never compete with it for attention.
 Howcompass
Generate captions from the voice track
Generate captions from the voice track. Transcribe the narration automatically and time the captions to the spoken words. Many viewers watch on mute, so captions carry the message for a large part of the audience.
 Howcompass
Proofread every caption by hand
Proofread every caption by hand. Correct names, numbers and homophones that auto-transcription gets wrong. One misspelled word in a large caption looks careless and can change the meaning of a line. Related on Howcompass: research a topic with AI.
 Howcompass
Limit each caption to two short lines
Limit each caption to two short lines. Break longer sentences so a viewer can read them at a glance, keeping key words together. Dense captions compete with the image and slow the pace of the video. Browse all illustrated guides or the AI Video & Audio category for more.
Phase 4 — Assemble, Check and Export
 Howcompass
Lay the clips on a timeline
Lay the clips on a timeline. Place each generated shot in storyboard order and trim it to the length of its script beat. A timeline view exposes pacing problems that a list of clips cannot. For the primary source behind this phase, see TED — talks and ideas.
 Howcompass
Trim to the narration, not the clip
Trim to the narration, not the clip. Cut each shot to end when its spoken line ends, even if the generated clip runs longer. Pacing the picture to the voice is what makes an AI video feel edited rather than assembled.
 Howcompass
Use simple transitions
Use simple transitions. Prefer clean cuts or short cross-dissolves over flashy effects that draw attention to the seams. Consistent transitions help mismatched generated clips read as one piece.
 Howcompass
Colour-match the shots
Colour-match the shots. Apply one grade across all clips and correct any shot whose white balance drifts. A shared grade is the fastest way to unify visuals made in separate generations.
 Howcompass
Watch the whole video sound on
Watch the whole video sound on. Play it through once at full volume to catch jump cuts, level jumps and lines that feel rushed. A single uninterrupted viewing reveals timing problems a shot-by-shot check misses.
 Howcompass
Verify every factual claim
Verify every factual claim. Check any number, name or quoted statistic in the script against a real source before export. AI narration states invented facts in the same confident tone as true ones. Related on Howcompass: automate your inbox with AI.
 Howcompass
Export to the platform's spec
Export to the platform's spec. Render at the required resolution, frame rate and ratio, such as 1080 by 1920 at 30 fps for a vertical feed. Exporting to spec avoids a surprise re-encode when you upload.
 Howcompass
Disclose the AI-generated content
Disclose the AI-generated content. Label the video as AI-generated where the platform or context calls for it, and confirm you hold rights to the music and any source images. Clear disclosure protects trust and keeps the publish safe.
Frequently Asked Questions
Question: How long should my first AI video be?
Aim for 30 to 60 seconds with three to six shots; it is short enough to generate and revise quickly, but long enough to deliver one clear message.
Question: Why do my characters change between shots?
Each generation starts fresh, so use image-to-video from one reference still, keep the same seed, and repeat identical appearance details in every prompt.
Question: Do I need to disclose that a video is AI-generated?
Often yes, and you should check the platform's current rules plus any legal requirements in your country; disclosure and confirming your music and image rights keeps the publish safe.
Warnings
- Generating long, complex clips: Long single shots are where motion warps and subjects morph; write short beats of three to six seconds and keep one simple movement per shot so each clip stays clean.
- Switching visual styles mid-video: A different look in every clip reads as an accidental mash-up; lock one style phrase and reuse it with a steady seed across the whole storyboard.
- Skipping captions and audio checks: Many viewers watch muted and others notice uneven levels instantly; proofread captions by hand and balance voice above music before export.
Related Howcompass Guides




References (4)
- Anthropic — AI research and documentationanthropic.com
- NIST — AI Risk Management Frameworknist.gov
- Mozilla — web and browser resourcesmozilla.org
- TED — talks and ideasted.com
Sources are listed so you can read the underlying guidance yourself. Our editorial policy explains how guides are reviewed.
Did this article help you?
0 readers found this helpful — add your vote.
No comments yet — be the first to share your results.