How to Build Your First Cosplay From a Pattern in Two Weekends
A guide to Weekend One, Morning: Pick the Character and Know Your Numbers, Weekend One, Afternoon: Buy by Drape, Trace, and Mock Up, Weekend Two, Saturday: Sew the Garment and Form the Armor, Weekend Two, Sunday and Con Day: Wig, Makeup, Rules, Rehearsal
A first convention cosplay fails for two reasons long before any sewing: a character whose design needs engineering you have not done yet, and fabric chosen by color instead of behavior. Both are fixable in an afternoon of planning. This guide turns one commercial pattern plus a few foam sheets into a costume that photographs well, survives a full day of walking, and clears the prop desk at the door. The two-weekend shape matters. Weekend one is planning, shopping, and the mock-up in cheap muslin - the step that saves the build because every mistake costs a few pins instead of good fabric. Weekend two is production: machine seams, heat-formed EVA armor sealed and painted, wig work, and face paint you patch-tested days ahead. Nothing you buy at the end of weekend one should be un-returnable when you start weekend two. Expect a working total of twelve to sixteen focused hours and $150 to $350 in materials. You need a sewing machine - borrowed is fine - a well-ventilated workspace for glue and heat work, and the convention's written prop rules, which change year to year. Work the phases in order, dress-rehearse at home, and finish the second weekend holding a costume that reads as a build, not a store-bought kit.
Pick one character whose design mixes simple cloth with flat armor shapes, buy a commercial costume pattern that matches your chest measurement, and trace it onto paper before touching fabric. Spend weekend one shopping by drape - cotton twill, broadcloth, faux leather, 5- and 10-millimeter EVA foam - then sew a muslin mock-up and fix the fit. Spend weekend two on machine seams and pressed hems, heat-formed foam armor sealed in polyurethane and primed paint, a styled wig, and skin-tested face paint. Finish with props that meet the convention's written rules and a two-hour dress rehearsal at home.
- Time
- Two weekends; 12-16 focused hours plus a 2-hour dress test
- Cost
- $150-$350 in materials if you already have a sewing machine
- Difficulty
- Beginner-plus - straight machine seams plus heat-formed foam
- Works on
- Characters mixing a simple garment with two to four armor pieces
- Not for
- Full helmets, wings, or metal-blade props for a first build
- Results
- One convention-grade costume, fitted and painted, by Sunday night
How do you build Your First Cosplay From a Pattern in Two Weekends?
 Howcompass | How to Build Your First Cosplay From a Pattern in Two Weekends
Weekend One, Morning: Pick the Character and Know Your Numbers
HowcompassChoose a Character You Can Actually Wear
Pick one character whose silhouette mixes simple cloth with flat armor shapes, because a beginner build lives or dies on that ratio - the reference list links an overview of the hobby if you want the wider context. Aim for no more than two or three armor pieces, and skip characters with full helmets that block your vision, wings that block aisles, or gravity-defying hair that needs engineering. A tunic, belt, bracers, and shoulder plates reads impressive but wears like clothing. Check that every design element you love maps to either a straight seam, a glued foam shape, or an existing accessory you already own.
 Howcompass
Build a Reference Sheet Before Buying Anything
Gather official art of the character from the front, side, and back, plus close-ups of any belt buckle, trim, or emblem you plan to copy, and print them on one page you can pin to the wall. Character art exaggerates proportions that no human body matches, so mark which lines you will follow literally and which you will soften. Note colors under daylight rather than screen glow, and list every closure you can see: zipper, buckle, ties, snaps. This sheet is what you will consult at 10 p.m. when you cannot remember whether the trim was gold or bronze.
 Howcompass
Take Chest, Waist, Inseam, and Shoulder-to-Wrist
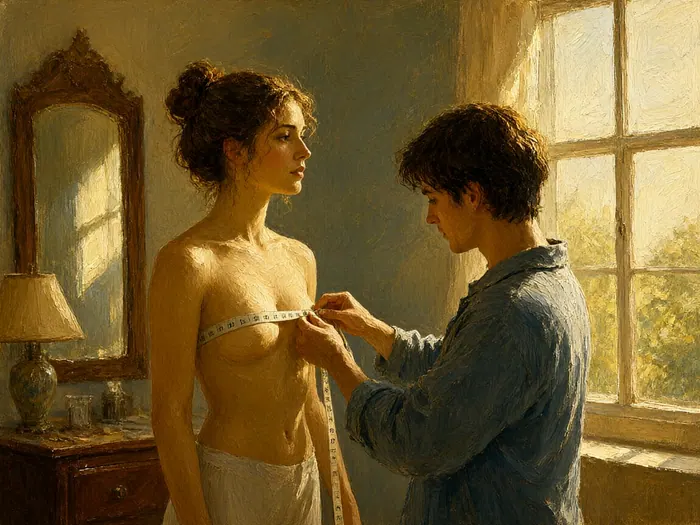
Wear underwear or a thin base layer and use a paper tape measure, keeping it snug but not digging in. Measure the chest at the fullest point, the waist at the natural crease that forms when you bend sideways, the inseam from crotch seam to floor, and shoulder-to-wrist from the shoulder point down the outside of a slightly bent arm. Take every number twice and write both down, because a leaning tape is the most common source of wrong sleeve length. Ask a helper for shoulder-to-wrist if you can, and re-measure before cutting if your weight has shifted since the first reading.
 Howcompass
Match Your Numbers to the Pattern Size Chart
Commercial patterns size differently from street clothes, so choose by your chest measurement on the envelope chart, not by the dress size you buy off the rack. Costume pattern companies like Simplicity publish a finished-garment chest range for each size; pick the size whose range covers your measurement within about an inch, then plan to adjust length rather than width. If your chest and hip land in different sizes, blend between the outlines on one piece. Buy one base garment pattern plus one cheap trim or accessory pattern you can trace details from.
 Howcompass
Split the Budget Across Two Weekends
A first convention build runs about $150 to $350 if you borrow a machine: fabric $40 to $90, two or four foam sheets $20 to $50, faux leather $10 to $20, a wig $25 to $70, and thread, glue, primer, and paint $40 to $60. Split spending roughly 60/40 - fabric and consumables on weekend one, wig and paint on weekend two once the fit is proven - and keep a $30 contingency. That ledger habit is the same one our Manage Personal Finances and Build a Budget guide teaches: cap each line and write prices down before you shop so impulse fabric does not eat the primer money.
Weekend One, Afternoon: Buy by Drape, Trace, and Mock Up
 Howcompass
Buy Woven Fabric by How It Drapes
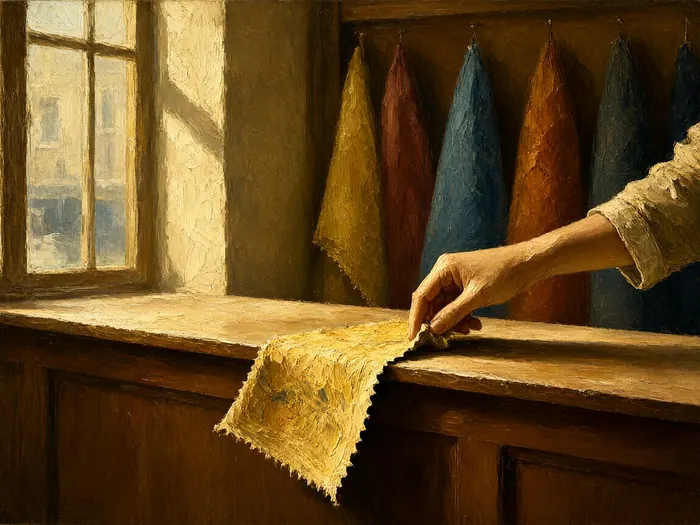
Woven fabric behaves by weight, so shop by drape before color. Cotton twill in a 7- to 9-ounce weight holds pants, collars, and jacket edges without interlining; quilter's cotton broadcloth is cheaper and stable for tunics and shirt panels that sit under armor. Hold a swatch corner and let it hang: cloth that swings in soft folds will never read as armor, and stiff canvas fights every curve. Buy yardage plus about 25 percent for mock-up mistakes, and pre-wash it on the hottest cycle the fiber allows so nothing shrinks the week before the convention.
 Howcompass
Pick Faux Leather and Interfacing for Trim
Faux leather about 1 to 1.5 millimeters thick with a brushed knit back covers belts, straps, gauntlets, and armor edging without a leatherworking budget. Buy the smallest piece that wraps your pattern - often a half yard per strap set - and test it over foam before cutting, because pleather holds every needle hole permanently. Fusible interfacing does the quieter job: medium weight behind collars, cuffs, and hems stops floppy knit-backed material, and heavy woven interfacing inside fabric armor panels keeps points sharp through a day of wear. Keep scraps labeled so you can test stitch length on offcuts first.
 Howcompass
Choose EVA Foam Sheets by Thickness
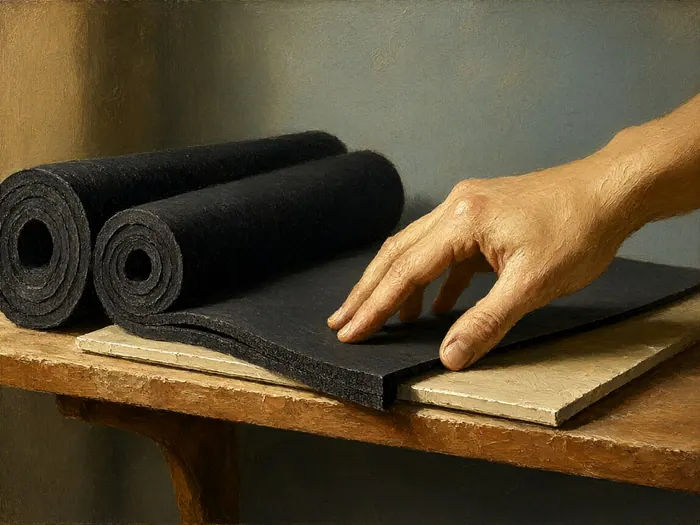
Ethylene-vinyl acetate foam is the armor material, and thickness decides what a piece can do. Five-millimeter sheets bend around forearms, ribs, and collars without extra work, so most curved armor starts there. Ten-millimeter sheets hold a beveled edge and read as plate, so chunky shoulders and chest pieces use them; craft-store prices run roughly $8 to $14 for thin sheets and $12 to $20 for thick ones. Buy high-density crafting foam, not packing or floor-mat foam, which tears at bevels, drinks glue, and bubbles under paint. Two sheets of each thickness covers a bracer and shoulder set with scraps.
 Howcompass
Trace the Pattern Onto Paper First
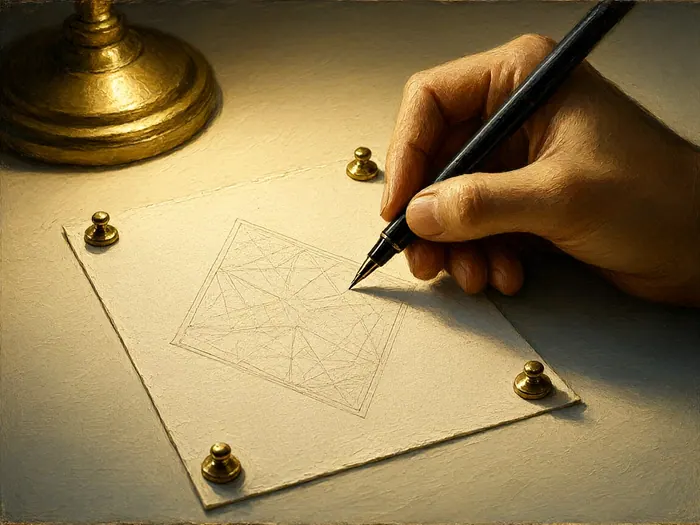
Never cut the tissue pattern that comes in the envelope - it is your only original. Tape or weigh it flat on tracing paper and copy each piece line by line with a fine pen, transferring every notch, dart, grainline arrow, and seam-allowance note onto the paper copy. Add about a half inch around fabric pieces that will edge armor, since those need a hem to hide glue lines. Number the back of each paper piece and store them flat. If you have never run a needle through cloth, Hand-Sew a Sturdy Canvas Tote Bag With a Backstitch builds the hand control that every fitting change will demand of you.
 Howcompass
Sew the Muslin Mock-Up and Fit It
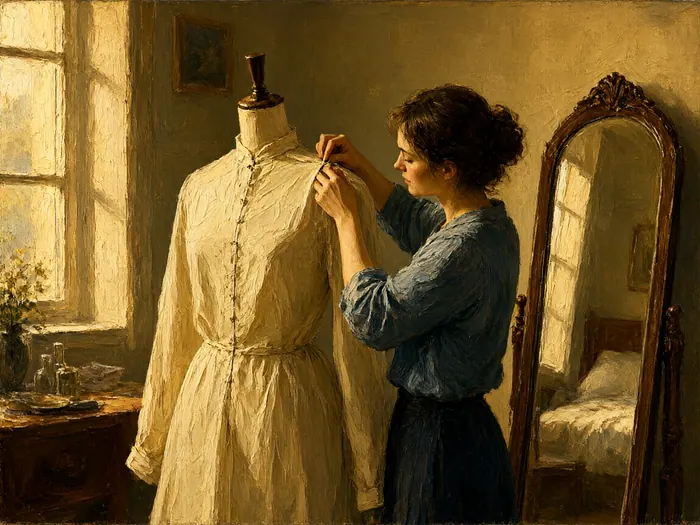
Spend about 90 minutes building the full garment in cheap muslin with the longest stitch your machine has, skipping facings, topstitching, and hems. Put it on over your base layer and check three points: shoulder seams sitting on the shoulder points, chest closing with room to breathe, and the inseam landing where your boots will take up the slack. Mark every pinch with a marker right on the fabric and copy the change onto the paper piece - shorten here, widen there, lengthen the sleeve. A fit fixed once at mock-up is worth more than three perfect seams done twice.
Weekend Two, Saturday: Sew the Garment and Form the Armor
 Howcompass
Sew Structure Seams and Press Every One
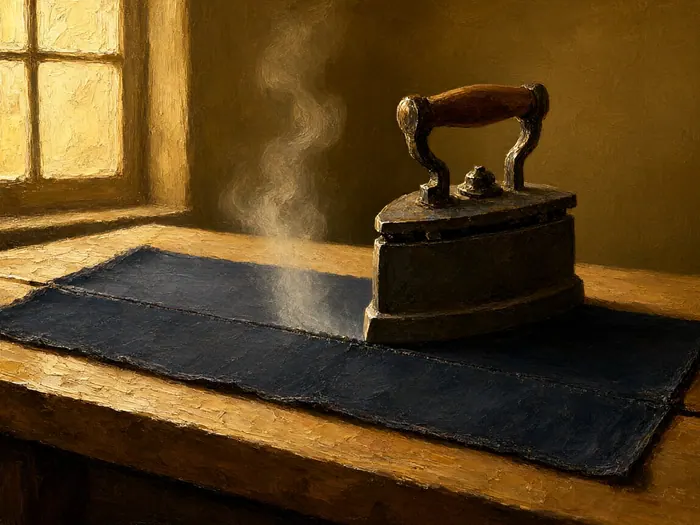
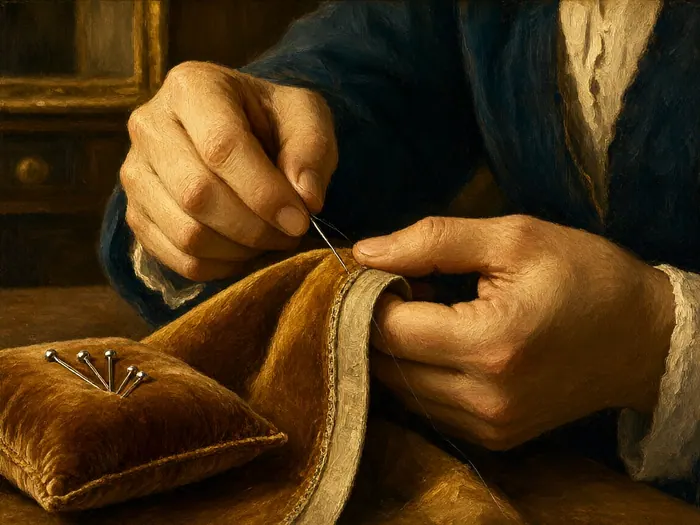
With corrected paper pieces, cut the real fabric on the grainlines and sew with a 2.5-millimeter stitch length and a universal needle - size 70/10 for broadcloth, 90/14 for twill. Backstitch a quarter inch at every start and stop. Then press each seam open with steam before you sew its neighbor; pressed seams are the difference between a costume that reads tailored and one that reads homemade. Our Press Shirts and Trousers With a Steam Iron guide covers the press-and-lift motion and why you press on the wrong side first, so no shiny iron marks face out under convention lights.
 Howcompass
Hem the Edges and Close the Openings
Turn every hem twice: a quarter inch first, then the remaining allowance - usually 1 to 1.5 inches - pinned, pressed, and stitched slowly around curves. Leave the back seam open below the zipper and any pocket or foam-channel opening unstitched until the armor is placed. Close those by hand with an invisible ladder stitch, matching thread, taking three or four bites per half inch so the seam disappears under convention lighting. The exact motion is drilled in mend a Torn Woven Jacket Seam With an Invisible Ladder Stitch, and it is also how you fix a popped seam in the hotel at midnight.
 Howcompass
Cut and Heat-Form the EVA Armor
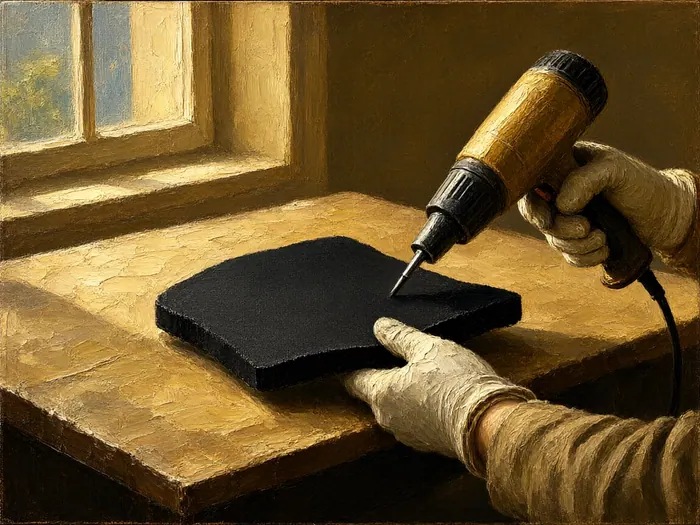
Trace paper templates onto foam, cut 10-millimeter plate with a fresh number-11 blade in one confident pass, and bevel edges at about 45 degrees in two cuts. Form curves with a heat gun on medium, held about 6 inches away and moving constantly for 20 to 40 seconds, until the foam softens and darkens a touch; then bend it over the body part and hold until cool. Overheating scorches and shrinks it. Ventilate - hot EVA and solvent fumes are why you work by an open window with a fan blowing out, never near a flame. Wear a heat-resistant glove on the bending hand, cut away from your body, and retract the blade after every pass.
 Howcompass
Seal, Glue, and Coat the Foam Parts
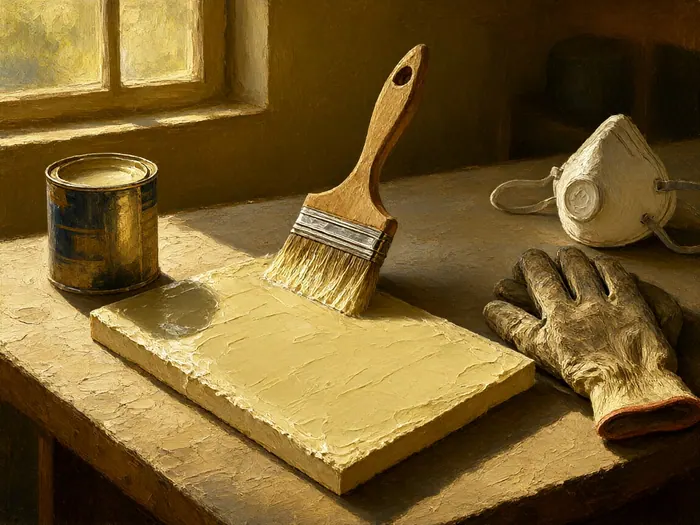
Bond foam to foam or fabric with brushable contact adhesive: coat both faces thinly, wait 15 to 20 minutes until tacky-dry, then press firmly in one move, because the bond grabs instantly and gives you no second try. Keep the can capped between dips and the room aired out - the fumes are heavy and irritating, and hot glue, which tempts beginners, leaves lumps under paint and burns fingers fast. Then seal every piece before painting: brush two or three thin coats of water-based polyurethane, letting each dry clear. Sealed foam stops drinking primer and stops paint cracking when the armor flexes.
 Howcompass
Prime and Paint the Armor Flexibly
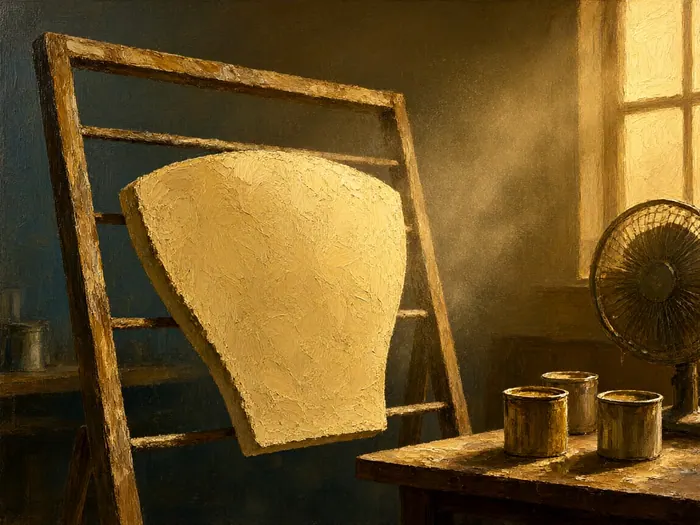
Prime sealed foam with a flexible rubberized primer in four light mist coats rather than two heavy ones, sanding between only with a fine sanding sponge. Paint with acrylics layered thin - base color first, a thinned shadow wash into the bevels, then a dry-brushed highlight - and finish with a matte or satin topcoat, because flat surfaces photograph better under harsh hall lighting than gloss. Before committing, bend a painted scrap; if the coat cracks, add another seal layer. Let parts cure overnight, and mark the back of each piece with a pencil dot so left and right shoulder plates are obvious at 7 a.m.
Weekend Two, Sunday and Con Day: Wig, Makeup, Rules, Rehearsal
 Howcompass
Style the Wig on a Foam Head
Mount the wig on a foam styling head - about $10 to $20 - and pin it at the crown before cutting anything. Start at the nape: trim length in small sections with the wig still on the head, then texturize by holding strands out and cutting into them vertically rather than straight across, which is what kills the doll-ring look. For volume, backcomb lightly and set with hairspray and a cool blow-dryer; only use heat styling if the fiber label says heat-friendly. On your head, flatten natural hair with a wig cap, pin the wig at four anchor points, and dust the hairline with powder to blend it.
 Howcompass
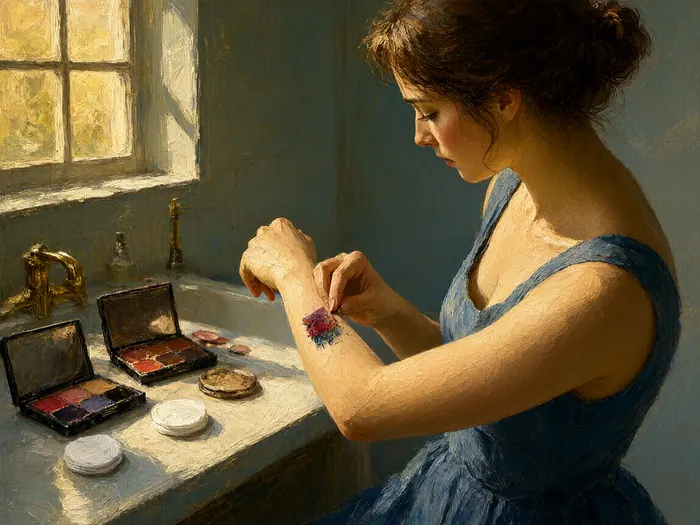
Patch-Test Face and Body Paint First
Whatever the label claims, smear a pea-sized dot of each skin product - paint, adhesive, setting powder - on your inner elbow and behind one ear, leave it unwashed for 24 to 48 hours, and check twice a day. Any raised, spreading, or still-hot redness means that product is out; FDA cosmetics guidance exists because allergic reactions to cosmetic ingredients often appear only after repeated contact. Use only products made for skin, never craft acrylics on the face, keep fingers out of shared palettes, and skip anything near the eyes that does not say it is intended there. Pack proper remover, not soap-and-scrub at the venue.
 Howcompass
Build Props That Pass the Rules Desk
Make every prop from foam, plastic, or flexible plastic - no live edges, no metal blades, nothing that can fire. Read the convention's current prop policy before you build, not after: Comic-Con bans functional or sharp-edged props outright, and its safety officers decide on the spot whether large pieces must be bound to the costume or turned away at oversized hours. Measure your longest prop in carry position against the hall's size limit, which commonly lands near 5 to 6 feet and is often stricter indoors. If a rule is vague, email the props desk with photos. A redesigned smaller prop beats a confiscated one.
 Howcompass
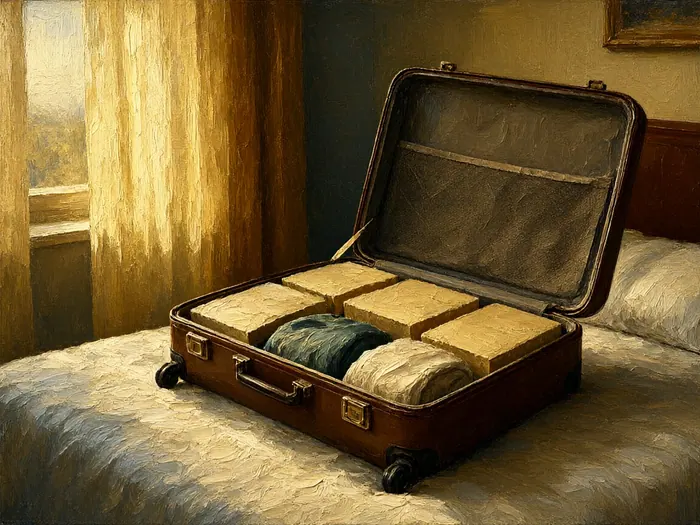
Pack and Travel Without Losing Pieces
Flying with armor takes planning. Foam and plastic props are screened routinely - check the TSA What Can I Bring list the week before, because the screening officer has the final word - but anything that reads as a weapon goes in checked baggage, never the carry-on. Sandwich painted plates between cardboard, stuff pieces with tissue to stop dents, and box the wig on top of the bag, not under it. Wear your base layer through security and change in the hotel, not a hallway. The layering logic in Pack a Two-Week Wardrobe Into One Carry-On Bag applies directly: soft goods around rigid ones, heavy at the wheels.
 Howcompass
Run the Fitting-Day Checklist Early
A full two weeks out, wear the complete costume - base layer, garment, armor, wig, boots - for two uninterrupted hours at home. Sit, bend, climb stairs, reach overhead, and use a bathroom; anything that rides up, pinches, or slides off now gets fixed now, not at the convention. Confirm the zipper closes over your base layer, straps clear your shoulders when your arms lift, and you can drink without removing your headpiece. Pack an emergency kit: safety pins, needle and thread, glue, setting powder, blister tape. Eat a normal breakfast before a test wear so you know the makeup sits on real skin, not a patch test.
How to know it worked
- The muslin mock-up passed a shoulder, chest, and inseam check, and every marked change is copied onto the paper pattern pieces.
- Seams lie flat after pressing, hems are even, and every opening you left for armor is closed with a near-invisible stitch.
- A painted foam scrap survives a hard bend without cracking, so the armor coats are sealed and flexible.
- Patch tests showed no redness or itching at 48 hours, and the wig goes on and blends without re-styling at the venue.
- Every prop is measured against the convention's current written policy, fits your car or suitcase, and the full costume survived a two-hour home wear test.
Common mistakes to avoid
- Choosing a character that is 90 percent armor or a helmet, turning a two-weekend project into a two-month engineering build.
- Buying pattern size by your dress size instead of the envelope's chest chart, then fighting the fit all weekend.
- Cutting real fabric without a muslin mock-up, so the first fitting happens when mistakes are expensive.
- Painting unsealed foam, which drinks primer and cracks the moment the piece flexes on your arm.
- Doing hair, makeup, and the full costume for the first time on convention morning instead of at a scheduled two-hour rehearsal.
Frequently Asked Questions
Question: Can I really finish a first cosplay in two weekends?
Yes, if the character is modest. One garment, two to four small foam pieces, and a wig fit into about twelve focused hours. Characters with full plate, helmets, or wings run four times longer and test a first-timer's patience instead of building skill. The two-weekend plan here assumes basic machine knowledge - or the mock-up session where you learn it.
Question: Which pattern size should I buy if my measurements span two sizes?
Buy by the chest measurement on the envelope chart, even if your usual clothing size is smaller - costume patterns include wearing ease. Fit everything else through the muslin mock-up. If your chest and hips land in different sizes, trace the chest from one outline and the hips from the other, blending the side seam between them.
Question: Do I need real leather or specialty cosplay fabric?
No. Buy by behavior: cotton twill for pants and armor-adjacent panels, broadcloth for tunics and wraps, thin brushed-back faux leather for straps and belts, and high-density 5- and 10-millimeter EVA for armor. The first two sew on a machine with a universal needle; foam and pleather get cut, glued, and heat-formed instead of sewn.
Question: How much does a first convention cosplay cost?
Expect roughly $150 to $350 for a beginner set with one wig and consumables if you borrow a machine: fabric $40 to $90, foam $20 to $50, faux leather $10 to $20, a wig $25 to $70, and thread, glue, primer, and paint $40 to $60, plus a $30 contingency. A starter sewing machine adds $100 to $200 and is worth it only if costume number two is already planned.
Question: What is the difference between 5 mm and 10 mm EVA foam?
Five-millimeter foam bends around wrists, ribs, and collars without extra work, so curved pieces start there. Ten-millimeter holds a beveled edge and reads as plate, so chunky shoulders and chest pieces use it. Two sheets of each thickness cover a first set with scraps. High-density craft foam bevels cleanly; packing foam tears and bubbles under paint.
Question: Can I bring a foam sword or shield into a convention?
Usually, with checks. Most conventions, including Comic-Con, ban functional or sharp-edged props outright, and blunting, binding, and oversized pieces are judged by safety officers at the door. Build blades from foam or plastic and read the size limit in writing beforehand. For flights, pack anything that could be misread as a weapon in checked baggage, and cure paint fully overnight before packing.
Question: How do I keep face and body paint from irritating my skin?
Patch-test 24 to 48 hours ahead: a pea-sized smear of each paint, adhesive, and powder on the inner elbow and behind one ear, left unwashed. Any spreading, raised, or lingering redness means toss the product. Use only skin-labeled cosmetics, remove with a proper remover rather than scrubbing, and stop if itching or swelling appears - reactions can intensify with repeat wear.
Tips
- Pre-wash and dry cotton twill and broadcloth before cutting; costume cotton shrinks, and you want it finished before the seams are.
- Freeze-blast the edge of faux leather for a minute before cutting - cold pleather cuts cleaner and does not stretch under the blade.
- Cut EVA with one long confident stroke of a fresh number-11 blade instead of short sawing strokes; sawing is what leaves chewed edges.
- Draw bevel guidelines on foam in marker before the first cut so every 45-degree angle lands where you planned, not where the blade wandered.
- Build the whole costume around two anchor points: the shoulder seam position and the waist line. If both sit right, everything else hangs from them.
Warnings
- Heat guns, contact cement, and spray primer need real ventilation - open windows plus a fan exhausting outward - and no flame or spark nearby, because solvent fumes are flammable and hot EVA gives off irritating smoke.
- Hot glue causes most first-build burns. Let cooled glue pull off skin instead of peeling it, keep a needle guard or finger tape when hand-sewing, and always point blades away from your body when cutting foam.
- Patch-test every face and body paint 24 to 48 hours before use, and stop using any product that stays red, itchy, or swollen - then see a clinician if a reaction spreads or involves the eyes.
- Never bring metal blades, live edges, or functional weapon props to a convention or through airport security. Even blunted metal can be confiscated, and local laws on replica weapons vary.
Things You'll Need
- Paper tape measure
- Commercial costume sewing pattern
- Pattern tracing paper and pens
- Fabric shears and a rotary or utility knife with fresh blades
- Unbleached muslin for the mock-up
- Cotton twill and broadcloth yardage
- Faux leather, 1-1.5 mm, plus fusible interfacing
- High-density EVA foam, 5 mm and 10 mm sheets
- Sewing machine with 70/10 and 90/14 universal needles
- All-purpose polyester thread, two spools
- Adjustable heat gun and heat-resistant glove
- Brushable contact cement and water-based polyurethane
- Flexible primer, acrylic paints, matte topcoat
- Wig, wig caps, styling head, and straight pins
Related Howcompass Guides




References (4)
- Convention PoliciesComic-Con (San Diego Comic-Con International)
- What Can I Bring?U.S. Transportation Security Administration
- CosmeticsU.S. Food and Drug Administration
- Simplicity Pattern CollectionsSimplicity Creative Group
Further reading
- Sewing patternWikipedia
- Ethylene-vinyl acetateWikipedia
- Contact adhesiveWikipedia
Encyclopaedia entries are background, not evidence: no step below rests on one of these.
Sources are listed so you can read the underlying guidance yourself. Our editorial policy explains how guides are reviewed.
Did this article help you?
0 readers found this helpful — add your vote.
No comments yet — be the first to share your results.