How to Shape and Bake Three Artisan Loaves at Home
A guide to Mix and Ferment One Master Dough, Divide, Pre-Shape, and Rest for Tension, Shape and Score the Three Forms, Bake, Cool, and Use Every Loaf
Most home bakers collect recipes when what they actually need is technique. This guide is built the other way around: you mix a single lean master dough, then divide it and learn three genuinely different shaping languages from the same mass of fermented flour. A round boule, an oval batard, and a long baguette-style loaf all come from identical ingredients, identical hydration, and identical fermentation. The only variables are how you build surface tension, which direction you fold, how deep and how angled you cut the skin, and how long the oven has to drive off moisture. Change nothing else and the differences in the finished crumb become legible. Three levers matter more than the rest. First, weight: every ingredient is scaled against the flour, so a batch that works at 1,000 g of flour scales to a party without rethinking ratios. Second, tension: a shaped loaf that stands up in the oven rather than spreading flat is a product of the pre-shape and bench rest, not of the final fold. Third, steam and time: the same dough gives a thick, burnished crust on a fat boule and a thin, glassy one on a long loaf, because the surface-to-mass ratio decides how long the crust has to build. Expect the first batch to be tuition. Plan a Saturday with the dough mixing while you do something else, keep a one-line log per batch, and bake all three shapes side by side so you can compare them on the same day. Nothing here requires a starter either: levain and commercial yeast both make excellent artisan loaves, and the shaping, scoring, and baking steps are identical for either, so use yeast if you want bread tonight and levain with a cold overnight proof if you want better scoring and a sourer crumb. If you are looking for a single hands-off loaf baked covered in a cast-iron pot, our separate guide on crusty no-knead Dutch-oven bread covers that method in detail; here the point is shaping skill, and the covered pot appears only as one steam option for the boule.
Mix one lean dough: 1,000 g bread flour, 700 g water, 20 g salt, 3 g yeast - 70 percent hydration - and rest the mix 45 minutes before adding salt. Bulk-ferment 4 hours at 75 to 78 F with four sets of stretch-and-folds until a piece stretches to a translucent windowpane. Divide by weight, pre-shape for a taut skin, rest 20 to 30 minutes, then shape a boule, a batard, and a long loaf. Score at a 30-degree blade angle, proof until a poke rebounds slowly, and bake with steam on a hot stone or steel for 18 to 38 minutes, pulling at 195 to 210 F internal.
- Time
- 5-7 hours total, about 70 minutes of real work; overnight cold proof adds convenience, not labor
- Cost
- $3-$5 of flour and starter for three loaves; one-time tools run $60-$200
- Difficulty
- Intermediate - one formula, three shaping sets, no kneading required
- Works on
- Any lean white or mostly-white dough at 62-75 percent hydration baked on a stone or steel
- Not for
- Enriched, high-butter, or 100 percent whole-grain doughs, which shape and proof differently
- Results
- Three distinct loaves from one batch: an open-crumb boule, a benchmark batard, a crisp long loaf
How do you shape and Bake Three Artisan Loaves at Home?
 Howcompass | How to Shape and Bake Three Artisan Loaves at Home
Mix and Ferment One Master Dough
HowcompassWeigh the Master Formula in Grams
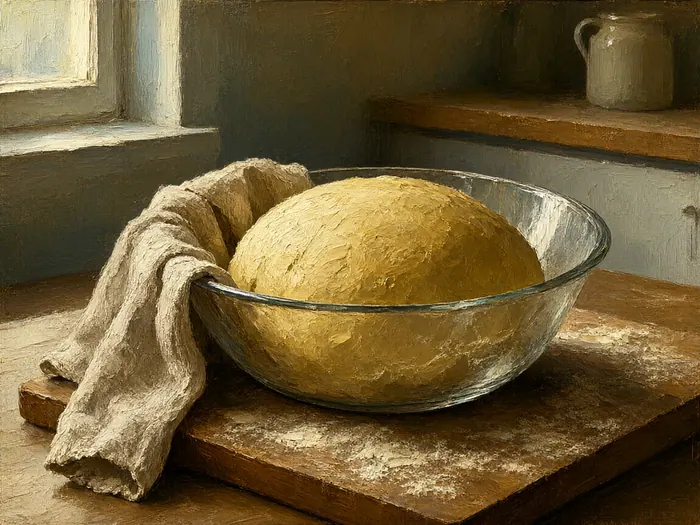
For three loaves, scale 1,000 g bread flour, 700 g water, 20 g fine sea salt, and 3 g instant dry yeast. Those weights are 100 percent, 70 percent, 2 percent, and 0.3 percent of the flour, which is the whole idea behind baker's percentage: flour is always 100 and every other ingredient is a ratio against it, so the formula scales cleanly in either direction and you can compare two flours honestly. To use levain instead, add 200 g of starter fed with equal weights of flour and water, then cut the dough flour to 900 g and the water to 600 g so the totals do not drift. The batch yields roughly 1,720 g of dough: divide it 600 g for the boule, 570 g for the batard, and 550 g for the long loaf. King Arthur's professional reference walks through the arithmetic in Baker's Percentage, and the habit that matters most here is scaling by weight rather than volume, which our guide to weighing flour and water on a digital kitchen scale covers start to finish.
 Howcompass
Rest the Flour and Water Before Salt
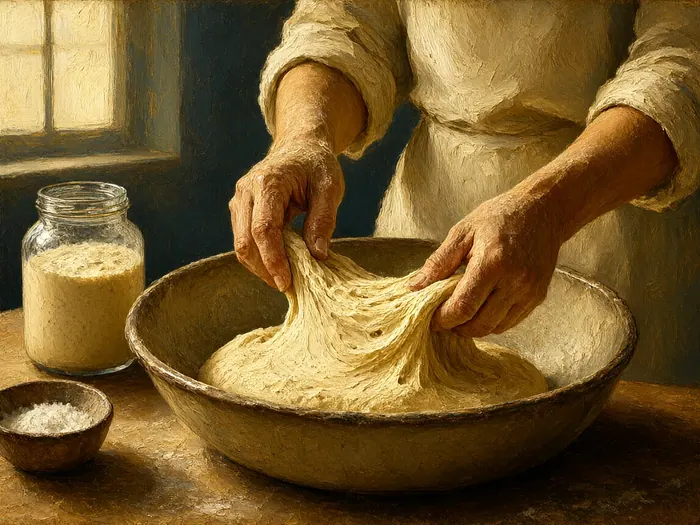
Combine only the flour and water to a shaggy mass with no dry pockets - this is not a smooth dough and should not look appealing - then cover the bowl and let it sit 45 to 60 minutes at room temperature. That rest is the autolyse: flour hydrates all the way through, natural enzymes start trimming protein strands, and the dough becomes extensible before you put any work into it. Holding salt and yeast back is deliberate. Salt tightens gluten and pulls water from yeast cells, so a dough that has already absorbed it fights you during mixing; yeast starting to gas an inextensible dough wastes the lift. A busy schedule can use 20 to 30 minutes and still gain most of the benefit. Longer rests, up to four hours in a cool kitchen, are possible but easy for a learner to overshoot into a slack, pasty mass. The mechanism, recommended by the French baking professor Raymond Calvel to cut kneading time, is summarized at Autolysis (biology)). Note the start time in your log, because autolyse length is one of the two or three variables worth changing later.
 Howcompass
Add Levain First, Then Salt Last
After the autolyse, incorporate your leavening. Break 200 g of ripe levain into the dough in chunks and squeeze it through, or sprinkle 3 g instant dry yeast over the surface and fold it in. Levain is ripe when it has roughly doubled, smells clean and yogurt-sharp rather than like nail-polish remover, and holds a ridge when you draw a spoon through it; underripe leavening stalls bulk fermentation for hours and reads as a dead dough. Mix 5 to 8 minutes by hand until evenly distributed, then add 20 g salt along with 10 g extra water, which helps the salt disperse rather than sitting in one pocket. Work to a rough, cohesive mass with a few lumps still visible - strength is coming from the folds over the next four hours, not from kneading here. Aim for a finished dough temperature of 75 to 78 F (24 to 26 C) and adjust your water temperature to get there, because bulk timing assumes that number.
 Howcompass
Build Strength With Timed Stretch-and-Folds
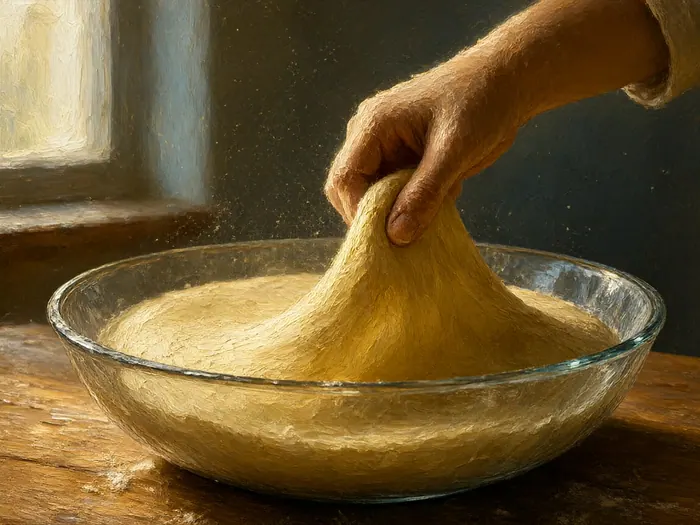
Bulk-ferment covered at 75 to 78 F for 3.5 to 4.5 hours, and during the first two hours perform four sets of stretch-and-folds about 30 minutes apart. Wet one hand, slide it under the edge of the dough, lift it up and stretch it over the center, give the bowl a quarter turn, and repeat on four sides - one set takes 20 seconds. The first set feels hopeless and the dough resists; by the fourth it holds a smooth dome and springs back. Each set evens out temperature, yeast, and food while aligning gluten into overlapping layers, which is why gentle repeated folds replace ten minutes of hard kneading. If you prefer working on the bench, our walkthrough of kneading bread dough by hand until smooth and elastic covers the same development from the table side. Cornell's food-science division describes how cereal proteins hydrate and align under exactly this kind of mild, repeated mechanical stress - Cornell CALS Food Science is the background reading. Record the clock time of each set; the pattern of your folds is the first thing to review when a loaf comes out heavy.
 Howcompass
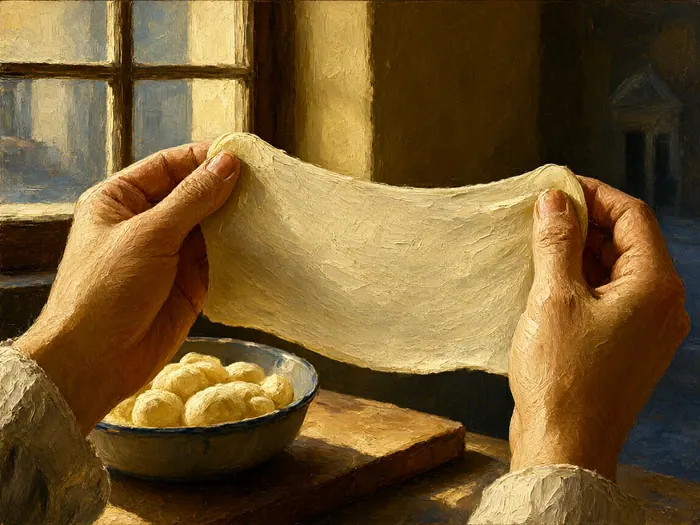
Stop Bulk at the Windowpane Test
Judge the end of bulk fermentation three ways, not by the clock alone. Pinch off a piece the size of a golf ball and stretch it slowly between your fingers: it should thin to a membrane you can see light through without tearing. A ragged hole at that thickness means five more minutes of folds and another half hour of rest. Alongside the windowpane, look for 40 to 60 percent volume growth, a domed rather than flat top, small bubbles just beneath the skin, and a faintly sour, yeasty smell. Understand the failure mode: dough that lacks a windowpane but has already risen far is over-fermented, not under-developed, and the only recovery is to shape and bake sooner and shorten the final proof, because no amount of folding repairs a gluten network that acid has already started dissolving. Rutgers' Department of Food Science is a solid place to read what fermentation does to dough structure: Rutgers Department of Food Science. Dust the bench lightly, turn the mass out gently, and keep the gas you have grown.
Divide, Pre-Shape, and Rest for Tension
 Howcompass
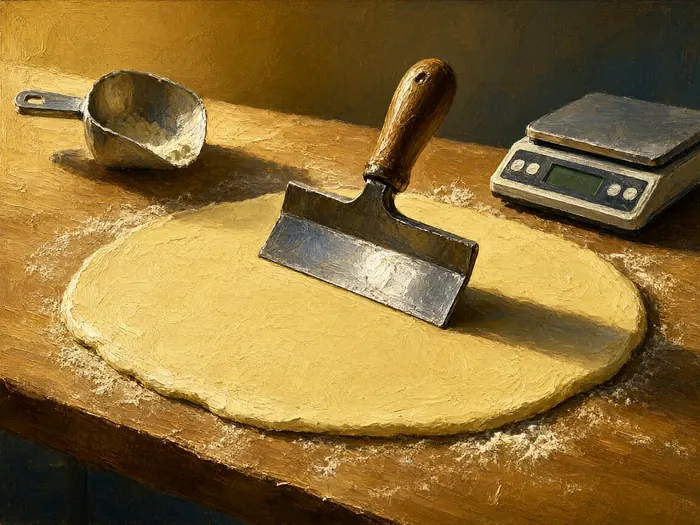
Scale Three Pieces With One Clean Cut
Turn the dough onto a lightly floured bench and divide it with a bench scraper in one confident press rather than a sawing motion; sawing tears the skin you are about to rely on. Scale as you cut: 600 g for the boule, 570 g for the batard, 550 g for the long loaf. Correct an off-weight piece with small trim rather than re-cutting the whole batch, and gather the trimmings into one or two dinner rolls baked the same day. Equal mass by weight is what makes the three baking times in this guide meaningful - a piece 60 g heavier holds more water and bakes slower in the center than its twin, so you end up comparing two different experiments. Try to leave each cut face as smooth as possible, because ragged edges are where gas leaks during shaping. Work quickly but not hurriedly: an exposed mass at room temperature starts losing slackness within ten minutes, and dry cut faces make the final shape harder to seal.
 Howcompass
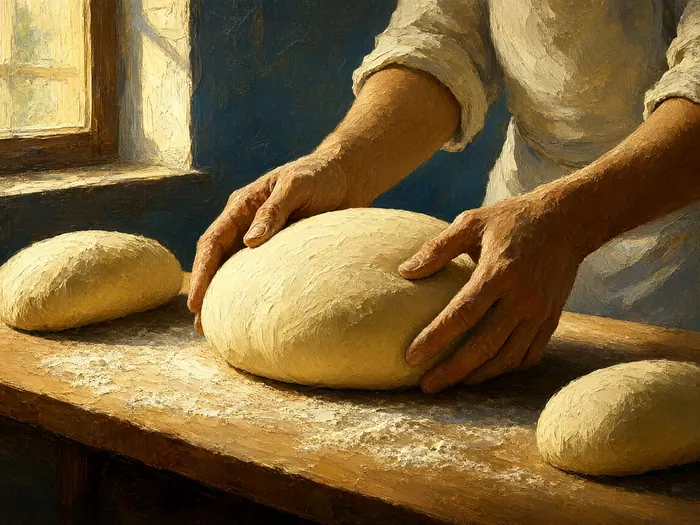
Pre-Shape Each Piece for a Taut Skin
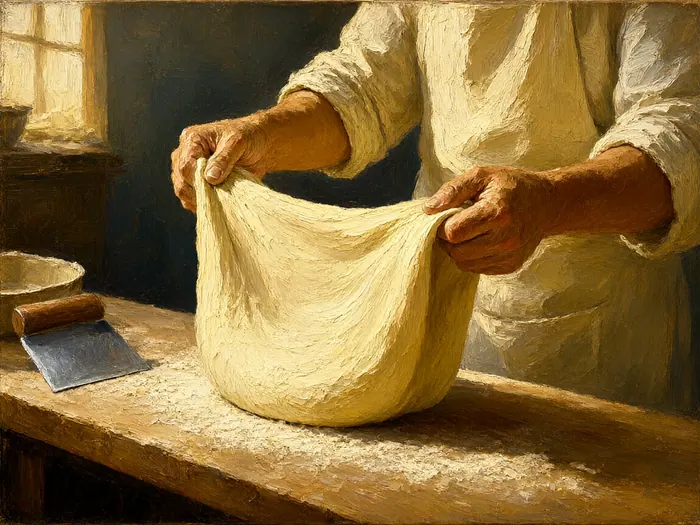
The pre-shape is where most of the final structure comes from, and it is deliberately gentler than the finished form. Round the boule piece by cupping your hands around it and dragging it in short circles on an unfloured patch of bench, letting friction - not added flour - pull the surface tight and tuck the edges underneath. Press each oblong piece into a rough rectangle, fold the sides inward, and roll it into a loose paddle with the seam along one long edge so the grain of the dough runs lengthwise for the batards. A good pre-shape holds its outline for several seconds when you nudge it and feels like a water balloon under your palm rather than a wet pancake. Our detailed walkthrough of shaping a round boule loaf with surface tension covers the hand mechanics at speed, and the same principles - dry bench, cupped hands, drag rather than push - apply to all three pieces here. Rest the seam side down.
 Howcompass
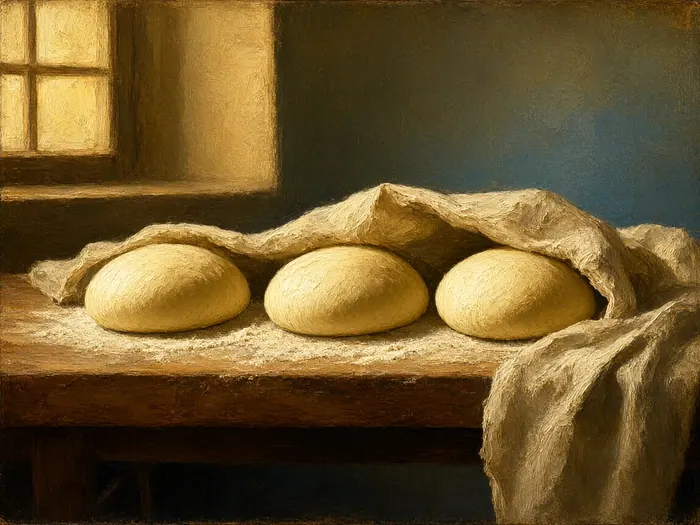
Bench Rest Twenty to Thirty Minutes
Leave the pre-shapes uncovered on the bench, seam side down, for 20 to 30 minutes at 74 to 78 F. This is the step learners skip and then blame the recipe for. Long enough for the gluten to relax so the final shape stops springing back under your hands; short enough that the surface stays tacky enough to seal when you fold it. Under-rested dough tears across the top skin and you lose the very layer that holds the loaf's shape, and a torn skin vents gas during baking. Over-rested dough spreads flat and refuses to accept tension, and no amount of folding afterwards restores it. Judge by feel instead of the clock: press a fingertip gently into a piece - if the dent holds its shape and fills in slowly, you are ready. In a dry kitchen, tent a linen cloth over the pieces so the skin does not form a crust that will not fuse; in a humid one, leave them bare and check five minutes early.
 Howcompass
Resist Adding Bench Flour to Sticky Dough
At 70 percent hydration the dough feels stickier than most people expect, especially in a warm kitchen, and the instinct is to work in handfuls of bench flour. Do not. A dough padded with extra flour bakes denser and duller than the formula predicts, and it is no longer the 70 percent you wrote down, so your notes from this batch stop being comparable to the next. Wet hands, a metal dough scraper, and a lightly oiled bowl solve stickiness far better than flour does; keep the bench dusting to a film you can see the wood through. If the mass is genuinely unworkable, your particular flour is absorbing less water than the formula assumed. Write that down, and next batch mix at 65 percent and walk up by 2 percent a batch rather than chasing a sticky dough with flour. Typical lean artisan doughs sit anywhere between 62 and 75 percent hydration, so treat 70 as a starting number for your flour, not a law. Slack dough is shaped with shorter, gentler strokes.
 Howcompass
Check Temperature and Slackness Before Shaping
Before the final shape, confirm the pieces are at 72 to 76 F (22 to 24 C). Cooler dough is firmer and easier to handle but proofs slowly, so add time to the final rise; warmer dough moves fast and turns slack, so cut the bench rest short and get the oven to temperature early. Test slackness by jiggling a piece - it should wobble like soft custard while still holding its outline, not run flat across the bench. If your kitchen sits above 80 F, shorten the rest by about 10 minutes and consider proving in the coolest room, because the heat you built during bulk carries straight into shaping. Then log one line per batch: mix time, finished dough temperature, fold times, bulk end time, bench rest length. The single most useful thing a home baker develops is the ability to say which of those numbers produced the flat loaf on the counter, and that requires written numbers rather than impressions.
Shape and Score the Three Forms
 Howcompass
Finish the Boule With a Drum-Tight Skin
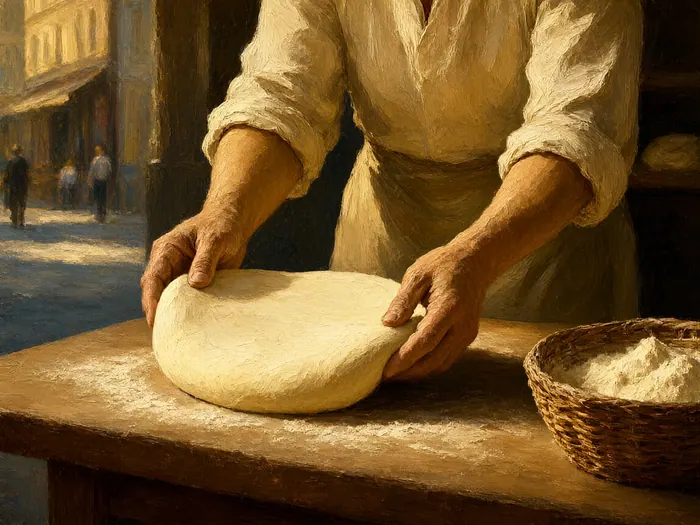
Flip the rested boule piece smooth side down, fold the far edge to the center, then the left and right edges, then fold the near edge over and roll the whole parcel over so the seams stack underneath. Now cup both hands around it and rotate the dough in short circular drags on the bench, tucking it under itself until the top skin feels drum-tight and the seam is fully sealed below. That tension is the reason the loaf stands up in the oven instead of spreading sideways, and it also determines the dome's final outline. Do not press down on the top skin or degas the crown; seal with your fingertips under the loaf instead. Set the finished boule seam side down in a round proofing basket dusted with a half-and-half mix of rice flour and bread flour - rice flour absorbs little moisture, so the loaf releases without tearing. An 8-inch basket suits the 600 g piece, and the tighter the skin, the more upright the ear will be when you cut it.
 Howcompass
Form the Batard With Three Folds
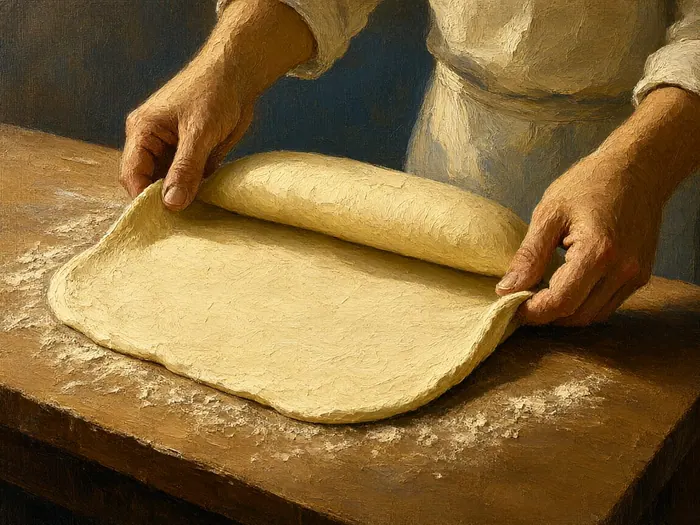
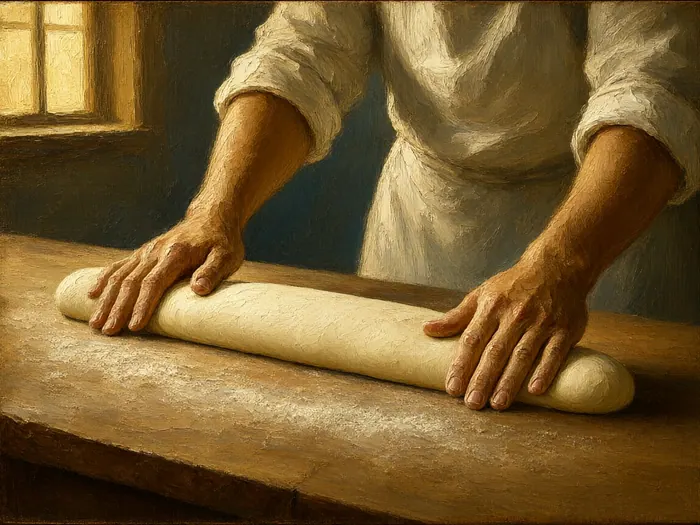
For the batard, flip the oblong piece smooth side down and press it gently into a rectangle roughly 8 by 6 inches, keeping the top skin intact and the bubbles where they are. Fold the far third down and seal its edge with the heel of one hand, fold the near third up over it and seal again, then fold the loaf in half lengthwise so the seam runs down one side and close it with one firm pass. Roll the loaf forward a short distance to smooth the top, then taper each end to a blunt point by easing outward from the center rather than pinching the tips thin. Keep the thickness even down the length: a fat middle with hair-thin ends bakes at two different rates and you will taste it as a damp core next to dry tips. Place the shaped batard seam side up in a linen-lined oval basket, or seam side down if you are working freehand on a floured couche, so the sides get support and the loaf grows upward instead of outward.
 Howcompass
Roll a Long Loaf to Baguette Length
Take the third piece, press it into a loose 12-inch oval, and repeat the three-fold sequence: far third down and sealed, near third up and sealed, fold in half lengthwise and close the seam with the heel of one hand. Then roll from the center outward with flat palms, easing the loaf to 12 to 16 inches while keeping the middle slightly thicker than the ends. Roll only as far as the dough consents to go. On a 70 percent dough, aggressive rolling squeezes the gas out and leaves a dense, pale tube no amount of baking can rescue; if it fights and tears, rest it five minutes and go again with lighter pressure. A true French baguette is a drier dough laminated with more folds and baked directly on the deck, cut with five to seven parallel slashes - the baguette article covers that canonical form - while your long loaf borrows the shape, the scoring, and the crunch without abandoning this master hydration. Proof seam side up in a floured linen fold so the sides stay supported.
 Howcompass
Score Each Shape for a Planned Split
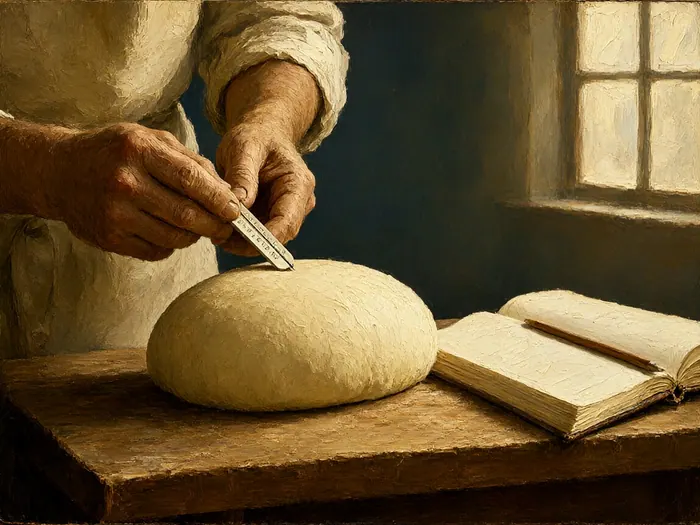
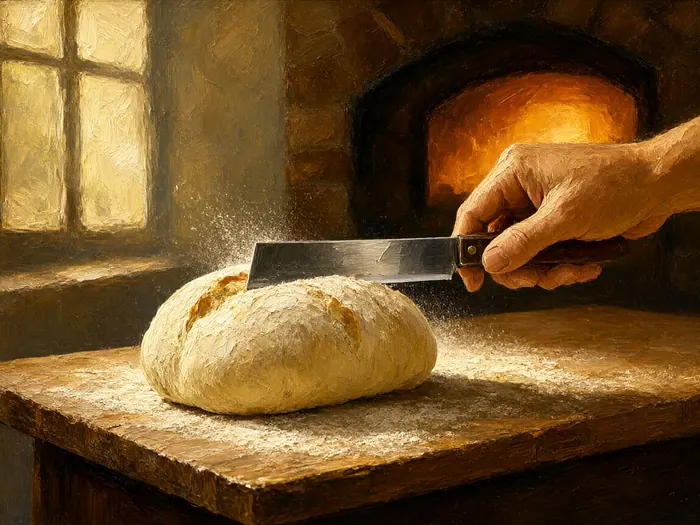
Score the moment the loaves leave the baskets, with a fresh single-edge blade held about 30 degrees to the surface rather than straight down. The shallow angle slides under the skin and lifts a flap - the ear; a vertical cut opens a flat mouth and no flap. Cut 1/8 to 1/4 inch deep, one decisive stroke, never a saw, and let a dull blade go rather than pressing harder. A boule wants steam to vent in every direction, so a curved slash across the dome or a cross gives it an ordered path instead of bursting at a weak seam. A batard wants to expand along its length, so make three to five oblique slashes angled close to parallel with the long axis. The long loaf gets five to seven shallow parallel cuts at a very flat angle, which is why its segments curl into ears rather than simply widening. Steam and scoring are partners: without moisture the skin sets before the cut can open. Craft standards for shaping and scoring are the daily conversation of professional bakers in the Bread Bakers Guild of America, whose competitions judge these exact splits. Turn the loaf so the cut line runs toward your knife hand.
 Howcompass
Proof Until the Poke Test Rebounds Slowly
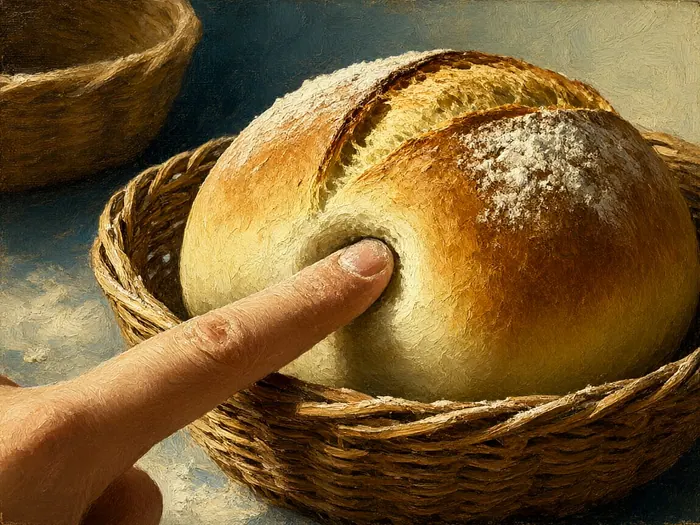
You have two options, and the second is better for learning to score. Room prove the shaped loaves 45 to 90 minutes at 76 to 78 F and bake the same day. Or cold retard: cover the baskets and refrigerate 8 to 16 hours at about 4 C (39 to 40 F), which firms the skin, slows the yeast, deepens flavor, and gives the blade a surface it will not drag against - cold dough holds its shape and opens more dramatically. Judge readiness by poke, using a floured fingertip pressed about 1/2 inch into the side of the loaf: it should spring back slowly and leave a faint dimple. A fast rebound means the dough needs more time; no rebound at all, or a visible collapse, means it went past its window, so bake immediately and shape the next batch earlier. Our full walkthrough is the guide to telling when bread dough has risen using the poke test, and the same reading applies to all three forms. Do not let a long loaf room-proof as long as a boule - thin dough overproofs first.
Bake, Cool, and Use Every Loaf
 Howcompass
Preheat the Stone or Steel One Hour
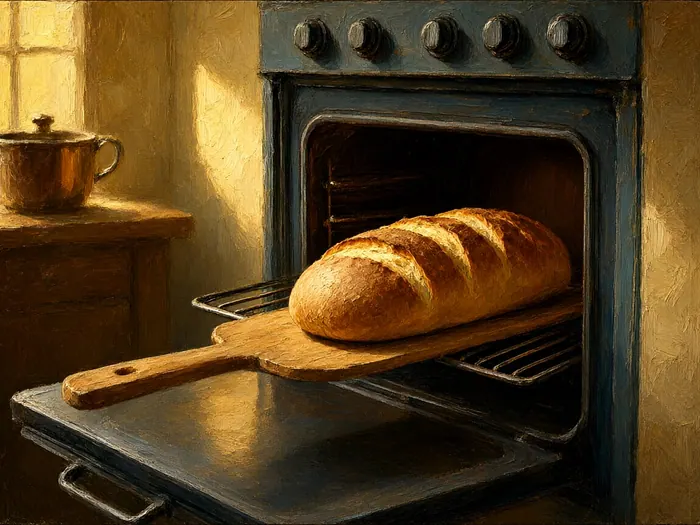
Put a baking stone or steel on the middle rack and preheat 45 to 60 minutes at 500 F (260 C) - closer to a full hour for a thick cordierite stone, 45 minutes for steel, which stores and delivers heat faster and gives the crispest bottom on a long loaf. The preheated surface is what converts a proofed mass into oven spring: it dumps heat into the base immediately, so gases expand and the structure sets before the crust hardens. A steel runs $70 to $125, a stone $30 to $50, and either is a better purchase than any other upgrade on this list. Get the loaves into the oven within a couple of minutes of opening the door, sliding them off a peel or the back of a sheet pan onto the hot surface. Leave one rack position clear above the stone so the boule's dome does not touch the element. Space the loaves at least 4 inches apart - a crowded oven steams rather than bakes, and pale soft crusts are usually a crowding problem.
 Howcompass
Bake With Steam and Time Each Shape
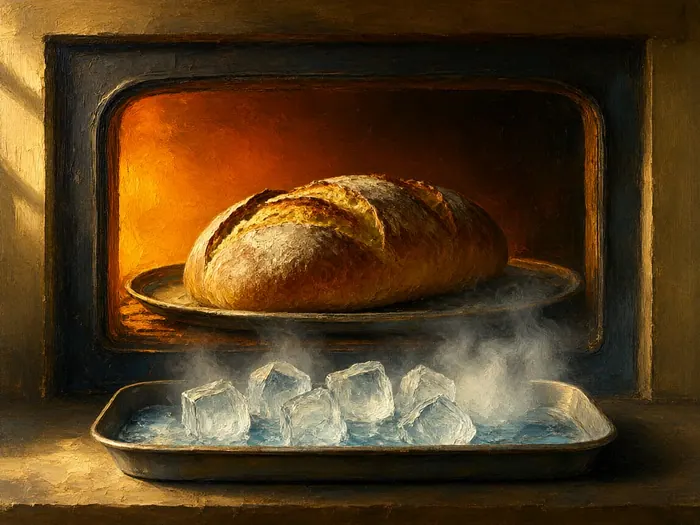
Steam keeps the outer skin gelatinized and stretchable for the first 15 to 20 minutes, which is what lets your cuts open instead of cracking. For the boule, a covered pot is the simplest option: if you already know the covered cast-iron method from our crusty no-knead Dutch-oven bread guide, use it here - bake under a lid at 450 F (230 C) for 22 to 25 minutes, then uncover, drop to 425 F, and finish 12 to 15 minutes more. A roasting pan or large inverted metal bowl works as a temporary dome for the batard. For the uncovered method, put a preheated tray on the lowest rack, toss in a half cup of ice cubes or pour 1/4 cup of boiling water in as you load the bread, and close the door fast; two or three firm spritzes of water at the start and again at 60 seconds help in a small oven. Total bake time at 450 to 475 F: 32 to 38 minutes for the 600 g boule, 25 to 30 for the batard, 18 to 24 for the long loaf. Rotate the pan once halfway for even color, and finish with the door cracked 2 minutes to dry the crust.
 Howcompass
Pull at Internal Temperature, Then Cool
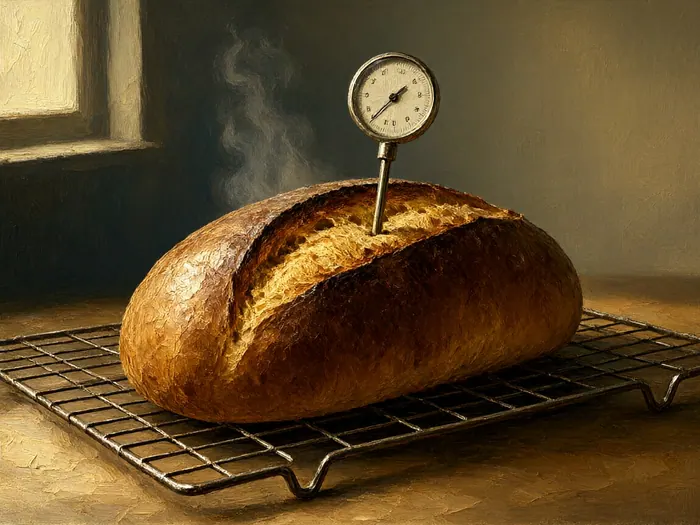
Test with an instant-read thermometer in the center of the crumb, keeping the probe out of the pan: lean artisan loaves finish between 195 and 210 F (90 to 99 C), with the thin long loaf landing nearer 195 to 200 F and the fat boule nearer 205 to 210 F. Color is a second read - the crust should be chestnut, well past golden, because the toasty compounds that make bread taste like bread form late, and a pale loaf almost always tastes flat. Then cool properly on a wire rack: 45 minutes for the long loaf, about an hour for the batard, 1 to 1.5 hours for the boule, until it is barely warm to the palm. Listen for the crust ticking as it cools; that contracting crackle is a good sign of a dry, crisp bake. Cutting early traps steam that the crumb still needs to give up and leaves a gummy, pasty center in a loaf that baked correctly. Crumb structure continues to set as the loaf cools, which is why patience is a technique, not a courtesy.
 Howcompass
Read Crumb and Crust Back to the Shape
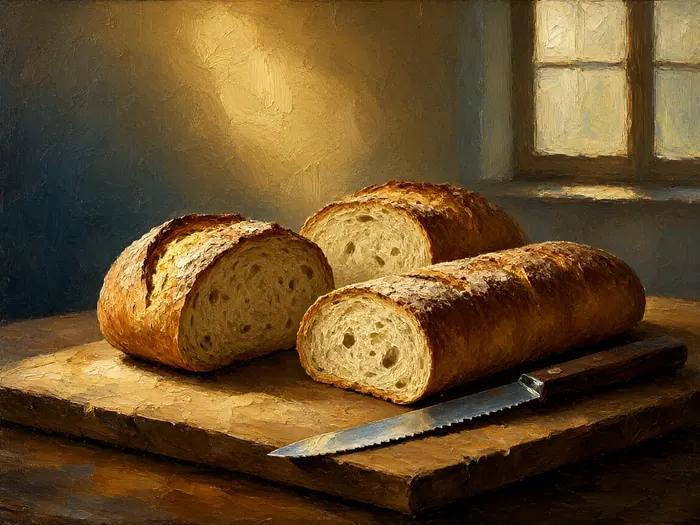
Slice one of each shape the same day and diagnose from a fresh cut face. Boule: a tight, even crumb with a thick leathery crust points to over-proofing or too cool an oven; a pale, soft bottom means the stone never finished preheating; a shaggy open crumb with a collapsed side means the dough was degassed during shaping or the skin was too loose. Batard: an open, slightly glossy crumb, thin crisp crust, and a lifted flap along the score line is your benchmark for this dough - when the other two shapes are wrong, compare them with this one. Long loaf: a compressed band down the middle usually means over-proofed or slack dough, a blowout at the seam means the cut was too shallow or too vertical, and a pale, bendy crust means steam ran out or the loaves were crowded. Crust and crumb failures repeat in one of three places: hydration, proofing time, or oven temperature. Change one variable per batch, never two, and write the change down next to the outcome.
 Howcompass
Turn Day-Two Loaves Into New Meals
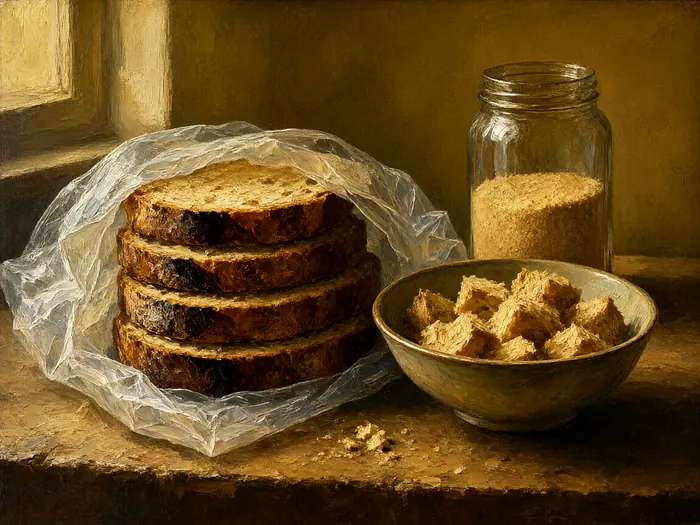
Yesterday's artisan loaf beats fresh bread in three applications. Panzanella: tear about 400 g of boule into 2-inch chunks, toss with olive oil and salt, add 400 g of ripe tomato and a handful of torn basil, and rest 30 minutes so the crumb drinks the juice; dress it no more than an hour before serving. Breadcrumbs: dry cubes on a tray at 300 F (150 C) for 30 to 40 minutes until brittle, then pulse fine; a sealed jar keeps them a month. For croutons and garlic toast, cut 1-inch slices and finish in a hot pan or a 400 F oven for 8 to 10 minutes. Storage rule for the counter: stand the cut loaf seam side down, unwrapped, for 1 to 2 days - a bag softens the crust, and a refrigerator stales bread noticeably faster than the counter does. For anything beyond two days, freeze sliced: cool completely, cut 3/4-inch slices, wrap the whole loaf in plastic then foil, freeze up to 3 months, and toast slices straight from frozen. Our companion guide to storing homemade bread so the crust stays crisp covers the counter side in more detail.
How to know it worked
- One mixed batch produced three recognizable shapes - a domed round, an even oblong, and a 12 to 16 inch long loaf - with no tears in any top skin.
- Every loaf held its outline in the oven rather than spreading, and each score line opened with a lifted flap or a clean planned split.
- The stretch-and-fold sets ended in a windowpane you could see light through before you divided the dough.
- All three loaves came out at 195 to 210 F internal with a chestnut crust, then cooled the full 45 to 90 minutes for their size before slicing.
- You can name the crumb structure and crust thickness of each shape and say which single variable - hydration, proof time, or oven temperature - you will change next batch.
Common mistakes to avoid
- Skipping the pre-shape or the bench rest, then blaming the formula when the final loaf springs back, tears, or spreads flat on the stone.
- Working in handfuls of bench flour to fight stickiness, which silently raises the hydration of the batch and makes your notes useless.
- Scoring straight down with a dull blade and too shallow, so the crust bursts at the weakest seam instead of opening where you planned.
- Baking without steam, or venting it far too early, which sets the skin before oven spring has anywhere to go and gives a pale, thick, cracked crust.
- Slicing into a hot loaf to check the crumb, then concluding the bake failed when the gummy center was still cooling and setting.
Frequently Asked Questions
Question: Can I really bake all three shapes in one oven at once?
Yes, with one compromise. Bake the boule and the batard together, since both want 25 to 38 minutes and benefit from a steam dome. The long loaf finishes 10 to 15 minutes sooner, so load it after the round loaf, or pull it early and let the boule finish. Keep at least 4 inches between loaves and rotate the pan halfway, because a crowded oven steams instead of browning.
Question: What flour should a shaping dough use?
Use a bread flour with 12 to 13 percent protein, or all-purpose with a couple of tablespoons of additional bread flour per batch. Higher protein gives the gluten strength that a long loaf needs to hold its shape and the tension that makes a boule stand up. Very high extraction or 100 percent whole-grain doughs cut the skin differently and should not be your first shaping practice.
Question: Do I need a sourdough starter, or is yeast fine?
Yeast is fine, and honestly easier for a first shaping batch. Three grams of instant dry yeast per 1,000 g of flour ferments this dough in 3.5 to 4.5 hours at 75 to 78 F, and a ripe levain takes a similar warm bulk or an overnight cold retard. Levain adds flavor and a slightly more open crumb; shaping and scoring are identical either way.
Question: Why do my loaves spread flat instead of standing up?
Almost always one of three things: a loose pre-shape with no real surface tension, an over-long bench rest, or over-proofing. Fix the pre-shape first - the skin should feel like a water balloon - then cut the bench rest to 20 minutes and shorten the final proof until the poke test rebounds slowly rather than not at all. Slack dough also needs a supported basket.
Question: My scores never open into an ear. What is wrong?
Check four things in order: blade angle, blade sharpness, depth, and steam. The blade wants roughly 30 degrees to the surface, a brand-new single-edge razor, 1/8 to 1/4 inch deep, and one fast stroke. Steam must stay in the oven for the first 15 to 20 minutes; without it, the skin sets before the cut can lift. Over-proofed dough has no push left to open with.
Question: Can I retard one shaped loaf overnight and bake the others today?
Yes, and it is a good way to get three fresh loaves over two days. Wrap the basket tightly and refrigerate 8 to 16 hours, then bake straight from cold - cold dough actually scores better. The boule and batard hold overnight well; a thin long loaf is the riskiest to keep long because it overproofs fastest, so use the coldest part of the fridge for it.
Question: What if I do not own proofing baskets?
Improvise. A bowl lined with a linen towel dusted with rice flour replaces a round basket, and a baking pan or a couche made from a folded tea towel between two trays supports the oblong shapes. Any liner needs to be loosely woven cotton so the skin dries slightly and releases cleanly. Avoid plastic wrap directly on the dough, which tears the surface you just built.
Tips
- Shape over a dry, unfloured patch of bench and keep flour to a light dusting elsewhere; friction is what builds the skin, and loose flour only smothers it.
- Dust baskets with 50 percent rice flour and 50 percent bread flour. Rice flour barely absorbs water, so the loaf releases without the ragged patches wheat flour causes.
- Cold-retard at least one of the three loaves overnight. Firm, chilled dough takes a cleaner cut than room-temperature dough and gives you a visible before-and-after.
- Rotate the blade after every two or three cuts. A razor edge that drags is the most common cause of a loaf that opens sideways instead of upward.
- Log one line per batch: flour type, water percentage, finished dough temperature, bulk hours, bench rest, proof, bake time, result. Three batches of that turns guesswork into diagnosis.
Warnings
- Scoring blades are the sharpest thing in the kitchen and are handled against a soft, round surface. Keep the blade pointed away from your free hand, never load a razor with a wet or slippery grip, retract or bin it immediately, and store it out of reach of children.
- Steam and a saturated stone or steel burn badly. Pour water into a preheated tray with the oven door open and your face back, use dry oven mitts and a long peel, and keep bare arms away from the steam cloud when you pull loaves out.
- Do not taste or eat raw dough, including the windowpane test piece. Flour is not a cooked ingredient and has been linked to illness from contaminated grain, so keep unbaked dough away from children and wash hands, benches, and scrapers that touched it.
- Baked bread is a low-risk food only when it stays dry. Do not leave dressed panzanella or any milk- or egg-soaked bread dish at room temperature more than 2 hours, cool loaves fully before wrapping, freeze within a day of baking, and discard any loaf that smells sour in a way the crumb does not match.
Things You'll Need
- Digital kitchen scale readable to 1 gram
- Bread flour at 12-13 percent protein
- Fine sea salt and instant dry yeast
- Ripe levain or a jar to start one
- Stainless bench scraper with a sharp edge
- Wide mixing bowl and a linen cover
- Round proofing basket, about 8 inches
- Linen-lined oval basket or a proving couche
- Rice flour for dusting the baskets
- Baking stone or half-inch steel plate
- Wooden or metal peel, or a sheet pan
- Single-edge razor blades and a lame handle
- Instant-read thermometer and a spray bottle
- Wire cooling rack and foil for freezing
Related Howcompass Guides


References (5)
- Baker's Percentage - Professional ReferenceKing Arthur Baking Company
- Baker's Resources and Baking GuidesKing Arthur Baking Company
- The Bread Bakers Guild of AmericaThe Bread Bakers Guild of America
- Food Science - College of Agriculture and Life SciencesCornell University
- Department of Food ScienceRutgers, The State University of New Jersey
Further reading
- Autolysis (biology) - Bread BakingWikipedia
- Boule (bread)Wikipedia
Encyclopaedia entries are background, not evidence: no step below rests on one of these.
Sources are listed so you can read the underlying guidance yourself. Our editorial policy explains how guides are reviewed.
Did this article help you?
0 readers found this helpful — add your vote.
No comments yet — be the first to share your results.