How to Bake a Rustic No-Knead Loaf in a Dutch Oven
A guide to Phase 1: Gear and Weights Before Anything Else, Phase 2: Mix and Judge the Overnight Ferment, Phase 3: Shape, Proof and Preheat the Pot, Phase 4: Score, Bake, Cool and Diagnose
A no-knead loaf is the honest way to get an artisan-looking bread out of a domestic oven. The reason it works is time rather than muscle: with only 1 g of instant yeast for 500 g of flour, the dough has to sit 12 to 18 hours to ferment, and that long rest develops the same gluten network you would otherwise have to build by kneading for 10 minutes. You trade effort for patience, and the fermentation also builds flavour a fast dough cannot reach. The other half of the result comes from the Dutch oven. Bread flour at 80 percent hydration produces a slack, sticky dough that cannot hold its own shape on a flat tray, so the pot walls support it for the first 30 minutes while the trapped steam from the dough itself keeps the crust soft and glossy. That soft window is what lets the loaf expand fully before the crust sets, which is why the same dough baked on a sheet pan comes out flat and pale. This guide runs the whole loaf in four phases: weighing the gear and the ingredients, mixing and judging the long ferment, shaping and proofing with an optional refrigerator delay, then scoring, baking, cooling and diagnosing trouble. Everything is measured in grams because a digital scale is more accurate than cups and it makes every ratio reproducible. Two things deserve respect: a 240 C pot full of steam will burn you, and the loaf is not finished until it has cooled for an hour.
Whisk 500 g bread flour, 10 g salt and 1 g instant yeast, then stir in 400 g water until you have a shaggy mass — no kneading. Cover and leave it 12 to 18 hours at 20-23 C until it is bubbly and jiggles. Fold four times over 90 minutes, pre-shape, rest 15 minutes, then shape for surface tension and proof in a rice-flour-dusted basket. Preheat a cast-iron Dutch oven with its lid on at 240 C/465 F for a full hour. Score, bake covered 30 minutes, uncovered 15, and cool at least an hour before slicing.
- Time
- About 20 hours hands-off plus 45 minutes active work over two days
- Cost
- $1.50-$2.50 per loaf; $0 if you already own a Dutch oven
- Difficulty
- Beginner — mixing takes two minutes, no kneading or shaping skill required
- Works on
- Any home oven with a lidded cast-iron pot that is oven-safe to 260 C/500 F
- Not for
- Same-day bread, glass or ceramic pots with untested knobs, or hot-handle-free stoves
- Results
- One 800 g loaf with a blistered, crackling crust and open, glossy crumb
How do you bake a Rustic No-Knead Loaf in a Dutch Oven?
 Howcompass | How to Bake a Rustic No-Knead Loaf in a Dutch Oven
Phase 1: Gear and Weights Before Anything Else
HowcompassAssemble Five Pieces of Core Gear
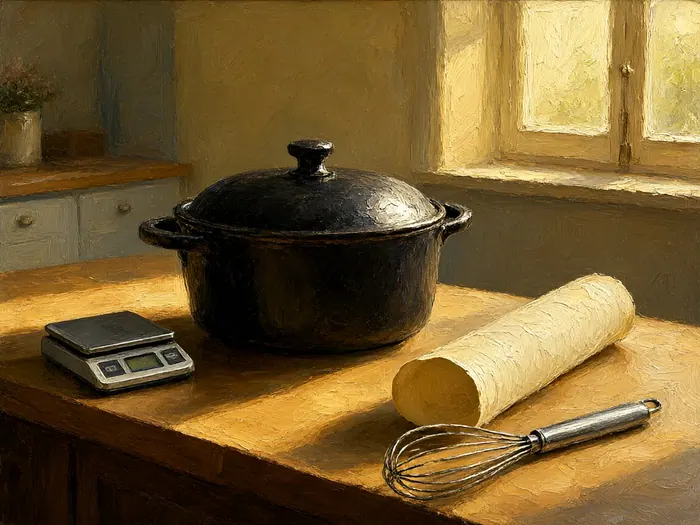
You need exactly five things: a digital kitchen scale that reads to 1 g, a 24-28 cm cast-iron Dutch oven with a lid, a roll of parchment, a metal bench scraper, and a dough whisk or sturdy wooden spoon. A stand mixer, proofing cabinet, and baking stone are all optional, and none of them fixes a badly weighed dough. Everything else on the counter should move out of the way, because this dough is sticky and your hands will be in the pot more than 20 times over two days. If your household is short on equipment, our guide to baking bread at home covers the minimum kit that actually earns its shelf space.
 Howcompass
Weigh the Four Ingredients in Grams
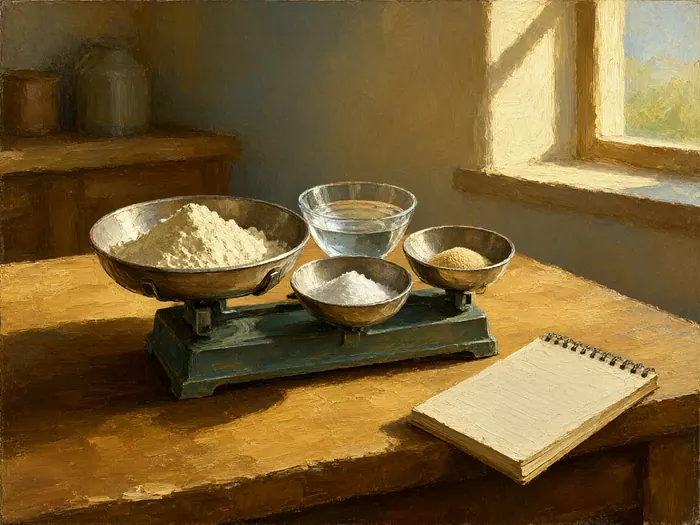
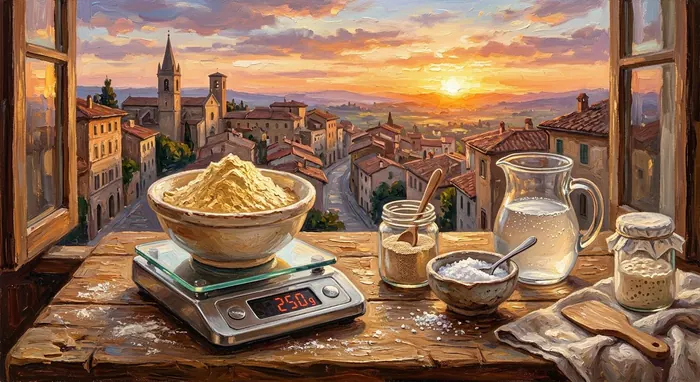
Weigh 500 g bread flour, 400 g water at about 21 C, 10 g fine salt, and 1 g instant yeast, and put each into its own vessel rather than estimating. That makes the dough 100 percent flour, 80 percent water, 2 percent salt, and 0.2 percent yeast, which is the standard baker's percentage way of writing a formula so you can scale it up or down without breaking balance. Do not use measuring cups for flour: a scooped cup can vary by 20 g or more, which is enough to change the crumb. The same 1 g precision matters for salt and yeast, so follow our walkthrough for weighing flour and water on a digital kitchen scale if your scale drifts or refuses to tare.
 Howcompass
Check the Pot Is Rated for Heat
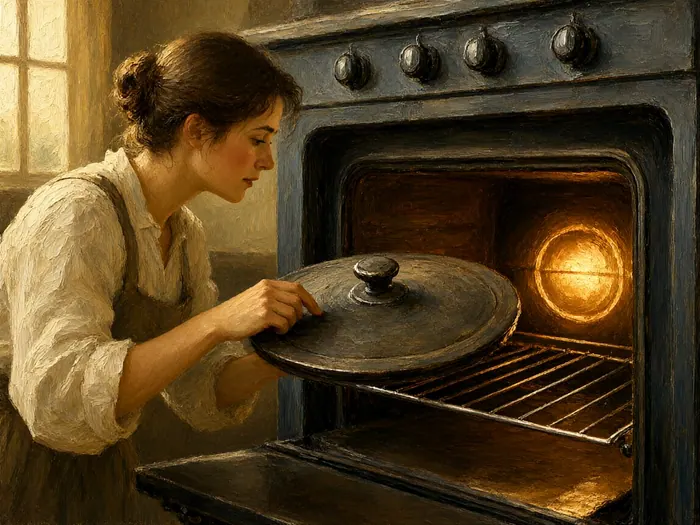
Flip the Dutch oven over and look for the maker's mark; enameled and bare-cast-iron pots usually tolerate 260 C/500 F, but knobs with plastic or rubber washers can fail at far less. If the lid knob is not all metal, run the oven at 240 C for 30 minutes with the pot inside and check the knob for softening before you commit to a loaf. Buy a pot with a wide flat bottom and a lid that sits heavy without wobbling, since the gap between lid and rim is what traps the steam. UL Solutions publishes listing and safety standards for cookware and household appliances, and its marked products are the easiest way to confirm a pot or heating element is fit for the temperature you plan to use.
 Howcompass
Cut a Parchment Sling That Fits the Pot
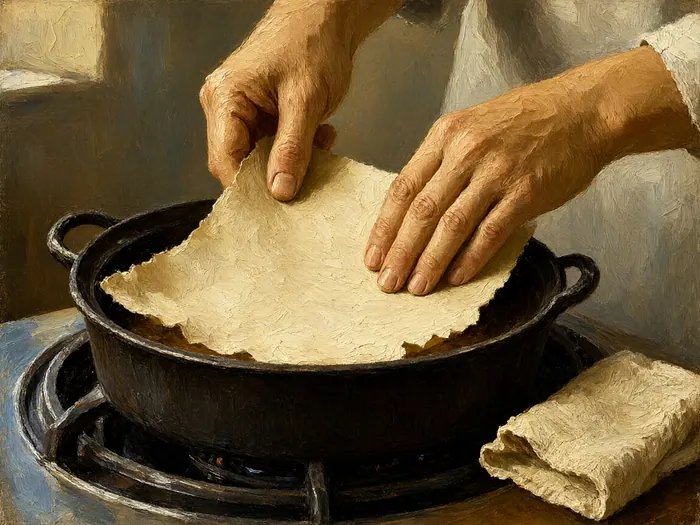
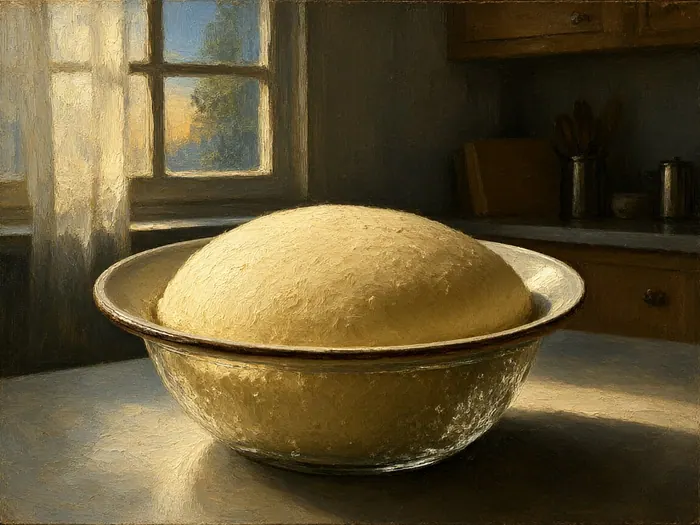
Tear off about 60 cm of parchment and crease it into a square that just covers the base of your pot, then lift it out and back in a few times so the paper goes soft and remembers the shape. A floppy, well-creased sling is the difference between lowering the loaf gently and dumping it against one hot wall, which deflates the side it lands on and gives you an asymmetric crust. Lightly oil the paper if you use a very wet 85 percent hydration dough next time, since parchment is naturally non-stick but sticky dough finds every weakness. Keep the two long sides up like handles so you can carry the shaped loaf to the pot with both hands and never touch the hot iron.
 Howcompass
Pick a Ferment Spot and a Bake Slot
The ferment runs 12 to 18 hours at 20-23 C, so choose one counter away from a sunny window, a dishwasher vent, or a radiator before you mix. Room temperature is the real control here: at 26 C the same dough is over-fermented in eight hours and tastes boozy and slack, while at 17 C it can take a full 24 hours and barely rise. Decide which evening you will bake and set the dough in the morning, since a 12-hour ferment suits a 9 p.m. dinner and an 18-hour one suits a weekend lunch. Oregon State University Extension publishes practical home-food guidance on safe kitchen temperatures and holding food out of the danger zone, which is worth a skim before you leave dough on a counter overnight.
Phase 2: Mix and Judge the Overnight Ferment
 Howcompass
Whisk Dry Goods Before Adding Water
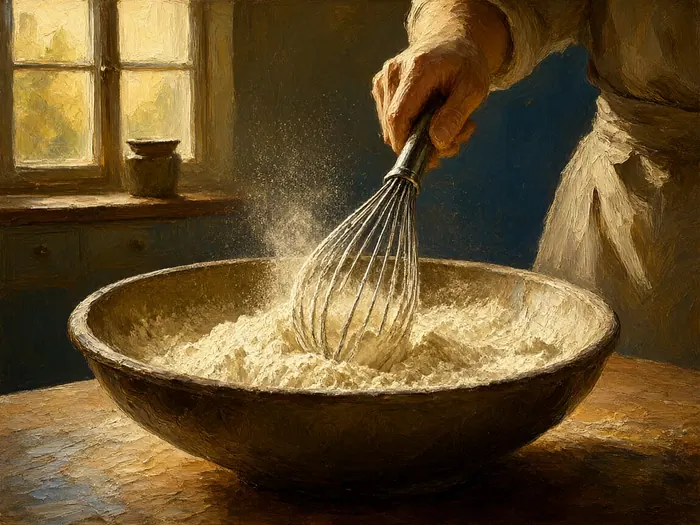
Put the 500 g of flour, 10 g of salt and 1 g of instant yeast in a 4-litre bowl and whisk for 30 to 45 seconds with the dough whisk so the yeast disperses evenly through the whole mass. Unevenly distributed yeast gives you pockets that ferment faster than the rest of the loaf, which shows up later as a lopsided rise or a tunnel near one side. Salt goes into the flour rather than straight onto the yeast because a concentrated salt contact slows the cells. Instant yeast can go straight into the dry mix; only active dry yeast needs 10 minutes waking in part of the measured water at 38-43 C first.
 Howcompass
Stir in Water to a Shaggy Mass
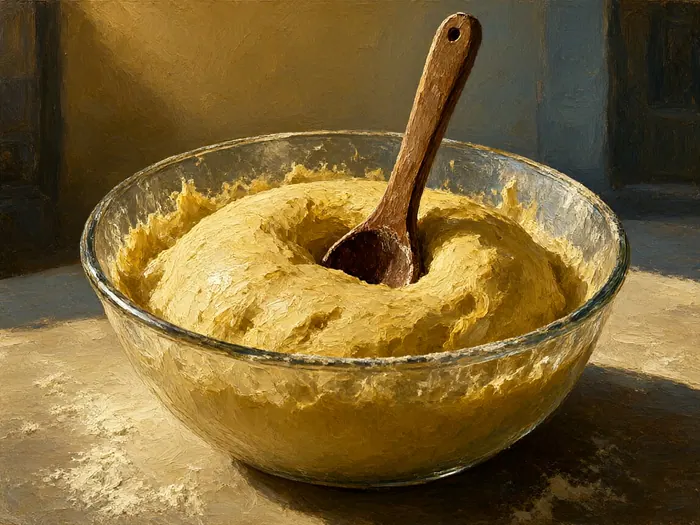
Pour in all 400 g of water and stir with the whisk or a wooden spoon for 60 to 90 seconds until no dry flour remains and the mass looks rough, wet and completely unpromising. Stop there: this dough is not supposed to be smooth, and the gluten finishes developing on its own during the long rest, which is the mechanism behind the Jim Lahey-style no-knead bread method. Scrape the sides once and press any dry pockets into the centre with a wet hand. A sticky, spoon-dragging mass means the ratio is right; if you can hold it in one piece like a normal dough ball, you under-measured the water and the crumb will be dense and dry.
 Howcompass
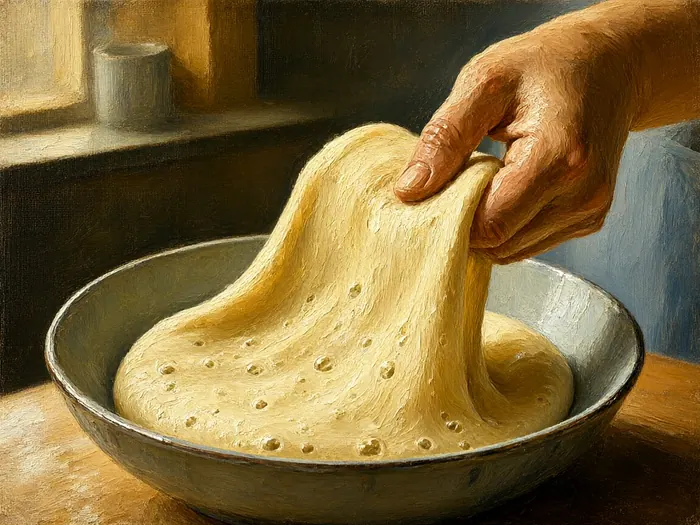
Cover and Leave It 12 to 18 Hours
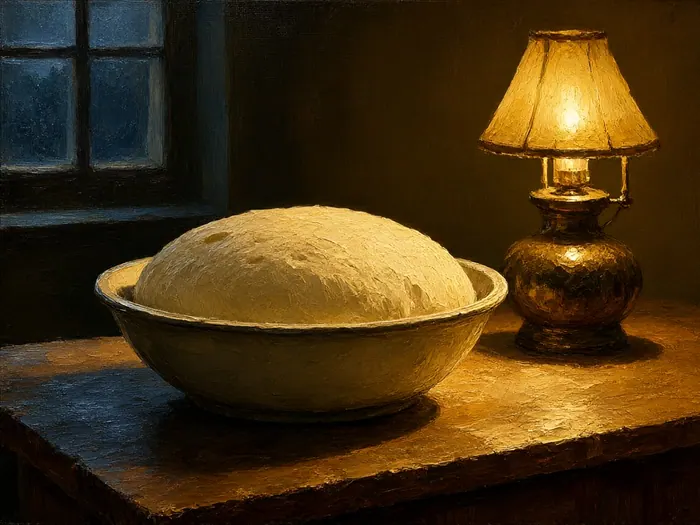
Seal the bowl with a plate, damp towel, or cling film and leave it undisturbed on your chosen counter for 12 to 18 hours. During that window the slow yeast activity produces carbon dioxide and alcohol, while enzymes break starch into sugars and the gluten strands align themselves without any work from you. Ignore the fact that it looks flat after two hours: at 0.2 percent yeast nothing much happens for six or seven hours, then the dough wakes up suddenly and doubles late. Come back the next morning expecting a domed, slightly collapsed mass covered in bubbles on top with a yeasty, beer-like smell that should never be sharp or acetone-like.
 Howcompass
Fold the Dough Four Times
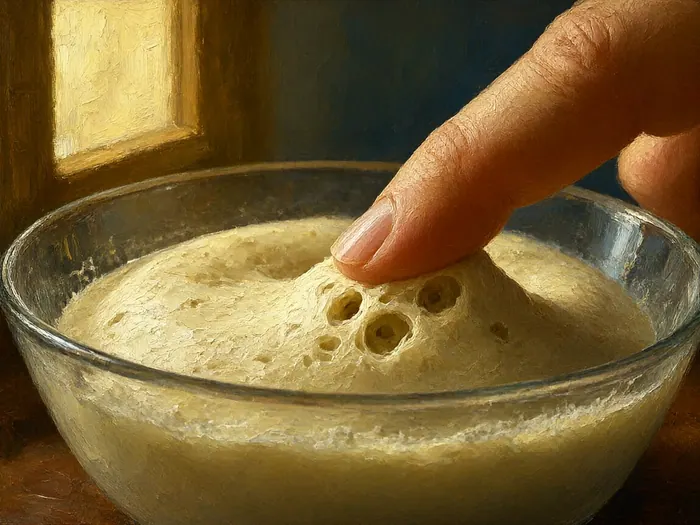
Instead of kneading, wet one hand, reach down the side of the bowl, lift a quarter of the dough, stretch it, and fold it over the centre, then rotate the bowl and repeat for all four quarters. That whole rotation counts as one set; do three to four sets with 30 to 45 minutes between them, so the folding takes about two hours of clock time and maybe six minutes of yours. Each set strengthens the network while it is still loose enough to move, and skipping them is the main reason a no-knead loaf comes out tight rather than open. Our step-by-step version of the alternative is kneading bread dough by hand if you ever want a same-day loaf; folds are simply the patient person's kneading.
 Howcompass
Judge the Rise by Bubbles and Jiggle
Bulk fermentation is finished when the dough has grown to roughly 1.5 to 2 times its volume, shows bubbles of several sizes at the surface and along the sides, and wobbles like soft jelly when you nudge the bowl. Size is only half the test, so also look for a domed top that has just started to relax and a smell that is sweet and fermented rather than raw flour. If it is flat, smooth and smells only of flour, leave it another two to four hours; if it has collapsed into a flat puddle with a thin liquid edge and smells harsh, it has over-proofed and is best baked anyway as a flatbread. For the finger version of the same judgement, use our guide to telling when bread dough has risen using the poke test.
Phase 3: Shape, Proof and Preheat the Pot
 Howcompass
Turn the Dough Out and Pre-Shape It
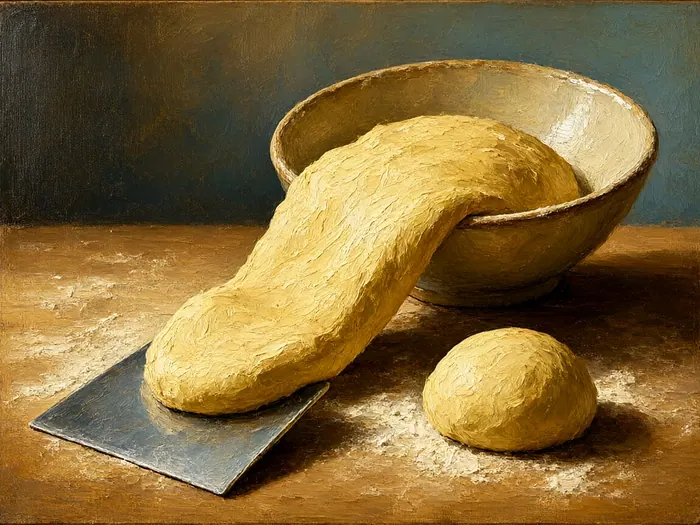
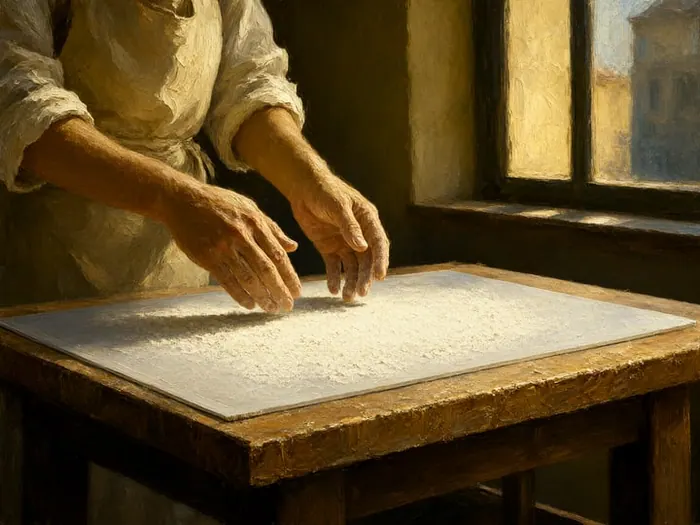
Scrape the fermented dough onto a well-floured surface in one piece using the bench scraper, taking your time so the gas you spent 14 hours making stays inside; do not punch it down, and let it settle uncovered for 2 or 3 minutes. Dust the top lightly so it does not stick to your hands, then draw the edges underneath with cupped hands to form a loose round, flip it seam-side down, and drag it slowly across the unfloured bench for 15 to 20 seconds until the outer skin tightens. Leave that round alone for a further 15 minutes: this bench rest relaxes the gluten, and skipping it is why a shaped loaf springs back into a flat oval. Expect the dough to feel far wetter and more extensible than any dough you have kneaded, and resist working in extra flour.
 Howcompass
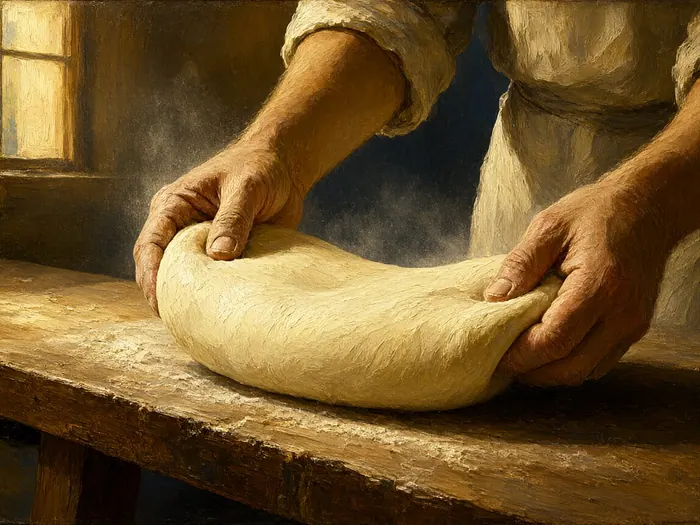
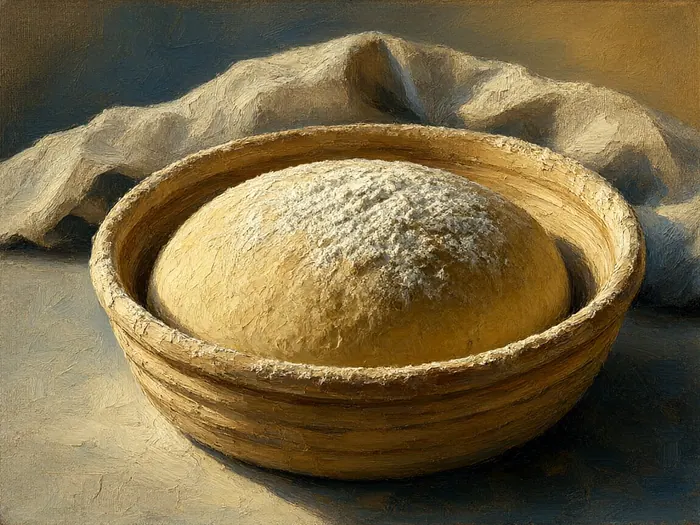
Shape for Tension, Not Degassing
Flip the rested round seam-side up, pat it into a rough square only with your fingertips, then fold the far third down and press, fold the near third up over it, and roll the whole thing toward you into a tight cylinder. Turn the cylinder so the seam faces down and cup your hands behind it, pulling the loaf toward you across the bench for 20 to 30 seconds until the top skin is taut and slightly shiny. That tension is what holds an 80 percent hydration loaf upright in the pot; a lazy shape gives you a spread-out pancake no matter how good the ferment was. Keep your hands dry during the final pull and stop the moment the surface tears, because a torn skin vents gas where you need structure.
 Howcompass
Proof in a Basket Dusted With Rice Flour
Coat a 20-25 cm round banneton, or a bowl lined with a clean cotton tea towel, generously with rice flour, then place the shaped loaf seam-side up for a round loaf so the seam flattens against the basket wall. Rice flour rather than wheat flour is the trick: it does not absorb moisture from the dough, so nothing turns gummy or pasty on the crust, and a dark spiral of it left on the surface looks deliberate. Proof 45 to 60 minutes at room temperature until the loaf holds a slow dent when pressed gently with a fingertip and looks puffy rather than tight. Under-proofing gives a thick torn crust; leaving it 90 minutes gives a loaf that collapses the second you score it.
 Howcompass
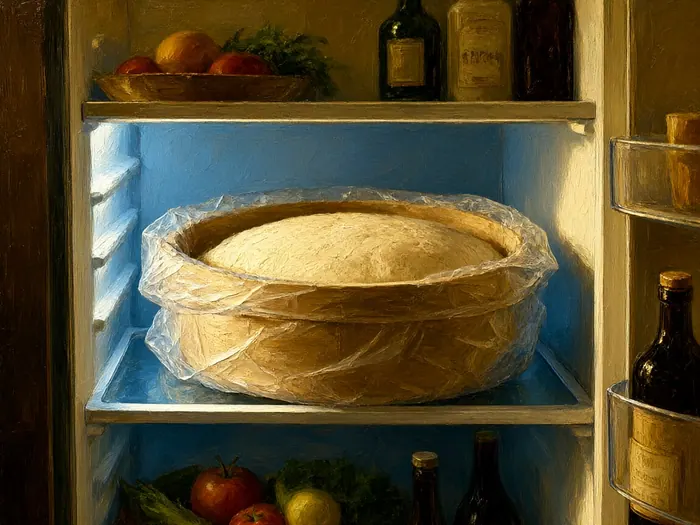
Retard the Loaf for Flavor and Timing
If you cannot bake the moment the loaf is proofed, slide the basket into a plastic bag and put it in the refrigerator for 12 to 24 hours; cold slows the yeast but leaves bacterial and enzyme activity running, which deepens flavour and produces the blisters on the crust that professional bakeries sell. Beyond 48 hours the dough over-acidifies, loses strength, and bakes dense, so 12 to 24 hours is the honest window. Bake straight from the fridge, since a cold loaf holds its shape better against the hot pot and scores more cleanly. This is the practical way to turn a counter ferment into a Sunday-morning schedule: mix Saturday evening, retard overnight, and have the pot preheating while the coffee is made.
 Howcompass
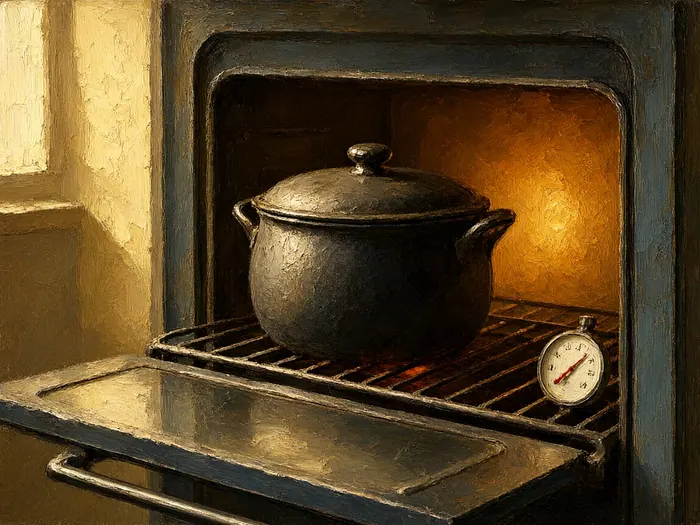
Preheat the Pot a Full Hour
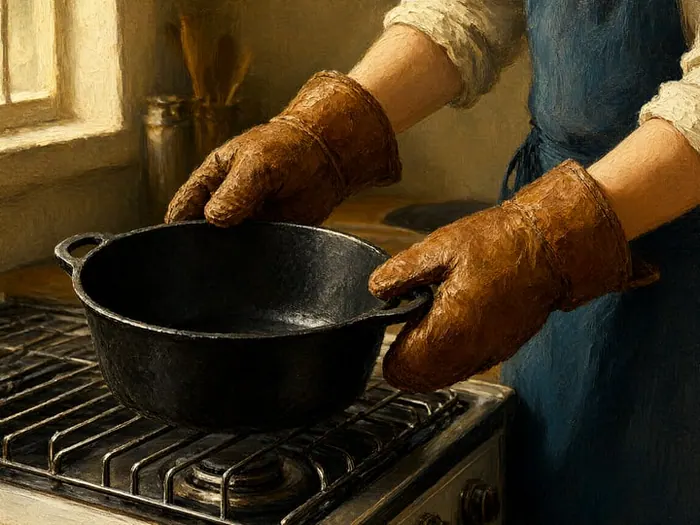
Put the empty Dutch oven with its lid on in a cold oven, set it to 240 C/465 F, and give it a full 60 minutes after the oven signals it has reached temperature. Oven thermostats cycle and air heats fast, but cast iron takes most of that hour to soak heat through to the base, and a pot at only half temperature cannot turn dough moisture into steam quickly enough for a good rise. Use an oven thermometer to confirm the cavity, since many domestic ovens read 10 to 15 C high or low at baking temperatures. Keep the rack in the lower third so the top crust does not set and darken too early, and clear a path with dry mitts before you carry anything to the oven. NFPA home fire safety guidance covers unobstructed clearance and cookware around a hot oven, which matters when your hands are holding a sling of wet dough.
Phase 4: Score, Bake, Cool and Diagnose
 Howcompass
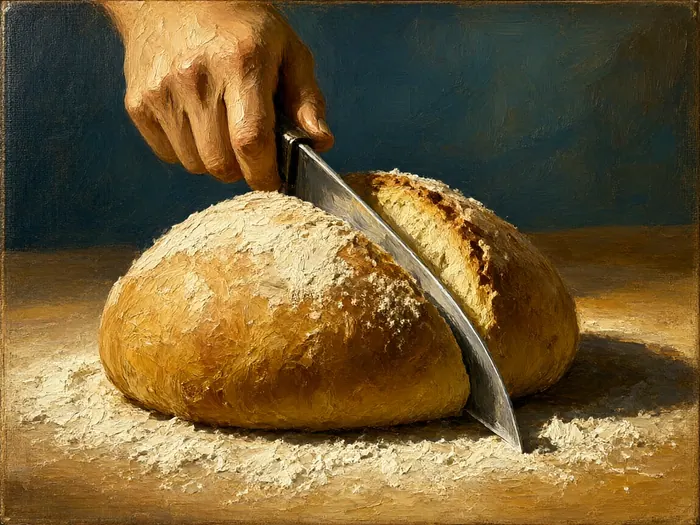
Score the Loaf Deeply and Safely
Turn the proofed loaf out onto the parchment sling seam-side down, then make one decisive cut about 1 cm deep across the top with a lame or a fresh razor held at a shallow angle rather than stabbed straight down. A curved slash gives the loaf a defined ridge where it opens; a blunt straight cut just pops the crust like a seam. Keep the blade pointed away from your free hand, brace the loaf with fingers well clear of the path, and rest your knuckle on the parchment for control. If you do not own a lame, a single-edge razor fresh from the packet cuts better than a kitchen knife, which drags and deflates the surface. Dispose of the blade in a rigid container, and never leave a bare razor on a counter near a child.
 Howcompass
Bake Covered 30 Then Uncovered 15
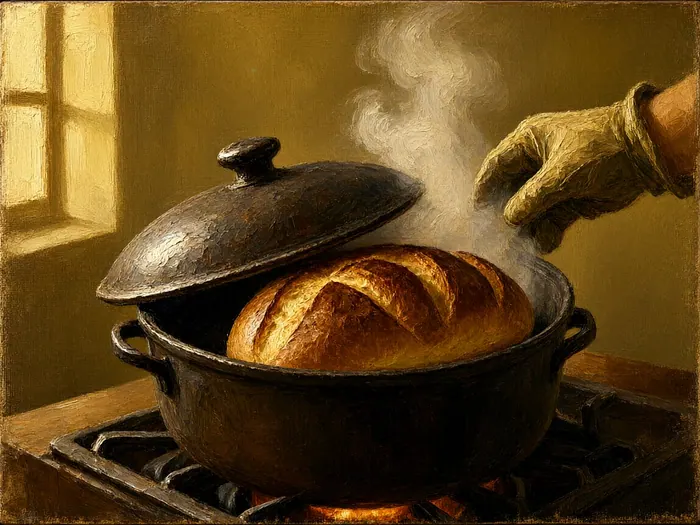
Lift the sling with both hands, lower the loaf into the hot pot, and put the lid on immediately; the 2 to 3 seconds you spend hesitating are heat and steam escaping. Bake covered for 30 minutes: the dough's own moisture cannot escape, so it condenses on the surface, keeps the crust extensible, and lets the loaf expand to the pot walls. Then remove the lid, and be careful of the burst of steam that rolls off the rim — tilt the lid away from your face and hands and use a dry, thick mitt, because damp cloth conducts heat straight into your palm. Finish uncovered for 15 minutes at the same 240 C, or 18 to 20 minutes if you like a dark crust, until it is deep chestnut brown all over. If your pot has no steam vent, open the oven door briefly at the 15-minute covered mark to let excess moisture out.
 Howcompass
Test for Doneness Before You Commit
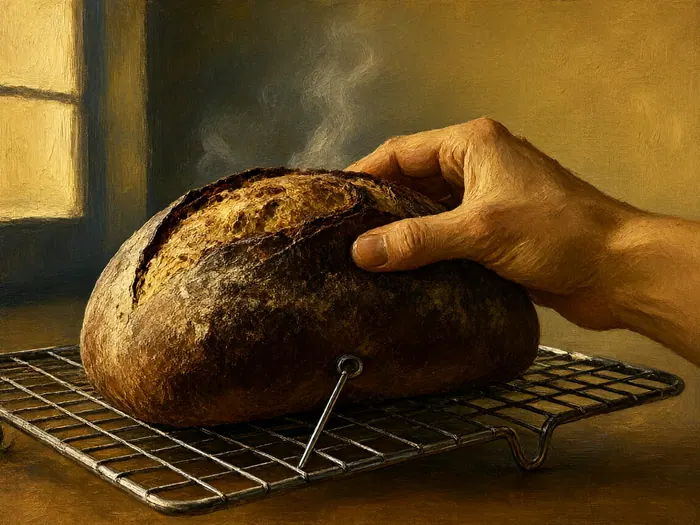
Slide the loaf out onto a rack and check two things. First, the internal temperature in the centre, read with an instant-read probe thermometer avoiding any large air pocket, should sit between 96 and 99 C/205 and 210 F for a lean flour-and-water bread, because below about 94 C the starch has not fully gelatinised and the crumb will be gummy. Second, thump the bottom with your knuckle: a properly baked loaf sounds hollow and feels light for its size, while a dull thud means moisture is still trapped in the middle. The crust colour tells you less than either test, so an under-coloured but hot loaf is done. A University of Wisconsin-Madison Department of Food Science overview of starch gelatinisation explains why heat and time, not browning, are what actually set the crumb.
 Howcompass
Cool an Hour, Then Store and Reheat
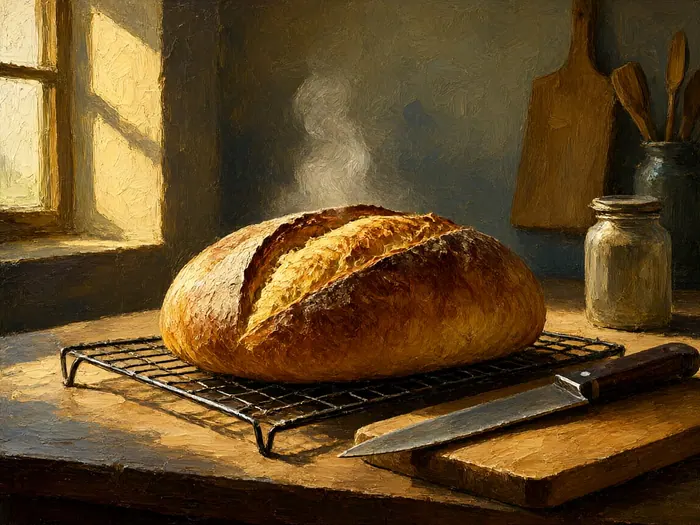
Leave the loaf on a wire rack for at least 60 minutes before the first slice, and this is the step beginners break most. While it cools, residual heat keeps cooking the crumb and moisture redistributes from the wet centre outward, so cutting at 20 minutes releases that steam and you get a sticky, dense-looking middle in a fully baked loaf. Once cold, keep the loaf unwrapped on a board or in a paper bag at room temperature for 2 to 3 days; a plastic bag softens the crust you worked for. Slice what you will not eat in two days, freeze it flat in a sealed bag, then revive slices at 180 C for 5 to 8 minutes or against a hot toaster. Our notes on storing homemade bread so the crust stays crisp cover longer keeping and reviving a stale loaf.
 Howcompass
Diagnose Dense, Gummy, Pale or Flat Loaves
Read failures by cause rather than starting over blindly. A tight, dense crumb usually means under-proofed dough, too little water, or a cold room that stalled the ferment, so lengthen the bulk rise until the loaf really jiggles. A gummy centre with an ordinary crust means it came out early or was sliced hot, so take the internal reading to 99 C and wait the full hour. A pale, soft crust means the pot was not hot enough or the lid stayed on too long, so add another 5 minutes uncovered and preheat a full hour. A flat, spread loaf with no ridge means shaping gave no tension or the proof went too far, so shorten the final proof by 15 minutes and drag the seam tight. Write down which of the four you got; the second loaf fixes itself.
How to know it worked
- The fermented dough measures roughly 1.5 to 2 times its original volume, shows visible bubbles of several sizes, and wobbles when you nudge the bowl.
- After shaping, the loaf has a taut, slightly shiny skin and keeps a round profile in the basket rather than flattening into an oval.
- The baked loaf is deep chestnut brown all over with a slash that opened into a raised ridge, and the crust audibly crackles as it cools.
- An instant-read thermometer in the centre reads 96 to 99 C/205 to 210 F, and the base sounds hollow when you thump it.
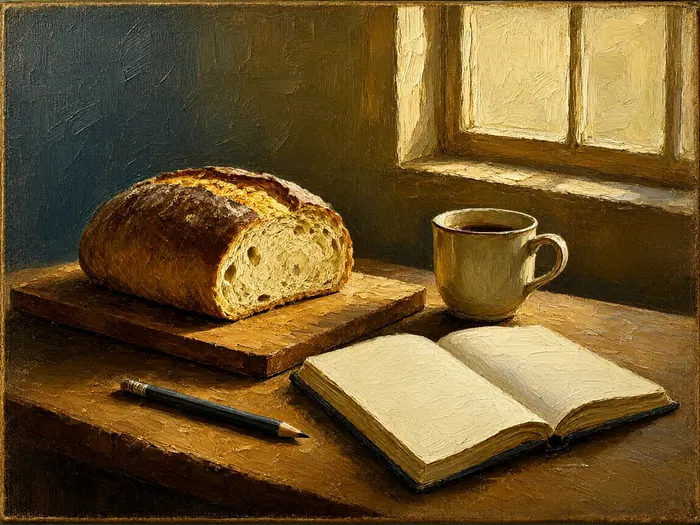
- After at least 60 minutes of cooling, a slice shows an even, glossy crumb with irregular holes and no sticky or doughy band in the middle.
Common mistakes to avoid
- Measuring flour by cups instead of grams, so the hydration swings 10 to 15 points and the crumb comes out tight and dry.
- Adding extra flour during turning and shaping because the dough feels unwelcome, which quietly converts an 80 percent loaf into a 65 percent one.
- Preheating the pot only 20 minutes and baking anyway, which loses the steam window and gives a pale crust with a weak rise.
- Slicing into the loaf while it is still hot to test it, releasing steam that was finishing the crumb and leaving a gummy centre.
- Leaving the covered bake running too long or skipping the uncovered stage, so the crust stays soft, pale and thick rather than crisp.
Frequently Asked Questions
Question: Do I really need a Dutch oven, or will a tray work?
An 80 percent hydration loaf needs walls to push against and trapped steam to keep the crust soft while it expands, which a flat tray cannot give you. A lidded cast-iron pot is the simplest answer. In a pinch, use an oven-safe stainless steel roasting pan with a metal bowl inverted over the loaf, but skip anything with plastic handles, knobs, or glass that is not rated to 240 C.
Question: Can I use all-purpose flour instead of bread flour?
All-purpose flour sits around 10 to 11 percent protein against bread flour's 12 to 13, so it builds a weaker network and holds less gas. Start with 370 g of water rather than 400 g, then add the last 30 g only if dry patches remain. Bread flour is the safer first bake and keeps for months in a sealed bag.
Question: What if my dough did not rise at all overnight?
Check three things in order: whether the yeast was in date and not stored warm, whether the room fell below 18 C, and whether salt landed directly on the yeast. Move the bowl to the warmest spot you have, such as on top of the fridge, and give it six more hours. Still flat after 24 hours means the yeast is dead, so bake it as flatbread.
Question: Is 1 g of yeast really enough for 500 g of flour?
It is, precisely because you are giving the dough 12 to 18 hours instead of two. Slow fermentation produces the same volume of gas with more flavour compounds and better crust colour. If you need bread the same day, raise the yeast to 3 to 4 g and use a warm 2-hour rise, but you will lose the long-ferment texture and the blisters that make the crust look artisan.
Question: Why rice flour and not normal flour for the basket?
Wheat flour absorbs moisture from the dough surface, turning into a pasty patch that bakes into a dull, blotchy crust and can glue the loaf to the towel. Rice flour has no gluten and barely takes up water, so the loaf releases cleanly and keeps a pale dusting pattern. A blend of half rice flour and half semolina also works well and gives a slightly gritty, rustic base.
Question: How do I stop burning myself on the pot and steam?
Use dry, thick oven mitts, since a damp or thin cloth transmits heat almost immediately. Lift the lid tilted away from your face so the steam rolls upward and past you, and keep the parchment sling handles short so the loaf drops rather than slides. Assume every metal part of the pot stays at 240 C for a full hour after baking, including the lid rim and handle bolts.
Question: Can I halve or double this recipe?
Yes, because baker's percentages hold at any size. For half, use 250 g flour, 200 g water, 5 g salt and 0.5 g yeast, and shorten the covered bake to about 25 minutes with 12 to 15 uncovered. For a double batch, bake two loaves, since one enormous loaf needs 10 to 15 extra minutes uncovered and is hard to shape without degassing.
Tips
- Weigh water in grams rather than millilitres. 400 g and 400 ml are the same for water, but a scale lets you see the whole formula as percentages and catches a mis-measured 10 g of yeast.
- Use cold-ish 21 C water on warm days. A long ferment plus a hot room is the most common cause of over-proofed, boozy-smelling dough, and cooler water buys you three or four hours of margin.
- Keep one jug of water beside the bowl for wetting your hand before every fold. Sticky dough that slips off wet fingers gives you clean folds without adding flour and drying the loaf out.
- Set a fan timer for the four fold sets rather than relying on memory. Folds done 20 minutes apart overheat the network; three sets at 45-minute intervals beat five rushed ones.
- Photograph the cut face of every loaf next to the day, room temperature and ferment length. Three bakes in, you can read your own failures from the crumb rather than guessing.
Warnings
- A 240 C Dutch oven and the steam released when you lift the lid can scald skin in under a second. Use dry, full-length oven mitts, tilt the lid away from your face, keep children and pets out of the kitchen during the lid-off stage, and leave the pot to cool on a back burner or trivet where nobody will reach across it.
- Confirm your pot, lid and knob are rated above 240 C before preheating. Enameled pots with phenolic or plastic knobs, glass-ceramic dishes, and pots with hollow or loose handles can crack, melt, or detach while loaded. The maker's stated temperature limit and an independent safety listing mark are the two things to check.
- Do not taste or handle raw dough and keep it away from hands that will touch other food: flour is a raw agricultural product and can carry contamination. Wash hands, the scraper, and the bench with hot soapy water afterwards, and follow published university food-science guidance on household handling if you bake with young children.
- Stop and cool the oven before continuing if you see smoke, smell burning plastic, or notice the pot has an oil-based seasoning that is smoking heavily, and get the loaf out of the oven with the door opened only partway. Never run an oven unattended with a rack of parchment overhanging a heating element, and check home-fire-safety guidance on cooking-incident prevention.
Things You'll Need
- Digital kitchen scale readable to 1 gram
- 24-28 cm cast-iron Dutch oven with lid
- Roll of parchment paper
- Stainless bench scraper
- Dough whisk or sturdy wooden spoon
- 4-litre mixing bowl
- Bread flour, 12-13 percent protein
- Instant dry yeast in a sealed jar
- Fine sea salt
- White rice flour for dusting
- Round banneton or cotton-lined bowl
- Lame or single-edge razor blade
- Instant-read thermometer
- Dry full-length oven mitts
Related Howcompass Guides

References (5)
- Bread Recipes, Formulas and Baker's ResourcesKing Arthur Baking Company
- Department of Food Science — Undergraduate and Extension ResourcesUniversity of Wisconsin-Madison
- Food and Health Education and Extension ResourcesOregon State University Extension
- Cookware and Household Appliance Safety Testing and ListingUL Solutions
- Home Fire Safety and Cooking Fire Prevention ResourcesNational Fire Protection Association
Further reading
- No-Knead BreadWikipedia
- Baker's PercentageWikipedia
Encyclopaedia entries are background, not evidence: no step below rests on one of these.
Sources are listed so you can read the underlying guidance yourself. Our editorial policy explains how guides are reviewed.
Did this article help you?
0 readers found this helpful — add your vote.
No comments yet — be the first to share your results.