How to Train Core Stability for Better Posture and Safer Lifting
A guide to Week 1: Assess, Brace, and Breathe, Week 2: Build the Foundational Hold Library, Weeks 3-4: Add Load and Carry It Into Lifts, Track, Progress, and Know When to Stop
Core stability is not a six-pack; it is the ability of the muscles around your spine to keep that spine steady while everything else moves. When you sit through a workday, carry groceries up the stairs, or stand up from the bottom of a squat, the vertebrae want to stay stacked and the trunk wants to resist arching, side-bending, and twisting. That resisting is the skill, and it is trainable in four short sessions a week without a gym, a barbell, or a single crunch. This program follows the spine-sparing logic that researcher Stuart McGill built his curl-up family around, the movement-quality standards physical therapists use at intake, and the resistance-training frequency the American College of Sports Medicine recommends for healthy adults. You will learn to brace at about 20 to 30 percent effort and breathe behind that brace, then work through five categories of control — anti-extension, anti-rotation, anti-side-bending — first with bodyweight and then with a dumbbell in your hand. Two audiences share the four weeks. Desk workers get a way to hold posture without white-knuckling a chair all day, and lifters get the bracing habit that protects the spine in a hip hinge and a squat before load ever climbs. One rule outranks the plan itself: a dull ache that fades with movement is workable, but sharp pain, pain shooting down a leg, or numbness means you stop and get checked by a clinician or physical therapist.
Train three sessions a week for four weeks, each one 15 to 25 minutes. Week 1 measures your dead bug, side-plank time, and single-leg stand, then teaches a 20-to-30-percent brace you can talk and breathe behind. Week 2 builds the McGill curl-up family and its easier versions: heel-tap dead bugs, bird dogs, glute bridges, knee side planks, and band presses. Weeks 3 and 4 add suitcase carries and goblet holds, then carry that brace into the hip hinge and the squat. Track hold times weekly, cap effort at 7 of 10, and stop for radiating leg pain, numbness, or any bowel or bladder change to see a clinician.
- Time
- 4 weeks; three 15-25 minute sessions a week plus 1-minute desk resets
- Cost
- $20-$60: a mat and a banded door anchor; one or two dumbbells optional
- Difficulty
- Beginner — modified versions of every hold, no loaded spinal flexion
- Works on
- Desk workers who want steadier posture and lifters who want a spine-safe brace
- Not for
- Radiating leg pain, numbness, weakness, or bowel or bladder changes — see a clinician first
- Results
- Longer clean holds by week 4, a brace you can breathe behind, and spine-safe hinge and squat patterns
How do you train Core Stability for Better Posture and Safer Lifting?
 Howcompass | How to Train Core Stability for Better Posture and Safer Lifting
Week 1: Assess, Brace, and Breathe
HowcompassMeasure Your Baseline With Three Quick Tests
On day one, record three numbers in a phone note or a paper log: dead-bug quality, counting slow repetitions per side before your lower back lifts off the floor or your legs drop; side-plank hold time from the knees or feet with hips lifted; and single-leg stand with eyes open, capped at 30 seconds. Many coaches informally treat roughly 45 to 60 seconds of side plank and a 30-second one-leg balance as reasonable goals for healthy adults, so note which test and which side falls short first. Stop any test at the first sharp pain, and repeat the identical order of tests in week four.
 Howcompass
Learn the Brace Without Holding Your Breath
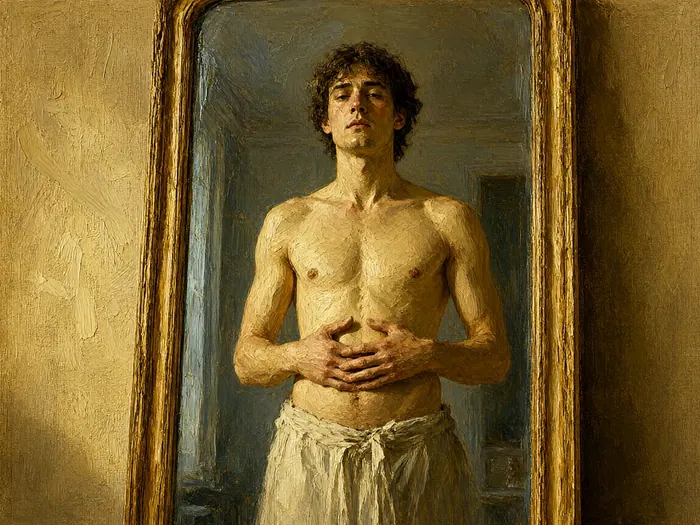
Lie on your back with knees bent and your lower back resting in its natural slight arch, then stiffen the belly as if someone is about to tap it — somewhere around 20 to 30 percent of your maximum clench, not a white-knuckled 100 percent. Hold each brace for 10 seconds while talking out loud in full sentences; if your voice stops, you are bearing down instead of bracing, and a brace you cannot breathe behind spikes blood pressure the way heavy straining does. Do three sets of five brace-and-talk rounds every day this week, once on your back, once propped on your side, and once on hands and knees.
 Howcompass
Breathe Behind the Brace, Not Above It
Keep that same light stiffness and now redirect the breath sideways into the lower ribs and around toward your back, so the ribcage expands against the braced abdomen instead of the chest rising and the shoulders creeping up toward your ears. Take 6 to 8 slow nasal breaths per brace for three sets, first lying down and then standing with ribs stacked over hips and the belly staying firm between breaths. This breathing-behind-the-brace skill is what the spine-sparing school calls the non-negotiable of core training, because holding your breath is how ordinary people fail a heavy set of anything.
 Howcompass
Start Every Session With the McGill Big Three
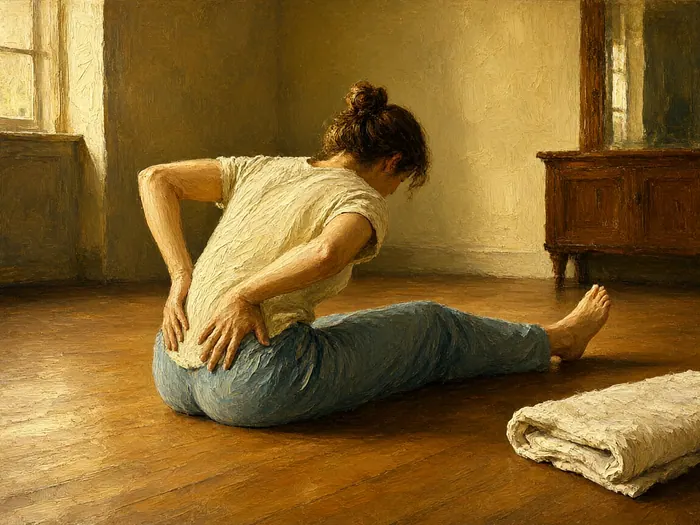
Borrow the opener that the McGill Big Three, summarized by the American Council on Exercise made famous: 8 to 10 slow cat-camels for movement, then the modified curl-up with hands tucked under the lumbar curve and only head and shoulders lifting a few centimeters off the floor, plus short sets of bird dogs and side planks. Work the curl-up family in sets of 8 to 12 unhurried repetitions with 20 to 30 seconds of rest, and never round into a chin-leading crunch, because that repeated flexion is the very pattern the method exists to avoid. If your upper back feels glued shut from sitting, work through Relieve Upper Back Stiffness With Thoracic Foam Roller Extensions before you start.
 Howcompass
Book Three Short Sessions on Nonconsecutive Days
Pick three fixed, nonconsecutive days — Monday, Wednesday, and Friday is the easy shape — and put 15 to 25 appointments-free minutes on the calendar for each session in this plan. The frequency bar is genuinely low: the World Health Organization fact sheet on physical activity puts muscle-strengthening activity on 2 or more days a week for adults, so even a missed session still clears it. If you already run a full-body plan, slot Build a No-Equipment Bodyweight Routine at Home onto your other days rather than stacking both into one brutal session, and keep at least one full rest day every week.
Week 2: Build the Foundational Hold Library
 Howcompass
Progress the Dead Bug From Heel Taps
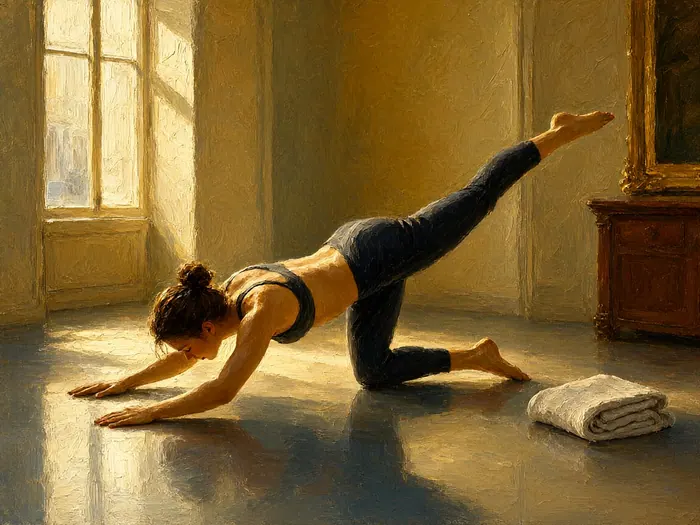
The dead bug teaches anti-extension: the trunk must stay flat and still while the limbs move. Work up through three versions — alternating heel taps with knees bent, then limbs in the tabletop position, then the full reach of opposite arm and leg away from the body. Stay at each version for at least two sessions of 2 to 3 sets of 8 to 10 slow repetitions per side with 30 to 45 seconds of rest, keeping the brace on and the lower back quietly glued to the floor. Rate the effort 5 or 6 out of 10; when the back peels off on every rep, end the set rather than the session.
 Howcompass
Build Bird Dogs for Endurance Not Speed
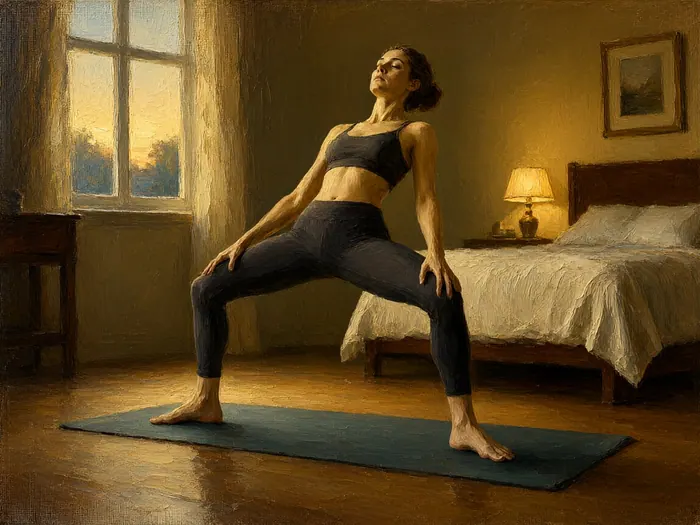
From hands and knees, extend one arm and the opposite leg while keeping the pelvis so level that a folded towel resting on your lower back would not slide off. Do 3 sets of 5 to 8 holds per side, each 6 to 10 seconds long with a full breath cycle inside the hold, resting 30 seconds between sets. Bird dogs train the endurance of the muscles that hold you upright, which is why repetitions and short holds beat one maximum-length effort. Keep the ribs down and the shoulders soft so nothing rocks side to side — that wobble is the anti-rotation training doing its job.
 Howcompass
Add Glute Bridges Every Other Session
Your glutes are part of the core team: they do the hip-extension work that would otherwise fall on the lower back. Start with 2 to 3 sets of 10 to 15 bridges, pausing 2 seconds at the top with the brace still on, then progress to single-leg bridges for 3 to 5 repetitions per side and heel-elevated bridges with shoulders on a chair seat. Rest 30 to 45 seconds between sets and keep effort at 5 to 7 out of 10. If hamstrings cramp, shorten the pause at the top and drink some water first, because cramping is a fatigue sign here, not a danger sign.
 Howcompass
Earn the Full Side Plank From Knees
Side planks are the anti-side-bending exercise, building the obliques and deep quadratus lumborum that stop your trunk folding sideways — the exact muscles a one-handed grocery bag tests. From the knees: elbow under shoulder, body straight from knee to head, hips lifted, holding 10 to 20 seconds per side for 2 to 3 sets with 20 to 30 seconds of rest. Graduate to the full plank from the feet when you can complete three clean 30-second knee holds per side at 6 or less out of 10, and start the feet version at half the time you earned on knees.
 Howcompass
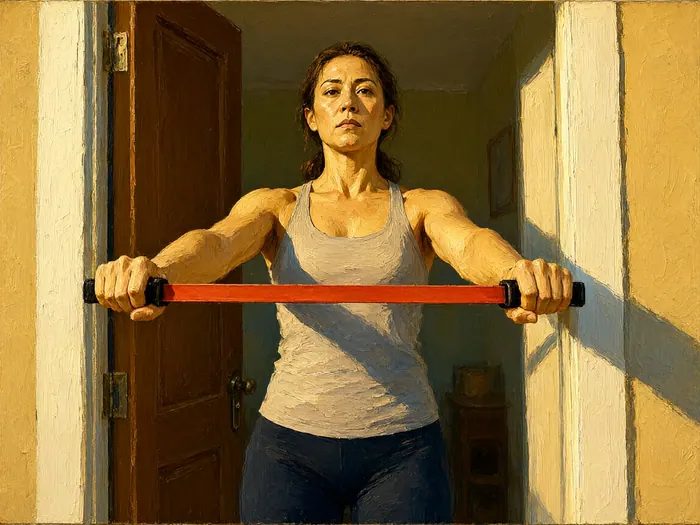
Substitute Safely for a Cable Pallof Press
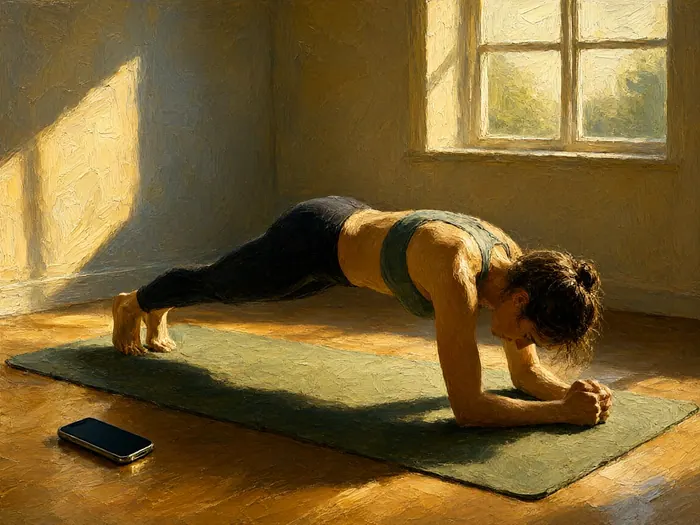
A Pallof press needs a cable station at the gym, but the same anti-rotation challenge costs $8 to $20 at home with a long loop resistance band and a door anchor set at chest height. Stand side-on to the door, feet wider than your hips for a beginner base, press the band straight out from your breastbone, and hold 3 to 5 seconds while it tries to twist you toward the door; do 2 to 3 sets of 8 to 10 presses per side with 30 to 45 seconds of rest. No band? Stand near a wall and press hard outward with both palms as if opening a heavy door and hold 10 seconds — the brace still has a job.
Weeks 3-4: Add Load and Carry It Into Lifts
 Howcompass
Start Suitcase Carries With a Light Dumbbell
Grab a dumbbell or kettlebell of 4.5 to 9 kilograms — 10 to 20 pounds is plenty to start — hold it in one hand, and walk 20 to 40 yards staying tall with shoulders level, ribs down, and no leaning away from the weight. Do 3 to 4 walks per side with 60 seconds of rest, keeping the brace at 20 to 30 percent and breathing the whole time, and set the weight down at the end of each lap rather than switching hands mid-walk. The suitcase carry is anti-side-bending with real load, and it is the direct template for carrying groceries, luggage, or a sleeping child up the stairs.
 Howcompass
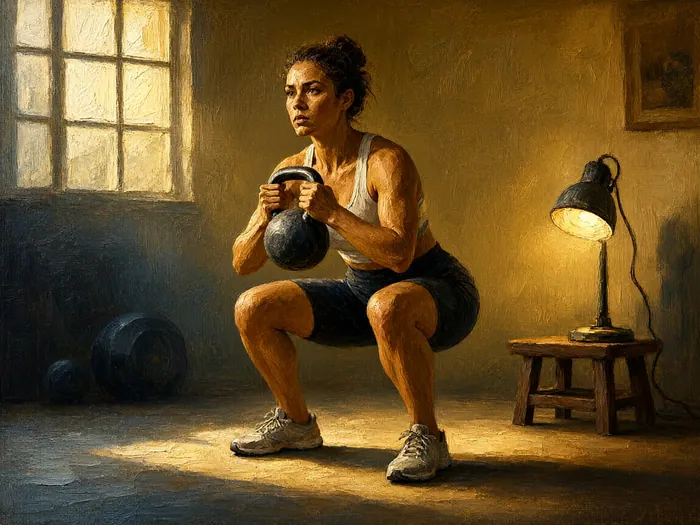
Turn a Goblet Hold Into Squat Practice
Hold a 4.5-to-12-kilogram dumbbell or kettlebell upright against your chest with elbows tucked under the ribs, brace at 30 percent, and simply stand for 5 slow breaths for 2 sets — the weight drags your ribcage forward, so the brace has real opposition. Then squat with it: 2 to 3 sets of 8 to 12 comfortable-depth repetitions at 6 or 7 out of 10, heels flat or small plates under them, feet shoulder-width apart. Because the goblet position rewards an upright torso, it doubles as squat-pattern practice you can trust before you ever put a bar on your back.
 Howcompass
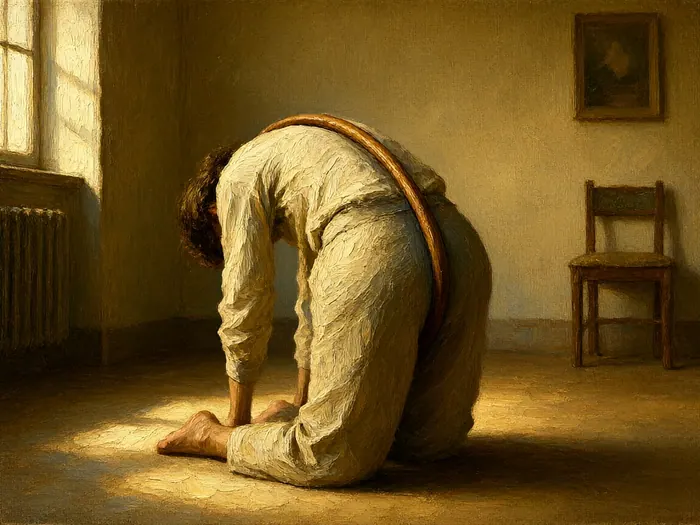
Brace First, Then Hinge From the Hips
Rest a dowel or broom handle along your spine against the back of your head, between your shoulder blades, and on your tailbone, then push your hips back keeping all three contact points glued to the rod as long as possible. Inhale into the brace before the rep, hinge at 5 to 6 out of 10 effort, and do 2 to 3 sets of 8 to 10 slow repetitions with 30 to 45 seconds of rest. Our Perform a Proper Romanian Deadlift With Dumbbells walkthrough shows how to add load once the dowel stays clean; bracing while the hips move keeps the lumbar spine stacked so the bending work happens at the hip joints, not the discs.
 Howcompass
Set a Breathing Rhythm for Light Squats
At the bottom of every lift, a braced spine is a protected spine. Build the rhythm now with just the goblet weight: take one breath into the belly and ribs, set the 25-to-30-percent brace, descend under control, and exhale steadily through pursed lips as you stand. Keep all repetitions this block at 6 to 7 out of 10 effort, and re-brace from scratch after every single rep rather than carrying one half-relaxed brace through a set of ten. Breath-hold bracing at true heavy loads raises blood pressure sharply and belongs with a coach who knows your history — not in a four-week program you are running alone.
 Howcompass
Weave Core Work Around Your Lifting Week
Tack 15 to 20 minutes of stability work onto the end of a lifting session, or run it as its own appointment on off days, always keeping at least one rest day between loaded-core sessions. That keeps you inside what the ACSM position stands library recommends for healthy adults — resistance work on nonconsecutive days covering the major muscle groups two to three times a week. Squats, hinges, and carries already tax the brace, so do the heaviest skill work first, stability finishes second, and never schedule a suitcase-carry day the morning before a long run or a heavy leg session.
Track, Progress, and Know When to Stop
 Howcompass
Retest the Baseline and Record the Change
In week four, repeat the opening three tests in the same order on the same surface: dead-bug quality, timed side plank per side, and single-leg stand. Plausible four-week gains for a consistent beginner are 10 to 20 extra seconds per side on the side plank, 2 to 4 more clean dead-bug repetitions per side, and a one-leg balance approaching a full 30 seconds. Keep one log line per week — date, side-plank seconds per side, dead-bug reps per side, carry weight and distance, average effort score — because dated numbers show what is working, and they tell a clinician far more than saying your back feels tight.
 Howcompass
Progress by Leverage Before Adding Weight
When a stage feels clean, advance in this order: add time, then reps, then move the lever further from the trunk, then add external load. Grow total hold time or repetitions by roughly 10 percent a week — if side-plank work totals 90 seconds this week, next week is 100, not 120. Leverage changes, such as extending the leg further in a dead bug or moving from knees to feet on a side plank, sharpen the same demand with zero equipment cost. Stop every set 2 or 3 seconds, or 2 or 3 reps, short of failure; grinding out the last ugly repetition trains the wobble, not the brace.
 Howcompass
Break Up Sitting Every Half Hour
Desk work is the test your core actually fails most days, so practice the brace in place: twice an hour, sit tall, set a light brace, and take 5 slow breaths behind it — about 20 seconds. Stand and move for 1 to 2 minutes every 30 to 45 minutes, because Harvard Health's exercise and fitness coverage reflects the plain finding that staying active and breaking up sitting help back comfort more than any single heroic workout. Fix the chair too with our Set Up an Ergonomic Desk and Fix Your Sitting Posture walkthrough, and if you wake up stiff, start days with Do a 10-Minute Morning Stretch.
 Howcompass
Stop at Once for These Red Flags
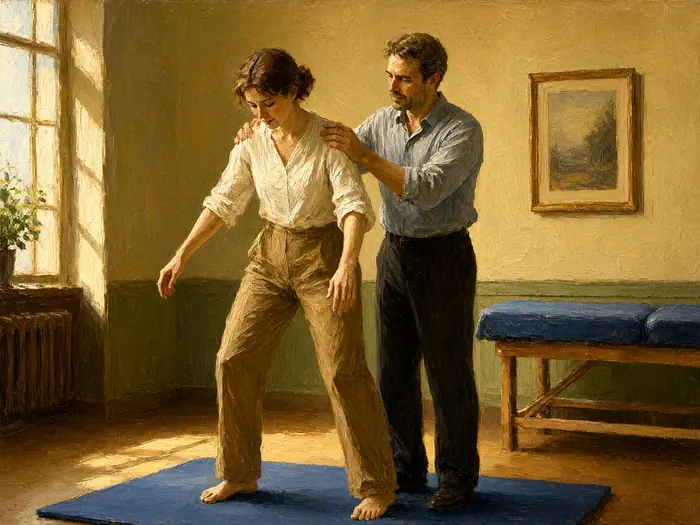
Stop training the same day and contact a clinician if pain shoots down a leg below the knee, if numbness, pins-and-needles, or progressive leg weakness shows up, or if sharp back pain outlasts the session and wakes you at night. Loss of bowel or bladder control or numbness in the saddle area is an emergency: go to same-day care or an emergency department, not back to your mat. The Mayo Clinic back-pain guidance lists these same warning signs and when imaging is warranted. Ordinary muscle soreness that fades within 48 hours is fine; anything that changes how you walk, feel, or go to the bathroom is not a training problem to push through.
 Howcompass
See a Physical Therapist If You Stall
Book a licensed physical therapist rather than self-diagnosing from videos if week four's retest stalls, one side keeps failing, your brace collapses the moment the hinge gets real, or back pain has followed you through the whole block. The American Physical Therapy Association explains what physical therapists assess, how to find one, and why an in-person movement evaluation beats guessing — most states let you book without a referral. After any professional clearance, start a second four-week block from harder versions: full dead bugs, feet side planks for 30 seconds, and 12-to-16-kilogram suitcase carries.
How to know it worked
- You hold a 20-to-30-percent brace while talking in full sentences, lying, kneeling, and standing.
- By week 4 you complete a dead bug for 10 clean reps per side with the lower back staying quiet on the floor.
- Side planks reach 30-45 seconds per side from the knees or 20-30 seconds from the feet without hip sag.
- You stand on one leg for 20-30 seconds eyes-open and the gap between your two sides has narrowed.
- You walk 30 yards each side with a 10-to-20-pound suitcase carry and hinge with a dowel using a brace, with no sharp pain during or after.
Common mistakes to avoid
- Clenching and holding the breath instead of bracing lightly and breathing behind it, which trades spine protection for a blood-pressure spike.
- Chasing the clock on one long, collapsing plank instead of several short, crisp sets that actually train endurance.
- Turning the curl-up and dead bug into crunches, letting the back round or arch because the ego picked the reps.
- Loading a progression the trunk cannot control yet — heavy suitcase carries with a visible side lean build the wobble you are trying to remove.
- Training through sharp pain or radiating symptoms because the four weeks feel too short to lose days to a check-up.
Frequently Asked Questions
Question: What is the difference between core stability and ab training?
Ab training usually means curling and reaching — moving the spine repeatedly. Core stability is the opposite: the muscles keep the spine steady while the limbs move. Dead bugs resist arching, side planks resist side-bending, and Pallof presses resist twisting. Both skills have a place, but lifters need stability first, because a loaded spine is being asked to stay still while hips and shoulders do the work.
Question: How long should I be able to hold a side plank?
For this four-week block, a clean 30 to 45 seconds per side from the knees, or 20 to 30 seconds from the feet, is a solid finish line. Coaches often use something close to a minute from the feet as an informal benchmark for healthy adults, but quality beats the clock: hips up, shoulders stacked, breathing the whole time. A shorter honest hold trains more than a long collapsed one.
Question: Can I start this program with existing back pain?
If it is a dull ache you can move around, with no leg symptoms, many people tolerate this spine-sparing style well — McGill's exercise family was built for exactly that population. If the pain is sharp, radiating down a leg, accompanied by numbness or weakness, or bad enough to disrupt daily life, stop and get assessed by a clinician or physical therapist before starting any program, including this one.
Question: Should I train my core every day?
Three focused sessions a week is the plan, and it is enough, because squats, hinges, and carries already spend core budget. Daily work is fine only as a small dose: one brace-and-breathe round, five slow bird dogs, a 15-second knee side plank. Skip even that on sore days. Tolerance builds during rest, and a bored, perfect plank on day six is worth more than three rushed sloppy ones.
Question: Do I need a gym or special equipment?
No. A mat, a long loop band with a door anchor, and one or two dumbbells cover every exercise here. A backpack loaded with books substitutes for suitcase carries and goblet holds up to roughly 9 kilograms. The wall press, every floor progression, and the dowel hinge need nothing but clear floor, a sturdy door, and a broom handle.
Question: Why does bracing seem to help posture while sitting?
Sitting upright is a low-level endurance job for the exact muscles you train here. A light brace restores the natural small arch in the lower back and stacks ribs over pelvis, so discs and ligaments carry less load than they do slumped. The fix is not rigid bracing all day; it is short brace-and-reset bursts every half hour plus a desk setup that makes good posture the easy option.
Question: What comes after the four weeks?
Retest, then repeat the block from harder versions: full dead bugs, side planks from the feet, 30-second holds, and 12-to-16-kilogram suitcase carries. After that, fold bracing into a regular lifting routine with proper hinge and squat progressions, and consider a physical therapist check-in if anything still feels unstable. Revisit the three assessment tests once a season; stability is a maintenance quality, not a badge you win once.
Tips
- Practice the brace lying down before you stand in it; the floor removes balance from the lesson and lets you feel the 20-to-30-percent effort.
- Talk through every hold. If you can say a full sentence, the brace is usable under a bar; if you cannot, reset and go lighter.
- End each set one rep before form breaks, even if the timer still has time left on it.
- A $10-to-$20 door anchor and long band turns any sturdy door into the cable station a Pallof press needs, in a dorm, apartment, or hotel room.
- Film one side plank and one hinge from the side once a week; sagging hips and early back-rounding show up on video long before you feel them.
Warnings
- Stop training and seek prompt medical care for pain shooting down a leg below the knee, numbness or tingling that grows, or new leg weakness. Loss of bowel or bladder control or numbness in the saddle area is an emergency — go to same-day care or an emergency department immediately.
- If you have current back pain, a history of disc injury, spinal fusion, osteoporosis, or are pregnant, get individual clearance from a clinician or physical therapist before starting, and treat this guide as education rather than a prescription.
- Never hold your breath hard and strain through a brace. Bearing down spikes blood pressure; if you feel light-headed, flushed, or get a headache mid-set, stop, breathe, and sit down.
- Adding load before leverage is earned causes most self-inflicted setbacks in this plan. Do not grip a heavy dumbbell to compensate for a side plank you cannot yet hold for 30 seconds from the knees.
Things You'll Need
- Exercise mat for floor work
- Long loop resistance band, 20-50 lb
- Door anchor for the band
- 10-pound dumbbell or kettlebell
- 20-pound dumbbell for suitcase carries
- Broom handle or 4-foot PVC pipe
- Small folded towel for bird-dog feedback
- Timer or phone interval app
- Notebook or spreadsheet for the weekly log
- Sturdy chair with legs against a wall
- Open wall space with nothing to bump
- Water bottle for between sets
- Phone camera for a weekly form check
- Backpack with books as a carry substitute
Related Howcompass Guides




References (7)
- Low Back Exercises: Stuart McGill's Big ThreeAmerican Council on Exercise
- Back Pain Rehabilitation, Injury Prevention and ExerciseBackFIT Pro, Dr. Stuart McGill
- ACSM Position StandsAmerican College of Sports Medicine
- Exercise and FitnessHarvard Health Publishing
- American Physical Therapy AssociationAPTA
- Back Pain - Diagnosis and TreatmentMayo Clinic
- Physical Activity - Fact SheetWorld Health Organization
Sources are listed so you can read the underlying guidance yourself. Our editorial policy explains how guides are reviewed.
Did this article help you?
0 readers found this helpful — add your vote.
No comments yet — be the first to share your results.